Is your floor jack leaking and causing you frustration? A leaky floor jack can slow down your work and create a mess you don’t want to deal with.
But don’t worry—you don’t have to replace it just yet. With a few simple steps, you can fix your leaky floor jack quickly and get back to what matters most. In this guide, you’ll discover easy-to-follow tips that anyone can use, even if you’re not a mechanic.
Keep reading, and you’ll learn exactly how to stop the leak and save time and money.
Identify The Leak Source
Finding the leak source is the first step to fix a leaky floor jack. Without knowing where the fluid escapes, repairing the jack is difficult. Carefully inspect different parts to pinpoint the exact cause of the leak. This saves time and effort during the repair process.
Inspect The Hydraulic Cylinder
The hydraulic cylinder is a common spot for leaks. Look for cracks or damage on its surface. Check if fluid is dripping from the cylinder body. Any signs of wear or rust might cause leaks. Clean the cylinder before inspection to see leaks clearly.
Check Seals And O-rings
Seals and O-rings keep fluid inside the jack. These small parts wear out over time. Remove and examine them for cracks or breaks. Replace any damaged seals to stop leaks. Use the correct size to ensure a tight fit.
Examine The Pump Mechanism
The pump moves fluid to lift the jack. Leaks often happen at pump connections. Look for loose fittings or worn parts. Tighten screws and bolts if they are loose. Replace damaged parts to restore proper function.

Credit: www.reddit.com
Gather Necessary Tools And Materials
Fixing a leaky floor jack starts with gathering the right tools and materials. Having everything ready makes the repair faster and easier. It helps avoid interruptions during the work. Prepare your workspace and organize your tools before you begin. This way, you can focus on the repair and fix the leak properly.
Essential Repair Tools
Start with basic hand tools like wrenches and screwdrivers. A socket set is useful for removing bolts quickly. A small hammer helps with loosening stuck parts. You also need a clean cloth to wipe away dirt and oil. A container to catch leaking fluid will keep your area clean. Don’t forget gloves to protect your hands from oil and sharp edges.
Replacement Parts To Have
Common parts that cause leaks include seals and O-rings. Keep a set of different sizes ready to match your floor jack. Hydraulic fluid is necessary to refill after fixing the leak. A tube of hydraulic jack grease can help with lubrication. Buying a repair kit specific to your floor jack model is smart. It saves time and ensures you have the right pieces.
Drain Hydraulic Fluid
Draining the hydraulic fluid is a key step in fixing a leaky floor jack. Old fluid can cause leaks and reduce the jack’s performance. Removing it helps prepare for fresh fluid and better function.
This process is simple but requires care. Using the right tools and following steps will keep you safe and avoid spills. Here is how to do it properly.
Locate The Drain Valve
The drain valve is usually at the bottom of the jack’s hydraulic cylinder. Check your floor jack manual to find the exact spot. It looks like a small bolt or plug.
Place a container under the valve to catch the fluid. Make sure the container is large enough to hold all the oil. Prepare some rags for any drips.
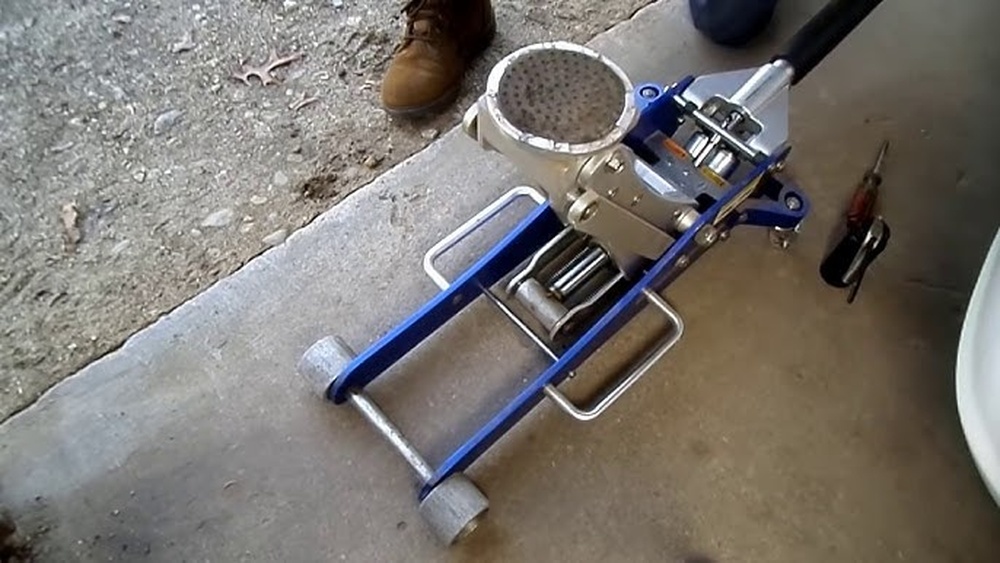
Safely Remove Old Fluid
Use a wrench to carefully loosen the drain valve. Turn it slowly to avoid splashing. Let the fluid drain completely into the container.
After draining, wipe the valve area clean. Tighten the drain valve back securely. Dispose of the old fluid properly at a recycling center.
Credit: www.youtube.com
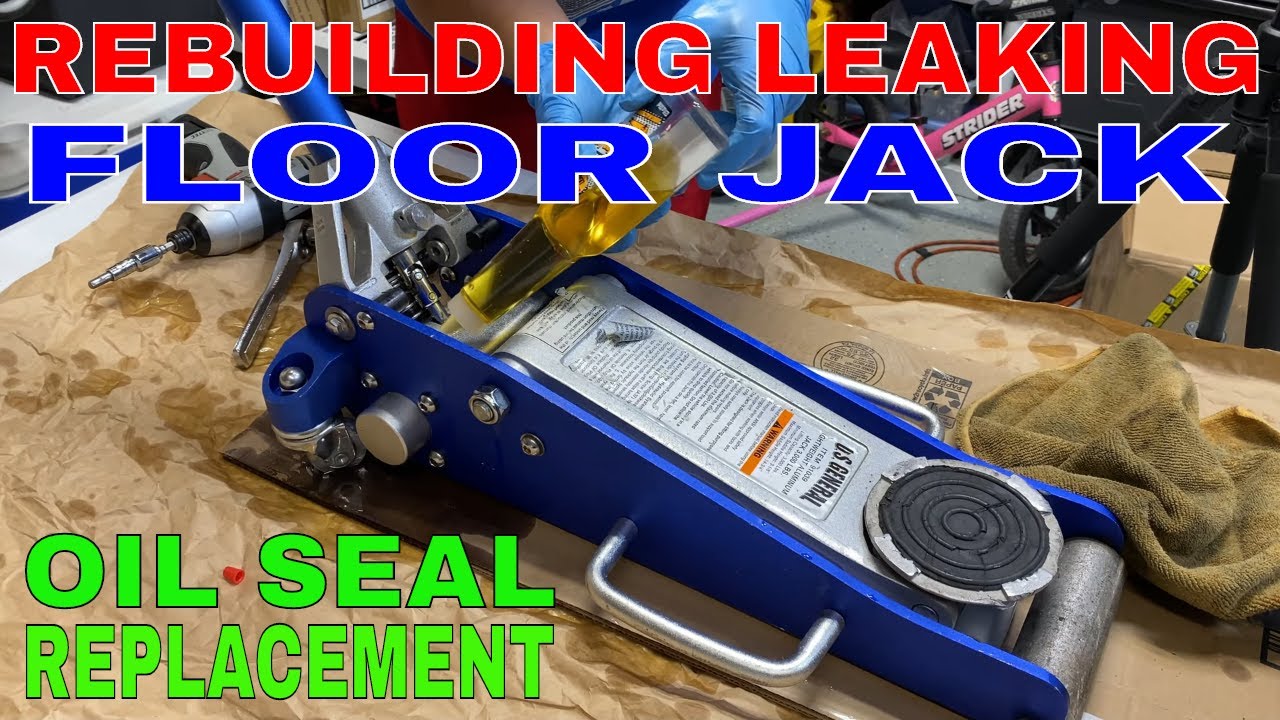
Replace Damaged Seals
Replacing damaged seals is a key step to fix a leaky floor jack. Seals stop fluid from leaking out and keep the jack working well. Over time, seals wear out or get cracked. This causes oil or hydraulic fluid to leak and lowers the jack’s performance.
Changing the seals can stop leaks and make the jack safe to use again. It also helps the jack lift heavy loads without losing pressure. Follow these steps carefully for a successful seal replacement.
Remove Old Seals
First, clean the jack and remove any dirt around the seals. Use tools like pliers or a small screwdriver to pull out the old seals gently. Avoid damaging other parts inside the jack. Take your time to remove all pieces of the worn seals. Check the seal grooves and clean them with a cloth. This prepares the area for new seals and prevents leaks.
Install New Seals Properly
Pick new seals that match the size and type of the old ones. Place each seal in its groove carefully. Press the seals evenly to avoid bending or twisting them. Use a seal driver or a smooth tool to fit seals fully into place. Double-check that all seals sit flat and snug. Proper installation stops leaks and keeps the jack working smoothly.
Refill And Bleed The Jack
Refilling and bleeding a leaky floor jack is a key step to restore its power. This process ensures the jack has enough hydraulic fluid and no trapped air. Both factors affect the jack’s lifting ability. Follow these simple steps to refill and bleed your floor jack safely and effectively.
Add Fresh Hydraulic Fluid
Start by locating the fluid fill plug on your floor jack. Clean the area around the plug to avoid dirt entering the system. Remove the plug carefully. Use the right hydraulic fluid recommended by the manufacturer. Pour the fluid slowly into the reservoir. Fill it just enough, avoiding overfilling. Replace the fill plug securely once done.
Remove Air Bubbles
Air trapped inside the jack reduces its strength. To remove air bubbles, open the release valve. Pump the jack handle several times. This action pushes air out and moves fluid through the system. Keep pumping until you feel smooth pressure without sponginess. Close the release valve tightly. Check the fluid level again and top up if needed.
Test The Floor Jack
Testing your floor jack is a crucial step after any repair. It helps confirm the jack works safely and properly. This step avoids accidents and ensures your jack lifts as expected.
Testing involves checking for leaks and verifying the lifting function. Both checks are simple but important. Follow these steps carefully to keep your floor jack in good shape.
Check For Leaks
Start by inspecting the jack for any signs of oil leaks. Look around the seals, valves, and hydraulic cylinder. Oil spots or wet areas indicate a leak. Leaks reduce lifting power and can cause failure.
Clean the jack before testing. This makes leaks easier to spot. Operate the jack slowly and watch for fresh oil. Pay attention to the base and handle areas.
Ensure Proper Lifting Function
Next, test the jack’s lifting ability. Place the jack under a stable, heavy object. Pump the handle and see if the jack raises the load smoothly. The lift should be steady and hold without dropping.
Lower the jack slowly to check the release valve. It should let the load down in a controlled way. Any jerking or sudden drops mean the jack needs more repair.
Repeat the test a few times to confirm consistent performance. This step confirms your floor jack is safe to use again.
Prevent Future Leaks
Preventing future leaks in your floor jack saves money and effort. Regular care keeps it working well longer. Simple habits stop small issues from turning big. Follow easy steps to protect your tool.
Regular Maintenance Tips
Check the jack for oil leaks often. Clean the parts after each use. Use a cloth to remove dirt and grease. Tighten loose bolts and screws carefully. Replace worn seals or gaskets quickly. Lubricate moving parts with the right oil. Test the jack’s lift function regularly. Fix minor problems before they grow. Keep a maintenance log to track repairs.
Storage Best Practices
Store the floor jack in a dry place. Avoid damp or humid areas to stop rust. Keep it covered to protect from dust. Place it on a flat surface to avoid damage. Lower the jack fully before storing. Drain oil if you will not use it long. Avoid stacking heavy items on top. Check the jack’s condition before use after storage.

Credit: www.jalopyjournal.com
Frequently Asked Questions
How Do I Identify A Leaky Floor Jack?
A leaky floor jack shows hydraulic fluid around seals or base. Check for wet spots or drops near the jack’s body. Leakage often causes poor lifting performance and uneven pressure. Early detection helps avoid further damage and costly repairs.
What Causes A Floor Jack To Leak Hydraulic Fluid?
Floor jack leaks often result from worn or damaged seals and O-rings. Corrosion, dirt, or improper maintenance can also cause leaks. Overloading the jack or using low-quality fluid worsens seal wear and increases leak risk.
Can I Fix A Leaky Floor Jack Myself?
Yes, you can fix minor leaks by replacing seals and gaskets. Clean the jack thoroughly before repair. Use manufacturer-approved parts and hydraulic fluid. For major damage, professional servicing is recommended to ensure safety.
How Do I Prevent Future Leaks In My Floor Jack?
Regular maintenance, including cleaning and lubrication, prevents leaks. Check seals for wear and replace them promptly. Use correct hydraulic fluid and avoid overloading the jack. Store the jack in a dry, clean place to extend its life.
Conclusion
Fixing a leaky floor jack helps keep it safe and working well. Check for worn seals or damaged parts often. Replace or repair these parts quickly to avoid bigger problems. Keep the jack clean and use the right oil. Regular care makes your floor jack last longer.
Small fixes save time and money later. A working floor jack supports your projects safely every time. Simple steps bring peace of mind and reliable use.