Have you ever tried to install a deadbolt, only to find the hole doesn’t line up or is too big? It’s frustrating, right?
A poorly drilled or damaged deadbolt hole can leave your door weak and your home less secure. But don’t worry—you don’t need to call a locksmith just yet. In this guide, you’ll learn simple, step-by-step ways to fix your deadbolt hole quickly and effectively.
By the end, your door will be strong, safe, and ready to protect what matters most. Keep reading, and let’s solve this problem together.

Credit: www.youtube.com
Assess The Damage
Before fixing a deadbolt hole, start by assessing the damage. This step helps you understand what repairs are needed. Careful assessment saves time and ensures a secure fix. Pay close attention to the hole’s size, shape, and the door material. These details guide your repair method.
Check Hole Size And Shape
Measure the hole’s diameter with a tape measure or ruler. Compare it to the deadbolt’s standard size. Note if the hole is round or irregular. Irregular holes may need filling before installing a new lock. A clean, correctly sized hole makes installation easier and secure.
Identify Door Material
Look at the door’s surface and edges to find the material type. Common materials include wood, metal, and fiberglass. Wood doors may have splinters or cracks around the hole. Metal doors might show bent or warped edges. Fiberglass doors often have a hollow core with a thin outer layer. Knowing the material helps pick the right repair tools and fillers.

Credit: www.reddit.com
Gather Necessary Tools
Before fixing a deadbolt hole, gather all the tools you will need. Having the right tools makes the job easier and faster. It helps avoid mistakes and saves time. Here is a list of basic tools and optional materials you may want to use.
Basic Tools Needed
- Power drill with drill bits
- Wood chisel
- Screwdriver (flathead and Phillips)
- Hammer or mallet
- Measuring tape or ruler
- Pencil for marking
- Utility knife
- Sandpaper or sanding block
These tools help you remove old wood, drill new holes, and smooth rough edges. They are essential for most deadbolt hole repairs.
Optional Repair Materials
- Wood filler or epoxy putty
- Wood glue
- Replacement wood piece or dowels
- Clamps to hold pieces in place
- Primer and paint or wood stain
- Masking tape
Optional materials can improve the repair’s strength and finish. They help fill gaps and restore the door’s look. Use these if the damage is large or deep.
Prepare The Door Surface
Preparing the door surface is the first step to fix a deadbolt hole properly. A clean and smooth surface helps the repair materials stick well. It also ensures the new deadbolt fits tightly and works smoothly.
Take your time to prepare the area carefully. This will make the repair stronger and last longer.
Clean The Area
Start by wiping the door surface around the deadbolt hole. Use a damp cloth or mild cleaner. Remove dirt, grease, and dust. A clean surface helps repair materials bond better. Avoid harsh chemicals that can damage the door finish.
Remove Loose Debris
Look for loose wood chips or splinters around the hole. Use a small brush or vacuum to clear them out. Loose debris can weaken the repair. Make sure the edges of the hole are firm and solid. This creates a stable base for filling and fixing the hole.

Credit: www.youtube.com
Fill The Deadbolt Hole
Filling the deadbolt hole is a key step in fixing your door. It makes the door strong again. Proper filling stops air leaks and keeps your door secure. This part of the repair needs care and the right tools. Follow simple steps to fill the hole cleanly and smoothly.
Choose The Right Filler
Pick a filler that suits the door material. Wood filler works best for wooden doors. For metal doors, use an epoxy putty or metal filler. Make sure the filler dries hard and sticks well. This choice helps the repair last long. Check the product label for drying time and durability.
Apply And Smooth Filler
Start by cleaning the hole from dust and debris. Press the filler firmly into the hole. Fill it a little above the door surface. Use a putty knife to spread the filler evenly. Smooth the surface in one direction. Let the filler dry fully before sanding. This makes the patch blend with the door nicely.
Sand And Shape The Repair
After filling the deadbolt hole, sanding and shaping the repair is the next step. This process helps create a smooth surface that blends well with the door. Proper sanding ensures the filler looks natural and the deadbolt fits perfectly.
Take your time with each step to avoid rough edges or uneven surfaces. A neat finish improves the door’s appearance and makes the lock work better.
Let Filler Dry
Wait until the filler is completely dry before starting to sand. Drying time varies by product, but usually takes a few hours. Touch the filler gently to check if it feels hard and firm. If it is still soft, give it more time. Dry filler sands better and creates a smooth surface without tearing.
Sand For Smooth Finish
Use fine-grit sandpaper for the best results. Sand the repair area gently in circular motions. Remove bumps and blend the filler with the door’s surface. Keep checking the shape to match the original hole size. Clean the dust with a dry cloth before testing the deadbolt fit. Smooth sanding helps the lock sit firmly and prevents future problems.
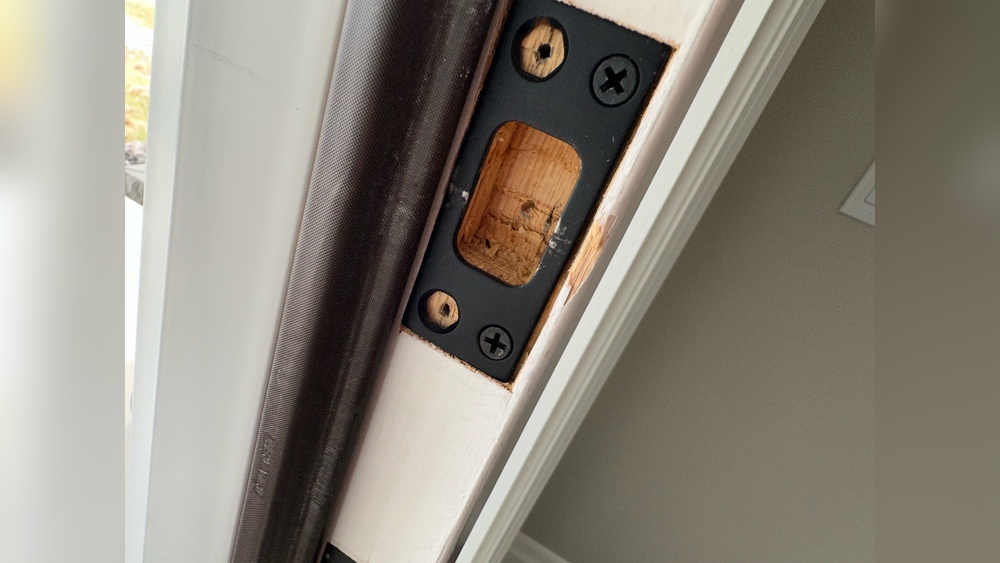
Re-drill The Deadbolt Hole
Re-drilling the deadbolt hole is a key step to fix an improperly placed or damaged hole. This process creates a new, clean hole for the deadbolt lock. It ensures the lock fits securely and works smoothly. The right hole position also improves the door’s security and look.
Careful measuring and drilling are important. A wrong hole can cause the lock to fail or the door to weaken. Follow the steps below to re-drill the deadbolt hole correctly.
Mark The New Hole Position
First, find the correct spot for the new hole. Measure from the edge of the door to the center of the lock. Use a pencil to mark the spot clearly.
Double-check the measurement to avoid mistakes. The new hole should line up with the lock’s parts and the strike plate on the door frame. Mark the center of the hole carefully for accurate drilling.
Drill With Proper Tools
Use the right drill and drill bit size for the hole. A hole saw drill bit works best for deadbolt holes. It creates a clean, round hole without splintering the wood.
Drill slowly and steadily at the marked spot. Keep the drill straight to avoid angled holes. Drill halfway through one side, then finish from the other side. This method prevents wood from breaking out.
Wear safety glasses and keep hands clear of the drill. After drilling, smooth the edges with sandpaper for a perfect fit.
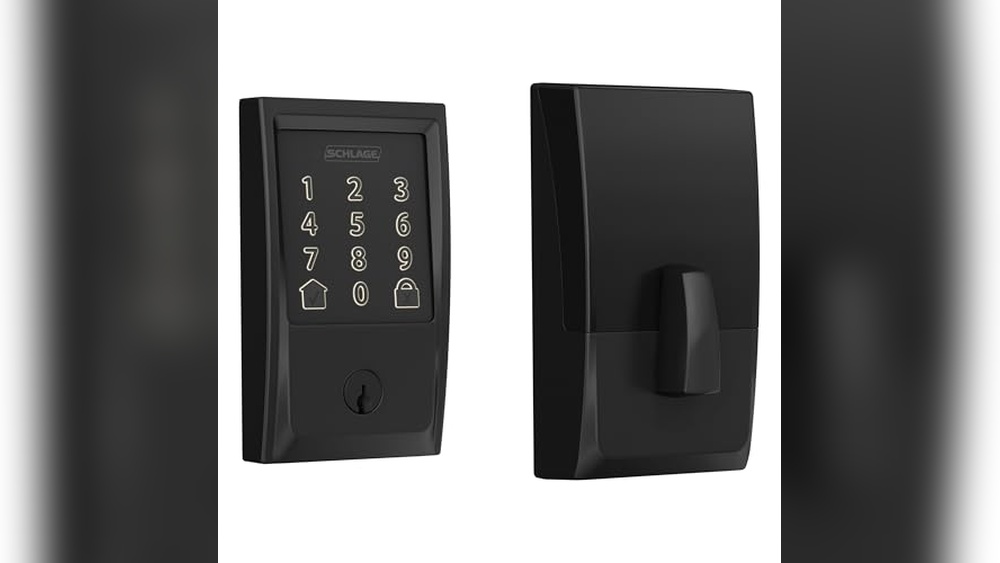
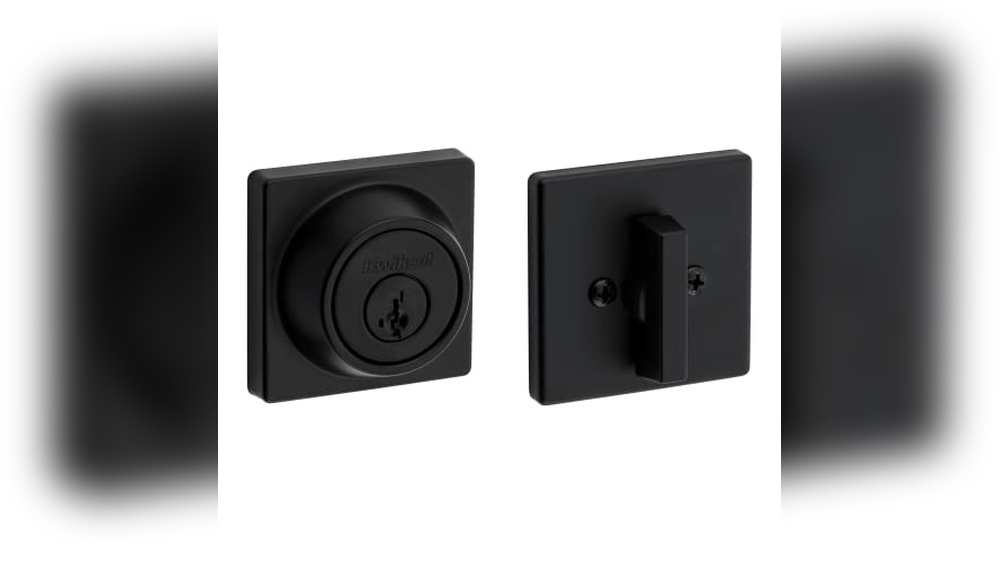
Install The Deadbolt Lock
Installing a deadbolt lock is the next step after fixing the hole. This step secures your door and keeps your home safe. Proper installation ensures the lock works smoothly and lasts long.
Fit The Lock Components
Start by placing the deadbolt into the hole on the door edge. Align it so the bolt slides out easily. Attach the faceplate with screws to keep the lock in place. Next, fit the exterior part of the lock with the key cylinder. Make sure the tailpiece goes through the lock body. Then, attach the interior turn piece on the opposite side. Screw both sides tightly but do not over-tighten. Check that all parts fit flush with the door surface.
Test For Secure Fit
Turn the key or thumb turn to slide the bolt in and out. The bolt should move smoothly without sticking. Check that the lock holds firmly when engaged. Try closing the door and locking it to see if it latches properly. If the bolt does not align with the strike plate, adjust the plate position. Ensure the lock feels solid and does not wobble. A secure fit means your deadbolt is ready to protect your home.
Tips For Long-lasting Repair
Fixing a deadbolt hole is just the start. Keeping the repair strong and lasting needs care and smart choices. Small steps make a big difference in how long your fix will hold up. These tips help you avoid future problems and keep your door secure.
Focus on good materials and regular care. Both help your repair stay firm and safe for years. Here are two key tips for a long-lasting repair.
Use Quality Materials
Choose strong fillers and wood patches for the repair. Cheap materials break or wear out fast. Use wood glue or epoxy designed for doors. These stick tightly and resist weather and wear. Match the repair material to your door type. This prevents cracks and loose parts later. Spend a little more now to save time and money later.
Maintain Door And Lock
Clean the door and lock regularly. Dirt and dust cause wear and tear. Check screws and parts for tightness every few months. Loose parts weaken the repair. Lubricate the lock with oil to keep it smooth. Avoid slamming the door hard. Gentle use helps the repair last longer. Regular care protects your fix and your home’s security.
Frequently Asked Questions
How Do I Repair A Damaged Deadbolt Hole?
To repair a damaged deadbolt hole, fill it with wood filler or epoxy. Sand it smooth after drying. Re-drill the hole carefully to fit the deadbolt. This restores the door’s integrity and ensures proper lock installation.
What Tools Are Needed To Fix A Deadbolt Hole?
You need a drill, wood filler or epoxy, sandpaper, a screwdriver, and a chisel. These tools help clean, fill, smooth, and re-drill the deadbolt hole for proper lock fitting.
Can I Fix A Deadbolt Hole Without Replacing The Door?
Yes, you can fix a deadbolt hole without replacing the door. Use wood filler or epoxy to fill the hole. Sand it down and re-drill. This method restores the door’s strength and lock functionality.
How Long Does It Take To Fix A Deadbolt Hole?
Fixing a deadbolt hole typically takes 1 to 2 hours. This includes filling, drying, sanding, and re-drilling. Drying time may vary depending on the filler used.
Conclusion
Fixing a deadbolt hole can save time and money. Small repairs keep your door secure and strong. Use simple tools and follow steps carefully. Take your time and measure twice. A well-done repair keeps your home safe. Stay patient and check your work.
You don’t need to be an expert to fix this. Keep your door functioning properly with basic care. Try it yourself and feel confident in your skills.