Are you staring at those stubborn 4 pin picture hooks on your wall, wondering how to get them out without leaving a mess? Removing them might seem tricky, but it doesn’t have to be.
In this guide, you’ll discover simple, step-by-step methods to take down those hooks safely and cleanly. Keep reading, and you’ll learn easy tricks that save your wall and make your space look fresh again. Let’s get started!
Credit: www.youtube.com
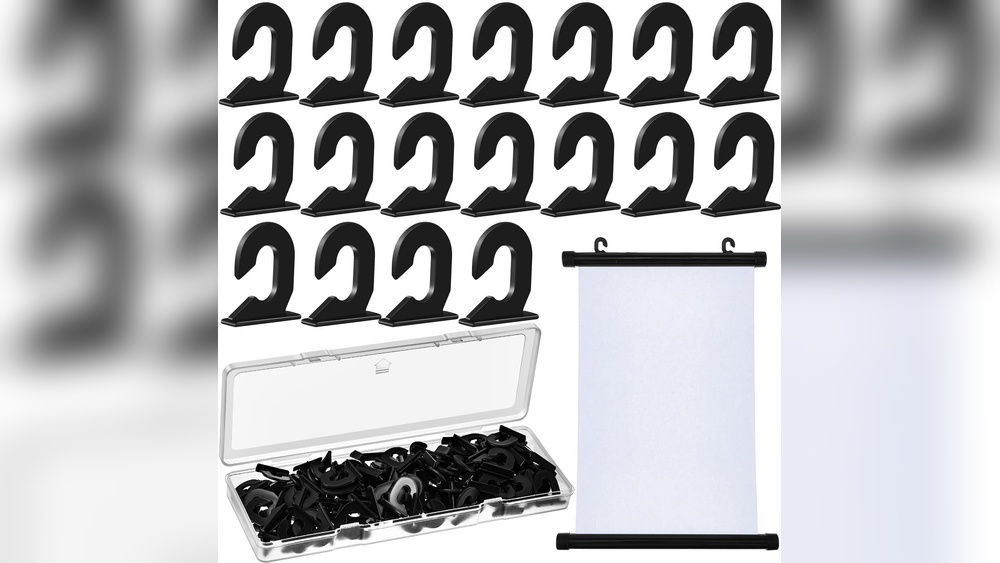
Types Of 4 Pin Picture Hooks
4 pin picture hooks come in different types. Each type fits specific wall and picture needs. Knowing these types helps to remove them safely and without damage.
The hooks vary by design and material. Some are stronger, some easier to install. Choosing the right type affects how your picture hangs and how to take it down.
Common Designs And Materials
Most 4 pin hooks have a metal base with four pins attached. The pins secure the hook to the wall tightly. Some hooks have a small metal loop or ring to hold the picture wire.
Materials include steel, zinc, and sometimes plastic parts. Steel pins are sharp and strong. Zinc hooks resist rust and last longer. Plastic parts may appear in cheaper models but are less durable.
Where They Are Typically Used
These hooks are common in homes and offices. They hold medium to heavy pictures and frames securely. They work best on drywall, plaster, and wooden walls.
Artists and photographers also use 4 pin hooks to display their work. They provide better support than single or two-pin hooks. This prevents pictures from falling or tilting.
Tools Needed For Removal
Removing 4 pin picture hooks from a wall requires the right tools. Using proper tools makes the process easier and safer. It also helps protect your wall from damage. Gather your tools before starting to save time and avoid frustration.
Essential Tools Checklist
- Flathead screwdriver – to pry hooks gently
- Pliers – to grip and pull pins out
- Hammer – to tap pins lightly if stuck
- Utility knife – to cut around the hook if needed
- Protective gloves – to keep hands safe
Optional Tools For Damage Prevention
- Putty knife – to smooth the wall after removal
- Painter’s tape – to protect the wall surface
- Wall patching compound – to fill small holes
- Sandpaper – to smooth patched areas
- Soft cloth – to clean dust and debris
Step-by-step Removal Process
Removing 4 pin picture hooks can seem tricky at first. Following a clear, simple process makes it easy and safe. This step-by-step guide helps protect your wall and keeps the removal smooth. Read on to learn how to do it right.
Preparing The Area
Start by clearing the space around the hook. Remove any pictures or decorations carefully. Lay down a cloth or newspaper under the hook. This protects your floor from falling debris or pins. Gather tools like pliers and a flat screwdriver for the task.
Loosening The Pins Safely
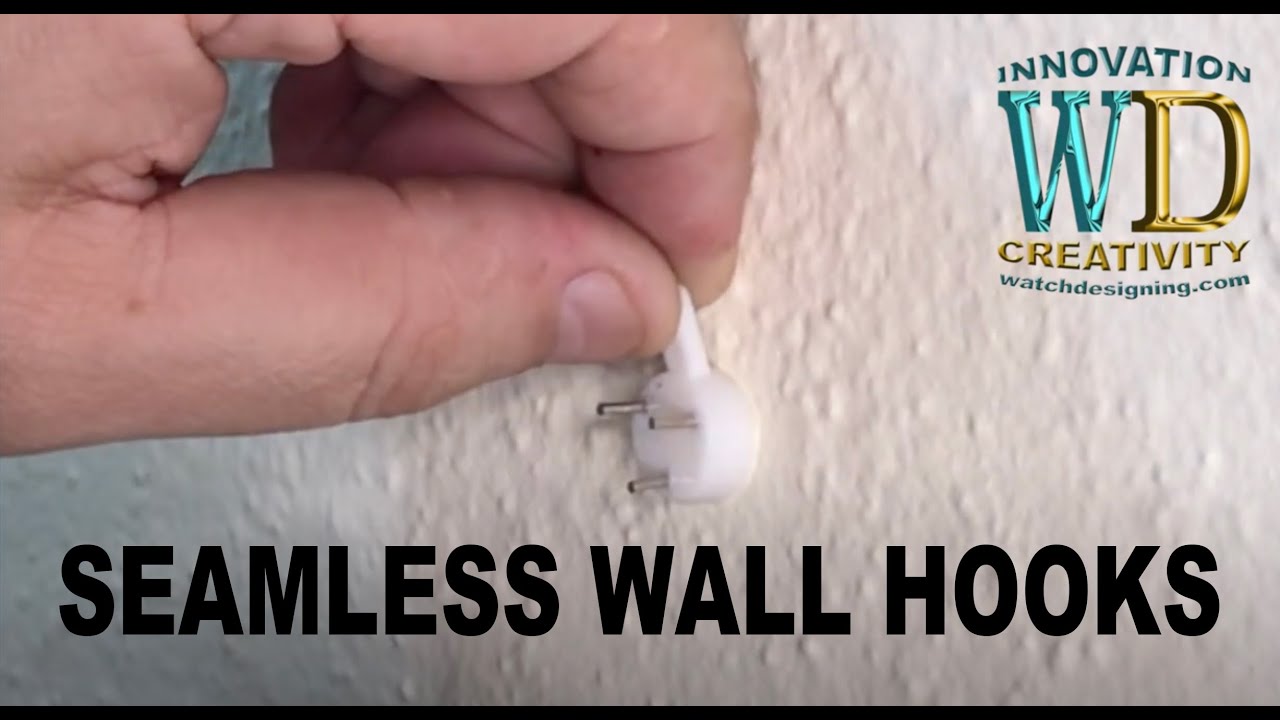
Use the flat screwdriver to gently pry the pins away from the wall. Work slowly to avoid bending the pins too much. Wiggle the pins back and forth to loosen them. Do this one pin at a time for better control. Avoid pulling the hook without loosening pins first.
Removing Hooks Without Wall Damage
Once the pins are loose, grab them with pliers. Pull the pins straight out carefully to prevent wall damage. If pins resist, try pushing them through the wall gently. Fill small holes with spackle or wall filler afterward. Sand and paint the area for a smooth finish.
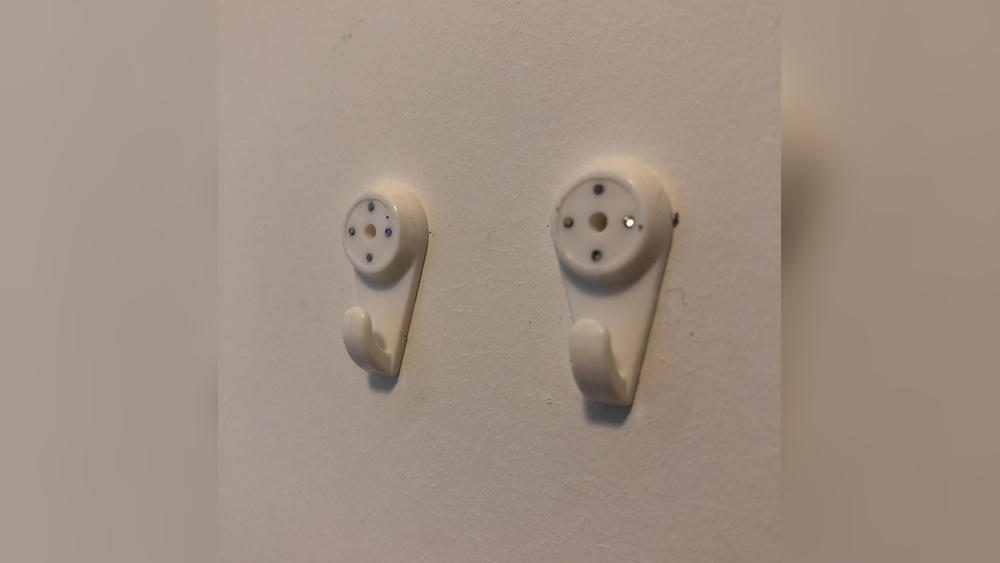
Credit: www.reddit.com
Handling Stubborn Hooks
Removing 4 pin picture hooks can be tricky when the pins stick tight. Stubborn hooks need gentle care to avoid wall damage. Patience and the right method help ease the pins out smoothly.
Use careful techniques to loosen the pins without bending or breaking them. Small tools and steady hands work best for this task.
Techniques For Tight Pins
Start by gently wiggling each pin from side to side. This movement loosens the grip inside the wall. Use needle-nose pliers for a firm hold on the pin head. Pull slowly and evenly to avoid sudden jerks. If pins resist, tap lightly with a small hammer to nudge them out. Avoid forcing pins hard, as this may harm the wall surface.
Using Lubricants And Aids
Apply a tiny drop of lubricant near the pin base. Vegetable oil or WD-40 works well for this. Let it soak in for a few minutes to loosen the grip. A cotton swab helps place the oil precisely. After waiting, try pulling the pins again gently. Lubricants reduce friction and make removal easier. Clean the area after removing pins to clear any residue.
Repairing Minor Wall Damage
Removing 4 pin picture hooks can leave small holes or scratches on your wall. Repairing these minor damages helps keep your wall smooth and fresh. Small fixes can make a big difference in your room’s look. Follow these simple steps to restore your wall easily.
Filling Holes And Cracks
Start by cleaning the holes and cracks with a dry cloth. Use a putty knife to apply spackling paste or wall filler into the holes. Press the filler firmly to fill all gaps. Let it dry for a few hours or as the product instructions say. Once dry, check if the holes are fully covered. Add more filler if needed and let it dry again.
Sanding And Repainting Tips
After the filler dries, gently sand the area with fine-grit sandpaper. Sand until the wall feels smooth and even with the rest of the surface. Wipe away the dust with a damp cloth. Choose paint that matches your wall color. Use a small brush or roller to apply paint over the repaired area. Apply thin layers and let each layer dry before adding the next. This helps the patch blend in well with the wall.
Preventing Damage In Future Installations
Preventing damage during future installations helps keep your walls clean and strong. Proper care avoids holes, cracks, and paint peeling. Small steps make a big difference. Use the right hooks and install them correctly. This reduces harm and saves time and money.
Choosing The Right Hooks
Select hooks made for your wall type. Drywall, plaster, and brick need different hooks. Choose hooks with good weight support. Look for hooks with smooth edges. They cause less damage when removed. Avoid cheap hooks that bend or break easily.
Proper Installation Methods
Mark the spot before drilling or hammering. Use a level to keep hooks straight. Push or hammer hooks gently to avoid cracks. Do not force hooks into hard walls. Use anchors for heavy items. Check weight limits on hook packaging. Remove hooks carefully by pulling straight out.

Credit: www.reddit.com
Frequently Asked Questions
How Do I Safely Remove 4 Pin Picture Hooks?
Gently pry one pin at a time using needle-nose pliers. Pull pins straight out to avoid wall damage. Work slowly and carefully to prevent paint peeling.
What Tools Do I Need To Remove 4 Pin Hooks?
You need needle-nose pliers or a small flathead screwdriver. These tools help grip and pull the pins without harming the wall.
Can I Reuse 4 Pin Picture Hooks After Removal?
It’s possible but not recommended. Pins may bend or weaken during removal, reducing their holding strength.
How To Fix Wall Holes After Removing 4 Pin Hooks?
Fill holes with spackle or wall filler. Smooth with a putty knife, let dry, then sand and repaint for a clean finish.
Conclusion
Removing 4 pin picture hooks from walls is simple with the right steps. Take your time and be gentle to avoid wall damage. Use tools like pliers or a flathead screwdriver carefully. Clean the area after removal to prepare for new decorations.
Practice makes this process easier and faster. Now, your walls are ready for a fresh look or new art. Easy and neat—just the way it should be.