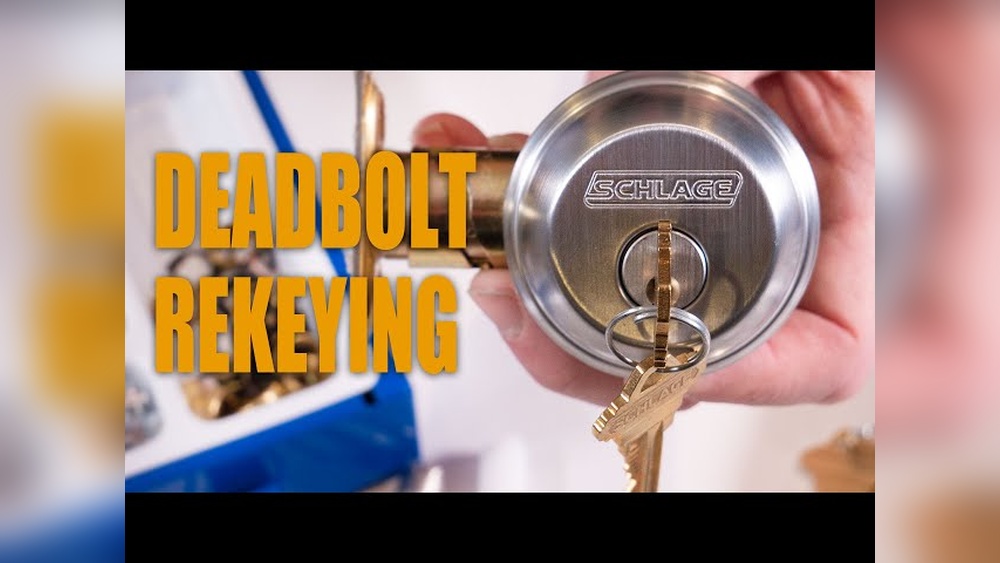
Have you ever struggled with a stubborn deadbolt that won’t budge from the inside? Whether you’re fixing a lock, upgrading your security, or simply need to remove it for maintenance, knowing how to take out a deadbolt yourself can save you time and money.
In this guide, you’ll discover simple, step-by-step instructions that anyone can follow—even if you’re not a handyman. Ready to unlock the secret and get that deadbolt out quickly and easily? Keep reading, and you’ll have it done before you know it.
Tools Needed
Removing a deadbolt from the inside requires a few simple tools. Having the right tools makes the job easier and faster. Each tool serves a specific purpose in the process. Gather these tools before you start to avoid interruptions.
Screwdriver
A screwdriver is essential for removing screws that hold the deadbolt in place. Most deadbolts use either a Phillips or flathead screwdriver. Check the screws before starting to know which type you need.
Allen Wrench
Some deadbolts have small hex screws that need an Allen wrench. This tool fits into those screws perfectly. Keep a set of Allen wrenches handy to cover different sizes.
Utility Knife
A utility knife helps cut through any paint or sealant around the deadbolt. This makes it easier to remove the cover plates without damage. Use the knife carefully to avoid scratches.
Pliers
Pliers come in handy for gripping and turning parts. They help remove stubborn screws or parts that are hard to turn by hand. Choose a pair with a comfortable grip for better control.
Flashlight
A flashlight brightens dark areas inside the door. It helps you see screws and small parts clearly. Good lighting reduces mistakes during removal.
Identify Deadbolt Type
Knowing your deadbolt type helps you remove it quickly and safely. Deadbolts come in different styles and mechanisms. Identifying the type guides you on the right steps and tools to use.
Single Cylinder Deadbolt
This deadbolt uses a key on the outside and a thumb turn inside. It is the most common type found on home doors. The inside thumb turn makes removal easier since no key is needed.
Double Cylinder Deadbolt
This deadbolt requires a key on both sides. It adds security but can be tricky to remove. You need a key to unlock the inside before disassembly.
Keyless Deadbolt
Keyless deadbolts use buttons or a keypad to lock and unlock. They often have a battery pack inside. Removal may need battery removal or special tools for the electronic parts.
Smart Deadbolt
Smart deadbolts connect to Wi-Fi or Bluetooth. They use apps or codes for access. Removing them needs care with wiring and battery components.
Prepare The Door
Preparing the door is the first step to remove a deadbolt from the inside. This step makes the process easier and safer. It also helps avoid damage to the door or lock. Taking time to prepare ensures a smooth removal.
Gathering the right tools and clearing the work area is important. Check the door and lock for any issues before starting. These actions set the stage for quick and effective deadbolt removal.
Clear The Area Around The Door
Remove any objects near the door that might block your work. This gives you space to move freely. A clear area prevents accidents and helps you focus on the task.
Gather Necessary Tools
Collect a screwdriver, flashlight, and any other tools needed. Having tools ready saves time. Use the correct screwdriver to avoid stripping screws.
Inspect The Deadbolt Mechanism
Look closely at the deadbolt inside the door. Check for visible screws or fasteners. Understand how the lock is fixed to avoid mistakes during removal.
Secure The Door
Make sure the door is stable and won’t move while you work. Close the door firmly or prop it open if needed. Stability protects both you and the door.

Credit: www.reddit.com
Remove Interior Thumb Turn
Removing the interior thumb turn is the first step to take off a deadbolt from inside. This small part controls the lock’s bolt by twisting it. Taking it off lets you access the screws and other parts easily.
Most thumb turns are simple to remove. They usually have a set screw or a small hole to press a release pin. Knowing the exact method helps avoid damage to the lock or door.
Locate The Set Screw
Look carefully on the side of the thumb turn. Find a small screw holding it in place. This is the set screw. Use a flashlight if needed.
Use The Correct Screwdriver
Choose a screwdriver that fits the set screw perfectly. A wrong size can strip the screw head. Usually, a small flathead or Phillips screwdriver works.
Loosen The Set Screw
Turn the screwdriver slowly to loosen the set screw. Do not remove it fully unless it comes off easily. Just loosen it enough to pull the thumb turn off.
Remove The Thumb Turn
Gently pull the thumb turn straight out from the door. It should slide off without force. If stuck, check if the set screw is fully loose.
Unscrew The Interior Plate
Removing a deadbolt from the inside starts with unscrewing the interior plate. This plate holds the lock mechanism to the door. Taking it off allows access to the lock’s inner parts.
Before unscrewing, gather a screwdriver that fits the screws well. Using the wrong tool can strip the screw heads. Work carefully and steadily to avoid damage.
Locate The Screws On The Interior Plate
The screws usually sit on the face of the interior plate. Look closely around the edges of the plate for small screw heads. They can be Phillips or flathead screws.
Use The Correct Screwdriver
Select a screwdriver that matches the screw type. A Phillips screwdriver fits cross-shaped screws. A flathead screwdriver works on single-slot screws. Using the right tool makes removing easier.
Unscrew The Interior Plate Slowly
Turn the screwdriver counterclockwise to loosen each screw. Take your time. Removing screws too fast may strip them. Keep the plate steady as you unscrew it.
Remove The Plate And Set It Aside
Once all screws are loose, gently pull the plate off the door. Set it on a safe surface to avoid losing screws. This step reveals the lock’s inside mechanism.

Credit: diy.stackexchange.com
Detach The Deadbolt Cylinder
Detaching the deadbolt cylinder is a key step to remove a deadbolt from the inside. This part holds the key and controls the lock mechanism. Removing it allows access to the internal parts and makes further disassembly easier.
Prepare a screwdriver and a small container to keep screws safe. Work carefully to avoid damaging the door or lock.
Locate The Cylinder Retaining Screw
Open the door fully to see the edge of the lock. Find the small screw that holds the cylinder in place. It is usually on the side of the door near the cylinder.
Remove The Retaining Screw
Use a screwdriver to turn the retaining screw counterclockwise. Keep the screw in your container. This step frees the cylinder from the lock.
Pull Out The Deadbolt Cylinder
Grip the cylinder firmly from the inside. Gently pull it straight out of the door. If it feels stuck, wiggle it slightly to loosen.
Check For Additional Fasteners
Some deadbolts may have extra screws or clips. Look inside the lock area carefully. Remove any remaining fasteners before pulling the cylinder out completely.
Remove Exterior Components
Start by unscrewing the interior screws holding the deadbolt in place. Carefully remove the inside plate and knob to expose the lock mechanism. This allows access to the parts needed for full removal.
Remove The Exterior Knob Or Lever
Start by locating the screws on the exterior knob or lever. Use a screwdriver to loosen and remove these screws. Keep the screws safe for later use. Gently pull the knob or lever away from the door. If it feels stuck, wiggle it slowly to loosen it. Avoid forcing it to prevent damage.
Unscrew The Exterior Faceplate
Next, find the screws holding the faceplate on the door’s edge. Use a screwdriver to remove these screws carefully. Take the faceplate off to expose the deadbolt mechanism. Set the faceplate aside with the screws. This step gives access to the lock’s inner parts.
Remove The Deadbolt Cylinder
Look inside the hole where the deadbolt cylinder sits. Sometimes a small pin or screw holds it in place. Remove this pin or screw using the right tool. Pull the cylinder straight out from the door’s exterior side. Keep it safe as it is part of the lock system.
Extract The Deadbolt Latch
Extracting the deadbolt latch is a key step in removing a deadbolt from the inside. The latch is the part that extends into the door frame to keep the door locked. Removing it allows access to the internal parts for repair or replacement.
This step requires a few tools and careful handling. The process is simple and can be done without professional help. Follow the instructions to avoid damaging the door or lock.
Locate The Deadbolt Latch
First, open the door fully. Look at the edge of the door where the latch sticks out. You will see a small rectangular metal piece.
This is the latch. It usually has two screws holding it in place. Note their positions before proceeding.
Unscrew The Faceplate
Use a screwdriver to remove the screws on the latch’s faceplate. Keep the screws safe for reassembly.
Gently pull the faceplate away from the door. The latch mechanism will now be visible.
Remove The Deadbolt Latch
Once the faceplate is off, slide the latch out of the door edge. It may need a little wiggling to come free.
Take care not to force it to avoid damaging the door or latch mechanism.
Check The Latch For Damage
After removal, inspect the latch for wear or damage. Look for bent or broken parts.
Damaged latches should be replaced to ensure the lock works properly.
Inspect And Clean The Door
Before removing a deadbolt from the inside, inspect and clean the door carefully. This step helps ensure smooth removal and prevents damage. Dirt and grime can make the process harder and cause parts to stick.
Take a close look at the door surface around the deadbolt. Check for any cracks, peeling paint, or rust. These issues could affect the deadbolt’s removal and the door’s condition.
Check For Damage Or Wear
Look for visible signs of damage near the deadbolt area. Cracks or worn wood can cause problems during removal. If you find damage, note it for repair later. This will keep your door strong and secure.
Clean The Door Surface
Use a soft cloth and mild cleaner to wipe the door around the deadbolt. Remove dust, dirt, and grease. A clean surface helps tools work better and prevents slips. Avoid using harsh chemicals that might damage the door’s finish.
Remove Rust And Debris
Check metal parts for rust or buildup. Use a small brush or steel wool to clear away rust gently. Removing debris makes unscrewing easier and protects the door hardware. Keep the area clean to avoid future rust problems.
Tips For Reinstallation Or Replacement
Removing a deadbolt from the inside is only part of the task. Reinstalling or replacing it needs care and attention. A properly installed deadbolt keeps your home safe and secure. Follow these tips to make sure the new or reinstalled lock fits and works well.
Check The Door And Frame For Damage
Look closely at the door and frame before installing the deadbolt. Make sure there are no cracks or splinters. Fix any damage to keep the lock strong. A solid surface helps the deadbolt work better and last longer.
Choose The Right Deadbolt Size
Pick a deadbolt that fits your door’s thickness. Most doors need a 1 3/8 to 1 3/4 inch lock. Check the bolt length too. The bolt must reach deep into the frame for good security.
Use Proper Tools For Installation
Have a screwdriver, drill, and measuring tape ready. Use the right drill bit size for the holes. This makes the installation smooth and avoids damage to the door.
Align The Deadbolt Carefully
Make sure the bolt lines up with the strike plate on the frame. Poor alignment can stop the lock from turning. Test the bolt before tightening screws fully.
Tighten Screws Securely But Gently
Don’t overtighten screws. This can strip the holes or crack the door. Tighten screws until they feel snug and steady. This keeps the deadbolt steady and easy to use.

Credit: www.youtube.com
Frequently Asked Questions
How Do I Remove A Deadbolt From Inside The Door?
First, unscrew the interior screws holding the deadbolt. Then, pull off the interior thumb turn and exterior lock face. Finally, remove the bolt mechanism from the door edge carefully.
What Tools Are Needed To Remove A Deadbolt Lock?
You typically need a screwdriver, usually Phillips or flathead, depending on screws. Sometimes, a drill is required for stuck screws. Having pliers handy can help with tight parts.
Can I Remove A Deadbolt Without Damaging The Door?
Yes, by carefully unscrewing all parts and gently pulling them off. Avoid forceful twisting or prying to prevent door damage. Proper tools and patience ensure a clean removal.
How Long Does It Take To Remove A Deadbolt Lock?
Removing a deadbolt usually takes 10 to 20 minutes. It depends on your experience and the deadbolt condition. Stuck screws or rust may increase the time.
Conclusion
Removing a deadbolt from the inside can be simple and quick. Follow the steps carefully to avoid damage. Use the right tools and take your time. Safety matters—keep the door secure during the process. Practice makes perfect, so don’t rush.
Now, you can handle this task with more confidence. Try it yourself and save time and money.