If you’ve ever tried to hang something heavy on a concrete wall, you know it’s not as simple as using regular nails or screws. That’s where concrete wall anchors come in—they give you a strong, reliable hold every time.
But how do you install them correctly? Whether you’re mounting shelves, fixtures, or artwork, getting it right is crucial to keep everything secure and safe. In this guide, you’ll learn step-by-step how to install concrete wall anchors easily and effectively, even if you’ve never done it before.
Ready to make your project rock solid? Let’s dive in.

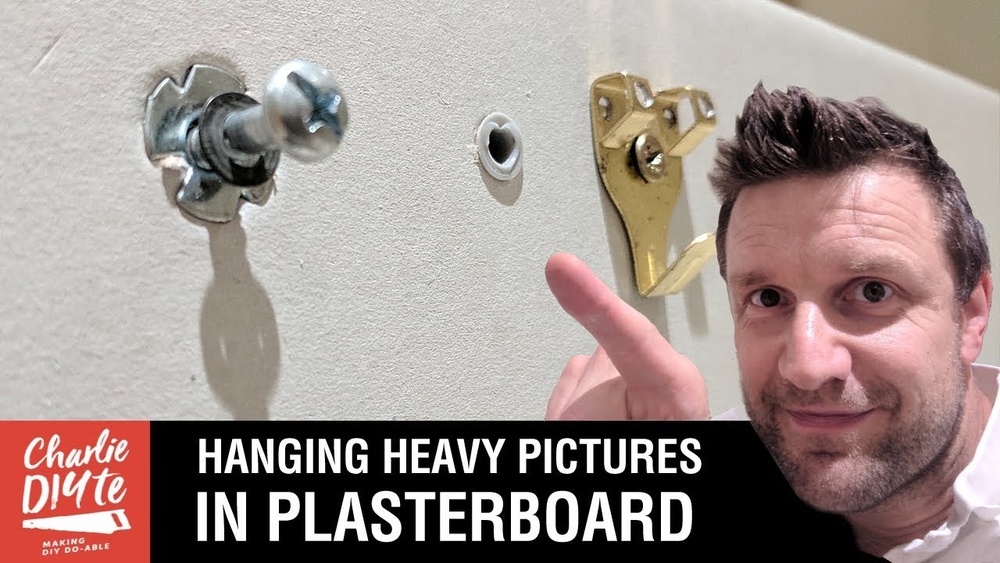
Credit: www.do-it-yourself-help.com
Types Of Concrete Wall Anchors
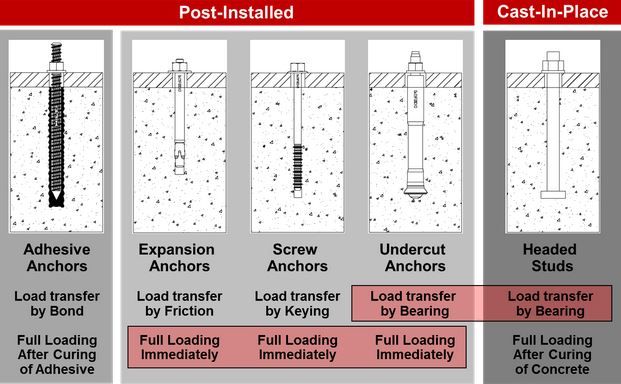
Concrete wall anchors hold objects firmly to concrete walls. Different types serve different needs. Choosing the right anchor ensures strong, lasting support. Below are common types of concrete wall anchors.
Expansion Anchors
Expansion anchors widen inside the hole to hold tight. Insert the anchor, then tighten the bolt. The anchor expands and grips the concrete firmly. They work well for medium loads.
Sleeve Anchors
Sleeve anchors have a metal sleeve around a bolt. As you tighten the bolt, the sleeve expands. This creates a strong hold inside the concrete. They fit many hole sizes and handle heavy loads.
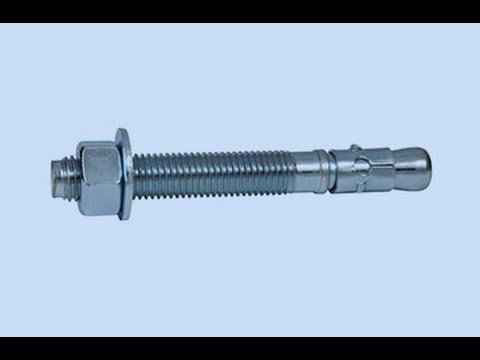
Wedge Anchors
Wedge anchors use a wedge-shaped end to lock in place. Push the anchor into the hole, then tighten the nut. The wedge pulls tight against the concrete. Ideal for heavy-duty fastening.
Drop-in Anchors
Drop-in anchors sit flush inside the hole. Use a special tool to expand them inside the concrete. They provide a clean finish and strong hold. Good for overhead or flush mounting.
Concrete Screws
Concrete screws drill directly into the wall without anchors. They have sharp threads to grip concrete tightly. Easy to install and remove. Best for light to medium loads.
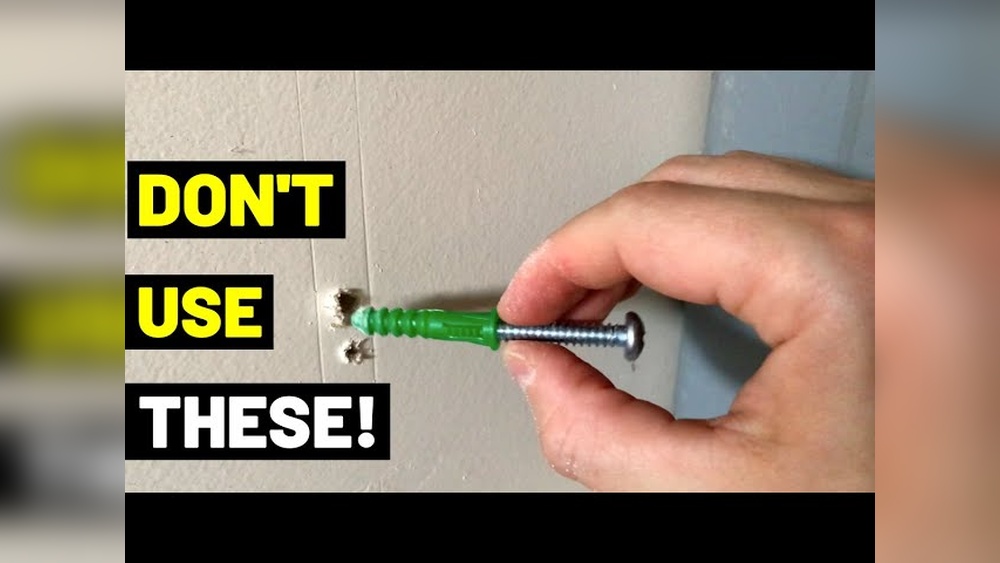
Credit: www.youtube.com
Tools And Materials Needed
Installing concrete wall anchors needs the right tools and materials. These tools help you work safely and finish the job correctly. Having everything ready saves time and avoids mistakes.
Drill And Drill Bits
A drill is essential for making holes in concrete walls. Use a hammer drill for best results. Choose drill bits made for concrete. The size of the bit must match the anchor size. Sharp bits make clean holes and hold anchors firmly.
Hammer And Screwdriver
A hammer helps tap anchors into the drilled holes. Use a light hammer to avoid damage. A screwdriver is needed to tighten screws into anchors. Use the correct screwdriver type, either flathead or Phillips, depending on the screws.
Measuring Tape And Pencil
Measure carefully before drilling. Use a measuring tape to mark exact spots. Mark the points with a pencil for clear visibility. Proper measuring ensures anchors are spaced evenly and hold weight well.
Safety Gear
Wear safety glasses to protect eyes from dust and debris. Use gloves to protect your hands from rough surfaces. Ear protection helps reduce noise from drilling. Safety gear keeps you safe during the installation process.
Preparing The Wall
Preparing the wall is a key step before installing concrete wall anchors. It helps ensure the anchors hold firmly and last long. Taking time to prepare the wall properly can prevent common problems like loose anchors or cracks.
Follow each step carefully for the best results. Proper preparation sets the foundation for a strong and secure installation.
Selecting Anchor Locations
Choose spots on the wall that are solid and flat. Avoid cracks or weak areas. Pick places that can support the weight of what you want to hang. Space anchors evenly to spread the load. Check for pipes or wires behind the wall to avoid damage.
Marking Drill Points
Use a pencil or marker to mark exact spots for drilling. Measure carefully to keep marks level and aligned. Double-check your measurements before drilling. Clear marks help guide the drill and keep holes straight. Accurate drill points make installation easier and safer.
Cleaning Drill Holes
After drilling, clean out dust and debris from each hole. Use a small brush or compressed air to remove loose particles. Clean holes allow anchors to fit tightly. This step improves anchor grip and prevents slipping. Never skip cleaning for best anchor performance.
Drilling The Hole
Drilling the hole is the most important step in installing concrete wall anchors. A precise hole ensures the anchor fits tightly and holds strong. Careful drilling helps avoid cracks and weak spots in the concrete. Follow clear steps to drill correctly and safely.
Choosing The Right Drill Bit Size
Select a drill bit that matches the anchor size exactly. Too small a bit will make the anchor hard to insert. Too large a bit will cause the anchor to be loose. Check the anchor package for the recommended drill bit size. Use a carbide-tipped bit for best results on concrete.
Drilling At Correct Depth
Mark the drill bit with tape to set the drilling depth. The hole must be as deep as the anchor length. This prevents the anchor from sticking out or going too far in. Drill straight and steady to maintain the correct depth. Stop immediately once you reach the marked line.
Avoiding Common Drilling Mistakes
Do not use a bit that is dull or damaged. It can cause uneven holes or break the concrete. Avoid tilting the drill at an angle; keep it perpendicular to the wall. Do not push too hard on the drill. Let the drill do the work to avoid cracks. Clear dust from the hole before inserting the anchor for a tight fit.
Installing The Anchors
Installing concrete wall anchors requires care and precision. The right method depends on the type of anchor used. Each anchor type has a unique way of securing into the concrete. Follow these steps for a strong and lasting hold.
Inserting Expansion And Sleeve Anchors
Start by drilling a hole in the concrete. The hole size must match the anchor diameter. Clean the hole from dust and debris. Insert the expansion or sleeve anchor into the hole. Tap it gently with a hammer to fit snugly. Tighten the nut or bolt to expand the anchor. This expansion locks it firmly inside the concrete.
Setting Wedge Anchors
Drill a hole slightly deeper than the wedge anchor length. Remove dust from the hole using a brush or blower. Insert the wedge anchor through the fixture into the hole. Hammer the anchor until the washer touches the fixture. Tighten the nut to pull the wedge into the concrete. This action secures the anchor tightly in place.
Using Drop-in Anchors
Drill a hole to the depth of the drop-in anchor. Clean the hole thoroughly before inserting the anchor. Place the drop-in anchor into the hole flush with the surface. Use a setting tool to expand the anchor inside the hole. The expansion grips the concrete walls firmly. Now, the anchor is ready to hold bolts or screws.
Driving Concrete Screws
Drill a pilot hole matching the screw size. Clear out all dust from the hole. Insert the concrete screw into the hole. Use a screwdriver or drill with a driver bit. Drive the screw until it is tight against the surface. Concrete screws hold well without needing anchors. They are quick and easy to install.
Securing Fixtures
Securing fixtures to concrete walls ensures strong and safe support. Proper attachment keeps items steady and prevents damage. Follow each step carefully to achieve the best hold.
Aligning Fixtures With Anchors
Place the fixture near the wall. Match the fixture holes with the anchors. Check that each hole lines up perfectly. Adjust the fixture until all holes fit over anchors. This step avoids misalignment and weak attachment.
Tightening Bolts And Screws
Insert bolts or screws into the anchors through the fixture. Use a wrench or screwdriver to tighten slowly. Tighten evenly to avoid bending or breaking. Stop when the fixture feels firm against the wall. Do not over-tighten as it can damage the anchor or wall.
Checking Anchor Stability
After tightening, test the fixture by gently pulling or pushing. The fixture should not move or wiggle. If it does, check the anchors and bolts again. Tighten any loose parts carefully. Secure anchors keep your fixtures safe and lasting.
Tips For Strong Support
Strong support for concrete wall anchors depends on careful steps. Proper installation ensures safety and long-lasting hold. Small mistakes can cause anchors to fail or loosen over time. Follow these tips to keep anchors secure and reliable.
Choosing Correct Anchor Type
Select anchors that match the wall material and load needs. Use wedge anchors for heavy loads and sleeve anchors for medium loads. Plastic anchors suit light objects on smooth surfaces. The right type prevents slipping and damage.
Avoiding Over-tightening
Tighten anchors just enough to hold firmly. Over-tightening can crack concrete or strip the anchor threads. Use a torque wrench or follow manufacturer torque specs. Balanced pressure keeps anchors strong and the wall intact.
Regular Inspection And Maintenance
Check anchors periodically for looseness or rust. Tighten any loose anchors carefully. Replace damaged or corroded anchors immediately. Regular care extends anchor life and maintains wall safety.
Credit: www.ohioconcrete.com
Common Problems And Fixes
Installing concrete wall anchors can sometimes cause issues. These problems can affect the strength and safety of your installation. Knowing common problems helps you fix them fast. This section covers three frequent issues and how to solve them.
Loose Anchors
Loose anchors happen when the hole is too big or the anchor is not tight. This makes the anchor unstable and unsafe. To fix this, remove the anchor and clean the hole. Use a larger anchor or fill the hole with epoxy before reinserting the anchor. Tighten it firmly but avoid over-tightening, which can cause damage.
Cracked Concrete
Cracks in concrete reduce the anchor’s holding power. Cracks form from drilling too hard or using wrong tools. Stop drilling if cracks appear. Choose a new spot away from the crack. If the crack is small, use a special epoxy to fill it before installing the anchor. This strengthens the area and prevents further damage.
Incorrect Hole Size
Drilling a hole too large or too small causes problems. A large hole weakens the anchor’s grip. A small hole makes it hard to insert the anchor. Use the drill bit size recommended by the anchor manufacturer. Measure twice before drilling. This ensures the hole size is right and the anchor fits tightly.
Frequently Asked Questions
What Tools Are Needed To Install Concrete Wall Anchors?
You need a drill, masonry bit, hammer, screwdriver, and anchors. These tools ensure precise drilling and secure anchor placement. Always use the correct size bit for the anchor to achieve a strong hold in concrete walls.
How Do I Choose The Right Type Of Anchor?
Choose anchors based on weight support and wall type. Expansion anchors work well for heavy loads, while sleeve anchors suit medium loads. Consider the concrete’s condition and the anchor’s corrosion resistance for durability.
Can I Install Anchors In Old Or Cracked Concrete?
Yes, but inspect cracks carefully. Avoid anchoring near large cracks to prevent instability. Use epoxy anchors for better bonding in damaged concrete. Always test anchor strength before hanging heavy items.
How Deep Should I Drill For Wall Anchors?
Drill holes slightly deeper than the anchor length. This allows space for debris and proper anchor expansion. Follow manufacturer guidelines for exact depth to ensure a secure fit and maximum holding power.
Conclusion
Installing concrete wall anchors is simple with the right steps. Choose the correct anchor for your wall type. Drill a hole carefully and clean out the dust. Insert the anchor firmly and tighten the screw. This method ensures strong support for your items.
Practice patience and take your time. Safety is important; wear protective gear while working. With this guide, your walls will hold securely. Try it yourself and see the difference. Solid walls, strong anchors, and safe installations matter most.