Are you struggling to hang a picture on a hollow wall without it falling down? You’re not alone.
Hollow walls can be tricky because they don’t offer the solid support nails usually need. But there’s a simple fix: hollow wall anchors. These little tools make sure your picture stays securely in place, no matter the wall type. In this guide, you’ll discover exactly how to use hollow wall anchors step-by-step, so your pictures hang straight and strong every time.
Keep reading, and say goodbye to shaky frames and empty walls for good.
Choosing The Right Anchor
Choosing the right hollow wall anchor is key for a strong, secure picture hang. The correct anchor prevents damage to your wall and keeps your picture safe. Different anchors serve different purposes. Understanding these options helps you pick the best one for your wall type and picture weight.
Types Of Hollow Wall Anchors
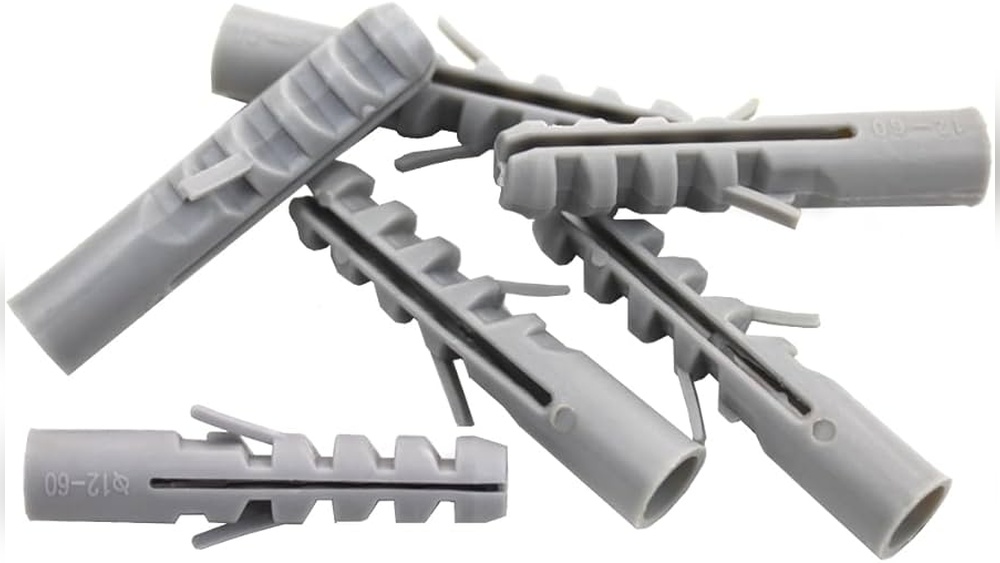
Plastic expansion anchors are common for light loads. They expand as you insert the screw. Metal anchors offer more strength. They have wings that open behind the wall. Toggle bolts provide the strongest hold. Their metal wings spread wide inside the wall cavity. Each type suits different wall materials and weights.
Anchor Size And Weight Limits
Anchor size affects how much weight it can hold. Small anchors work for lightweight frames. Larger anchors support heavier pictures. Check the packaging for weight limits. Choose an anchor that holds more than your picture weight. This ensures a safe, long-lasting hang without wall damage.
Gathering Tools And Materials
Gathering the right tools and materials is the first step to hang a picture with hollow wall anchors. Preparation makes the task easier and safer. Having everything ready helps you work faster and with better results.
Essential Tools
You need a drill to make holes in the wall. Choose a drill bit that matches the size of your anchor. A screwdriver is necessary to insert and tighten the anchors.
A tape measure helps you mark the exact spot for the picture. Use a pencil to make light marks on the wall. A level ensures your picture hangs straight and looks good.
Also, carry a hammer if the anchor requires a light tap to fit. Keep a utility knife handy to open packages or trim any excess material.
Safety Gear
Protect your eyes with safety goggles. Drilling or hammering can cause small debris to fly. Wear gloves to protect your hands from sharp edges and tools.
Use a dust mask if drilling creates a lot of dust. It helps keep your lungs safe. Also, wear sturdy shoes to protect your feet from falling tools or materials.
Preparing The Wall
Preparing the wall is a crucial step before hanging a picture with hollow wall anchors. It ensures the anchor holds firmly and the picture stays secure. Proper preparation prevents damage to the wall and makes the process smoother. Follow these steps carefully to get the best results.
Locating The Hanging Spot
Choose the exact place where you want to hang your picture. Check the wall for any obstacles like pipes or wires. Use a stud finder to avoid drilling into studs or dangerous areas. Pick a spot that looks balanced and fits the room’s layout. Mark this spot lightly with a pencil for accuracy.
Marking Drill Points
Measure the distance between the hanging points on the picture frame. Transfer these measurements to the wall using a pencil. Double-check the marks to ensure they are level and aligned. Use a spirit level to keep the marks straight. Clear and precise marks help in drilling the holes correctly.

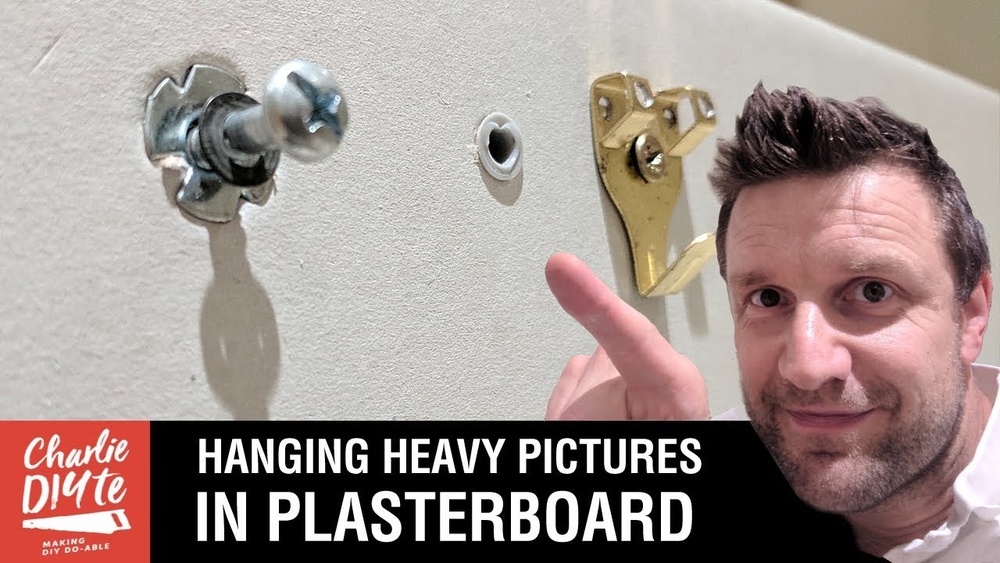
Credit: www.youtube.com
Drilling The Hole
Drilling the hole correctly is a key step in hanging a picture with hollow wall anchors. It ensures a strong hold and prevents damage to your wall. Taking time here helps your picture stay secure for years.
Selecting The Drill Bit
Choose a drill bit that matches the size of your hollow wall anchor. The bit should be slightly smaller than the anchor’s outer diameter. This helps the anchor fit tightly in the wall. Using the right drill bit reduces the risk of a loose anchor or wall damage.
Drilling Technique For Hollow Walls
Start drilling slowly and keep the drill straight against the wall. A slow start prevents the bit from slipping. Drill all the way through the drywall but avoid pushing too hard. Hard pressure can break the drywall or make the hole too big. Once drilled, clean the hole of any dust before inserting the anchor.
Installing The Anchor
Installing the hollow wall anchor is a key step in hanging pictures securely. This process ensures the anchor grips the wall tightly and holds weight without slipping. Follow these simple steps to install the anchor correctly.
Inserting The Anchor
Start by choosing the right size anchor for your wall and picture weight. Gently push the anchor into the drilled hole in the wall. Use a hammer if needed, tapping lightly until the anchor is flush with the wall surface. Avoid forcing it too hard to prevent wall damage.
Securing The Anchor Firmly
Next, screw the provided bolt or screw into the anchor. Turn it slowly and steadily using a screwdriver. The anchor expands behind the wall as you tighten the screw. This expansion locks the anchor in place firmly. Stop tightening when you feel resistance to avoid breaking the anchor.
Hanging The Picture
Hanging a picture using hollow wall anchors makes the job strong and safe. It helps hold the weight on drywall without damaging it. After installing the anchors, the next step is to hang the picture securely. This step needs care to keep the picture straight and stable.
Attaching Hooks Or Hardware
First, pick the right hooks or hardware for your picture. Use D-rings, wire, or sawtooth hangers on the back of the frame. Attach them tightly with screws or nails. Then, hook the hardware onto the installed hollow wall anchors. Make sure the hooks fit well on the anchors and hold firmly. This prevents the picture from falling or shifting.
Ensuring Level And Stability
Check the picture’s level before tightening everything. Use a small bubble level or a smartphone app for accuracy. Adjust the picture until it is perfectly straight. Press gently on the sides to test stability. The picture should not wobble or tilt. Tighten the screws on the anchors if needed. This step guarantees the picture stays in place for a long time.
Troubleshooting Common Issues
Hanging pictures with hollow wall anchors can sometimes bring challenges. Problems like loose anchors or wall damage can happen. Fixing these issues helps keep your pictures safe and your walls neat. Here are some simple ways to solve common problems.
Dealing With Loose Anchors
Loose anchors can make your picture fall. Check if the anchor spins or moves in the wall. If it does, remove the anchor gently. Use a bigger anchor size or a different type that fits tighter. Make sure the anchor matches the wall thickness. Tighten screws slowly to avoid loosening the anchor again.
Handling Wall Damage
Wall damage can happen during installation. Small holes or cracks can be fixed with wall putty. Clean the area first, then apply putty smoothly. Let it dry completely before sanding it flat. For bigger damage, use a patch kit for hollow walls. Repaint the spot to match the wall color. This keeps your wall looking clean and fresh.

Credit: www.fmwfasteners.com
Tips For Long-lasting Support
Ensuring your picture stays firmly on the wall requires more than just proper installation. Long-lasting support depends on ongoing care and the right choice of wall materials. These tips help keep your hollow wall anchors strong and secure over time.
Regular Checks And Maintenance
Check your picture hangings regularly. Look for any signs of loosening or damage. Tighten screws gently if they feel loose. Dust and clean the area to prevent dirt buildup. Early fixing helps avoid bigger problems later. This simple habit keeps your anchors working well.
Choosing Suitable Wall Materials
Pick walls that match your anchor type. Hollow wall anchors work best in drywall or plaster. Avoid using them on brick or concrete walls. Knowing your wall material helps select the right anchor size and type. This choice ensures your picture hangs safely and lasts longer.

Credit: www.picturehangsolutions.com
Frequently Asked Questions
What Are Hollow Wall Anchors Used For?
Hollow wall anchors secure objects in drywall or hollow walls. They provide strong support for pictures, shelves, and light fixtures. These anchors prevent damage by distributing weight evenly across the wall surface. They are essential for hanging heavy items safely on hollow walls.
How Do You Install Hollow Wall Anchors?
First, drill a hole matching the anchor size. Insert the anchor into the hole until flush with the wall. Tighten the screw to expand the anchor inside the wall. This creates a strong grip to hold your picture securely in place.
Can Hollow Wall Anchors Support Heavy Pictures?
Yes, hollow wall anchors can support moderately heavy pictures. Choose anchors rated for the weight of your picture frame. Proper installation ensures the anchor holds firm without damaging the wall. For very heavy items, consider multiple anchors or alternative mounting methods.
What Tools Are Needed To Hang Pictures With Anchors?
You need a drill, drill bit, screwdriver, tape measure, and pencil. A level helps align the picture perfectly. These tools allow precise drilling and secure anchor installation for safe picture hanging on hollow walls.
Conclusion
Hanging pictures with hollow wall anchors is simple and safe. Choose the right anchor size for your wall and picture weight. Drill a small hole, insert the anchor, and tighten the screw carefully. This method holds frames firmly without damaging your walls.
You can hang art, mirrors, or shelves with confidence. Practice patience and take your time. A well-hung picture makes your space look better and more inviting. Try this easy technique for a neat and lasting display.