Are you looking to boost your home’s security with a reliable lock? Installing a Kwikset deadbolt is a smart choice that gives you peace of mind and control over who enters your space.
But if you’re worried it might be too complicated or time-consuming, don’t be. This guide will walk you through every step, making the process simple and doable—even if you’re not a DIY expert. Keep reading, and by the end, you’ll have the confidence to install your Kwikset deadbolt quickly and securely.

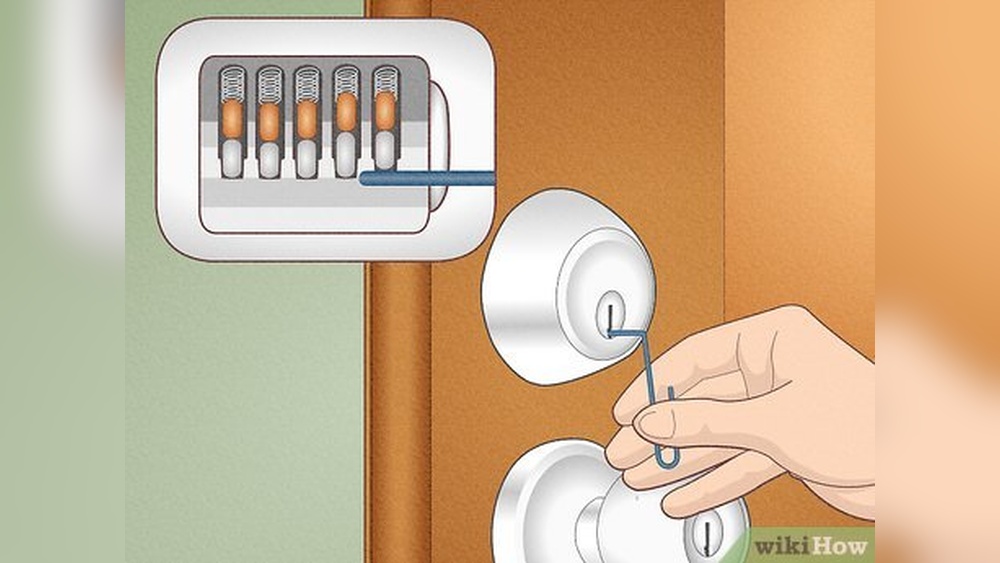
Credit: brinkshome.com
Tools And Materials Needed
Installing a Kwikset deadbolt needs some basic tools and materials. Having these ready makes the process smooth and quick.
Each tool has a specific role. Using the right materials ensures the lock fits and works well.
Tools Required
A screwdriver is essential. Choose a Phillips head for most screws.
A power drill helps make holes faster and cleaner. Use drill bits sized as per instructions.
A tape measure is useful for accurate placement of the lock parts.
A pencil marks the spots for drilling and screw placement.
A chisel may be needed to adjust the door edge for the deadbolt.
Materials Needed
The Kwikset deadbolt lock set comes with most parts. This includes the lock, strike plate, and screws.
Wood filler or putty may help fix any extra holes or gaps.
Sandpaper smooths rough edges on the door after chiseling.
Optional: A level ensures the lock installs straight and functions well.
Preparing The Door
Preparing the door is the first step to install a Kwikset deadbolt. This step ensures the lock fits securely and works well. Proper preparation avoids problems during installation and use.
Measuring And Marking
Start by measuring the door thickness and backset. These measurements help place the deadbolt correctly. Use a tape measure for accuracy.
Mark the spots for the holes on the door with a pencil. The marks should match the deadbolt template or instructions. Double-check all marks before drilling.
Drilling Holes
Choose a drill bit size that fits the deadbolt parts. Drill a hole through the door face where you marked. Keep the drill steady and straight.
Next, drill the hole for the latch on the door edge. Make sure the hole is deep enough to hold the latch firmly. Clean any wood dust from the holes before fitting the lock.
Installing The Deadbolt
Installing the Kwikset deadbolt is a simple process that anyone can do with basic tools. This step-by-step guide helps you place each part correctly for a secure lock. Follow these clear instructions to fit the deadbolt into your door smoothly.
Inserting The Deadbolt Mechanism
Start by sliding the deadbolt mechanism into the door’s edge. Make sure the bolt faces the correct direction. The angled side should point towards the door frame. Push it in until it sits flush with the door surface. Use screws to hold it tightly in place.
Attaching The Exterior Plate
Next, align the exterior plate with the holes on the outside of the door. The keyhole must match the deadbolt mechanism inside. Hold the plate steady and insert the tailpiece through the center hole. Keep the plate flat against the door.
Securing The Interior Plate
Place the interior plate on the inside of the door. Connect the tailpiece into the interior lock mechanism. Use screws to fasten the plate firmly. Tighten all screws evenly to avoid wobbling. Test the lock by turning the thumb turn to check smooth operation.
Aligning And Testing
After installing your Kwikset deadbolt, the next step is aligning and testing the lock. This step ensures your door locks smoothly and securely. Proper alignment prevents the lock from sticking or jamming. Testing confirms the deadbolt functions as expected.
Adjusting The Strike Plate
The strike plate holds the deadbolt in place on the door frame. It must line up perfectly with the bolt. Check if the bolt slides easily into the strike plate hole. If it does not, loosen the strike plate screws.
Move the strike plate slightly up, down, left, or right. Tighten the screws once aligned. Test the bolt again. Repeat adjustments until the bolt fits snugly without force. This prevents wear and ensures security.
Checking Lock Functionality
Test your Kwikset deadbolt from both sides of the door. Turn the key and thumb turn several times. The bolt should extend and retract smoothly. Listen for any grinding or sticking sounds.
Open and close the door while locking and unlocking. The deadbolt must work without resistance. If it feels tight, check the alignment again. Proper function means your lock is ready for use.
Troubleshooting Common Issues
Installing a Kwikset deadbolt can be straightforward, but some common issues may arise. These problems can stop your deadbolt from working smoothly. Understanding how to fix them helps keep your door secure and easy to use. Below are some common troubles and quick tips to solve them.
Misaligned Deadbolt
A deadbolt that doesn’t line up with the strike plate can stick or fail to lock. Check if the bolt slides smoothly into the hole. Adjust the strike plate by loosening its screws and moving it slightly. Test the lock after each move. If needed, enlarge the hole in the door frame with a chisel. Proper alignment makes locking effortless.
Key Difficulties
Sometimes the key feels hard to turn or won’t enter fully. Dirt or debris inside the lock can block the key. Spray a small amount of graphite lubricant into the keyhole. Avoid oil-based lubricants; they attract dust. Also, try using a different key. A bent or worn key can cause problems. If the issue persists, check if the lock cylinder is damaged.
Loose Components
Loose screws or parts can make the deadbolt wobbly or noisy. Tighten all screws on the lock and strike plate with a screwdriver. If screws won’t hold, replace them with longer ones for better grip. Check the thumb turn and lock cylinder for any play. Secure parts ensure the deadbolt works firmly and lasts longer.

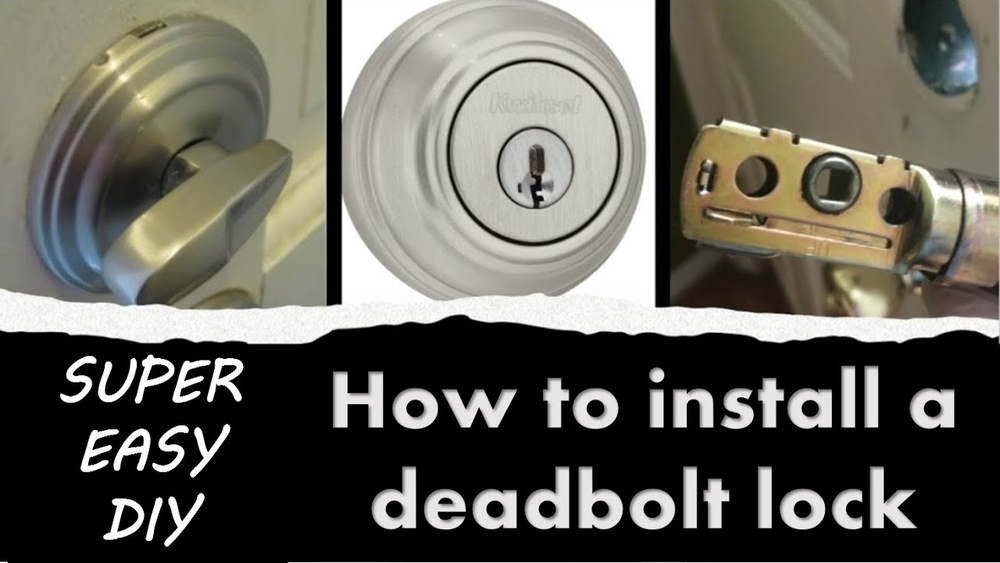
Credit: www.youtube.com
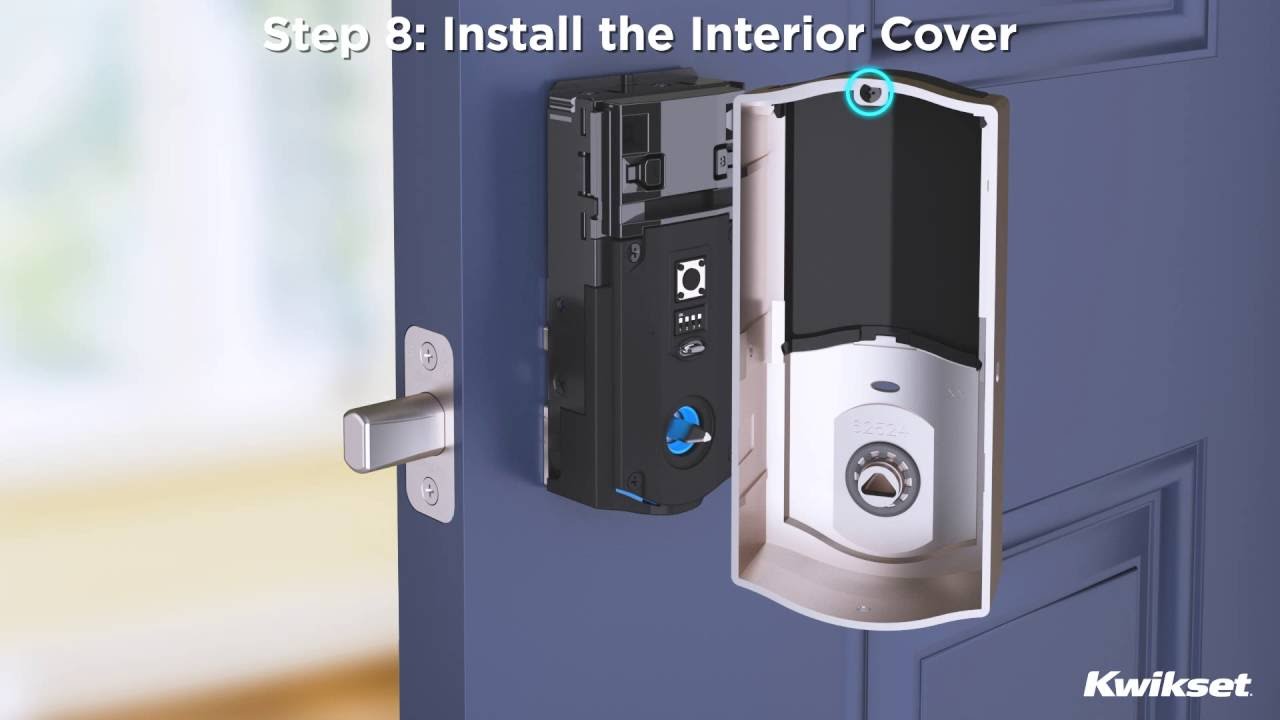
Credit: www.kwikset.com
Frequently Asked Questions
How Do I Prepare The Door For Kwikset Deadbolt Installation?
First, measure the door thickness and mark the correct hole positions. Use a drill to create holes for the deadbolt and latch. Ensure the door edge is smooth and fits the latch plate perfectly before proceeding.
What Tools Are Needed To Install A Kwikset Deadbolt?
You will need a drill, screwdriver, measuring tape, pencil, chisel, and a hole saw. These tools help create precise holes and secure the deadbolt components properly for a strong lock installation.
How Long Does It Take To Install A Kwikset Deadbolt?
Installation typically takes 30 to 45 minutes for beginners. Experienced installers may finish in 15 to 20 minutes. Time depends on door type and familiarity with the process.
Can I Install A Kwikset Deadbolt On Any Door?
Kwikset deadbolts fit most standard doors between 1 3/8” and 1 3/4” thick. Check the product specifications for compatibility with metal or fiberglass doors before installation.
Conclusion
Installing a Kwikset deadbolt is simple with clear steps. Take your time and follow each instruction carefully. Double-check the alignment before tightening screws. Test the lock several times to ensure it works well. A secure deadbolt keeps your home safer every day.
Now, you can feel confident about your door’s protection. Don’t rush; a good installation makes all the difference. Enjoy the peace of mind that comes with a strong lock.