Are you struggling with a stubborn Baldwin deadbolt that just won’t budge? Whether you’re upgrading your locks or fixing a jam, knowing how to remove a Baldwin deadbolt can save you time and frustration.
This guide will walk you through simple steps that anyone can follow, even if you have no prior experience. By the end, you’ll feel confident handling your lock like a pro—and ready to move on to your next home project.
Keep reading to discover the easy tricks that make deadbolt removal quick and hassle-free.
Tools Needed
Removing a Baldwin deadbolt requires specific tools. Having the right tools makes the process easier and faster. Prepare these tools before starting the removal.
Screwdriver
A Phillips head screwdriver is essential. It helps remove the screws holding the deadbolt. Sometimes, a flathead screwdriver may be needed for certain screws.
Allen Wrench
Some Baldwin deadbolts use small hex screws. An Allen wrench set will help loosen these screws. Choose the correct size for a snug fit.
Putty Knife
A putty knife can help pry off trim plates gently. It prevents damage to the door surface. Use it carefully to avoid scratches.
Tape
Use painter’s tape to mark screw positions. It keeps track of screws during removal. Also, tape can protect the door from scratches.
Flashlight
A flashlight helps see inside the lock area. It makes finding screws and parts easier. Good lighting is important for accuracy.
Credit: www.youtube.com
Locate The Screws
Finding the screws is the first step to removing a Baldwin deadbolt. These screws hold the lock parts together. Without removing them, you cannot take the lock apart. Sometimes the screws are hidden or hard to see. Knowing where to look saves time and effort.
Check The Interior Side Of The Lock
Start by looking at the inside part of the deadbolt. This is usually the side with the thumb turn. You will see two or three screws around the circular plate. These screws keep the interior assembly attached to the door.
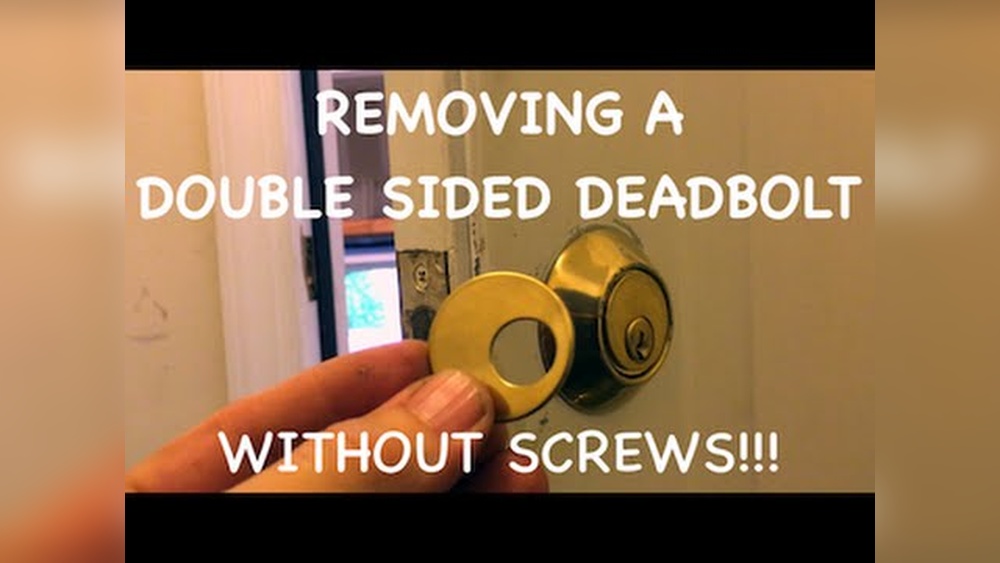
Remove The Decorative Cover If Needed
Some Baldwin locks have a cover hiding the screws. This cover is often a metal or plastic ring. Gently pry it off with a flat tool. This exposes the screws underneath. Be careful not to damage the cover or door.
Locate Screws On The Exterior Side
The outside part of the lock may also have screws. These are often less visible. Look near the keyhole or edges of the lock plate. Some models use hidden screws inside the lock face. You may need the interior side removed first.
Use Proper Tools For Screw Removal
Use a screwdriver that fits the screw heads well. Baldwin deadbolts usually have Phillips or flathead screws. Using the wrong tool can strip the screws. Stripped screws are hard to remove and damage the lock.
Remove The Interior Plate
Removing the interior plate of a Baldwin deadbolt is the first key step. This part covers the screws and holds the lock together from inside the door. Taking it off carefully lets you access the inner parts of the deadbolt. It also makes the removal process easier and safer.
Handle the interior plate gently to avoid damage. This step requires only a few basic tools and little time. After removing the plate, you can continue with the next steps to fully remove the deadbolt.
Gather The Right Tools
Use a screwdriver that fits the screws on the interior plate. Usually, a Phillips head screwdriver works best. Having the correct tool prevents stripping the screws. Keep a small container nearby to hold the screws safely.
Locate And Remove The Screws
Find the screws holding the interior plate in place. They are usually visible around the edge of the plate. Turn the screws counterclockwise to loosen them. Remove all screws before trying to take off the plate.
Carefully Detach The Interior Plate
After screws are out, gently pull the plate away from the door. It may stick slightly if the lock is old. Use slow, steady force to avoid bending the plate. Set the plate aside on a soft surface to keep it safe.
Take Out The Deadbolt Cylinder
Removing the deadbolt cylinder is a key step in taking out a Baldwin deadbolt. This part holds the lock mechanism and controls the key entry. Taking it out carefully helps avoid damage and makes replacing or fixing the lock easier.
Follow clear steps to remove the cylinder safely. Gather simple tools and stay patient for smooth progress.
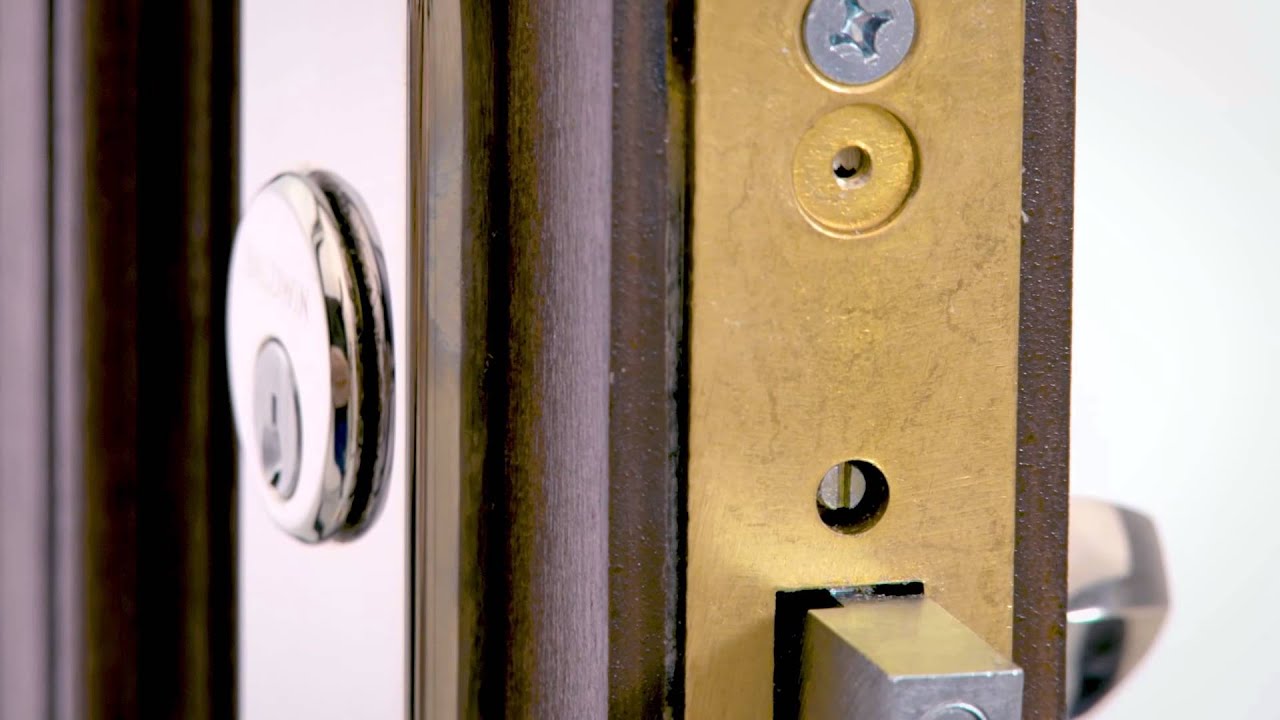
Locate The Cylinder Retaining Screw
Open the door and find the small screw on the side edge. This screw holds the cylinder in place. Use a screwdriver to remove it. Keep the screw safe for reassembly.
Turn The Key To Align The Cylinder
Insert the key into the lock. Slowly turn it to a position that lines up the cylinder. This unlocks the cylinder and allows it to slide out. Do not force the key or cylinder.
Pull Out The Deadbolt Cylinder
With the screw removed and key turned, gently pull the cylinder straight out. It should slide free without resistance. If stuck, check alignment and try again carefully.
Inspect The Cylinder For Damage
Once removed, look over the cylinder for cracks or wear. This helps decide if you need a replacement. Clean the cylinder if you plan to reuse it.
Detach The Bolt Assembly
Detaching the bolt assembly is a key step in removing a Baldwin deadbolt. This part controls the locking mechanism inside the door. Removing it carefully prevents damage to the door and lock.
The bolt assembly includes the latch and the metal bolt that slides into the door frame. To remove it, follow clear steps and use simple tools. This section guides you through the process.
Locate The Bolt Assembly
Start by opening the door fully. Look at the edge where the lock sits. You will see a rectangular plate with screws. This plate covers the bolt assembly.
Unscrew The Faceplate
Use a screwdriver to remove the screws on the faceplate. Keep the screws safe for later use. Pull the faceplate gently away from the door edge.
Slide Out The Bolt Assembly
Hold the bolt assembly firmly. Pull it straight out from the door edge. If it sticks, wiggle it slightly to loosen. Avoid using force to prevent damage.
Check For Obstructions
Inspect the inside of the door edge. Remove any debris or old grease. Clean the area to prepare for a new lock or reinstallation.
Handle Stubborn Deadbolts
Stubborn Baldwin deadbolts can be tough to remove. They may stick due to rust, dirt, or long use. Patience and care are key to avoid damage. The right methods make the task easier and safer. Below are simple steps to handle these stubborn deadbolts.
Use Lubricants
Start by applying a lubricant to the deadbolt. A spray like WD-40 works well. It helps loosen rust and dirt inside the lock. Spray directly into the keyhole and moving parts. Wait a few minutes to let it soak in. This reduces friction and makes turning easier.
Apply Gentle Force
Use gentle force to turn the key or thumb turn. Avoid sudden or strong pulls that could break the lock. Try rocking the key slightly back and forth. This movement can free stuck internal parts. If it still resists, add more lubricant and try again. Patience prevents damage to your Baldwin deadbolt.
Tips For Reinstallation
Reinstalling a Baldwin deadbolt requires care and the right steps. Proper reinstallation ensures your lock works smoothly and keeps your home safe. Follow these tips to fit your deadbolt correctly and avoid common problems.
Prepare All Parts Before Starting
Check all pieces before putting the deadbolt back. Make sure no screws or parts are missing. Clean the door area to remove dust and dirt. This helps the deadbolt fit tightly and work well.
Align The Deadbolt Correctly
Place the deadbolt in the hole and line it up with the latch. The bolt should slide in and out easily. If it feels stuck, adjust the position. Proper alignment stops the lock from jamming.
Tighten Screws Evenly
Fasten screws slowly and evenly. Tighten them in a crisscross pattern to keep the lock balanced. Avoid over-tightening. Too much pressure can damage the lock or door.
Test The Lock Before Finishing
Turn the key and thumb turn several times. Ensure the bolt moves smoothly. Check both sides of the door. Fix any issues before completing the installation.
Use The Right Tools
Use a screwdriver that fits the screws perfectly. This prevents stripping the screws. Avoid power tools for final tightening. Hand tools give more control and protect the lock.

Credit: www.reddit.com

Credit: www.reddit.com
Frequently Asked Questions
How Do I Remove A Baldwin Deadbolt Lock?
To remove a Baldwin deadbolt, first unscrew the interior mounting screws. Then, carefully pull both the interior and exterior lock components apart. Finally, remove the latch mechanism from the door edge by unscrewing it.
What Tools Are Needed To Remove Baldwin Deadbolt?
You will need a Phillips screwdriver, a flathead screwdriver, and optionally a drill. These tools help remove screws and pry off the lock components safely.
Can I Remove A Baldwin Deadbolt Without Damaging The Door?
Yes, removing a Baldwin deadbolt carefully avoids door damage. Use proper screwdrivers and avoid forcing parts to prevent scratches or holes.
How Long Does It Take To Remove A Baldwin Deadbolt?
Removing a Baldwin deadbolt usually takes 10 to 15 minutes. The process is straightforward with the right tools and instructions.
Conclusion
Removing a Baldwin deadbolt can be simple with clear steps. Use the right tools and follow each part carefully. Take your time to avoid mistakes or damage. This guide helps you handle the job yourself at home. Soon, you will feel confident in managing your door locks.
Keep safety in mind and double-check your work. A secure door keeps your home safe and peaceful. Try these steps next time you need to change or fix a deadbolt.