Are you looking to secure something heavy on your wall but unsure how to do it safely? Installing concrete anchors might sound tricky, but with the right steps, you can do it yourself with confidence.
In this guide, you’ll learn exactly how to install concrete anchors on your wall, making sure your shelves, hooks, or fixtures stay firmly in place. Keep reading, and by the end, you’ll have the skills to tackle this task like a pro—no guesswork, no frustration.
Ready to get started? Let’s dive in!

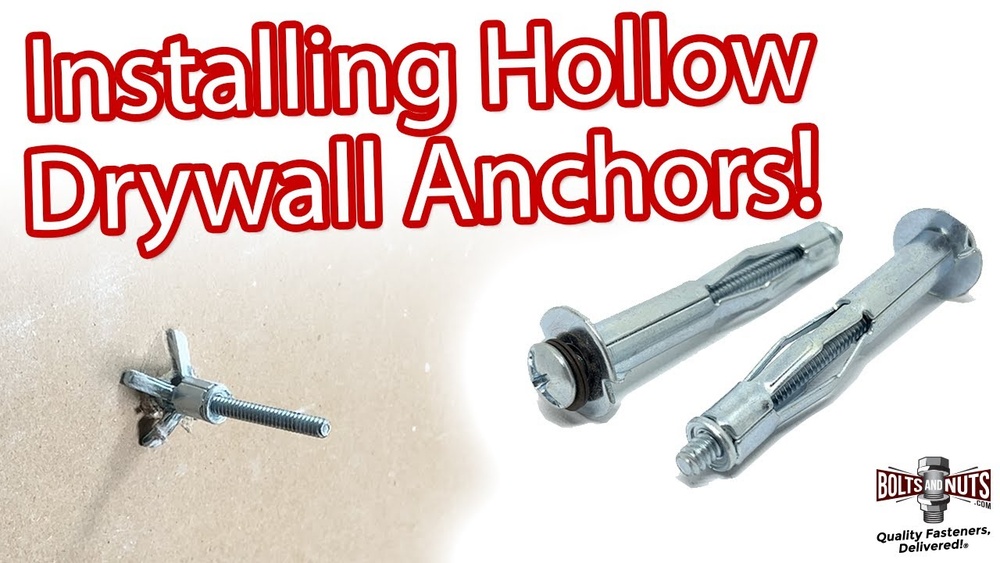
Credit: www.picturehangsolutions.com
Choosing The Right Anchor
Choosing the right anchor is crucial for a strong hold in concrete walls. The right anchor keeps your fixtures safe and secure. Different anchors work better for different jobs. Understanding their types and uses makes the job easier. This guide helps you pick the best anchor for your wall.
Types Of Concrete Anchors
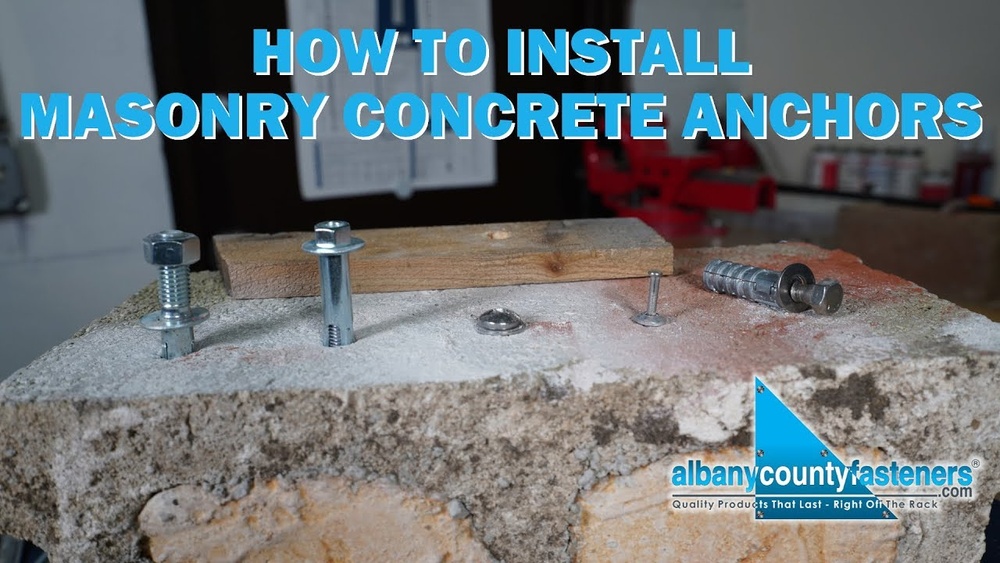
Concrete anchors come in many types. Expansion anchors expand inside the hole to hold tight. Sleeve anchors have a sleeve that grips the wall. Wedge anchors use a wedge to lock inside the concrete. Drop-in anchors sit flush and need special tools to set. Each type suits different wall and load needs.
Selecting Based On Load And Application
Think about what you will hang or fix. Heavy items need stronger anchors. Light decorations need smaller, simpler anchors. Consider the wall’s thickness and condition. Dry or cracked concrete needs special care. Match the anchor’s strength to the weight and use. This ensures safety and durability.
Credit: resources.tannerbolt.com
Gathering Tools And Materials
Before starting to install concrete anchors on a wall, gather all necessary tools and materials. This step saves time and makes the process smoother. Having everything ready helps avoid interruptions and errors. Proper preparation leads to a better and safer installation.
Essential Tools Needed
Start with a hammer drill. It makes drilling into concrete easier and faster. Use the right drill bits, usually masonry bits, sized to match your anchor. A hammer is necessary to tap anchors into the holes firmly. A wrench or socket set helps tighten bolts and screws securely. A tape measure ensures precise marking of drill points. A pencil or marker is useful for marking spots on the wall. A vacuum or brush cleans dust from drilled holes for better grip.
Preparing Safety Gear
Safety is a priority. Wear safety goggles to protect your eyes from dust and debris. Use ear protection to block loud drill noises. Gloves protect your hands from rough materials and sharp edges. Wear a dust mask to avoid inhaling fine concrete dust. Use sturdy shoes to protect feet from falling objects. Dress in long sleeves and pants to guard your skin. Safety gear reduces risks during installation and keeps you comfortable.
Preparing The Wall Surface
Preparing the wall surface is an important step before installing concrete anchors. A clean and well-marked wall ensures the anchors hold firmly. It helps avoid mistakes and saves time during installation.
Start by cleaning the wall surface. Dirt and dust can prevent anchors from fitting properly. After cleaning, mark the exact spots where you want to place the anchors. Clear markings make drilling easier and more accurate.
Cleaning The Installation Area
Remove loose dirt, dust, and debris from the wall. Use a brush or vacuum to clean the surface well. Make sure the wall is dry before moving to the next step. A clean surface helps anchors stick better and last longer.
Marking Anchor Positions
Measure carefully to find the right spots for anchors. Use a pencil or marker to make small marks on the wall. Check the spacing between marks to match the anchor size. Clear marks guide your drill and keep the job precise.
Drilling Holes Into Concrete
Drilling holes into concrete is the first step to install anchors securely. It requires the right tools and methods to avoid cracks or damage. Careful drilling ensures strong support for your anchors.
Choosing The Right Drill Bit
Use a carbide-tipped masonry bit for drilling into concrete. These bits are tough and resist wear. Choose the bit size that matches the anchor diameter. Too small or too large bits cause weak holding. A hammer drill works best with masonry bits.
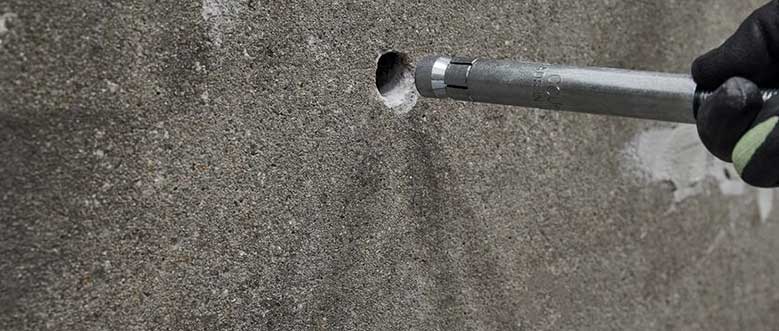
Drilling Techniques For Clean Holes
Mark the drilling spot clearly before starting. Hold the drill steady and perpendicular to the wall. Start drilling at low speed to create a guide hole. Increase speed gradually and apply steady pressure. Pull the bit out occasionally to clear dust. Clean holes allow anchors to fit tightly and hold better.
Installing The Anchors
Installing anchors in concrete walls ensures strong support for shelves, fixtures, and heavy items. Choosing the right anchor type helps achieve a secure hold. Each anchor type has a specific installation method. Follow these clear steps for a safe, durable setup.
Setting Expansion Anchors
Drill a hole in the concrete wall using the correct drill bit size. Clean the hole to remove dust and debris. Insert the expansion anchor into the hole until it sits flush with the surface. Tighten the screw slowly. As the screw tightens, the anchor expands inside the hole. This expansion locks the anchor firmly in place.
Using Sleeve And Wedge Anchors
First, drill a hole that matches the anchor diameter. Clean the hole thoroughly. Insert the sleeve or wedge anchor into the hole. Hammer it gently if needed to ensure full insertion. Tighten the nut or bolt. This action pulls the anchor’s sleeve or wedge, expanding it inside the hole. The expansion creates a strong, secure hold in the concrete.
Securing With Adhesive Anchors
Begin by drilling a clean hole to the required depth. Blow out dust using compressed air or a brush. Inject the adhesive resin into the hole. Insert the threaded rod or rebar into the resin-filled hole. Twist the rod slightly for better coverage. Allow the adhesive to cure fully before applying any load. Adhesive anchors provide excellent strength for heavy-duty applications.
Finishing And Testing
Finishing and testing are crucial steps after installing concrete anchors on a wall. These steps ensure the anchors hold firmly and safely. Proper finishing prevents damage and makes the installation last longer. Testing confirms the anchor’s strength and stability. Take time to tighten all bolts and screws correctly. Then, check the anchor stability with care.
Tightening Bolts And Screws
Use a wrench or screwdriver to tighten all bolts and screws. Turn them until they feel snug, but do not overtighten. Too much force can damage the anchor or wall. Check each bolt and screw twice to avoid loose fittings. Tight bolts keep the anchor secure and safe for use.
Checking Anchor Stability
After tightening, test the anchor’s hold by applying gentle pressure. Push or pull slightly to see if it moves. If the anchor shifts, it is not secure. Re-tighten bolts or consider reinstalling if needed. A stable anchor supports heavy loads without slipping or pulling out. This step protects your wall and whatever you hang on it.
Common Mistakes To Avoid
Installing concrete anchors on a wall can be simple. Avoiding common mistakes is key for a strong hold. Errors can weaken the anchor and cause damage to the wall or object.
This section highlights common errors. Learn what to watch out for during installation. This will help your project stay safe and last longer.
Incorrect Hole Size
Using the wrong hole size is a frequent mistake. A hole too small makes it hard to insert the anchor. A hole too big reduces the anchor’s grip. Always use the drill bit size recommended by the anchor manufacturer. Check the hole size before inserting the anchor to ensure a snug fit.
Over-tightening Anchors
Too much force on anchors can cause cracks or breakage. Over-tightening makes the anchor lose its grip inside the wall. Tighten anchors just enough to hold the fixture firmly. Stop once you feel resistance. This prevents damage and keeps the anchor secure.
Ignoring Load Specifications
Every anchor has a weight limit or load specification. Ignoring these limits can cause anchors to fail. Choose anchors rated for the weight of your object. Overloading anchors can lead to wall damage and safety risks. Always check the load specifications before installation.
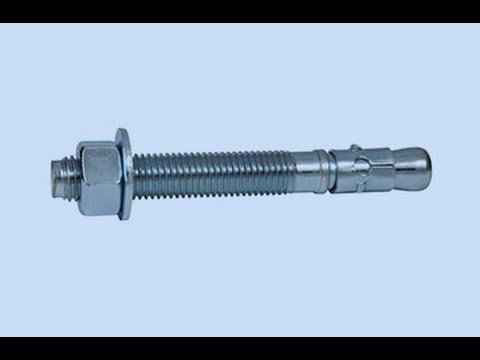
Credit: www.youtube.com
Frequently Asked Questions
What Tools Do I Need To Install Concrete Anchors?
You need a hammer drill, masonry bit, hammer, concrete anchors, and safety gear. These tools ensure proper drilling and secure anchor placement.
How Deep Should I Drill For Concrete Anchors?
Drill the hole slightly deeper than the anchor length. This allows the anchor to fit securely and hold strong under pressure.
Can I Install Concrete Anchors On Drywall?
No, concrete anchors are designed for solid surfaces like concrete or brick. Use drywall anchors for drywall installations.
How To Choose The Right Size Anchor For Walls?
Select anchors based on the wall thickness and load requirements. Check manufacturer guidelines to match anchor size with your project’s needs.
Conclusion
Installing concrete anchors on a wall is simple with the right steps. Choose the correct anchor for your wall type. Drill the hole carefully and clean out the dust. Insert the anchor firmly and tighten the screw securely. This ensures strong support for your items.
Take your time and follow each step closely. This way, your anchors will hold well and last long. Enjoy a safe and sturdy setup that meets your needs.