If you’re looking to remove a Brinks deadbolt lock, you might be feeling a bit stuck or unsure where to start. Don’t worry—this task is simpler than it seems.
Whether you want to replace your lock for better security or fix a problem, understanding the right steps can save you time and frustration. In this guide, you’ll get clear, easy-to-follow instructions that anyone can use. By the end, you’ll feel confident handling your lock like a pro.
Keep reading to unlock the secrets to removing your Brinks deadbolt quickly and safely.
Tools Needed
Removing a Brinks deadbolt lock requires a few simple tools. Using the right tools makes the job easier and faster. Most tools are common and easy to find.
Keep all tools ready before starting. This helps avoid interruptions during the process.
Phillips Head Screwdriver
This screwdriver is essential to remove screws from the lock. Brinks deadbolt locks usually have Phillips head screws. A medium-sized screwdriver works best.
Flathead Screwdriver
A flathead screwdriver helps to pry off parts gently. It can also assist in loosening stuck screws or components.
Allen Wrench
Some Brinks locks use hex screws that require an Allen wrench. Check the screw heads to see if one is needed. Usually, a small set of Allen wrenches covers all sizes.
Utility Knife
A utility knife can cut through paint or sealant around the lock. This makes it easier to remove the lock without damage.
Needle-nose Pliers
These pliers help to pull out small pins or clips. They also assist in gripping tight parts during removal.
Locate The Screws
Locating the screws is the first step to remove a Brinks deadbolt lock. The screws hold the lock parts together. You need to find and remove them carefully. This allows you to take off the lock without damage.
Start by examining the inside part of the lock on the door. The screws are usually visible here. They keep the interior and exterior pieces connected.
Check The Interior Plate
The interior plate covers the screws on most Brinks deadbolt locks. Look closely at the inside door handle area. The plate may have two or more screws. Use a screwdriver to remove these screws.
Look Around The Exterior Faceplate
The exterior faceplate is on the outside of the door. Sometimes screws hide under a cover or sticker. Gently pry off any cover to expose the screws. This step is important to free the lock completely.
Identify Hidden Screws
Some Brinks locks have hidden screws under the thumb turn or knob. Check around these parts carefully. You may need to turn or pull the knob slightly to see the screws. Removing all screws ensures the lock comes off easily.
Remove The Interior Plate
Removing the interior plate of a Brinks deadbolt lock is a key step in the removal process. This plate holds the inner parts of the lock in place. Taking it off allows access to screws and mechanisms inside. The task is simple but needs care to avoid damage.
Gather Necessary Tools
Start by collecting a screwdriver. Most Brinks deadbolts use a Phillips-head screwdriver. Check the screws to confirm the type. Having the right tool makes removal easier and safer.
Locate And Remove Screws
Look for screws on the interior plate. They are usually visible near the edges. Unscrew them slowly. Keep the screws safe for reassembly or replacement.
Gently Pry Off The Plate
After removing screws, the plate may stick slightly. Use your fingers or a flat tool to lift it gently. Avoid using force to prevent scratching the door.
Set The Plate Aside Safely
Place the interior plate on a soft surface. This prevents scratches or loss. Keep it with the screws to avoid confusion later.

Credit: www.walmart.com
Take Out The Deadbolt Mechanism
Removing the deadbolt mechanism is the key step in taking out a Brinks deadbolt lock. This part controls the locking and unlocking action. Taking it out carefully makes the rest of the process easier. Follow each step to avoid damage and ensure safety.
Unscrew The Faceplate
Start by removing screws from the faceplate on the door edge. Use a screwdriver that fits well. Keep the screws in a safe place to avoid losing them. Gently pull the faceplate away from the door after unscrewing.
Slide Out The Deadbolt
With the faceplate removed, the deadbolt will be visible. Hold the lock firmly and slide the deadbolt out of the door. Sometimes it may need a slight wiggle to come free. Avoid using too much force to prevent damage.
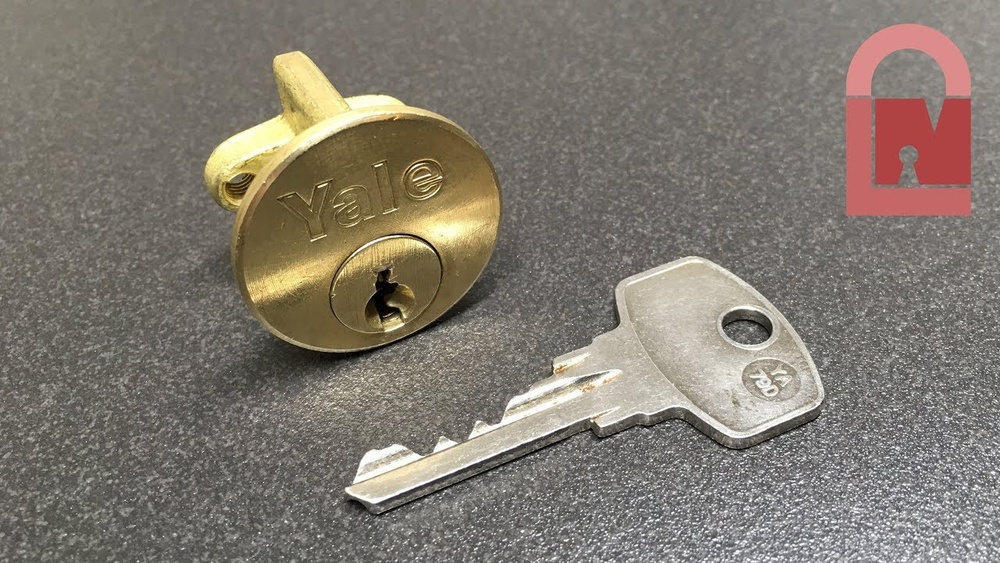
Remove The Lock Cylinder
The lock cylinder is the part where the key goes in. Unscrew any screws holding the cylinder in place. Pull the cylinder straight out from the door. This frees the lock mechanism for full removal.
Remove The Exterior Plate
Removing the exterior plate of a Brinks deadbolt lock is the first step in taking the lock apart. This plate covers the screws and the lock mechanism on the outside of the door. Removing it carefully helps access the inner parts safely. It also prevents damage to the door and lock.
Follow these simple steps to remove the exterior plate quickly and easily.
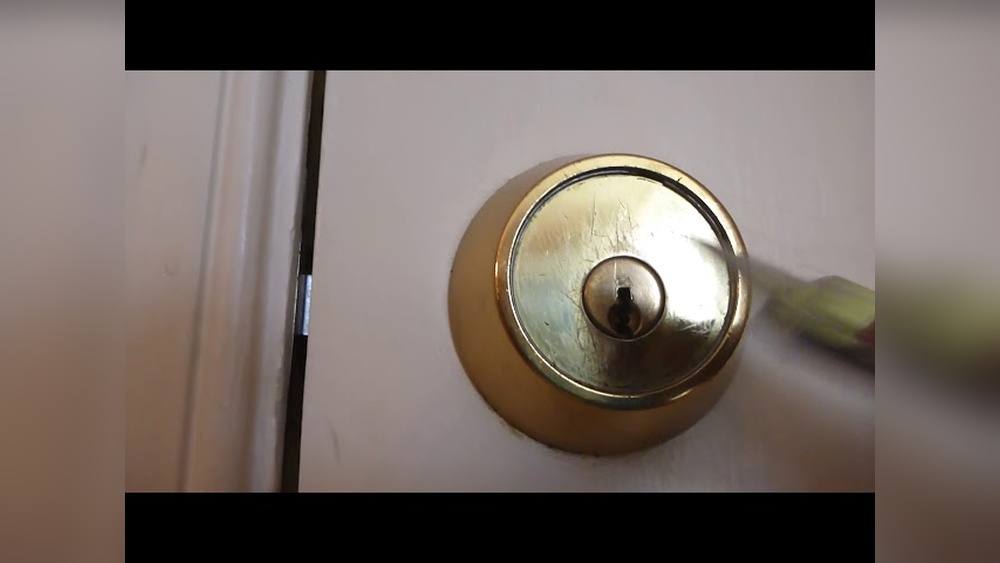
Locate The Screws On The Exterior Plate
Find the screws holding the exterior plate to the door. They are usually visible around the edges of the plate. Sometimes, a small cover hides them. Look closely for any small holes or caps.
Use The Right Screwdriver
Pick a screwdriver that fits the screws perfectly. Most Brinks deadbolt screws need a Phillips head screwdriver. Using the wrong tool can strip the screws or damage the plate.
Remove The Screws Carefully
Turn the screws counterclockwise to loosen them. Keep a steady hand to avoid slipping. Place the screws in a safe spot for later use. Do not force any screw if it feels stuck.
Gently Pull Off The Exterior Plate
After removing the screws, pull the plate straight away from the door. Some plates might stick slightly. Wiggle the plate gently to loosen it. Avoid bending or twisting it too hard.

Credit: www.youtube.com
Extract The Lock Cylinder
Extracting the lock cylinder is a key step in removing a Brinks deadbolt lock. The cylinder holds the key mechanism inside the lock. Removing it lets you access the internal parts for repair or replacement.
This step requires care and the right tools. Follow the instructions carefully to avoid damage. The process is simple but needs patience.
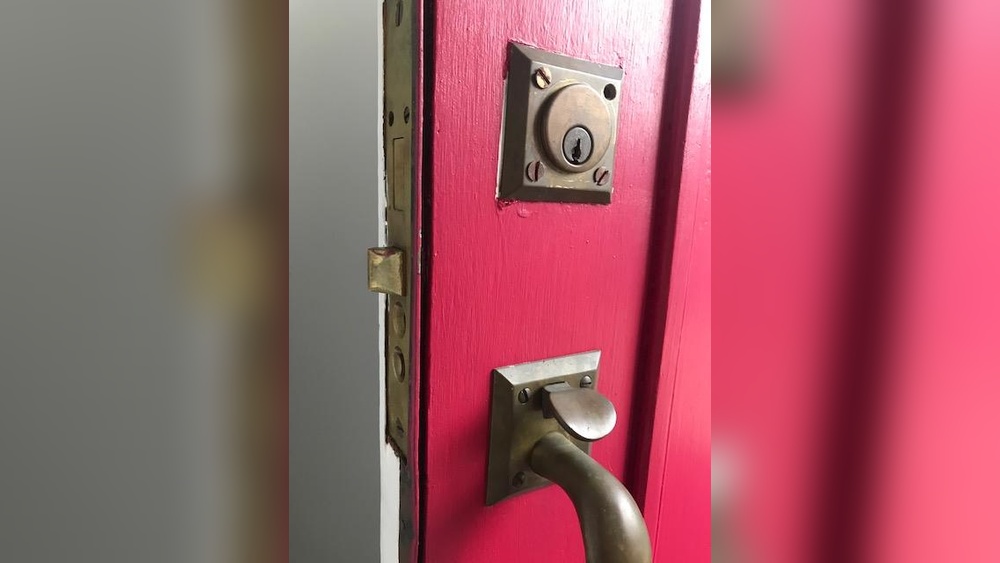
Locate The Cylinder Retaining Screw
Start by finding the screw that holds the cylinder. This screw is usually on the side of the lock faceplate. Use a screwdriver to remove it. Keep the screw safe for reassembly.
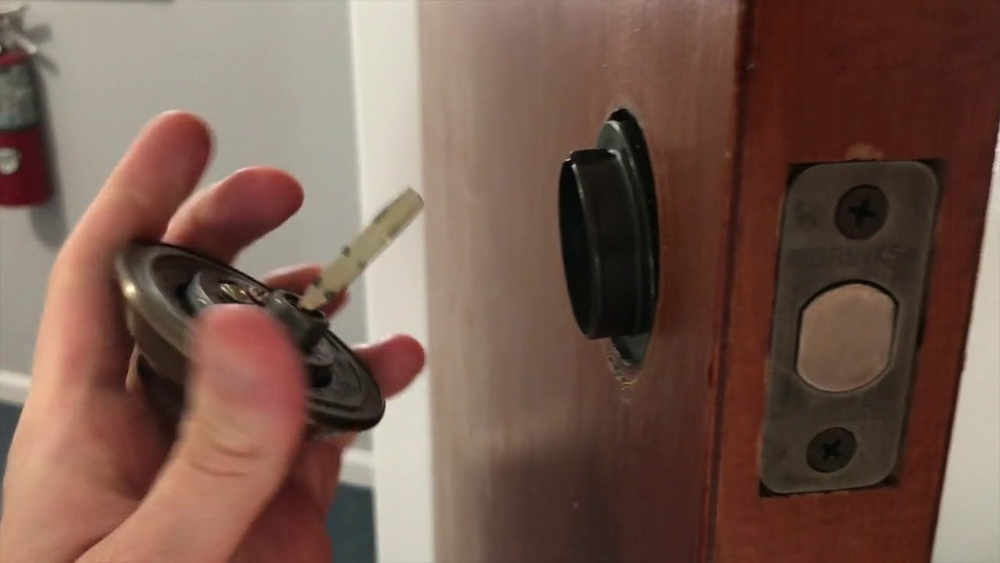
Turn The Key To Align The Cylinder
Insert the key into the cylinder. Turn it slightly to the left or right. This action aligns the cylinder for easy removal. The cylinder will slide out smoothly when aligned.
Pull Out The Cylinder Gently
Hold the cylinder firmly and pull it straight out. Avoid twisting or forcing it. If it feels stuck, double-check the retaining screw is fully removed. Pulling gently prevents damage to the lock body.
Inspect The Cylinder For Damage
After removal, check the cylinder for wear or damage. Look for scratches, rust, or broken parts. This inspection helps decide if the cylinder needs replacement or repair.
Tips For Stubborn Locks
Stubborn Brinks deadbolt locks can be tough to remove. They may stick or resist turning. Patience and the right methods help make the job easier. Follow these simple tips to handle stubborn locks safely and effectively.
Use A Lubricant
Spray a small amount of lubricant into the lock. This loosens dirt and rust inside. Wait a few minutes to let it work. Try turning the key gently after that. Repeat if needed for smoother movement.
Apply Gentle Pressure
Push or pull the lock parts carefully. Avoid force that can break the lock. Use steady and even pressure. This prevents damage and helps parts move more freely.
Check For Hidden Screws
Some locks have screws under covers or plates. Remove any covers to find extra screws. Unscrew them to free the lock from the door. This step often solves the problem quickly.
Tap The Lock Lightly
Use a small hammer or tool to tap the lock gently. This can loosen stuck parts inside. Tap around the lock body, not hard enough to cause damage. Then try removing the lock again.

Credit: www.walmart.com
Safety Precautions
Removing a Brinks deadbolt lock requires care and attention. Safety is the top priority to avoid injury or damage. Follow these safety steps before starting the removal process.
Wear Protective Gloves
Wear gloves to protect your hands from sharp edges. Metal parts can cause cuts or scrapes. Gloves also provide a better grip on tools.
Use Proper Tools
Use the right tools for the job. Using incorrect tools can cause damage or injury. Keep tools in good condition to ensure safety.
Turn Off Power Near Electronic Locks
If the lock is electronic, disconnect power first. This prevents electrical shocks or short circuits. Always check the lock type before starting.
Work In A Well-lit Area
Good lighting helps you see small parts clearly. It reduces mistakes and accidents. Use a flashlight if needed for better visibility.
Keep Children And Pets Away
Keep children and pets out of the work area. Small parts and tools can be dangerous to them. A safe workspace helps you focus on the task.
Frequently Asked Questions
How Do I Remove A Brinks Deadbolt Lock?
To remove a Brinks deadbolt lock, first unscrew the interior plate. Then, take off the exterior assembly and remove the latch mechanism from the door edge. Use a screwdriver and follow the lock’s specific instructions for smooth removal.
What Tools Are Needed To Remove Brinks Deadbolt Locks?
You need a Phillips screwdriver, flathead screwdriver, and possibly an Allen wrench. These tools help unscrew the lock components safely and efficiently. Having them ready ensures a quick and hassle-free removal process.
Can I Remove A Brinks Deadbolt Without The Key?
Yes, you can remove it by unscrewing the interior side of the lock. The key is not needed if you access the screws from inside. This is useful for locks installed on doors you can open from the inside.
How Long Does It Take To Remove A Brinks Deadbolt Lock?
Removing a Brinks deadbolt usually takes 10 to 15 minutes. The process is straightforward with the right tools and instructions. Taking your time ensures you don’t damage the door or lock parts.
Conclusion
Removing a Brinks deadbolt lock is simple with the right steps. Take your time and follow each part carefully. Use basic tools and stay safe during the process. This guide helps you avoid damage to your door or lock. Now, you can change or fix your lock without stress.
Keep this method for future use or share it with friends. Trust yourself to handle this task well.