Are you struggling to remove hollow wall anchors from your plasterboard without causing damage? You’re not alone.
These little anchors can be tricky to take out, leaving behind holes or cracks if you’re not careful. But don’t worry—you can learn simple, effective methods to get them out cleanly and quickly. Keep reading, and you’ll discover easy steps that save you time, protect your walls, and make your next DIY project much smoother.
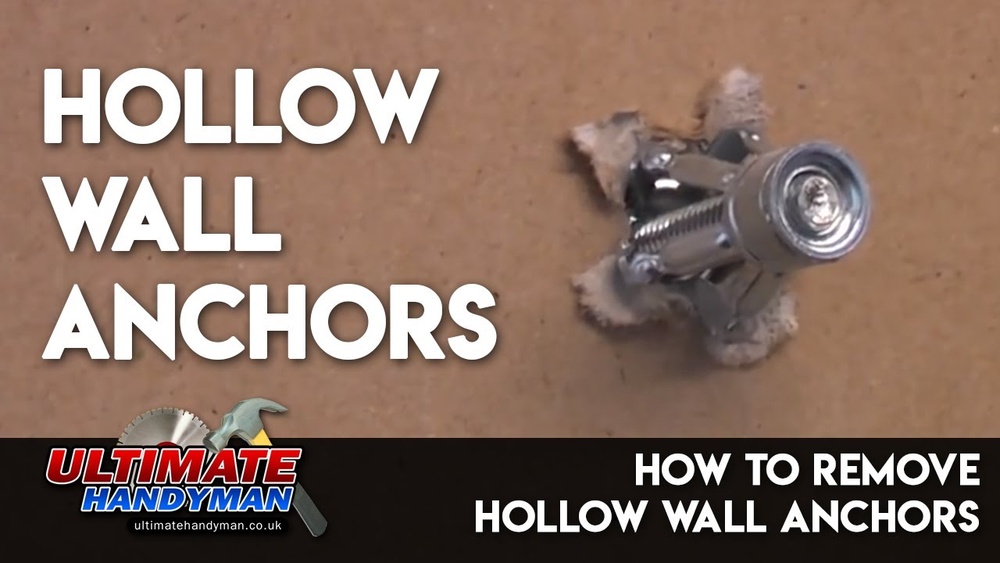
Types Of Hollow Wall Anchors
Hollow wall anchors come in several types, each designed for different uses. Knowing the types helps to remove them safely from plasterboard. These anchors hold items on walls without studs.
Each type works differently and needs a specific removal method. Understanding their design makes the removal easier and less damaging.
Expansion Anchors
Expansion anchors are simple and common. They expand inside the wall when a screw is tightened. This expansion holds the anchor firmly in place. Removing them requires loosening the screw and pulling the anchor out carefully.
Toggle Bolts
Toggle bolts have wings that open behind the wall. These wings lock the anchor in place tightly. To remove them, the screw must come out first. Then, the toggle wings can be pushed through the wall cavity.
Threaded Anchors
Threaded anchors screw directly into plasterboard. They create a strong hold by gripping the wall material. Removal involves unscrewing the anchor by turning it counterclockwise. This helps avoid damage to the wall surface.

Credit: martinscastro.pt
Tools Needed For Removal
Removing hollow wall anchors from plasterboard needs the right tools. Using proper tools makes the process easier and less damaging. This section covers the essential tools for removal. Each tool type suits different removal steps and situations.
Screwdriver Options
A screwdriver is often the first tool to try. Use a flathead or Phillips screwdriver depending on the anchor screw head. Insert the screwdriver and turn counterclockwise to loosen the anchor. A good grip helps avoid slipping. Screwdrivers are simple and effective for many anchors.
Pliers And Wrenches
Pliers and wrenches help pull out anchors stuck in plasterboard. Needle-nose pliers work well for gripping small anchor parts. Adjustable wrenches provide more leverage for tight anchors. Grip the anchor firmly and pull straight out to avoid wall damage. These tools offer control and power when needed.
Drill And Bits
A drill with the right bit can remove anchors that won’t budge. Use a drill bit slightly smaller than the anchor’s diameter. Drill slowly into the center of the anchor. This loosens the anchor or breaks it apart for easy removal. Drills speed up the process but need careful handling to protect the wall.
Preparing The Area
Preparing the area is the first step to remove hollow wall anchors safely from plasterboard. A clean, protected workspace helps avoid damage and makes the task easier. Take time to set up the space properly before starting.
Clearing Surrounding Space
Remove any furniture or objects near the wall. This prevents accidents and gives you room to work. Keep the floor clear to avoid tripping. A tidy space allows better focus on the task.
Protecting The Wall Surface
Cover the wall around the anchor with painter’s tape. This stops scratches and marks during removal. Use a soft cloth or plastic sheet to protect larger areas. Protecting the wall keeps plasterboard intact and clean.
Removing Expansion Anchors
Removing expansion anchors from plasterboard can be tricky but doable. These anchors spread inside the wall to hold firmly. They need careful handling to avoid damage. Follow clear steps to remove them safely and cleanly.
Backing Out The Screw
Start by turning the screw counterclockwise. This loosens the screw inside the anchor. Keep turning until the screw comes out completely. Removing the screw first makes the next step easier. Use a screwdriver that fits well to avoid slipping.
Pulling Out The Anchor
Once the screw is out, try pulling the anchor gently. Use pliers for a better grip if needed. Pull straight out to avoid enlarging the hole. If the anchor resists, push it into the wall carefully. This method prevents damage and keeps the plasterboard intact.
Removing Toggle Bolts
Removing toggle bolts from plasterboard requires patience and care. These anchors have a unique design that holds firmly behind the wall. Knowing how to remove them properly prevents damage to your wall. The process involves two main steps: unscrewing the bolt and handling the toggle mechanism inside the wall.
Unscrewing The Bolt
Start by turning the bolt counterclockwise. Use a screwdriver that fits the bolt head well. Keep steady pressure to avoid slipping. If the bolt spins without loosening, it might be stuck inside the toggle. In that case, try pushing the bolt gently inward while turning. This can help release the toggle grip.
Dealing With The Toggle Mechanism
Once the bolt is loose, the toggle may still be inside the wall. The toggle is spring-loaded and expands behind the plasterboard. Pulling the bolt alone won’t remove it easily. Try pushing the bolt inward to collapse the toggle wings. If possible, guide the toggle through the hole carefully. If the toggle won’t come out, you might need to patch the hole afterward.

Credit: www.youtube.com
Removing Threaded Anchors
Removing threaded anchors from plasterboard can be simple with the right steps. These anchors have a screw-like part that holds them in place. Removing them carefully helps keep your wall in good shape. The process varies slightly based on how tight the anchor is.
Unscrewing The Anchor
Start by turning the screw counterclockwise. Use a screwdriver that fits well. This helps avoid stripping the screw head. Pull gently as you turn to ease the anchor out. If the anchor moves, keep unscrewing slowly. Stop if it feels stuck to avoid damage.
Using A Drill For Stubborn Anchors
Set your drill to a low speed with a screwdriver bit. Hold the drill firmly and try unscrewing the anchor. The drill helps with anchors too tight to turn by hand. Apply steady pressure but don’t force it. If the anchor still won’t budge, try pushing it into the wall carefully. This can make room for a new repair later.
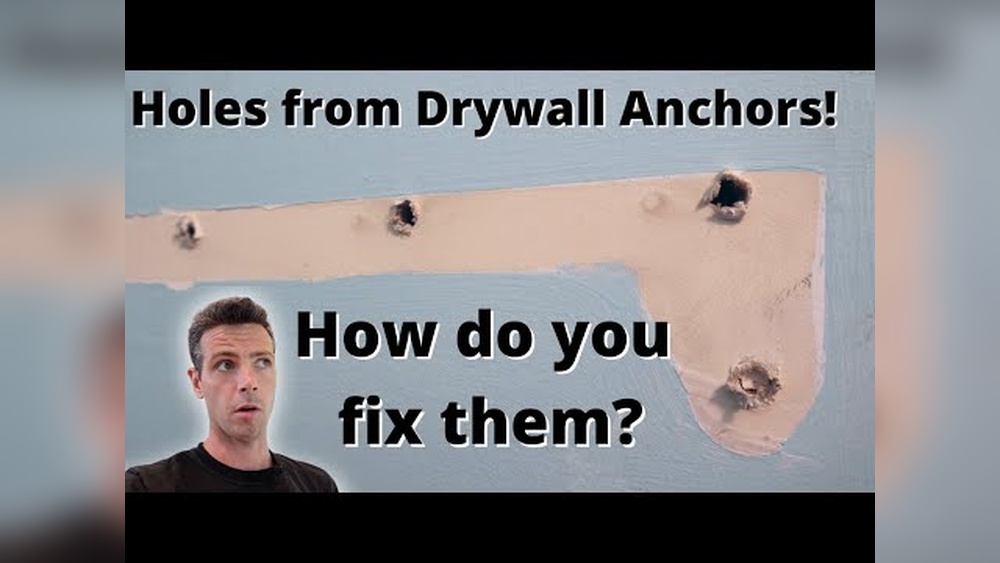
Fixing Holes After Removal
Removing hollow wall anchors from plasterboard often leaves holes or damage. Fixing these holes is important for a smooth wall surface. Proper repair helps maintain the wall’s look and strength. The repair process varies by hole size. Small holes need simple filling. Larger damage requires more care. Follow these steps for best results.
Filling Small Holes
Use a ready-made filler for small holes. Apply filler with a putty knife. Press the filler firmly into the hole. Smooth the surface to match the wall. Let the filler dry fully. Small holes often need only one application.
Repairing Larger Damage
For bigger holes, use a patch or mesh tape. Place the patch over the hole. Cover with joint compound or plaster. Apply in thin layers to avoid lumps. Let each layer dry before adding more. Sand lightly between layers for smoothness.
Sanding And Painting
Once the filler or plaster dries, sand the area gently. Use fine-grit sandpaper for a smooth finish. Remove dust with a damp cloth. Paint over the repaired area to match the wall color. Use primer first for better paint adhesion. Allow paint to dry completely for a clean look.

Credit: www.amazon.com
Tips To Avoid Wall Damage
Removing hollow wall anchors from plasterboard can cause damage if done carelessly. Protecting your walls helps keep your space looking neat and smooth. Simple tips help avoid cracks, holes, and crumbling plaster. These tips make the removal process easier and safer for your walls.
Gentle Removal Techniques
Start by loosening the anchor gently. Use a screwdriver to turn it slowly counterclockwise. Avoid pulling hard to stop tearing the plasterboard. If the anchor is stuck, push it inward slightly. This helps release the grip without breaking the wall. Use pliers to pull the anchor out carefully. Keep movements small and steady to prevent damage. If the hole is large, fill it with plaster or filler after removal.
Choosing The Right Anchor Next Time
Pick anchors that match your wall type and weight needs. Plastic anchors work well for light items and thin plasterboard. Metal anchors provide stronger support for heavier objects. Consider self-drilling anchors that cause less wall damage. Read package instructions to match anchors with wall thickness. Using the right anchor reduces the need for removal. It also prevents extra holes and repairs later.
Frequently Asked Questions
How Do I Safely Remove Hollow Wall Anchors?
Use a screwdriver to unscrew the anchor if possible. If stuck, gently pry it out with pliers or use a drill to remove it carefully without damaging the plasterboard.
Can I Reuse Hollow Wall Anchors After Removal?
Generally, hollow wall anchors cannot be reused. They often deform during removal, losing their holding strength. It’s best to replace them with new anchors for secure fixing.
What Tools Are Needed To Remove Hollow Wall Anchors?
You need a screwdriver, pliers, a drill, and possibly a putty knife. These tools help you unscrew, pull out, or drill the anchors safely without damaging the wall.
How Do I Repair Plasterboard After Anchor Removal?
Fill holes with plaster or spackling compound. Sand the area smooth after drying. Paint over the repair to match the wall color for a clean finish.
Conclusion
Removing hollow wall anchors from plasterboard does not have to be hard. Use the right tools and work carefully. Take your time to avoid damaging the wall. Small holes can be filled and painted afterward. These steps help keep your walls neat and smooth.
Now, you can remove anchors safely and with confidence. Try these tips next time you work on your wall. Simple and clear methods make the job easier.