If you’ve ever faced the challenge of removing an old Medeco deadbolt, you know it’s not always straightforward. These locks are built to be tough and secure, which can make taking them out tricky.
But don’t worry—you’re about to learn simple, step-by-step tips that will make the process smooth and hassle-free. Whether you’re upgrading your security or fixing a stubborn lock, this guide will give you the confidence and know-how to get the job done right.
Keep reading, and you’ll have that old Medeco deadbolt removed faster than you thought possible.
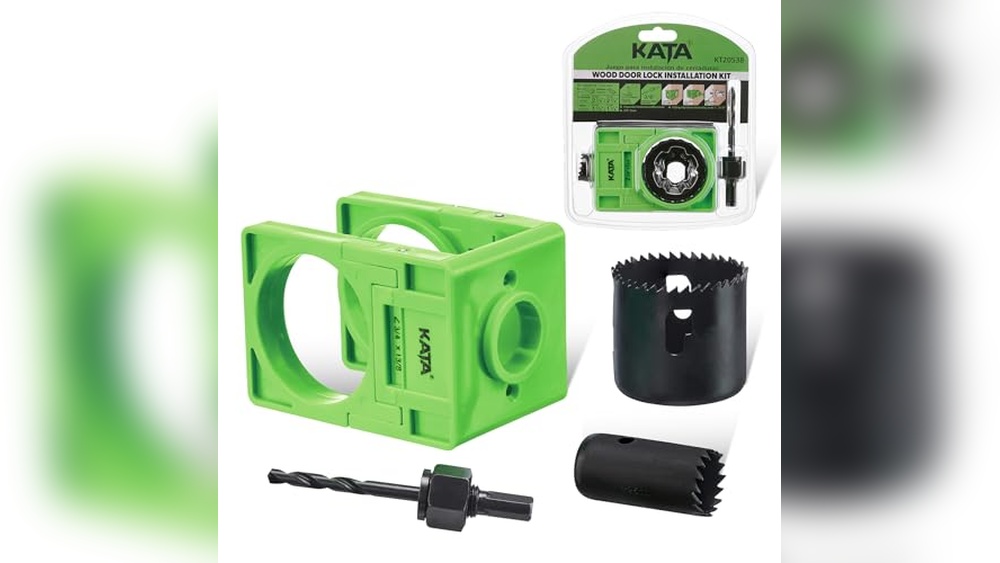
Tools Needed
Removing an old Medeco deadbolt requires specific tools. Having the right tools makes the job easier and safer. This section lists all the tools needed for the task.
Screwdriver Set
A screwdriver set is essential. Both flathead and Phillips screwdrivers may be needed. These help remove screws from the lock and door.
Allen Wrench
Some Medeco deadbolts use hex screws. An Allen wrench set helps remove these screws. Choose the correct size for a snug fit.
Drill With Drill Bits
A power drill speeds up screw removal. Drill bits may be needed to remove stuck screws. Use caution to avoid damaging the door.
Pliers
Pliers help grip small parts. They can pull out pins or clips inside the lock. Needle-nose pliers are especially useful for tight spaces.
Putty Knife Or Flat Tool
A putty knife or flat tool helps pry off trim plates. It also assists in loosening stubborn parts. Use gently to avoid scratching the door.
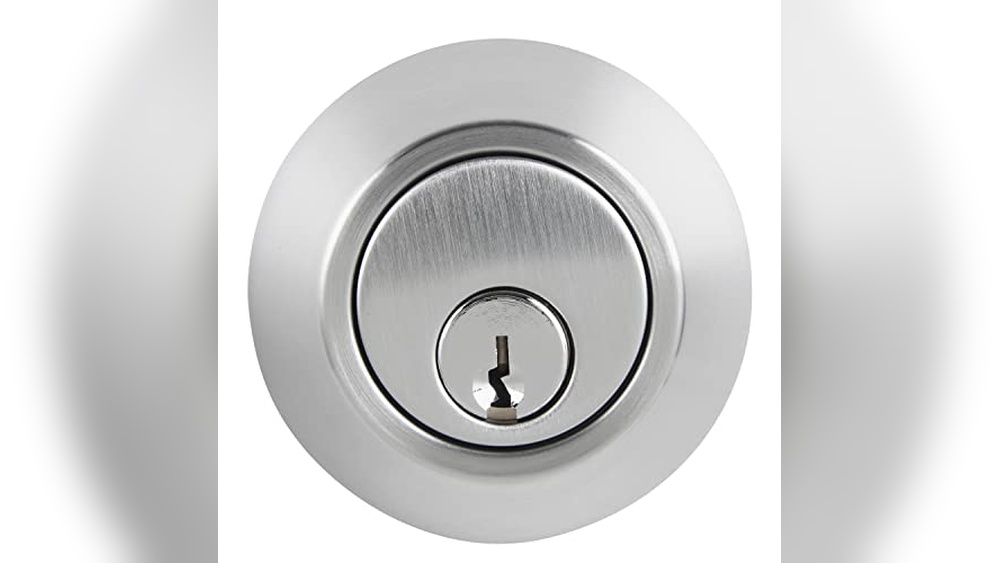
Credit: www.doityourself.com
Prepare The Door
Start by removing screws from the Medeco deadbolt on both sides of the door. Gently pull the lock parts away to access the inner mechanism. Clean the door surface before installing a new lock.
Clear The Work Area
Start by clearing the space around the door. Remove any rugs or furniture near the door. This gives you room to move freely. A clean area prevents accidents and lost parts.
Gather Necessary Tools
Collect all tools before starting. You will need a screwdriver, usually a Phillips head. A flashlight helps see screws clearly. Keep tools within reach for easy access.
Inspect The Door And Lock
Check the door and deadbolt carefully. Look for visible screws on the lock faceplate. Note any damage or rust. This helps understand what you will remove.
Remove Door Accessories
Take off door accessories like chains or additional locks. These can block access to the deadbolt screws. Removing them makes the process smoother.
Remove The Interior Hardware
Removing the interior hardware is a key step in taking out an old Medeco deadbolt. The inside part holds important pieces that keep the lock working. Taking it off carefully makes the next steps easier.
Start by focusing on the parts inside the door. These include the interior plate and the thumb turn. Both must come off before the whole lock can be removed.
Unscrew The Interior Plate
Find the screws holding the interior plate in place. Use a screwdriver that fits well to avoid stripping the screws.
Turn the screwdriver counterclockwise to loosen the screws. Keep the screws in a safe place for later use.
Once the screws are out, gently pull the interior plate away from the door. If it sticks, wiggle it slightly to loosen it.
Take Off The Thumb Turn
The thumb turn is the small knob you twist to lock or unlock. It sits behind the interior plate.
After removing the plate, grip the thumb turn and pull it straight out. It should come off easily.
If it feels tight, check for any small screws holding it. Remove those first, then pull the thumb turn off.

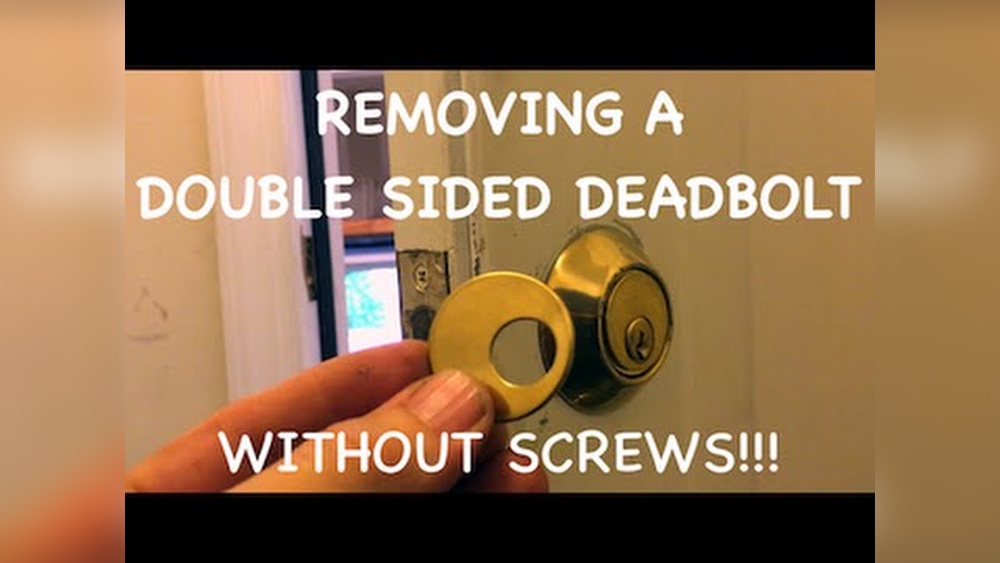
Credit: www.reddit.com
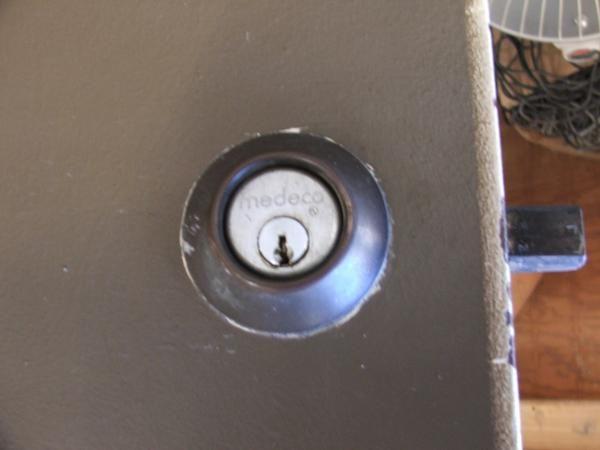
Detach The Exterior Cylinder
Detaching the exterior cylinder is a key step in removing an old Medeco deadbolt. This part holds the lock’s keyhole and connects to the internal mechanism. Removing it carefully prevents damage and makes the rest of the process easier.
Handle the cylinder with care. Take your time to avoid breaking small parts. Follow these steps to detach it safely and smoothly.
Locate The Retaining Clip
First, find the retaining clip that holds the cylinder in place. It is usually a small, thin metal piece. Look around the edge of the cylinder or inside the lock housing. This clip keeps the cylinder from sliding out.
Remove The Clip Safely
Use a flathead screwdriver or a clip removal tool to pry the clip out gently. Do not force it. Work slowly to avoid bending or breaking the clip. Keep the clip safe for reinstallation or replacement.
Extract The Cylinder
After removing the clip, pull the cylinder straight out. Wiggle it gently if it feels stuck. Avoid twisting or using too much force. The cylinder should come out smoothly, freeing the exterior part of the lock.
Remove The Deadbolt Mechanism
Removing the deadbolt mechanism is the key step in taking out an old Medeco deadbolt. This part holds the lock in place inside the door. Careful removal keeps the door safe from damage. Follow these simple steps to remove the deadbolt mechanism smoothly.
Unscrew The Faceplate
Start by locating the faceplate on the door edge. This metal piece covers the deadbolt mechanism. Use a screwdriver to remove the screws holding the faceplate. Keep the screws in a safe place for later use. Once unscrewed, gently pull the faceplate away from the door. This exposes the deadbolt inside.
Pull Out The Deadbolt
With the faceplate removed, grasp the deadbolt firmly. Pull the deadbolt straight out of the door edge. If it feels stuck, wiggle it slightly while pulling. Avoid using too much force to prevent door damage. After removal, inspect the area for any debris or damage. This step clears the way for new locks or repairs.
Tips For Stubborn Locks
Removing an old Medeco deadbolt can be tough, especially if the lock is stuck or rusty. Stubborn locks need extra care and simple tricks to get them out safely. Patience and the right tools help avoid damage to the door or lock.
These tips focus on making the removal process easier. They work well for old or jammed Medeco deadbolts. Follow them step-by-step for best results.
Use Penetrating Oil To Loosen Rust
Apply a small amount of penetrating oil on the lock parts. Let it sit for 10 to 15 minutes. The oil helps break down rust and dirt inside the mechanism. Try turning the key gently after the oil soaks in.
Tap The Lock Lightly With A Hammer
Use a small hammer or rubber mallet to tap the lock body. Tap gently around the edges to loosen stuck parts. This can free up any jammed components. Avoid hard hits that might damage the lock or door.
Use The Correct Screwdriver Size
Choose a screwdriver that fits the screws exactly. Using the wrong size can strip the screws and make removal harder. Turn screws slowly and with steady pressure. This prevents damage and helps remove them cleanly.
Try Rocking The Lock Back And Forth
Move the lock slightly side to side while pulling it out. This motion can help free the deadbolt from its position. Use gentle force to avoid breaking the lock or door frame.
Replacing Or Reinstalling
Replacing or reinstalling an old Medeco deadbolt is a straightforward process. It requires careful steps to ensure your door stays secure. Whether swapping for a new lock or reinstalling the old one, preparation matters. Follow these guidelines to get the job done right and keep your home safe.
Check Compatibility
Check the new deadbolt fits your door’s thickness and hole size. Medeco deadbolts come in specific sizes. Measure the door and existing lock before buying. Ensure the new lock’s backset matches the old one. This avoids drilling new holes or making big adjustments. Confirm the key type is compatible too. Using the right size lock makes installation easier and secure.
Install New Deadbolt
Start by aligning the new deadbolt with the door holes. Insert the latch into the edge of the door. Secure it with screws, tightening firmly. Attach the exterior and interior parts of the lock. Connect the tailpiece through the latch mechanism. Screw both sides together, checking the lock moves freely. Test the key and thumb turn to confirm function. Adjust screws if needed for smooth operation.

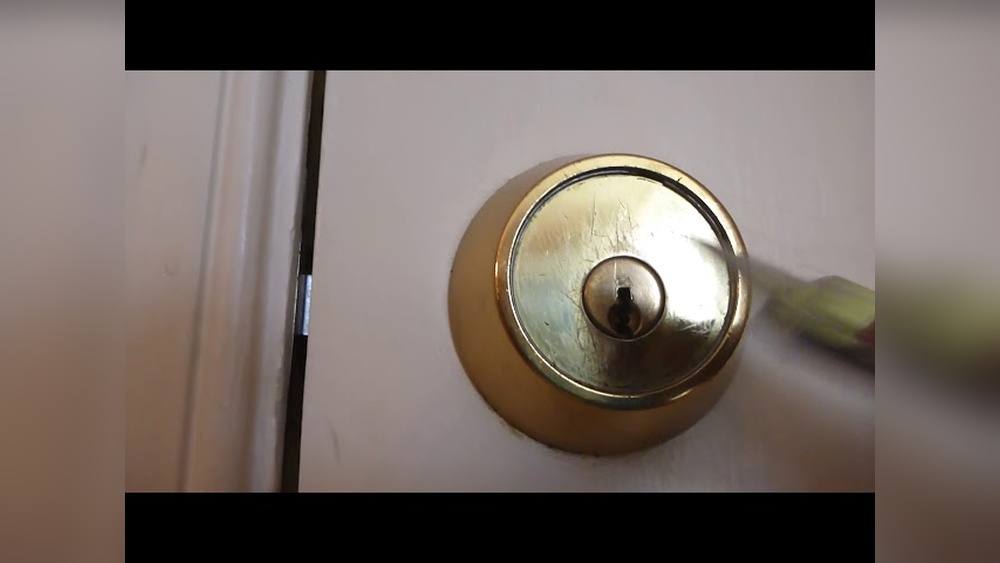
Credit: www.youtube.com
Frequently Asked Questions
How Do I Remove An Old Medeco Deadbolt?
First, remove the screws from the interior side of the deadbolt. Then, carefully pull out the interior and exterior parts. Finally, remove the latch mechanism from the door edge. Use the correct screwdriver to avoid damaging the lock.
What Tools Are Needed To Remove Medeco Deadbolts?
You need a Phillips screwdriver, flathead screwdriver, and sometimes an Allen wrench. These tools help loosen screws and remove lock components safely. Having these tools ensures a smooth and damage-free removal process.
Can I Replace A Medeco Deadbolt Myself?
Yes, you can replace it yourself if you follow instructions carefully. Make sure you have the correct replacement lock and tools. DIY replacement saves time and money compared to hiring a locksmith.
How Do I Handle A Stuck Medeco Deadbolt?
Try lubricating the lock with graphite or silicone spray. Gently wiggle the lock while attempting to remove screws. If it remains stuck, consult a professional locksmith to avoid damage.
Conclusion
Removing an old Medeco deadbolt can seem hard at first. Follow each step carefully and take your time. Use the right tools to avoid damage. With patience, you can do it yourself. This saves money and helps you learn new skills.
Remember safety and don’t force any parts. Soon, you will have your deadbolt removed and ready for a new lock. Simple steps lead to good results. Keep practicing, and you will get better every time.