Are you tired of struggling with cushion covers that slip off or take forever to remove? Imagine having cushion covers that are not only easy to put on and take off but also stay perfectly in place.
Making your own cushion covers with Velcro fastening is a simple and smart way to achieve this. In this guide, you’ll discover step-by-step how to create stylish, secure covers that you can change whenever you want—no sewing experience needed! Keep reading, and you’ll soon enjoy cushions that look great and stay put, making your home more comfortable and stylish.
Materials Needed
Gathering the right materials makes sewing cushion covers easy. Prepare everything before starting. This saves time and avoids mistakes. Quality materials give a neat and lasting finish.
Fabric Selection
Choose fabric based on cushion use and style. Cotton works well for softness and durability. Linen offers a natural look and breathes well. For outdoor cushions, pick water-resistant fabric. Avoid very thin fabrics to prevent tears. Pick colors or patterns that match your decor.
Choosing Velcro
Select Velcro strips that fit your cushion size. Sew-on Velcro is best for strong hold. Choose Velcro with adhesive backing for quick use, but test it first. White or clear Velcro suits light fabrics; black fits dark fabrics. Make sure Velcro length covers the cushion opening fully.
Additional Supplies
Prepare a sewing machine or needle and thread. Use thread matching your fabric color. Scissors must be sharp for clean cuts. Pins or clips hold fabric pieces in place while sewing. A measuring tape helps get exact dimensions. Chalk or fabric markers mark sewing lines clearly.
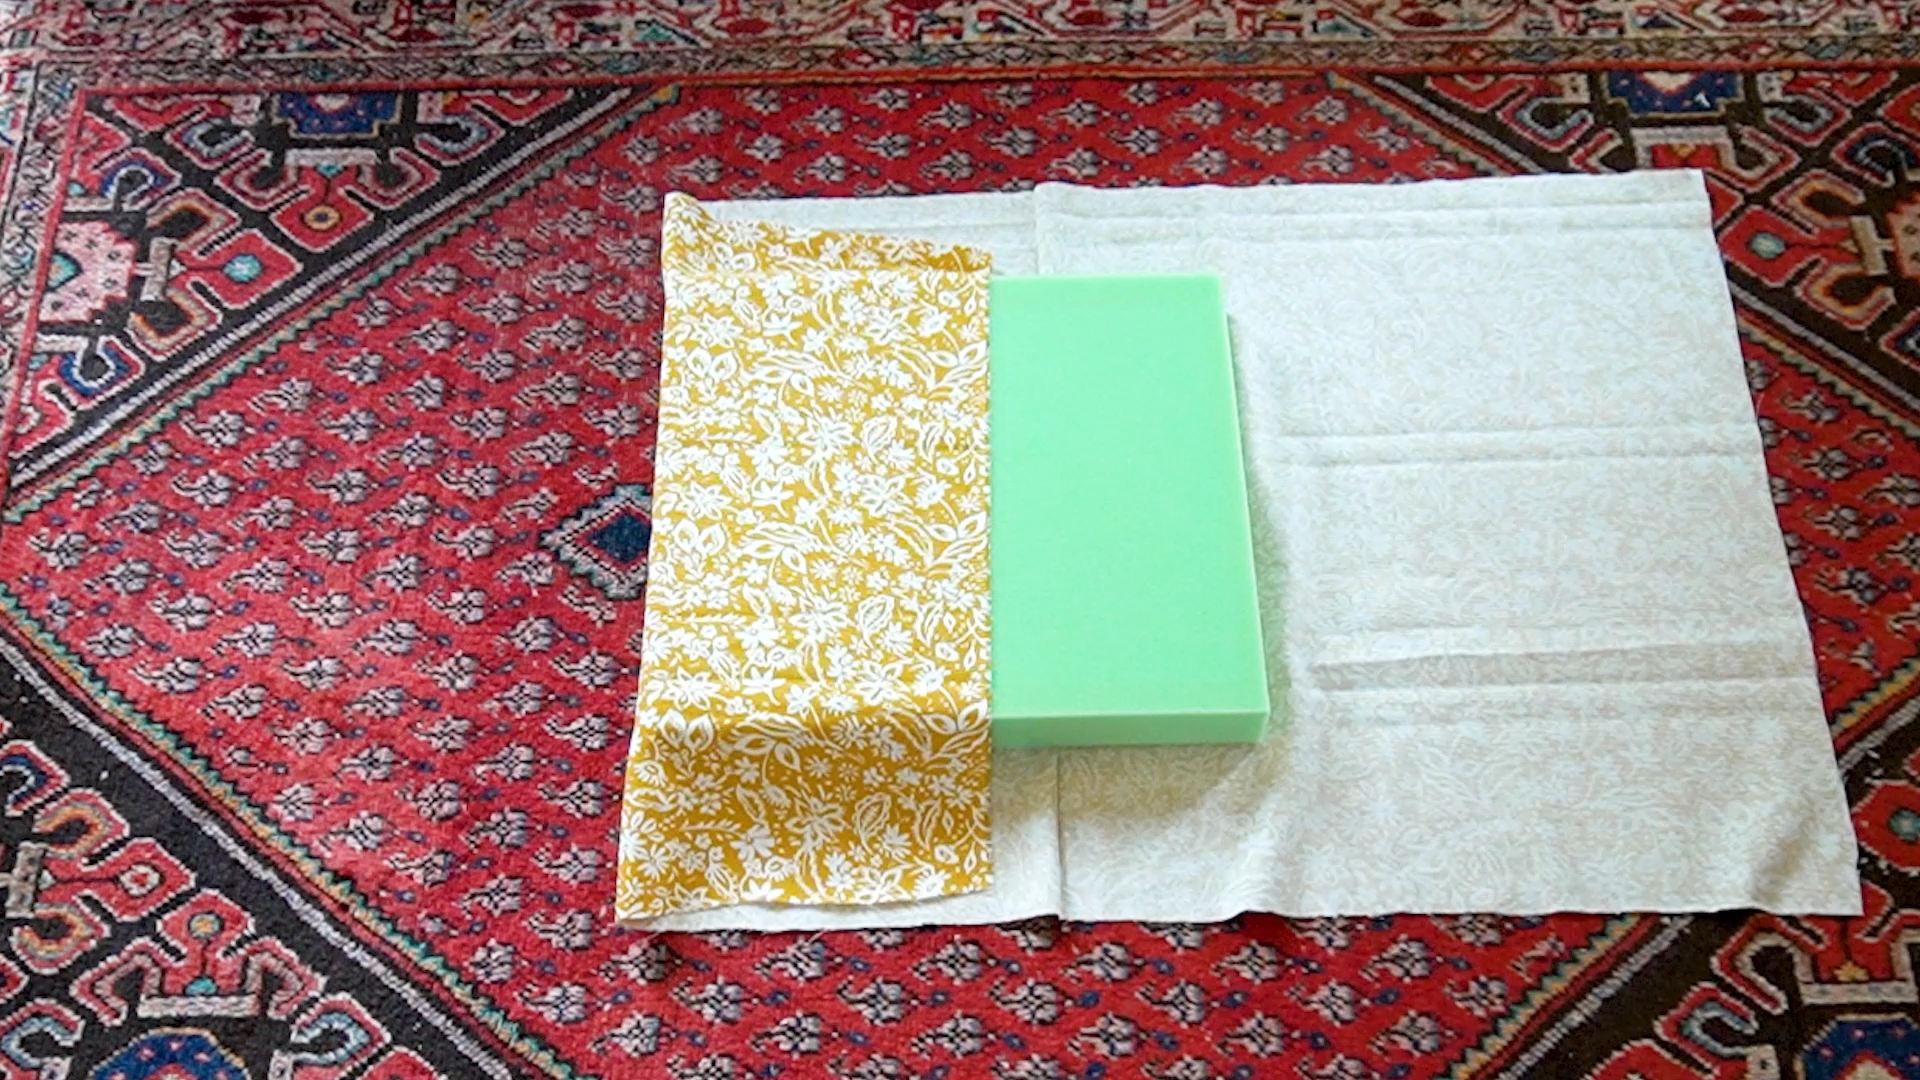
Preparing The Fabric
Preparing the fabric is the first step in making cushion covers with Velcro fastening. It sets the base for a neat and well-fitted cover. Proper preparation helps avoid mistakes later.
Take your time to measure and cut the fabric carefully. This makes sewing easier and ensures the cover fits the cushion perfectly.
Measuring And Cutting
Start by measuring the cushion’s length, width, and thickness. Add extra length for seam allowances and Velcro space. Use a ruler and fabric chalk for accuracy.
Cut the fabric using sharp scissors or a rotary cutter. Straight edges make sewing smoother. Cut two pieces for the front and back of the cover.
Marking Seam Allowances
Mark seam allowances around the fabric edges. A 1/2 inch allowance works well for cushion covers. Use fabric chalk or a washable marker.
Seam allowances give space for stitching without making the cover too small. Mark clearly to follow the lines while sewing. This keeps the edges neat and strong.
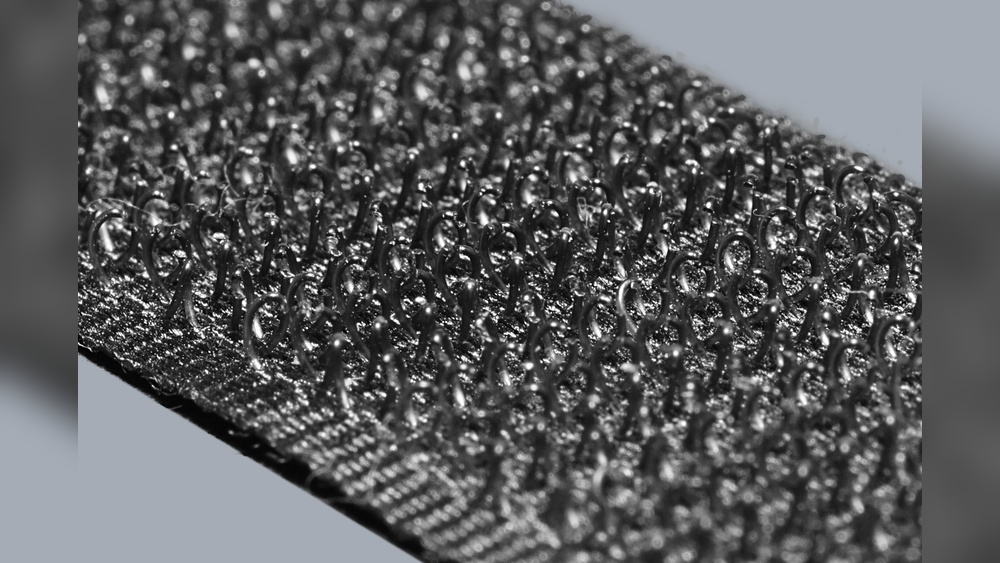
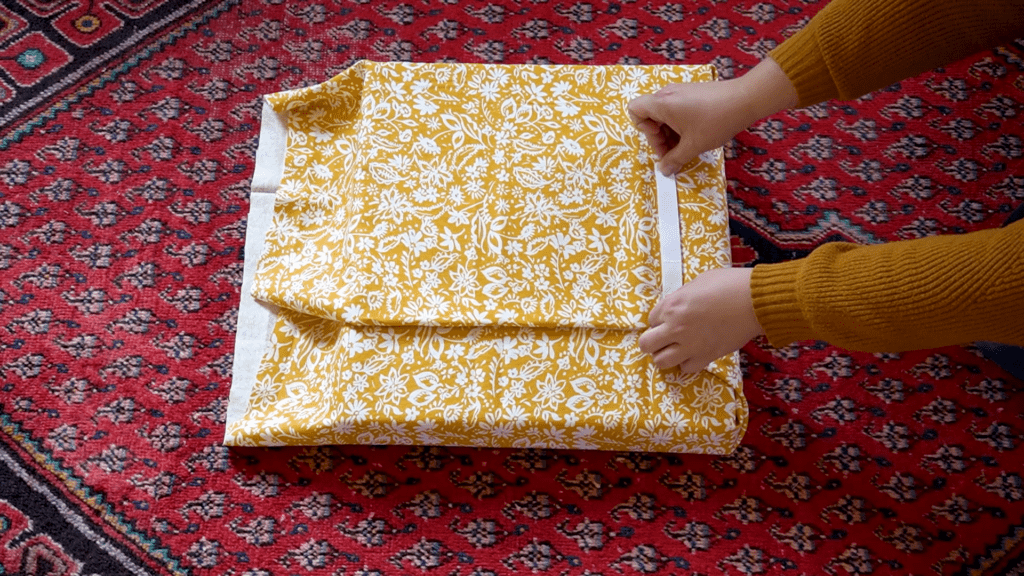
Attaching Velcro
Attaching Velcro to cushion covers is a simple step that makes them easy to open and close. It helps keep the cushion inside without slipping out. This part of the project needs care to make sure the Velcro stays strong and works well.
Positioning Velcro Strips
Place the Velcro strips on the edges of the cushion cover opening. Match the soft side on one edge and the rough side on the opposite edge. Make sure they line up perfectly for a tight seal. Measure carefully before sticking or sewing the strips. Positioning the strips straight helps the cover close neatly.
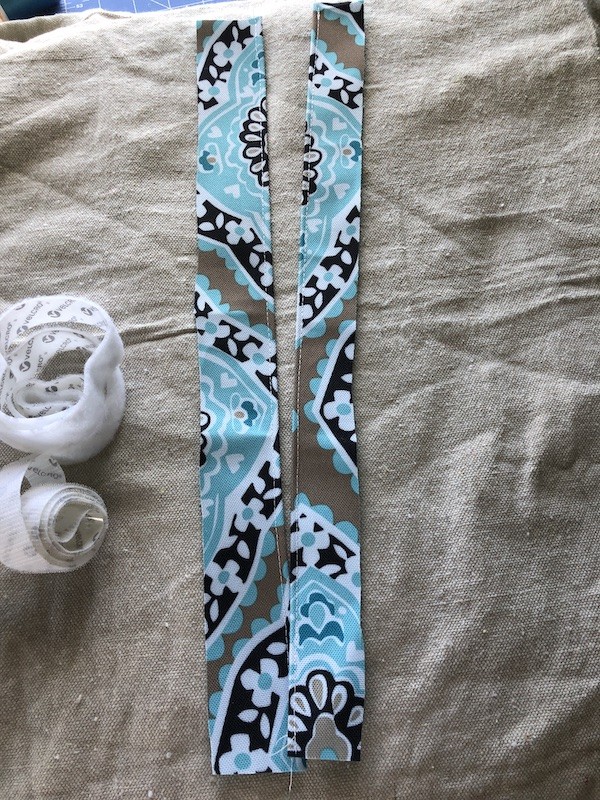
Sewing Velcro Securely
Use a strong needle and thread to sew the Velcro strips. Stitch around the edges of each strip to keep it firmly attached. Sew in a box or zigzag pattern for extra strength. Take small stitches close to the Velcro edge to avoid fraying. Secure the thread tightly at the end to prevent it from coming loose.
Credit: www.velcro.co.uk
Sewing The Cushion Cover
Sewing the cushion cover is a key step in your project. This part brings your fabric pieces together. You will create clean, strong seams that hold the cushion inside. Follow each step carefully for the best result. Keep your stitches straight and even. Use a sewing machine or sew by hand with a needle and thread.
Stitching The Sides
Start by placing fabric pieces with the right sides facing each other. Pin the edges to hold them in place. Sew along the sides using a straight stitch. Keep a seam allowance of about half an inch. Backstitch at the start and end to secure the thread. Avoid sewing the side with the Velcro fastener yet.
Leaving The Opening
Leave one side open for turning the cover inside out. This opening also allows you to insert the cushion later. Mark this spot before sewing. Skip stitching this part carefully. A gap about 6 to 8 inches is enough. This opening will be closed after attaching the Velcro.
Finishing The Edges
Trim the seam allowances if they are too wide. Finish the raw edges using a zigzag stitch or pinking shears. This prevents the fabric from fraying over time. Iron the seams flat for a neat look. This step helps your cushion cover last longer and look professional.
Final Touches
The final touches complete your cushion cover project. These steps make your cover neat and ready for use. Follow each step carefully to achieve a clean look.
Turning Cover Right Side Out
Start by gently pulling the fabric through the open edge. Use your fingers to push out the corners fully. Make sure the seams are smooth and flat. This step shows the true shape of your cover.
Inserting The Cushion
Slide the cushion inside the cover carefully. Adjust the fabric so it fits snugly. Smooth out any wrinkles on the surface. The cushion should fill the cover evenly for a tidy look.
Closing With Velcro
Align the Velcro strips along the opening edges. Press them firmly to secure the cover closed. Check that the Velcro holds well and looks neat. This fastening keeps the cushion in place and allows easy removal.
Credit: www.velcro.com
Care And Maintenance
Proper care and maintenance extend the life of cushion covers with Velcro fastening. Keeping them clean and handling Velcro correctly avoids damage and keeps covers looking fresh. Simple steps help your cushion covers stay neat and functional for a long time.
Washing Tips
Remove loose dirt and dust before washing. Close the Velcro fully to stop it from catching other fabrics. Use a gentle cycle with cold water to protect the fabric and Velcro. Avoid bleach or harsh detergents that can weaken material. Air dry covers instead of using a dryer. Heat can damage both fabric and Velcro.
Velcro Care
Keep Velcro free from lint and debris for strong grip. Use a soft brush or a fine comb to clean the hooks gently. Do not pull Velcro apart roughly to avoid stretching or breaking. Store cushion covers with Velcro closed to keep hooks aligned. Regular cleaning helps maintain Velcro’s stickiness and extends its life.
Credit: karinskottage.com
Frequently Asked Questions
How Do You Attach Velcro To Cushion Covers?
To attach Velcro, sew or stick one side to the fabric edges. Align the opposite Velcro on the cushion. This creates a secure, easy-to-open closure.
What Fabric Works Best For Velcro Cushion Covers?
Cotton, linen, and canvas are ideal. They hold stitches well and provide durability. Avoid slippery fabrics like satin for Velcro fastening.
Can I Wash Cushion Covers With Velcro Fastenings?
Yes, but close the Velcro before washing. Use a gentle cycle and cold water. This prevents damage to both fabric and Velcro.
How Do I Measure Velcro For Cushion Covers?
Measure the cushion’s opening length. Add an extra inch for overlap. Cut Velcro strips to this length for a snug fit.
Conclusion
Making cushion covers with Velcro is simple and fun. You only need basic materials and a little time. This method lets you change covers quickly and keep cushions clean. Velcro holds the cover tight without sewing zippers or buttons. Try different fabrics to match your room’s style.
Enjoy fresh, cozy cushions anytime you want. Keep practicing, and your sewing skills will improve fast. This project is great for beginners and saves money too. Give it a try today!