Looking to boost your home’s security with a reliable deadbolt? Installing a Brinks deadbolt is a smart move, and you don’t need to be a pro to do it yourself.
In this guide, you’ll find simple, step-by-step instructions that make the process clear and easy. By the time you finish reading, you’ll have the confidence and know-how to secure your door quickly and effectively. Ready to take control of your home’s safety?
Let’s get started!

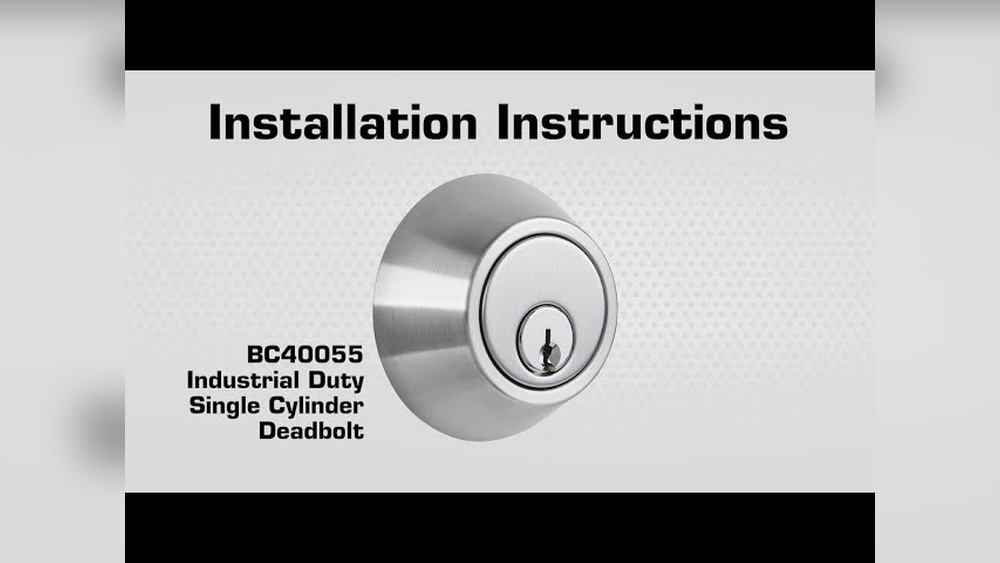
Credit: www.youtube.com
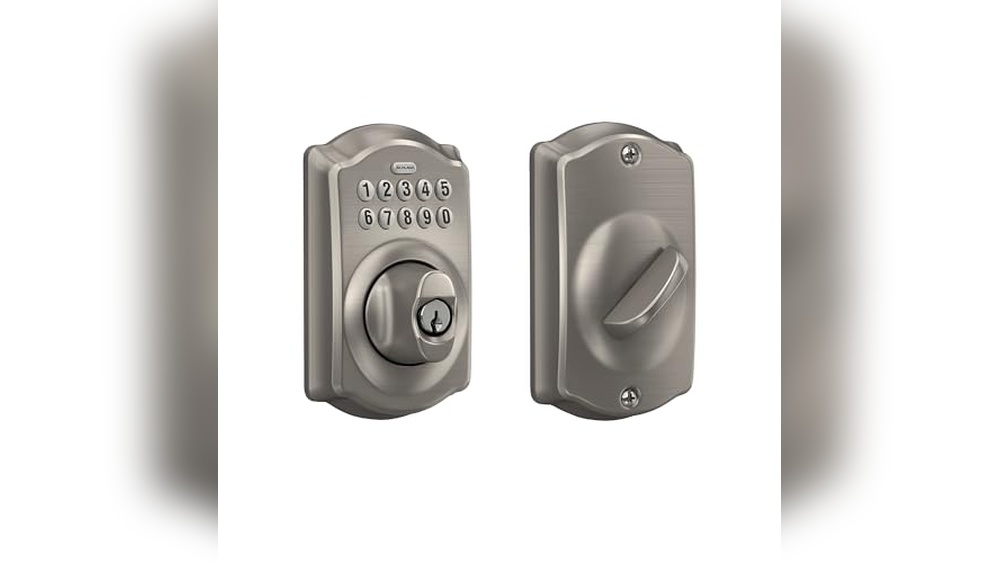
Choosing The Right Brinks Deadbolt
Choosing the right Brinks deadbolt is key to securing your home effectively. The right deadbolt offers safety and ease of use. It fits your door perfectly and meets your security needs. This section helps you understand different options and what matters most.
Types Of Brinks Deadbolts
Brinks offers several deadbolt types. Single-cylinder deadbolts use a key outside and a thumb turn inside. Double-cylinder deadbolts require a key on both sides. Keyless electronic deadbolts use a keypad or fingerprint. Pick one that suits your door and lifestyle.
Features To Consider
Look for sturdy materials like solid steel or brass. Check if the deadbolt has a long throw bolt for better security. Some models have anti-pick and anti-drill features. Choose a deadbolt with easy installation and smooth operation. Consider if you want smart lock compatibility.
Tools Needed For Installation
Gather basic tools before installing your deadbolt. You will need a screwdriver, drill, and tape measure. A pencil helps mark drill spots. A chisel may be necessary to adjust the door frame. Having these ready makes installation faster and smoother.
Preparing Your Door For Installation
Preparing your door for installing a Brinks deadbolt is a crucial step. It ensures the lock fits well and works smoothly. Proper preparation saves time and prevents mistakes during installation. Follow these simple steps to get your door ready.
Measuring Door Thickness
Measure your door’s thickness with a tape measure. Most Brinks deadbolts fit doors 1 3/8 to 1 3/4 inches thick. If your door is thicker or thinner, the lock may not fit properly. Accurate measurement helps you choose the right deadbolt model.
Marking Drill Points
Mark the points where you will drill holes for the deadbolt. Use a pencil and the lock’s template or instructions. Place marks carefully to align the lock correctly. Wrong drill points cause misalignment and poor lock performance.
Removing Old Locks
Remove any old locks or hardware before starting. Unscrew the existing lock parts and pull them out gently. Clear the door surface of dirt and debris. A clean surface helps the new deadbolt fit tightly and work well.
Step-by-step Installation Guide
Installing a Brinks deadbolt is easier than it seems. This guide breaks down each step clearly. Follow along to fit your new lock securely and safely.
Installing The Deadbolt Latch
Start by sliding the latch into the door’s edge hole. The angled side should face the door frame. Secure it with screws using a screwdriver. Make sure it fits snugly and moves smoothly.
Attaching The Exterior Lock
Place the exterior lock with the keyhole on the outside of the door. Align the spindle through the latch mechanism. Hold it steady to prepare for the interior assembly.
Securing The Interior Plate
Attach the interior plate on the inside of the door. Connect it to the spindle coming from the exterior lock. Use screws to fasten the plate firmly. Check the alignment so both sides work together.
Testing The Lock Mechanism
Turn the key or thumb turn to test the lock. Ensure the deadbolt slides smoothly into the frame. Lock and unlock several times to confirm operation. Adjust screws if the lock feels stiff or loose.
Troubleshooting Common Issues
Troubleshooting common issues during Brinks deadbolt installation is key to a secure lock. Small mistakes can cause big problems. Fixing these errors ensures your deadbolt works smoothly and keeps your home safe.
Most problems arise from alignment, jamming, or strike plate issues. Addressing these quickly saves time and frustration. Here are simple solutions for common troubles.
Misalignment Problems
Misalignment means the deadbolt parts do not line up correctly. The bolt may not slide smoothly into the door frame. Check if the lock and strike plate are positioned properly. Adjust the lock’s position by loosening screws and moving it slightly. Tighten screws after aligning. Test the lock several times to confirm smooth operation.
Lock Jamming Solutions
Lock jamming happens when the bolt gets stuck while turning. Dust or debris inside can cause this. Clean the lock mechanism using compressed air or a soft brush. Avoid oil or grease as they attract dirt. If jamming continues, check for bent parts or screws that are too tight. Loosen screws slightly and test the lock again.
Adjusting Strike Plates
The strike plate must be aligned with the deadbolt for smooth locking. If the deadbolt hits the plate edge, the door won’t lock properly. Loosen the strike plate screws and move it up, down, or sideways. Fill old screw holes with wood filler if needed. Reattach the plate and test the deadbolt operation. Proper adjustment makes locking easy and secure.
Maintenance Tips For Longevity
Maintaining your Brinks deadbolt is essential for its long life. Small steps can keep it working smoothly and safely. Regular care stops problems before they start. This guide shows easy maintenance tips anyone can do.
Lubricating The Deadbolt
Use a graphite or silicone-based lubricant. Avoid oil sprays as they attract dust. Apply a small amount inside the keyhole and on the bolt. Move the key back and forth to spread the lubricant. This keeps the parts moving without sticking.
Regular Cleaning
Clean the exterior with a soft cloth and mild soap. Avoid harsh chemicals that can damage the finish. Wipe the keyhole gently to clear dust and dirt. Keeping it clean prevents jams and rust. Do this every few months for best results.
When To Replace Parts
Check for signs of wear like rust or loose screws. If the deadbolt sticks or the key turns hard, parts may need replacing. Replace worn springs or broken screws quickly. Timely repairs keep the lock reliable and secure.

Credit: www.walmart.com

Credit: brinkslocks.com
Frequently Asked Questions
How Do I Install A Brinks Deadbolt Lock?
To install a Brinks deadbolt, first remove the old lock. Align the new deadbolt with the door holes. Secure it with screws. Finally, test the lock for smooth operation.
What Tools Are Needed For Brinks Deadbolt Installation?
You need a Phillips screwdriver, tape measure, pencil, and drill. These tools help you accurately position and secure the deadbolt on your door.
How Long Does Installing A Brinks Deadbolt Take?
Installing a Brinks deadbolt usually takes 20 to 30 minutes. Time depends on your experience and door type.
Can I Install A Brinks Deadbolt On Any Door?
Yes, Brinks deadbolts fit most standard doors. Ensure your door is 1-3/8 to 1-3/4 inches thick for proper fit.
Conclusion
Installing a Brinks deadbolt adds extra security to your door. Follow the steps carefully for a proper fit. Double-check that all parts work before finishing. A well-installed lock helps keep your home safe. Take your time and use the right tools.
Soon, you will have a stronger, more secure door. Simple steps, clear instructions, and patience lead to success. Enjoy the peace of mind that comes with it.