Are you ready to add extra security to your door but unsure how to create the perfect hole for your deadbolt? You might think this is a job for professionals only, but with the right steps, you can do it yourself and save time and money.
Imagine the peace of mind you’ll feel knowing your home is safer because you took control. In this guide, you’ll discover simple, clear instructions that anyone can follow. By the end, you’ll have the confidence and skills to install your deadbolt like a pro.
Keep reading to unlock the secrets to a secure door!

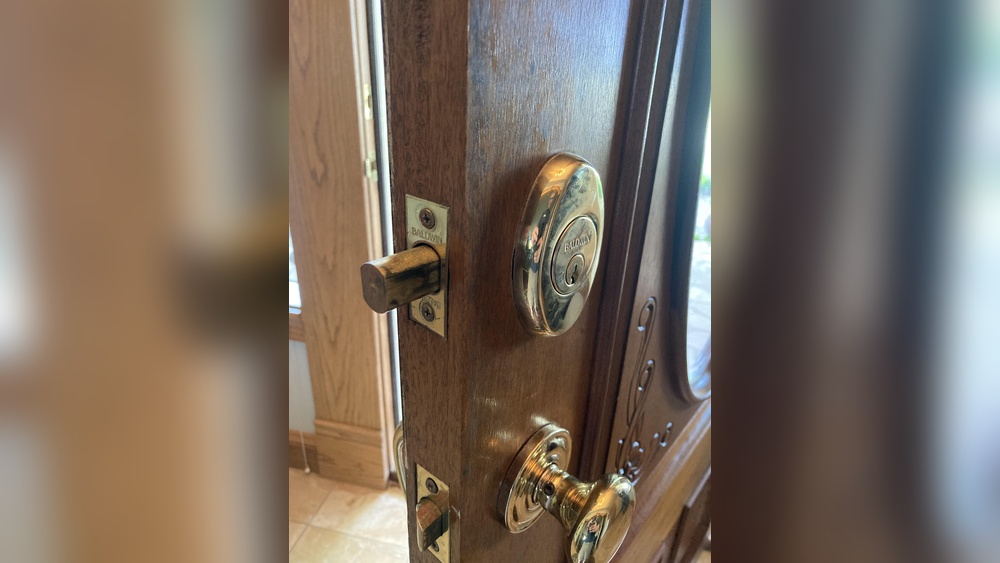
Credit: www.parkavenuelocks.com
Tools And Materials Needed
Creating a hole for a deadbolt needs the right tools and materials. These ensure the job is safe and done well. Using proper tools also saves time and reduces mistakes.
Prepare all items before starting. It makes the process smooth and easy. Below are the key tools and materials needed for the task.
Choosing The Right Drill
A cordless drill works best for this project. It offers power and control. Pick a drill with at least 12 volts for steady drilling.
Check the drill’s speed settings. Lower speeds prevent wood from splintering. Make sure the drill has a comfortable grip for better handling.
Selecting The Hole Saw
Use a hole saw that matches your deadbolt size. Most deadbolts need a 2 1/8 inch hole saw. This fits the lock body perfectly.
Choose a bi-metal hole saw for durability. It cuts cleanly through wood and metal. Sharpened teeth help make smooth holes.
Additional Supplies
Gather a tape measure and pencil for marking the door. Mark the hole center accurately to avoid errors. A chisel and hammer help with fine adjustments.
Use safety goggles to protect your eyes. Sandpaper smooths rough edges after drilling. Keep a vacuum handy to clean wood dust.

Credit: www.youtube.com
Measuring And Marking The Door
Measuring and marking the door is the first step to installing a deadbolt. Accurate measurements ensure the lock fits perfectly and works smoothly. Take your time to mark the right spots on the door before drilling. This helps avoid mistakes and saves effort later.
Determine Deadbolt Height
Decide the height for your deadbolt. Most deadbolts are placed about 6 to 12 inches above the door handle. Use a tape measure to find this spot on the door edge. Mark the height clearly with a pencil. This height feels natural and provides good security.
Marking The Door Face
Hold the deadbolt template or the lock itself against the door face. Align it with the height mark you made. Use a pencil to mark the center point for the hole on the door face. This is where you will drill the main hole for the lock cylinder. Check your marks twice for accuracy.
Marking The Door Edge
Next, mark the hole on the door edge. This hole is for the deadbolt latch. Place the template on the door edge aligned with the previous marks. Mark the center point for the latch hole carefully. Make sure the marks on the door face and edge line up straight. This alignment is key for smooth lock operation.
Drilling The Face Hole
Drilling the face hole is a key step in installing a deadbolt lock. This hole goes through the door’s surface and holds the lock body. Doing this right ensures the deadbolt fits snugly and works well.
Setting Up The Drill
Choose a drill with a hole saw bit that matches the lock size. Mark the exact spot on the door where the hole will go. Use a pencil and a template if available. Secure the door to stop it from moving while drilling. Wear safety glasses to protect your eyes.
Drilling Technique
Start drilling slowly to avoid slipping. Keep the drill steady and straight at all times. Apply gentle pressure; let the drill do the work. Drill halfway through the door, then flip the door over. Drill from the other side to finish the hole cleanly. This prevents splintering around the edges.
Preventing Door Damage
Place painter’s tape over the drill spot to reduce splintering. Use a scrap piece of wood behind the door to support the drill bit. Avoid forcing the drill; too much pressure can crack the door. Check the hole often to ensure accuracy. Clean any rough edges with sandpaper for a smooth finish.
Drilling The Edge Hole
Drilling the edge hole is a key step when installing a deadbolt. This hole allows the bolt to fit snugly into the door’s edge. Precision here ensures the lock works smoothly and securely. Taking care during this process saves time and effort later.
Aligning The Hole Saw
Start by marking the exact spot on the door edge. Use the deadbolt template or measure carefully. Position the hole saw so the center drill bit matches the mark. Hold the saw steady to avoid slipping. Correct alignment keeps the hole straight and clean.
Drilling The Edge
Drill slowly at first to create a guide hole. Apply steady pressure without forcing the saw. Let the tool do the work. Drill through the door edge until you reach the right depth. Stop often to check your progress and keep control.
Smoothing The Cut
Remove any rough edges left by the hole saw. Use sandpaper or a file for a smooth finish. Clean edges help the deadbolt fit perfectly. This step prevents the lock from sticking or damaging the door.
Installing The Deadbolt Components
Installing the deadbolt components is the next important step after creating the hole. This process ensures that your lock fits well and works smoothly. Proper installation increases security and keeps your door strong. Follow each step carefully to avoid mistakes and make the lock last longer.
Fitting The Latch
Start by placing the latch into the hole on the door edge. Make sure the latch faceplate sits flush with the door surface. Push the latch in until it fits tightly. Check that the latch bolt moves freely by turning the thumb turn or key. Adjust if the latch feels stuck or loose.
Attaching The Exterior And Interior Plates
Place the exterior plate with the keyhole on the outside of the door. Align the spindle through the latch mechanism. Then, fix the interior plate with the thumb turn on the inside. Both plates should line up perfectly. Press them gently against the door to hold in place.
Securing With Screws
Use the screws provided with your deadbolt kit. Insert screws into the holes on both plates. Tighten each screw evenly, but do not overtighten. Check that the plates remain flush with the door surface. Test the lock operation to ensure smooth turning after securing.
Testing And Adjustments
Testing and adjustments are key to a secure deadbolt installation. This step ensures your lock works smoothly and keeps your door safe. Small tweaks can make a big difference in the lock’s performance.
Checking Lock Functionality
Start by turning the key or thumb turn to check the lock’s movement. The bolt should slide in and out without sticking. Test the lock from both sides of the door. Make sure the key turns easily and the bolt fully extends into the strike plate.
Making Necessary Adjustments
If the lock feels stiff or doesn’t fully lock, adjust the strike plate position. Loosen the screws and move the plate slightly up, down, or sideways. Tighten screws and test the lock again. Also, check the deadbolt hole size. It should fit the bolt snugly but not too tight.
Ensuring Door Security
Check the door frame around the deadbolt hole. It must be solid and free of cracks. Add extra screws or reinforcement plates if needed. Close the door and lock it. Give the door a strong push to confirm it stays locked. This step helps protect your home from forced entry.
Safety Tips And Best Practices
Creating a hole for a deadbolt is a task that needs careful attention. Safety should be your top priority throughout the process. Following some basic tips and best practices helps prevent accidents and damage.
Wearing Protective Gear
Always wear safety glasses to protect your eyes from flying debris. Use ear protection to reduce noise from power tools. Gloves protect your hands from sharp edges and splinters. A dust mask prevents inhaling harmful particles. Dressing properly keeps you safe and comfortable.
Working With Caution
Check the area for wires or pipes before drilling. Use a steady hand to guide the drill slowly. Keep your fingers away from the drill bit. Take breaks if you feel tired or distracted. Move carefully to avoid slips and mistakes.
Maintaining Tools
Keep drill bits sharp for clean, easy cuts. Clean your tools after each use to prevent rust. Inspect cords and plugs for damage regularly. Store tools in a dry place to extend their life. Well-maintained tools work better and safer.

Credit: www.familyhandyman.com
Frequently Asked Questions
How Do I Measure For A Deadbolt Hole?
Measure the door’s thickness and backset accurately. Mark the door’s face and edge where the hole will go. Use a template if available. Precision ensures the deadbolt fits properly and functions well.
What Tools Are Needed To Create A Deadbolt Hole?
You need a drill, hole saw bit, spade bit, chisel, tape measure, pencil, and safety glasses. These tools help make clean, precise holes for deadbolt installation safely and effectively.
Can I Install A Deadbolt Without Drilling?
No, drilling is necessary to create holes for the lock cylinder and bolt. Proper installation requires precise holes to ensure security and functionality. Skipping drilling compromises lock performance.
How Deep Should The Deadbolt Hole Be Drilled?
Drill the face hole to the thickness of the deadbolt cylinder, usually 2 1/8 inches in diameter. The edge hole should match the bolt’s length, typically about 1 inch deep. Accurate depth ensures proper lock operation.
Conclusion
Creating a hole for a deadbolt can be simple with the right steps. Measure carefully and use the correct tools for the best fit. Take your time to avoid mistakes and ensure security. Safety matters, so wear protective gear during the process.
This guide helps you add a strong lock to your door easily. Now, your door is ready for a secure deadbolt installation. Small effort leads to better home safety. A secure door means peace of mind every day.