Are you ready to take control of your home’s lighting? Knowing how to connect a light to a light switch is a simple skill that can save you time and money.
Imagine flipping a switch and instantly brightening your room exactly when you want. Whether you’re fixing a loose connection or installing a new fixture, this guide will walk you through every step clearly and safely. By the end, you’ll feel confident handling your own light switch wiring like a pro.
Keep reading to discover how easy it really is!
Credit: www.youtube.com
Tools And Materials Needed
Connecting a light to a light switch requires specific tools and materials. Having the right items makes the job easier and safer. Preparing everything before starting saves time and avoids mistakes.
Essential Tools
You need a few basic tools to connect a light to a switch. A screwdriver is necessary for removing and installing screws. Wire strippers help to remove the insulation from the wires. A voltage tester checks if the wires carry electric current. Needle-nose pliers assist in bending and shaping wires. A drill may be needed if new holes are required for mounting.
Required Materials
Gather the right materials before starting the wiring process. Electrical wires connect the switch and the light fixture. Wire nuts secure the wire connections safely. The light switch itself must match the circuit type and voltage. Electrical tape provides extra insulation for wire joints. A light fixture suitable for the room completes the materials list.
Safety Gear
Safety gear protects you during electrical work. Insulated gloves reduce the risk of electric shock. Safety glasses protect your eyes from debris. Wear clothes that cover your arms and legs. Use a sturdy ladder if you need to reach high places. Always turn off the power supply before starting the work.
Basic Wiring Concepts
Understanding the basic wiring concepts is key to safely connecting a light to a switch. Knowing how electricity flows and which wires do what helps avoid mistakes. This knowledge also makes the job faster and more accurate. This section breaks down the essential ideas you need before starting.
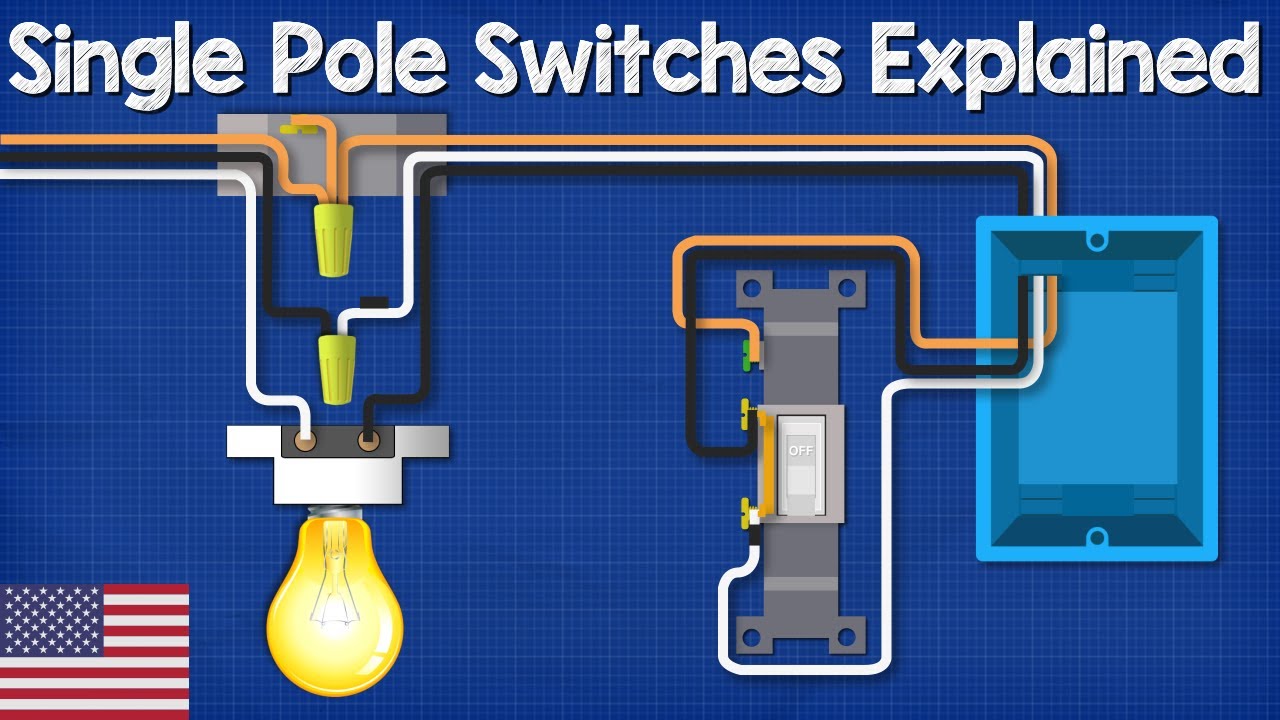
Understanding Electrical Circuits
An electrical circuit is a path for electric current to flow. It starts at the power source, moves through wires, and powers the light. The circuit must be complete for the light to turn on. Switches control the flow by opening or closing the circuit.
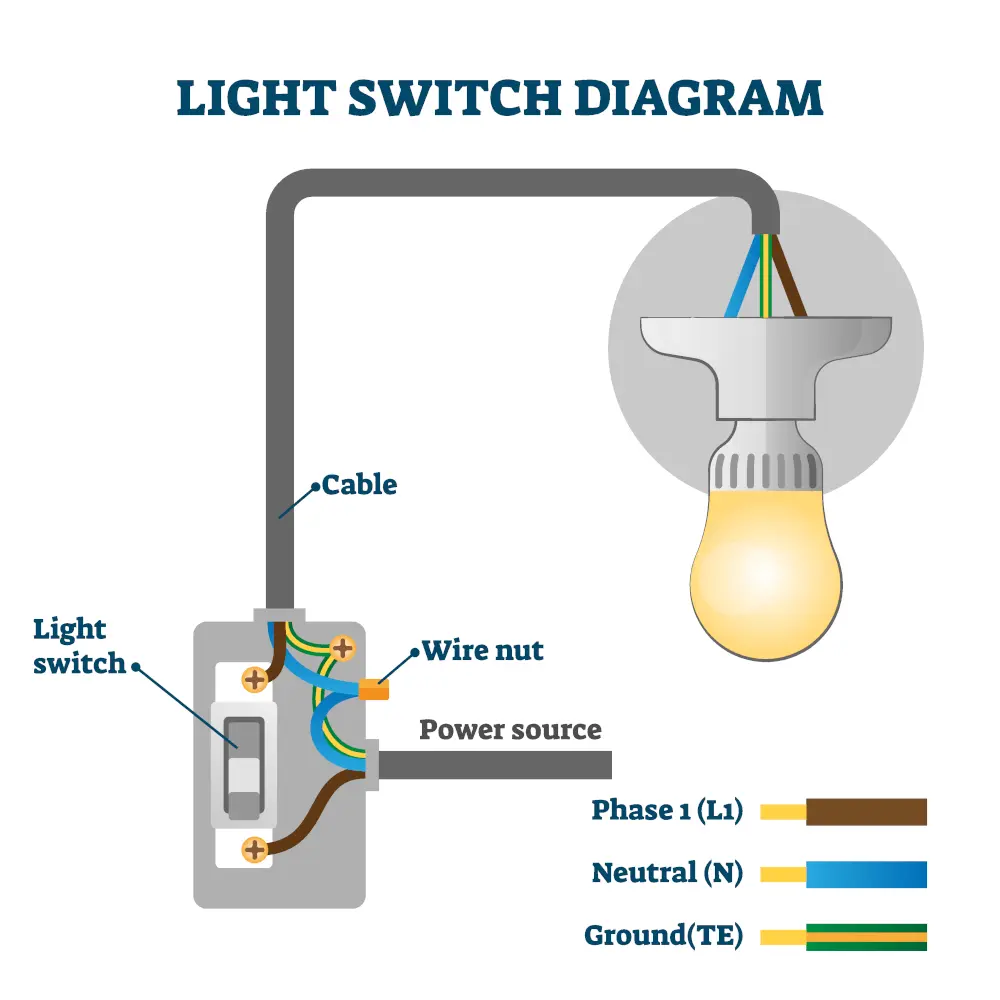
Identifying Wire Types
Different wires carry electricity in different ways. The black or red wire is usually the “hot” wire, carrying current to the light. The white wire is the “neutral” wire, returning current to the source. A green or bare wire is the ground wire, which protects from shocks.
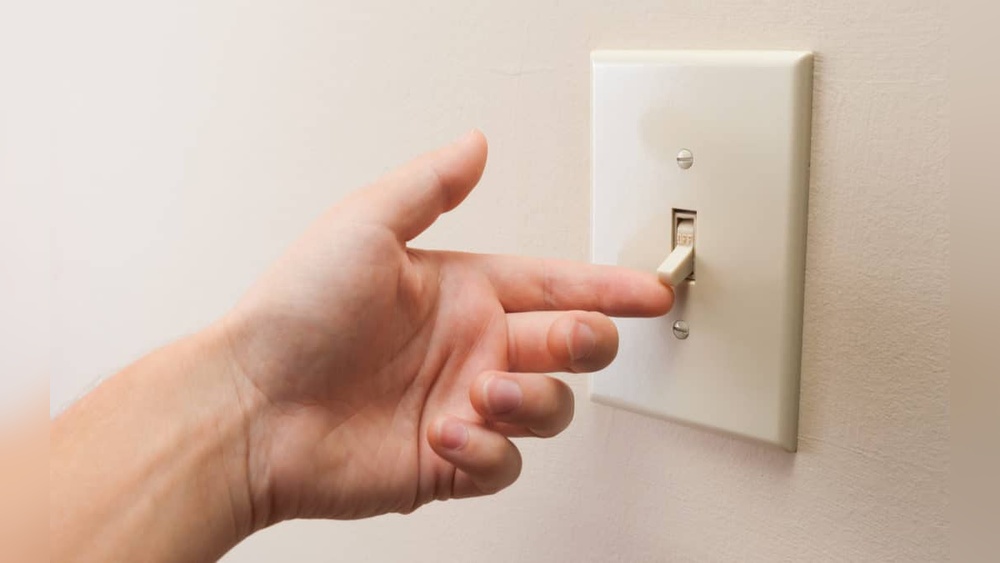
Role Of The Light Switch
The light switch acts like a gate for electricity. It stops or allows the flow of current to the light. When the switch is off, it breaks the circuit and stops electricity. When on, it completes the circuit and turns the light on.
Preparing The Wiring Setup
Preparing the wiring setup is the first step in connecting a light to a light switch. This stage ensures safety and makes the installation process smooth. Careful preparation prevents problems and keeps the work area safe. Follow these steps to prepare your wiring setup correctly.
Turning Off Power
Always turn off the power before starting any electrical work. Locate the circuit breaker that controls the light switch and switch it off. Use a voltage tester to confirm no electricity flows to the wires. This step protects you from electric shocks and injuries.
Removing Old Switch And Fixtures
Remove the cover plate on the old switch with a screwdriver. Unscrew the switch from the electrical box carefully. Gently pull the switch out to expose the wires. Disconnect each wire from the switch by loosening the screws. Also, remove any old light fixtures if needed.
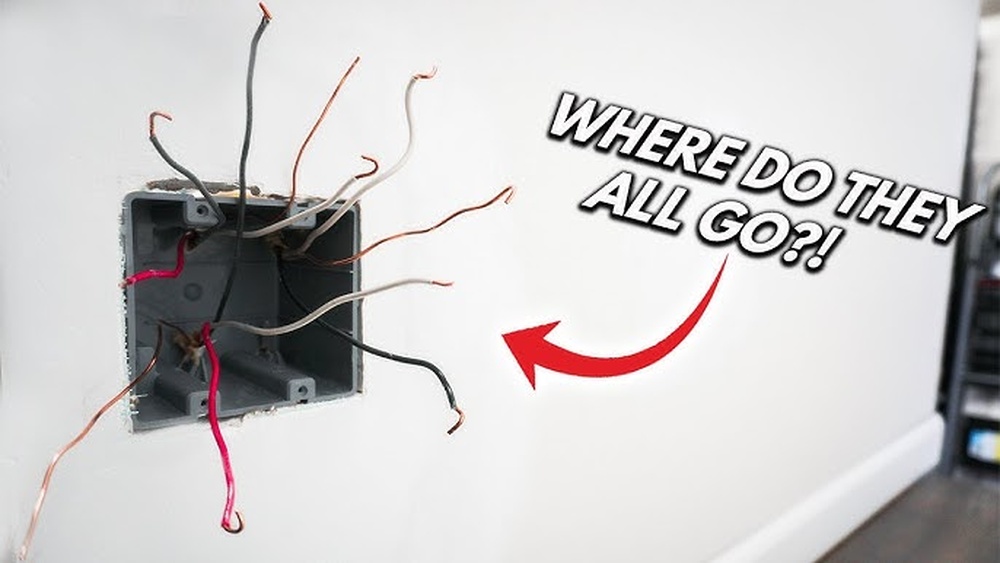
Checking Wire Condition
Inspect the wires for any damage or wear. Look for cracks, frayed ends, or exposed copper. Replace any wires that appear unsafe or brittle. Make sure the wires are clean and straight for easy connection. Good wire condition ensures a reliable and safe light switch setup.
Connecting The Light To The Switch
Connecting the light to the switch is a key step in home electrical work. It controls the light fixture by turning it on or off. This process involves wiring the switch, linking the light fixture, and securing all connections safely. Each step ensures the setup works correctly and stays safe over time.
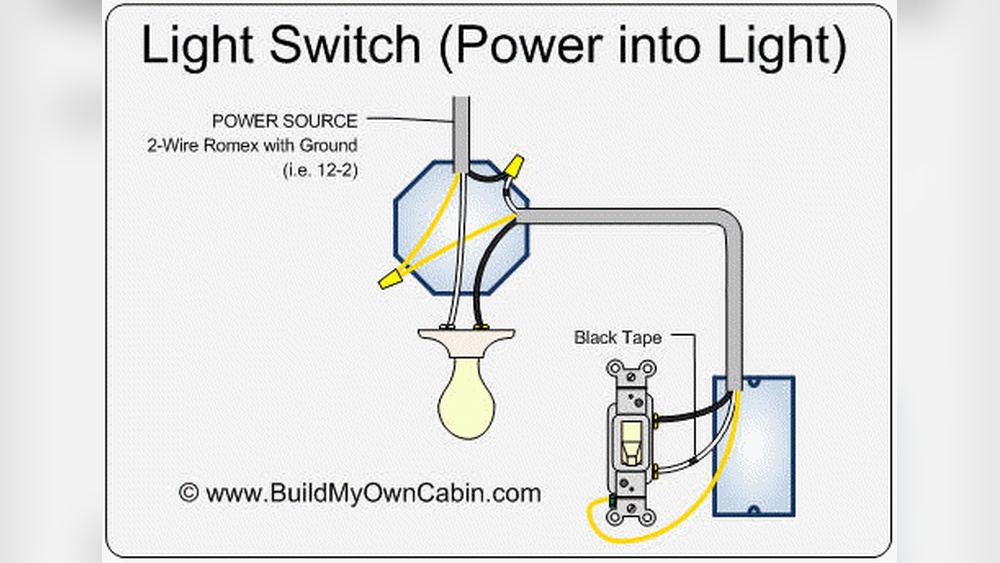
Wiring The Switch
Start by turning off the power at the circuit breaker. Identify the live wire, usually black or red. Connect this wire to the switch’s terminal. Attach the neutral wire, often white, to the switch box if needed. Use a screwdriver to tighten all screws firmly. Check that wires are not loose or exposed.
Connecting The Light Fixture
Run the wires from the switch to the light fixture. Connect the live wire from the switch to the fixture’s live wire. Join the neutral wire from the power source to the fixture’s neutral wire. Attach the ground wire, usually green or bare copper, to the fixture’s ground terminal. Ensure all wires match the correct terminals for safety.
Securing Wire Connections
Use wire nuts to join wires securely. Twist wires together before placing the wire nut. Make sure the wire nut is tight and wires do not slip out. Wrap connections with electrical tape for extra safety. Push wires carefully into the box to avoid damage. Double-check every connection before restoring power.
Testing And Troubleshooting
Testing and troubleshooting are key steps after connecting a light to a light switch. These steps ensure the connection works safely and correctly. They help find and fix problems that might stop the light from turning on or off. Follow clear instructions to check everything without risk.
Restoring Power Safely
Before testing, restore power to the circuit carefully. Switch on the main power breaker or fuse. Make sure no wires are loose or exposed. Use insulated tools and avoid touching wires directly. This prevents electric shock and damage to the system.
Testing The Switch Function
Turn the light switch on and off slowly. Check if the light responds correctly. If the light flickers, it may indicate a bad connection. Use a voltage tester to check current flow. Confirm the switch controls the light as expected.
Common Issues And Fixes
The light does not turn on: check the bulb and power supply. Loose wires cause flickering; tighten all connections. If the switch feels hot, replace it immediately. A faulty switch may need a new one. Use a multimeter to test for electrical continuity. Fix issues before using the light regularly.
Credit: futurehousestore.co.uk
Safety Tips And Best Practices
Connecting a light to a light switch needs care and attention. Safety is the top priority to avoid accidents and damage. Follow best practices to make the process smooth and secure.
Use these tips to protect yourself and your home while working with electrical wiring.
Avoiding Electrical Hazards
Turn off the power at the circuit breaker before starting any work. Test the wires with a voltage tester to ensure no electricity flows. Never touch wires with wet hands or metal tools. Wear rubber-soled shoes to reduce the risk of shock. Keep children and pets away from the work area.
Using Proper Tools
Use insulated screwdrivers and wire strippers for safe handling. Avoid using damaged or worn-out tools. A voltage tester is essential to check if wires are live. Keep your tools organized and within reach to avoid accidents. Proper tools make the job easier and safer.
When To Call A Professional
Call an electrician if you feel unsure or uncomfortable. Complex wiring or old electrical systems need expert care. A professional can prevent costly mistakes and hazards. Never ignore strange smells or sparks during work. Safety always comes first with electrical projects.

Credit: diy.stackexchange.com
Frequently Asked Questions
How Do I Safely Connect A Light To A Switch?
Turn off the power at the breaker before starting. Use a voltage tester to confirm no electricity flows. Connect the live wire from the switch to the light. Secure all connections with wire nuts and insulated electrical tape.
What Tools Are Needed To Connect Light To Switch?
You need a screwdriver, wire stripper, voltage tester, wire nuts, and electrical tape. These tools help strip wires, test power, and secure connections safely. Always use insulated tools to avoid electrical shocks.
Can I Connect Multiple Lights To One Switch?
Yes, you can connect multiple lights to one switch by wiring them in parallel. This setup allows all lights to turn on or off simultaneously. Ensure the switch and wiring can handle the total load safely.
What Wire Colors Connect Light And Switch?
Typically, black or red wires are hot (live) and connect the switch to the light. White wires are neutral and connect directly to the light fixture. Green or bare wires are ground and connect to the grounding screws.
Conclusion
Connecting a light to a light switch is simple with the right steps. Always turn off power before starting work. Use the correct wires and tools to stay safe. Double-check your connections to avoid problems. Testing the switch ensures everything works well.
Taking your time makes the job easier and safer. Now, you can control your light with confidence.