Are you tired of nails that just won’t hold or screws that keep slipping out of your walls? Installing drywall anchors can be the simple solution you’ve been looking for.
Whether you want to hang a heavy picture, mount a shelf, or secure a mirror, knowing how to install drywall anchors correctly makes all the difference. In this guide, you’ll discover easy steps to get your anchors in place quickly and securely, even if you’ve never done it before.
Keep reading, and you’ll gain the confidence to tackle your wall projects like a pro.
Types Of Drywall Anchors
Drywall anchors help hold items securely on walls. Different types suit different weights and wall conditions. Knowing each type makes installation easier and safer. Here are common drywall anchors you might use.
Plastic Expansion Anchors
Plastic expansion anchors are simple and cheap. They work well for light objects like pictures or clocks. Insert the anchor into a drilled hole. Screws expand the anchor to grip the drywall tightly.
Self-drilling Anchors
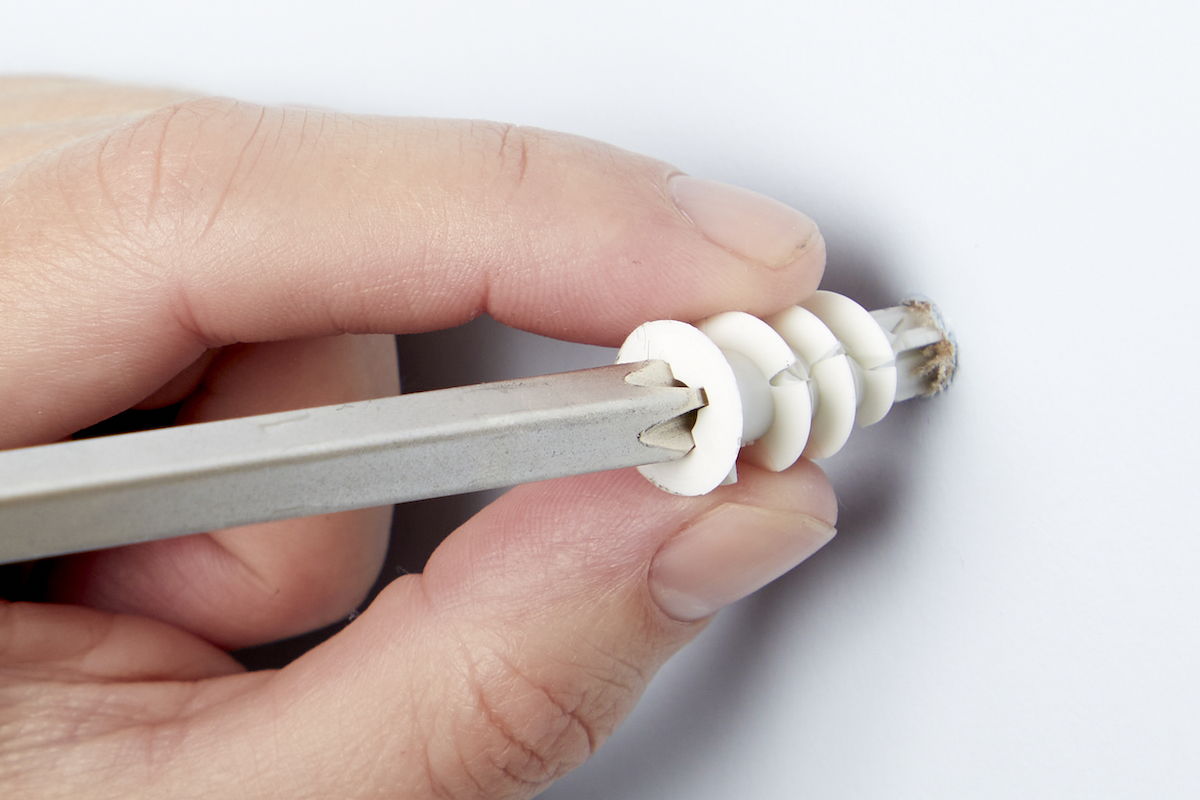
Self-drilling anchors don’t need a pre-drilled hole. You screw them directly into the drywall. They are strong and good for medium-weight items. Their sharp tip cuts into the wall for a firm hold.
Toggle Bolts
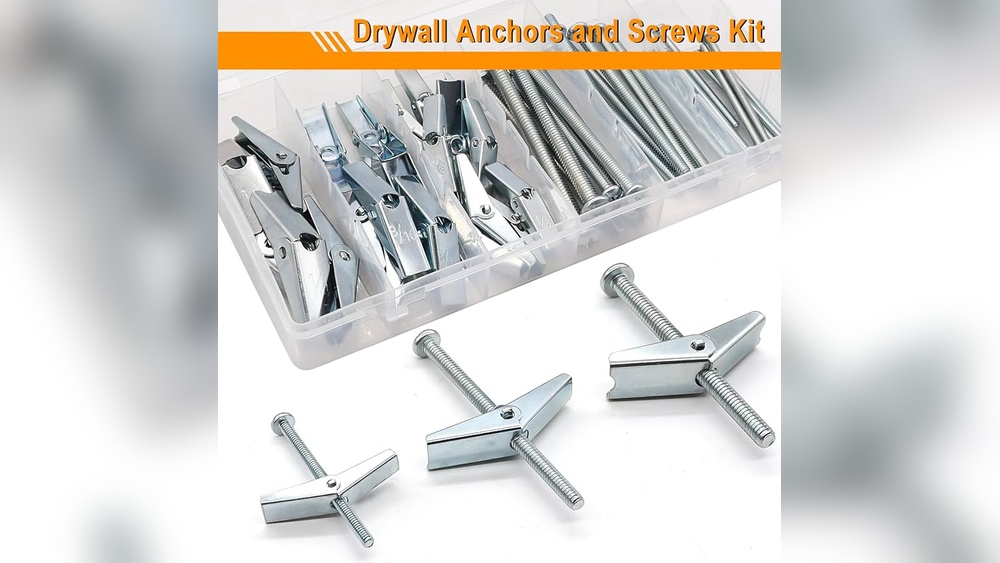
Toggle bolts are best for heavy objects. They have wings that open inside the wall. The wings spread the load over a large area. This stops the anchor from pulling out easily.
Molly Bolts
Molly bolts expand behind the wall after insertion. They create a strong anchor point inside the drywall. Good for medium to heavy items. They require a drilled hole but offer great support.
Tools Needed
Installing drywall anchors requires the right tools. These tools help make the process smooth and safe. Using proper tools also ensures the anchors hold firmly. Gather these tools before starting your project.
Drill And Drill Bits
A drill is essential to create holes in drywall. Choose drill bits that match the anchor size. The right drill bit makes drilling easy and precise. Avoid using too large or small bits.
Screwdriver
A screwdriver is needed to insert screws into the anchors. Use a screwdriver that fits the screw head well. This prevents slipping and damaging the screw or wall. Both manual and electric screwdrivers work fine.
Level
A level helps keep your installation straight. It prevents crooked holes and misaligned anchors. Hold the level against the wall before drilling. This tool ensures your items hang evenly and look good.
Measuring Tape
Measuring tape is important for accurate placement. Measure distances carefully to mark where to drill. Proper measurements avoid mistakes and uneven spacing. Use a pencil to mark spots before drilling.
Preparing The Wall
Preparing the wall is the first step to install drywall anchors properly. This step ensures the anchors hold tight and the installation is safe. Taking time to prepare the wall helps avoid damage and makes the process smoother.
Start by finding the right spots to place your anchors. Then check the wall for studs or pipes that could block your work. These simple steps save time and prevent problems later.
Marking Anchor Locations
Use a pencil to mark exact points on the wall. Measure carefully to keep the marks even and straight. Double-check the spacing between marks to fit your item.
Marking clearly guides where to drill holes. It keeps your work neat and accurate. Avoid guessing spots to prevent mistakes and extra holes.
Checking For Studs And Obstructions
Use a stud finder to locate wooden studs behind the drywall. Avoid placing anchors where a stud is. Anchors work best in hollow drywall areas.
Look for pipes or electrical wires with a sensor or by tapping the wall. Avoid drilling where these obstructions exist. This keeps your home safe and damage-free.
Credit: www.bobvila.com
Installing Plastic Expansion Anchors
Installing plastic expansion anchors is a simple way to hang items on drywall. These anchors hold screws tightly and prevent damage to the wall. They work well for light to medium loads like picture frames, shelves, and hooks.
Follow these steps to install plastic expansion anchors correctly. Doing it right ensures strong support and avoids wall damage.
Drilling The Pilot Hole
First, select a drill bit that matches the anchor size. The hole must be slightly smaller than the anchor. Drill a straight hole into the drywall. Drill only as deep as the anchor length. Clean out dust from the hole before inserting the anchor.
Inserting The Anchor
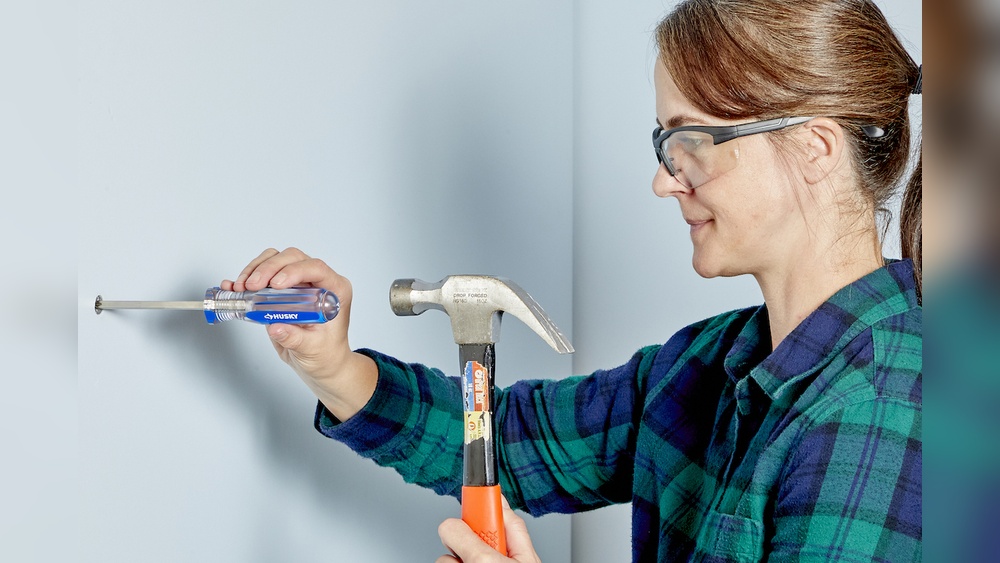
Push the plastic anchor into the hole. Tap gently with a hammer if needed. The anchor should sit flush with the wall. Do not force it too hard to avoid breaking. The anchor’s ridges grip inside the drywall for a tight fit.
Securing The Screw
Place the screw into the anchor’s center. Turn it slowly using a screwdriver. Stop when the screw feels tight and secure. Avoid over-tightening to prevent stripping the anchor. The anchor expands inside the wall, holding the screw firmly.
Installing Self-drilling Anchors
Installing self-drilling drywall anchors is a quick way to secure items on your walls. These anchors do not need pre-drilling. They cut their own hole as you screw them in. This makes the process faster and easier, especially for beginners.
Self-drilling anchors work best for light to medium weight objects. They hold tightly in drywall and reduce the risk of damage. Follow the steps below for a solid and safe installation.
Positioning The Anchor
Start by marking the spot where you want the anchor. Use a pencil to make a small dot. Check that the spot is free from studs or wires. Place the tip of the anchor at the mark. Hold it straight against the wall to avoid crooked holes.
Screwing It In Place
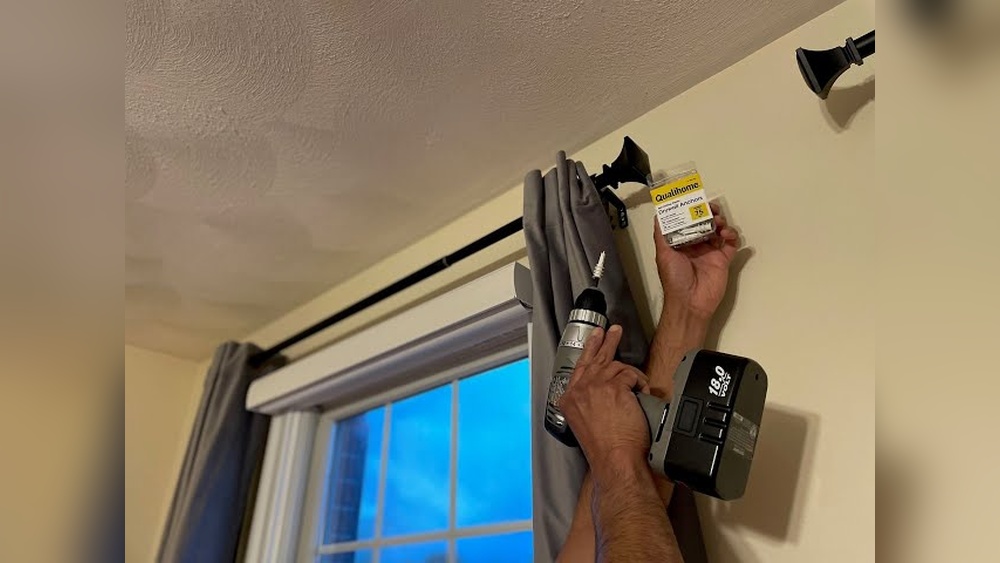
Use a screwdriver or drill with a low-speed setting. Turn the anchor clockwise. Apply steady pressure as it cuts into the drywall. Keep it straight while screwing it in. Stop once the anchor’s flange is flush with the wall surface. Avoid over-tightening to prevent damage.

Credit: www.youtube.com
Installing Toggle Bolts
Installing toggle bolts is a reliable way to hang heavy items on drywall. These anchors spread the load behind the wall, giving strong support. The process has three simple steps to follow carefully for best results.
Drilling The Hole
Start by marking the spot on the drywall. Use a drill bit size that matches the toggle bolt. Drill a hole straight through the drywall. Make sure the hole is clean and clear of dust. This step creates space for the toggle to fit inside.
Inserting The Toggle
Fold the toggle wings closed to fit through the hole. Push the toggle through the drilled hole completely. The wings will open inside the wall space. Pull back gently to make sure the toggle grips tightly behind the drywall.
Tightening The Bolt
Place the bolt through the item you want to hang. Screw the bolt into the toggle anchor slowly. Tighten until the item feels secure but avoid over-tightening. The toggle will pull tight against the inside of the wall. This holds the bolt firmly in place.
Installing Molly Bolts
Installing molly bolts is an effective way to hang heavy items on drywall. These anchors expand behind the wall for a strong hold. They work well for shelves, mirrors, and TVs. The process involves drilling a hole, setting the anchor, and securing the screw. Each step is simple and quick.
Drilling The Hole
Start by choosing the right drill bit size. Match it to the molly bolt’s diameter. Drill a hole straight into the drywall. Keep the hole clean from dust and debris. A clean hole helps the anchor fit better.
Setting The Anchor
Insert the molly bolt into the hole. Tap it gently with a hammer until it is flush with the wall. Use a screwdriver to tighten the bolt’s screw. This action expands the anchor behind the drywall. The expanding metal grips the wall firmly.
Securing The Screw
Remove the screw from the molly bolt once set. Place your item’s bracket or hook on the anchor. Insert the screw back through the bracket into the anchor. Tighten the screw until the item feels secure. Avoid over-tightening to prevent wall damage.
Tips For Stronger Holds
Strong holds keep your items safe on the wall. Drywall anchors help support weight better than nails or screws alone. Using the right techniques improves anchor strength and prevents damage. Follow these tips for a secure and lasting hold.
Choosing The Right Anchor Size
Select anchors that match your item’s weight. Small anchors fit light objects like picture frames. Larger anchors suit heavier items like shelves or mirrors. A proper fit prevents the anchor from pulling out.
Avoiding Over-tightening
Turn screws gently into anchors. Tighten just enough to hold the item firmly. Over-tightening can break the anchor or damage drywall. Stop when the item feels secure without force.
Using Anchors For Heavy Items
Heavy items need strong anchors made for high weight. Use toggle bolts or metal anchors for extra support. Check the weight limit on the package before installing. Spread the weight across multiple anchors if needed.
Common Mistakes To Avoid
Installing drywall anchors can be tricky. Many people make simple mistakes that cause anchors to fail. Avoiding these common errors helps your anchors hold strong and last longer.
Paying attention to details during installation saves time and effort. It also protects your walls from damage. Below are some common mistakes and how to avoid them.
Skipping Pilot Holes
Many skip drilling pilot holes. This causes anchors to go in crooked or break. A small pilot hole guides the anchor and reduces wall damage. Always drill a hole before inserting the anchor. This step makes installation easier and stronger.
Using Wrong Anchor Types
Not all anchors work for every job. Using the wrong type can cause anchors to slip or fail. Choose anchors based on the weight and type of item you hang. Plastic anchors work for light items. Heavy items need metal or toggle anchors. Match the anchor to your needs for best results.
Ignoring Wall Material
Drywall is not the same everywhere. Different walls need different anchors. Ignoring wall type leads to weak holds or damage. For thick drywall, use heavier anchors. For thin walls or plaster, use special anchors designed for that material. Knowing your wall helps pick the right anchor.

Credit: www.picturehangsolutions.com
Frequently Asked Questions
What Tools Do I Need To Install Drywall Anchors?
You need a drill, screwdriver, hammer, and drywall anchors. A measuring tape and pencil help mark anchor spots. These tools ensure precise, easy installation and secure mounting.
How Do I Choose The Right Drywall Anchor?
Choose anchors based on wall type and weight load. Plastic anchors suit light items; metal anchors support heavier loads. Always check anchor packaging for weight limits and wall compatibility.
Can I Install Drywall Anchors Without A Drill?
Yes, some anchors like self-drilling anchors require no drill. You can screw them directly into drywall using a screwdriver. However, a drill speeds up the process and ensures accuracy.
How Deep Should Drywall Anchors Be Installed?
Install anchors flush with the drywall surface. Avoid pushing them too deep, which weakens holding power. Proper depth ensures a firm grip and prevents wall damage.
Conclusion
Drywall anchors hold items securely on your walls. Choose the right anchor for your wall type. Drill a proper hole before inserting the anchor. Tap the anchor gently to fit it well. Screw in carefully to avoid damage. These steps make hanging easier and safer.
Practice helps improve your installation skills. Now, you can hang shelves, pictures, and more. Give your walls strong support without extra tools. Simple and clear steps lead to success. Try it yourself and see great results.