Are you tired of nails that just won’t hold your shelves, pictures, or decorations securely on the wall? Getting a nail anchor in your wall can solve that problem easily, giving your nails the extra grip they need to stay put.
Whether you’re hanging something heavy or just want to make sure your items don’t fall, knowing how to get a nail anchor right can save you time, effort, and frustration. You’ll discover simple, step-by-step tips to help you install nail anchors like a pro—even if you’ve never done it before.
Ready to make your walls stronger and your decorations safer? Let’s get started.
Choosing The Right Nail Anchor
Choosing the right nail anchor is key to a strong hold in your wall. The right choice keeps your items safe and your wall damage-free. Understanding the different types and matching them with your wall material makes all the difference.
Types Of Nail Anchors
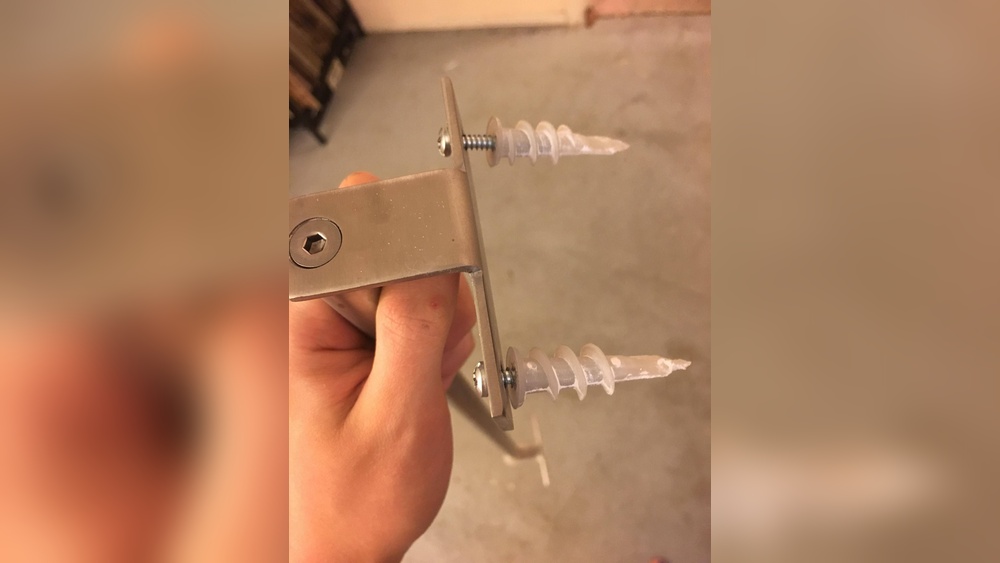
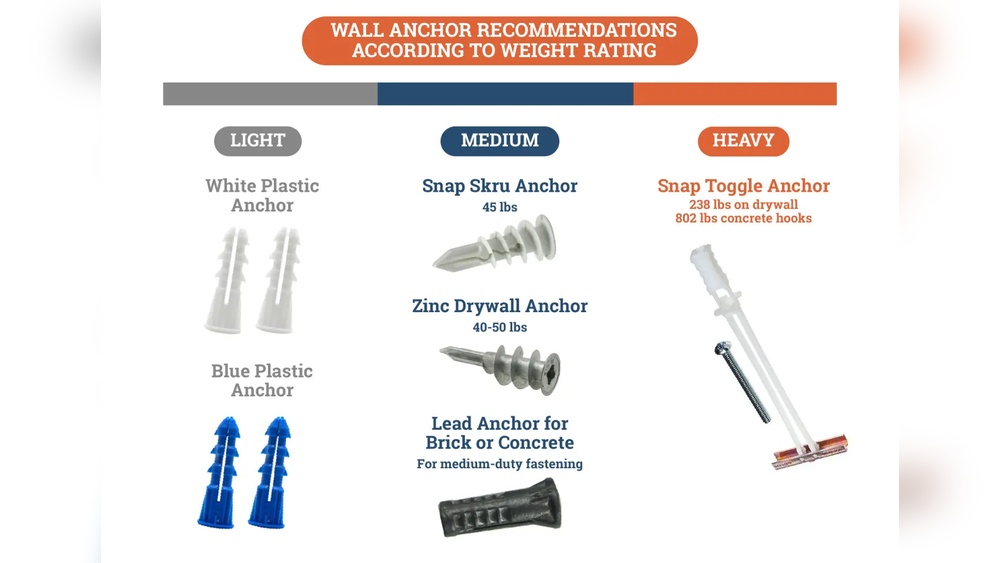
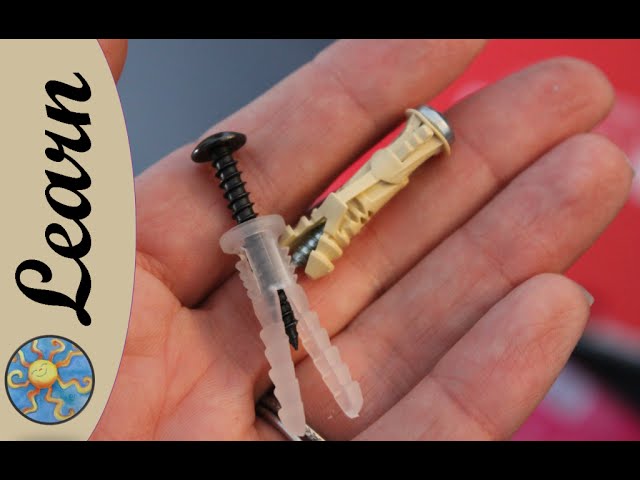
There are many nail anchor types. Plastic anchors are common and easy to use. They work well for light to medium loads. Metal anchors are stronger and suit heavier items. Toggle anchors expand behind the wall for extra grip. Each type serves a specific purpose.
Materials And Wall Compatibility
Walls vary: drywall, plaster, concrete, and brick all need different anchors. Plastic anchors fit drywall best. Metal anchors perform well in concrete and brick. Toggle anchors work great in hollow walls. Always match the anchor to the wall type for secure fixing.
Credit: www.bobvila.com
Tools Needed For Installation
Installing a nail anchor in the wall requires specific tools. Using the right tools makes the job easier and safer. Preparing all tools before starting saves time and effort.
Essential Tools
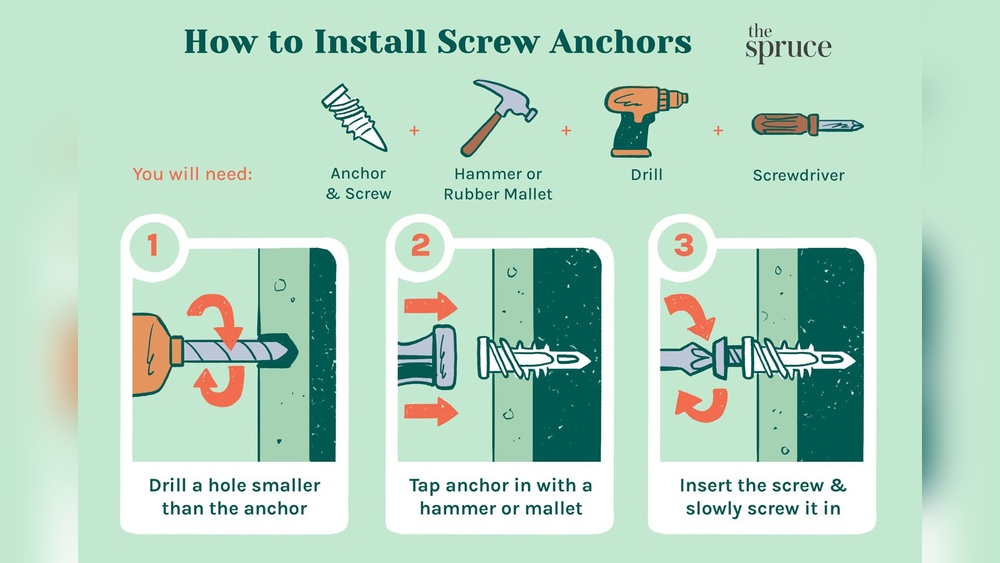
A drill is necessary to create the hole for the anchor. Choose a drill bit that matches the anchor size. A hammer helps to push the anchor into the hole. A screwdriver is needed to tighten the screw into the anchor. A measuring tape ensures correct placement of the anchor on the wall. A pencil marks the exact spot for drilling. A level keeps the anchor straight and even on the wall.
Safety Equipment
Wear safety goggles to protect your eyes from dust and debris. Use gloves to avoid cuts and scrapes on your hands. Ear protection prevents hearing damage from loud drilling noise. A dust mask stops inhalation of fine particles. Make sure the area is clear of obstacles to prevent trips or falls.
Preparing The Wall Surface
Preparing the wall surface is the first step to secure a nail anchor properly. A smooth, clean surface ensures the anchor holds tight and lasts longer. This part of the process helps avoid damage to your wall and makes the installation easier.
Locating Studs And Marking Spots
Start by finding the studs behind the wall. Studs provide extra support for heavy items. Use a stud finder or tap the wall gently to listen for solid spots. Mark the spots lightly with a pencil where you want to place the nail anchor. Accurate marks help guide your drilling and prevent mistakes.
Cleaning And Drilling Holes
Clean the wall surface to remove dust and dirt. Use a dry cloth or brush for this task. A clean surface helps the anchor stick better and keeps the hole clear. Drill a hole at each marked spot using the right drill bit size. Drill slowly and straight to avoid wall damage. Remove any dust from the hole before inserting the anchor.
Installing The Nail Anchor
Installing the nail anchor in your wall is a simple process. It helps hold items securely without damaging your wall. Doing it right ensures the anchor supports weight well and lasts long. Follow these steps carefully for the best results.
Inserting The Anchor Properly
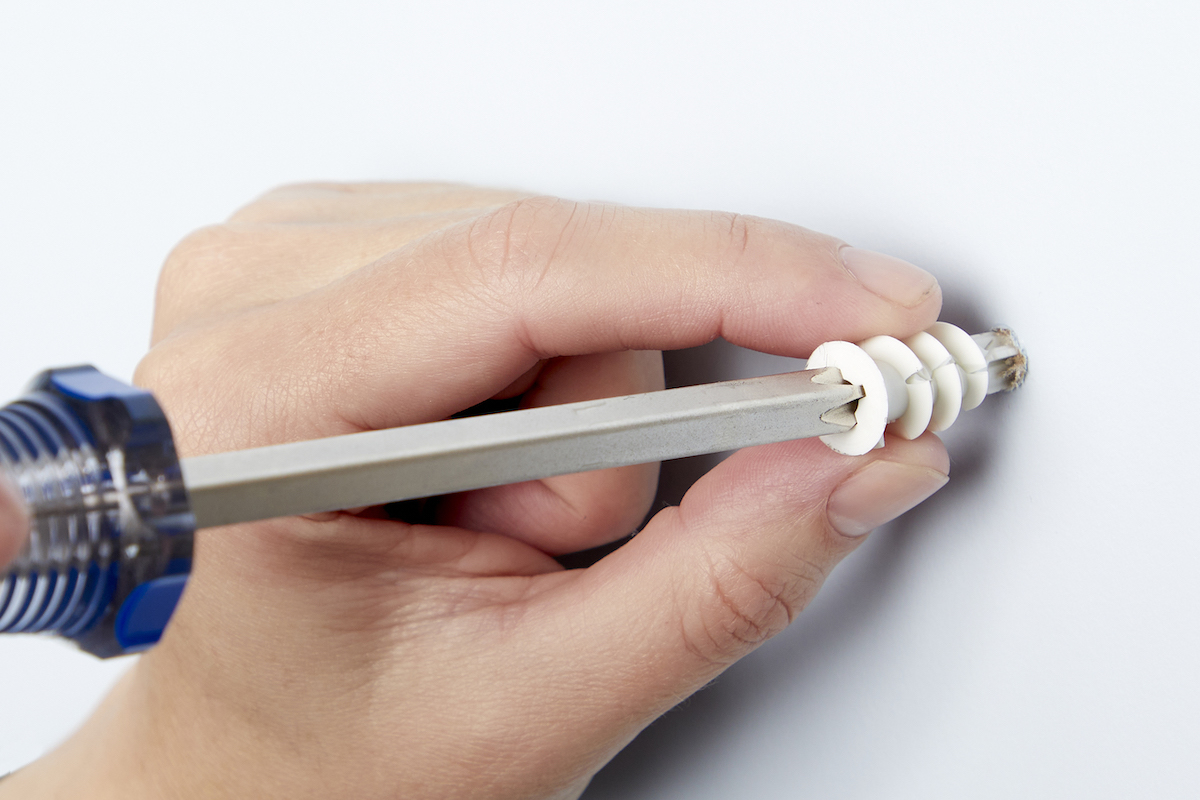
Start by choosing the right spot on your wall. Make sure it is clean and dry. If needed, drill a small hole first. Insert the anchor straight into the hole. Push it gently but firmly until it sits flush with the wall. Avoid forcing it at an angle. This keeps the anchor stable and ready for use.
Securing The Nail For Strong Support
Next, place the nail inside the anchor. Tap it lightly with a hammer. The nail should go in smoothly without bending. Stop tapping once the nail is secure and the anchor expands inside the wall. This expansion creates a tight grip. It holds the nail firmly and supports heavy items with ease.
Testing Anchor Strength
Testing the strength of a nail anchor in a wall is key to secure mounting. It ensures the anchor will hold the item safely without slipping or breaking. This step helps prevent damage to walls and items hung on them.
Checking anchor strength is simple and can save time and cost later. It involves understanding weight limits and doing load tests. Troubleshooting can fix common problems that appear during testing.
Weight Limits And Load Testing
Each nail anchor has a weight limit. This limit tells how much weight it can hold safely. Check the package or product details for this number.
Load testing means gently applying weight to the anchor. Start with a small weight and slowly add more. Watch for any movement or pulling.
If the anchor holds the weight without moving, it is strong enough. Stop adding weight once you reach the limit. Never exceed the recommended weight.
Troubleshooting Common Issues
Sometimes anchors fail to hold weight properly. This might be due to wrong installation or weak wall material.
If the anchor slips, try tightening the nail or repositioning it. Make sure to use the right type of anchor for your wall.
For drywall, use anchors designed for hollow walls. For brick or concrete, use heavy-duty anchors made for solid walls.
Replace damaged or weak anchors with new ones. Testing again after fixing issues ensures safety.
Credit: www.youtube.com
Tips For Long-lasting Support
Getting strong support from nail anchors is key for hanging heavy items. Proper use ensures anchors hold tight and last long. Follow simple tips to protect your wall and keep anchors secure over time.
Avoiding Wall Damage
Choose the right anchor for your wall type. Drywall, plaster, and concrete need different anchors. Drill holes carefully to avoid cracks or chips. Use a drill bit that matches the anchor size. Do not force the anchor into a small hole. Gently tap it with a hammer if needed. Over-tightening screws can damage the wall and weaken support.
Maintenance And Inspection
Check your anchors regularly, especially for heavy items. Look for signs of loosening or wall damage. Tighten screws if they feel loose, but do not overtighten. Remove dust or debris around anchors to keep them secure. Replace any anchor showing cracks or wear. Regular care extends the life of your wall anchors.

Credit: www.youtube.com
Frequently Asked Questions
What Tools Do I Need To Install A Nail Anchor?
You need a drill, appropriate drill bit, hammer, and the nail anchor itself. A level and pencil can help with marking the spot for accuracy.
How Do I Choose The Right Nail Anchor For My Wall?
Select anchors based on wall type and load weight. Plastic anchors suit drywall, while metal ones fit masonry or concrete.
Can I Install A Nail Anchor In Drywall Alone?
Yes, nail anchors work well in drywall for light to medium loads. Avoid heavy items without proper support.
What Is The Correct Drill Bit Size For Nail Anchors?
Use a drill bit matching the anchor’s diameter for a snug fit. Check the anchor packaging for exact size recommendations.
Conclusion
Getting a nail anchor in the wall is simple with the right steps. Start by choosing the correct anchor for your wall type. Drill a small hole, insert the anchor, and tap the nail gently. This method helps hold items securely on your wall.
Taking care during installation prevents damage and ensures stability. Practice a few times to build confidence. Now, hanging shelves or pictures feels easier and safer. Try it yourself and see how strong your wall holds. Small effort, big results.