Is your bathroom light switch acting up? Maybe it flickers, won’t turn on, or feels loose when you touch it.
These small problems can be frustrating, especially when you just want a simple fix. But don’t worry—you don’t need to call an electrician right away. You have the power to fix this yourself, save money, and avoid the hassle. In this guide, you’ll learn easy steps to troubleshoot and repair your bathroom light switch safely and quickly.
Keep reading, and by the end, you’ll have the confidence to get your bathroom lighting back on track.

Credit: www.ccfpjamaica.com
Tools And Materials Needed
Fixing a bathroom light switch requires the right tools and materials. Having these ready makes the task easier and safer. This section lists everything needed to complete the job.
Screwdrivers
A flathead and a Phillips screwdriver work best for most switches. They help remove and tighten screws on the switch plate and wiring.
Voltage Tester
This tool checks if the power is off before you start. It prevents electric shock and ensures safety during the repair.
Wire Strippers
Wire strippers remove the plastic coating from wires. They allow you to connect wires properly to the switch terminals.
Electrical Tape
Use electrical tape to cover wire connections. It protects the wires and prevents short circuits.
Replacement Switch
A new light switch matches the old one in size and type. It is necessary if the old switch is damaged or faulty.
Safety Precautions
Always turn off the power at the circuit breaker before starting. Use a voltage tester to ensure no electricity flows to the switch. Wear insulated gloves for extra protection during the repair.
Turn Off The Power
Start by switching off the power at the circuit breaker. This stops electricity from flowing to the bathroom light switch. Never trust the wall switch alone. Use a voltage tester to be sure no electricity is present before touching wires.
Use Proper Tools
Use insulated tools made for electrical work. Regular tools can cause shocks. Insulated handles protect your hands from electricity. Keep your tools organized and within reach to avoid distractions during the repair.
Wear Safety Gear
Wear rubber-soled shoes and safety gloves. These reduce the risk of electric shock. Avoid working in wet or damp conditions. Dry hands and feet increase your safety while handling electrical parts.
Work In Good Light
Make sure the work area is well-lit. Use a flashlight or portable lamp if needed. Clear lighting helps you see wires and connections clearly. It prevents mistakes and accidents during the repair.
Keep Children And Pets Away
Keep children and pets out of the work area. Distractions can cause accidents. A safe and quiet space helps you focus on the task. Safety is key for everyone around.
Identifying The Problem
Fixing a bathroom light switch starts with finding the exact problem. Knowing what causes the issue helps you fix it fast. This section shows simple steps to identify the problem.
Check For Power Issues
First, see if the light has power. Test other lights or outlets in the bathroom. Use a flashlight or phone light if it is dark. Check the circuit breaker. A tripped breaker can stop power to the switch.
Reset the breaker by switching it off and on. If power returns, the problem was the breaker. If not, move to the next step.
Inspect The Switch
Turn off the power at the breaker before touching the switch. Remove the switch cover carefully. Look for signs of damage. Burn marks or cracks mean the switch may be bad.
Try flipping the switch several times. Sometimes, dirt or wear can block the connection. If the switch feels loose or sticky, it might need replacement.
Look For Wiring Problems
With the power off, check the wires connected to the switch. Loose or disconnected wires cause the switch to fail. Tighten any loose screws holding wires.
Look for frayed or damaged wires. Broken insulation can cause short circuits. If wiring looks bad, replace or repair it safely. Call an electrician if unsure.

Credit: diy.stackexchange.com
Turning Off The Power
Always cut the power at the breaker before fixing a bathroom light switch. This step keeps you safe from electric shock. Double-check by testing the switch to confirm the power is off.
Locate The Circuit Breaker
Start by finding your home’s circuit breaker panel. It is usually in the basement, garage, or utility room. Look for a label or list that shows which switch controls the bathroom lights.
This step is crucial to avoid electric shock. Never work on a switch while power is on.
Turn Off The Correct Breaker
Flip the breaker switch that controls the bathroom light to the “off” position. This stops the flow of electricity to the light switch. Confirm the power is off before proceeding.
If unsure, turn off the main breaker to cut power to the whole house. It is safer but less convenient.
Test The Power Is Off
Use a voltage tester or a simple appliance to check if power is off. Touch the tester to the switch wires or terminals. No light or signal means the power is off.
Double-check to avoid accidents. Safety first when working with electricity.
Removing The Old Switch
Removing the old bathroom light switch is the first step in fixing it. This process requires careful handling to avoid damage and ensure safety. Turn off the power at the circuit breaker before starting. Double-check that the switch is not live using a voltage tester.
Work patiently and follow each step carefully. This will help you remove the old switch without any issues.
Unscrew The Switch Plate
Start by unscrewing the switch plate cover. Use a flathead or Phillips screwdriver depending on the screws. Keep the screws safe for later use. Gently pull the switch plate away from the wall. This exposes the old switch and wires behind it.
Disconnect The Wires
Locate the screws or clips holding the wires on the switch. Loosen the screws using your screwdriver. Carefully pull the wires free from the switch terminals. Remember, the wires may still have electricity, so be cautious. Note how the wires are connected to help with the new switch installation.
Installing The New Switch
Installing the new bathroom light switch is the next step after removing the old one. This process is simple and does not take long. It requires careful attention to wiring and safety. Follow each step to ensure the switch works correctly and safely.
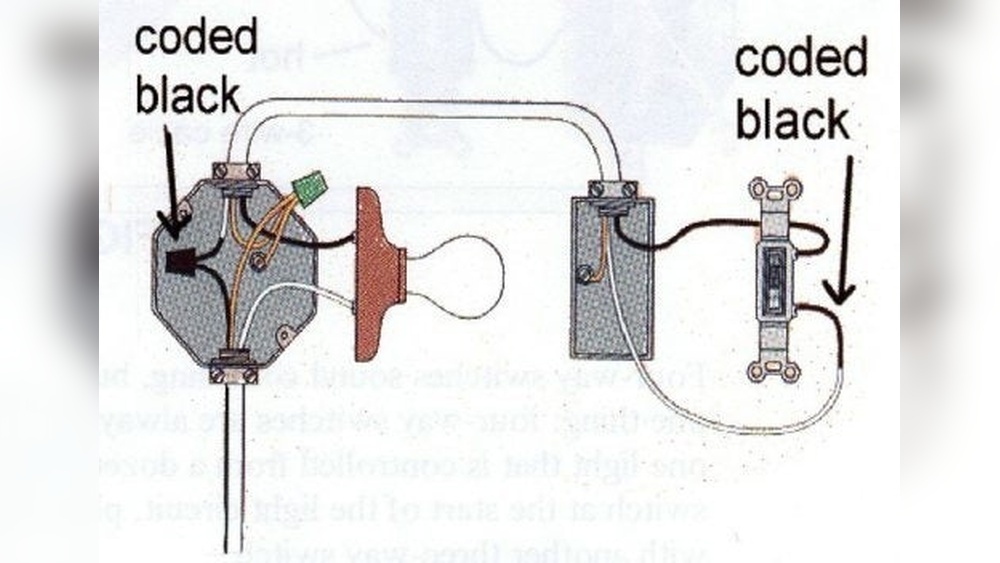
Connect The Wires
Start by matching the wires from the wall to the new switch. Usually, black or red wires connect to the brass screws. White wires connect to the silver screws if present. Use a screwdriver to tighten each wire securely. Loose wires can cause the switch to fail or create a hazard. Double-check that each wire is wrapped tightly around the screw.
Secure The Switch
Push the connected switch back into the electrical box carefully. Make sure no wires pinch or bend sharply. Use the screws provided to fix the switch firmly in place. The switch should sit flush with the wall and not move. Tighten the screws evenly to avoid damage. A stable switch prevents future electrical problems.
Attach The Switch Plate
Place the switch plate over the switch. Align the screw holes on the plate with the switch. Insert the screws and tighten gently. Do not over-tighten to avoid cracking the plate. The plate protects the wiring and gives a neat finish. Check that the plate fits well and does not wiggle.
Testing The New Switch
Testing the new switch is a key step after installation. It ensures the switch works well and safely controls your bathroom light. This process helps spot wiring errors or faulty parts early. Follow each step carefully to confirm the switch functions as it should.
Turn The Power Back On
Start by restoring electricity to the switch. Go to your circuit breaker and switch on the correct breaker. This step reactivates the switch and prepares it for testing.
Check The Switch Operation
Flip the switch up and down slowly. The bathroom light should turn on and off each time. If the light does not respond, double-check your wiring connections.
Look For Flickering Or Dim Light
Observe the light closely. Flickering or dim light can mean a loose connection or a bad switch. Tighten the wires or replace the switch if needed.
Use A Voltage Tester
Carefully test the switch with a voltage tester. This tool confirms power flows correctly through the switch. It helps ensure safety before finalizing the installation.
Final Safety Check
Make sure the switch plate is secure and no wires are exposed. A safe installation prevents shocks and hazards. Your bathroom light switch is now ready for use.

Credit: www.reddit.com
Troubleshooting Common Issues
Troubleshooting common issues with a bathroom light switch can save time and money. Many problems have simple fixes. Knowing what to check helps solve the issue quickly.
Start with basic checks before any repair. Safety is important. Turn off the power at the breaker box. Use a tester to confirm no electricity flows to the switch.
Checking For A Tripped Circuit Breaker
The first step is to check the circuit breaker. A tripped breaker can stop power to the switch. Find your home’s breaker panel. Look for any switches that are in the off position or between on and off. Flip the breaker off and then back on. Test the light switch again.
Inspecting The Light Switch For Damage
Remove the switch cover carefully. Look for signs of damage like burn marks or cracks. A damaged switch can cause failure or sparks. Replace the switch if you see damage. Use a new switch with the same rating as the old one.
Testing The Wiring Connections
Loose or disconnected wires cause many switch problems. Check the wires connected to the switch terminals. Tighten any loose screws holding the wires. Make sure wires are not frayed or broken. If wires are damaged, replace or repair them safely.
Examining The Light Bulb And Fixture
The problem may not be the switch. Check the light bulb first. Replace the bulb if it is burnt out. Inspect the fixture for damage or loose parts. Clean any dust or debris that might block the connection.
Frequently Asked Questions
How Do I Safely Turn Off Power To A Bathroom Light Switch?
Locate your home’s circuit breaker panel and switch off the circuit for the bathroom. Use a voltage tester to confirm the power is off before working on the switch.
What Tools Are Needed To Fix A Bathroom Light Switch?
You will need a screwdriver, voltage tester, wire stripper, and replacement switch. These tools ensure safe and efficient removal and installation of the switch.
How Can I Tell If The Bathroom Light Switch Is Faulty?
If the light flickers, won’t turn on, or feels warm, the switch may be faulty. Testing with a voltage tester confirms if the switch needs replacement.
Can I Replace A Bathroom Light Switch Myself?
Yes, with basic electrical knowledge and safety precautions, you can replace a bathroom light switch. Always turn off power and follow step-by-step instructions carefully.
Conclusion
Fixing a bathroom light switch can save time and money. Always turn off the power before starting work. Check wires carefully and replace any damaged parts. Use simple tools to make the job easier. Testing the switch after repair ensures it works well.
Stay safe by following all instructions closely. Small fixes like this boost your home’s comfort. You can handle basic electrical tasks with care. Keep learning to improve your DIY skills. Simple steps lead to great results every time.