Hanging a heavy picture can feel tricky and even a bit risky. You want it to stay secure on your wall without damaging the paint or, worse, falling down.
If you’re wondering how to anchor a heavy picture safely and confidently, you’re in the right place. This guide will walk you through simple, proven steps to make sure your artwork stays exactly where you want it—no stress, no mess.
Ready to learn the secrets to a strong, steady hold? Let’s get started.
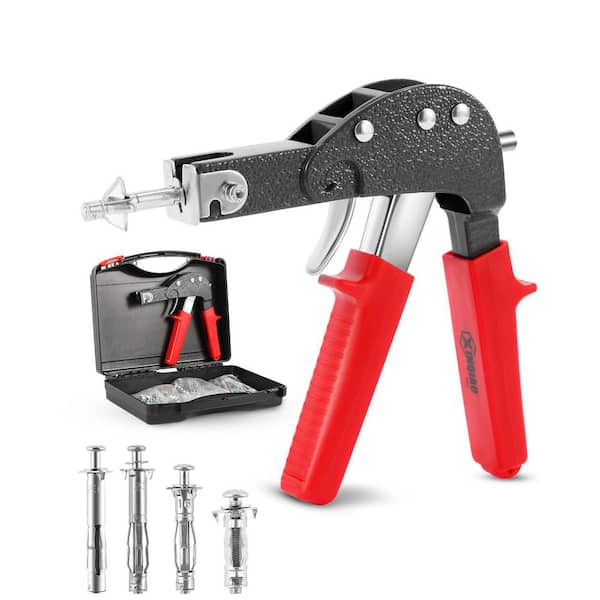
Credit: www.homedepot.com
Choosing The Right Anchor
Choosing the right anchor is key to hanging a heavy picture safely. Anchors keep your picture steady and protect your wall. The wrong anchor can cause damage or make the picture fall. Understanding types, weight limits, and wall materials helps you pick the best one.
Types Of Wall Anchors
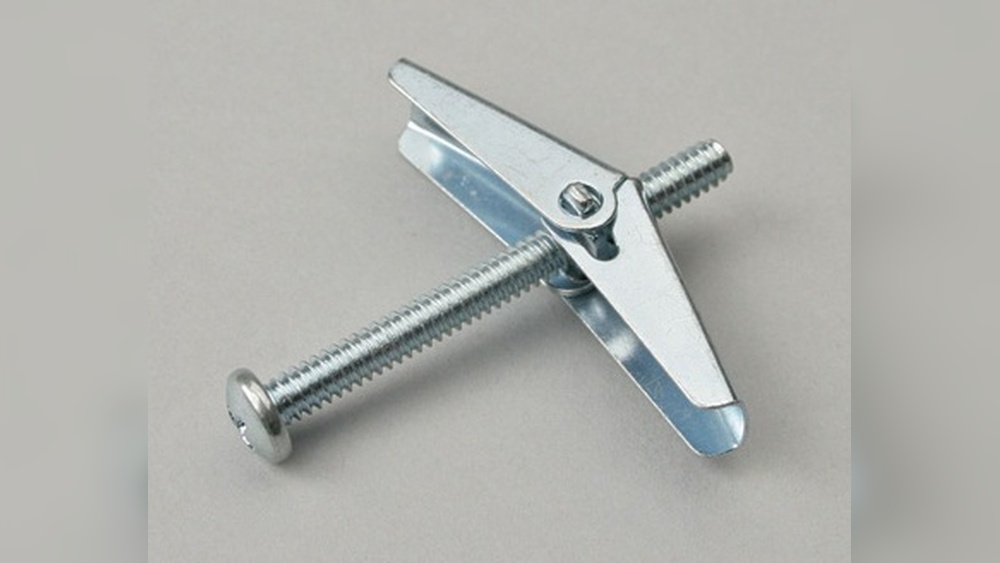
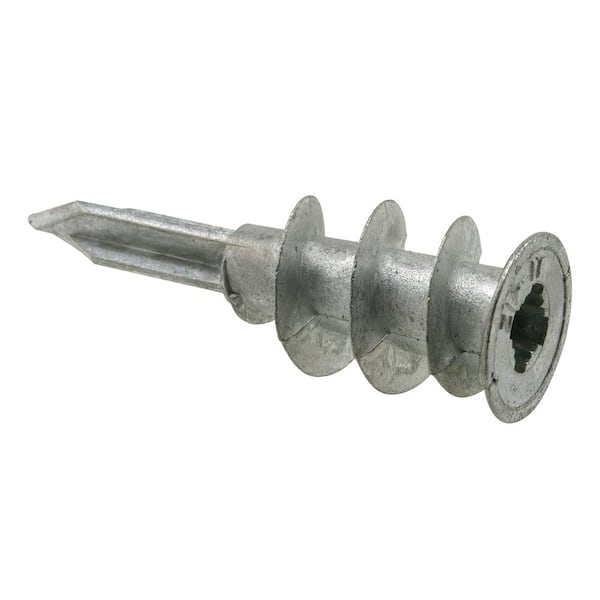
There are several anchors for different needs. Plastic expansion anchors work well for light to medium loads. They expand inside the wall for grip. Toggle bolts have wings that open behind the wall. They hold heavy items securely. Molly bolts offer strong support and can be removed easily. Choose anchors based on your picture’s weight and wall type.
Weight Capacity Considerations
Each anchor has a weight limit. Check the package for maximum weight. Always pick anchors that hold more than your picture’s weight. This gives extra safety and peace of mind. Overloading an anchor can cause it to fail. Use multiple anchors for very heavy pictures to spread the load evenly.
Matching Anchors To Wall Material
Wall material affects anchor choice. Drywall needs anchors that expand or lock behind it. Concrete or brick walls need anchors made for masonry. Wood walls allow screws directly into studs. Identify your wall type before buying anchors. Using the wrong anchor weakens the hold and risks damage.
Gathering Necessary Tools
Before anchoring a heavy picture to the wall, gather all the tools you will need. Having the right tools makes the job easier and safer. Prepare everything in one place to save time and avoid interruptions.
Check the tools carefully. Make sure they are in good condition and ready to use. This step helps prevent accidents and ensures a smooth process.
Essential Tools List
Start with a power drill. It helps make holes in the wall fast and clean. Use drill bits that match the size of your wall anchors.
Wall anchors are a must for heavy pictures. Choose the right type for your wall material. Drywall anchors work well for plaster and drywall.
Get a stud finder to locate wall studs. Anchoring into studs gives the best support for heavy frames.
Have a tape measure handy. Measure twice to place the picture perfectly on the wall.
Use a level to keep the picture straight. A crooked frame can spoil the look of your room.
Don’t forget a pencil for marking spots on the wall. Marking helps you drill accurately.
Finally, use a screwdriver or drill bit for screws. Secure the anchors and hooks firmly in place.
Safety Gear Recommendations
Wear safety glasses to protect your eyes from dust and debris. Small particles can cause injury during drilling.
Use gloves to protect your hands from sharp tools and rough edges. Gloves also improve grip on tools.
Consider ear protection if your drill is loud. Prolonged noise can harm your hearing.
Wear a dust mask if drilling into drywall or plaster. It keeps dust from entering your nose and mouth.
Preparing The Wall
Preparing the wall is the first step to safely hang a heavy picture. A strong hold depends on a good surface and correct placement. Take time to prepare the wall well. This ensures your picture stays secure and looks great.
Locating Studs And Marking Spots
Studs are wooden beams behind the drywall. They provide strong support for heavy items. Use a stud finder to locate them. Move the finder slowly across the wall. Mark the edges of each stud with a pencil. The center between these marks is the best spot for your anchor. Mark the exact points where you want to hang the picture. Double-check measurements for accuracy. Marking well saves time and prevents damage.
Cleaning And Inspecting The Wall Surface
Clean the wall before drilling or nailing. Dust and dirt reduce the anchor’s grip. Use a damp cloth to wipe the area. Let it dry completely. Check the wall for cracks, holes, or weak spots. Repair any damage with spackle or filler. Smooth the surface before hanging the picture. A clean, solid wall helps anchors hold better and keeps your picture safe.
Installing The Anchor
Installing the anchor is a key step to hang a heavy picture safely. This step holds the weight and keeps the picture stable. It requires careful work and the right tools. Follow these simple actions to do it right.
Drilling Pilot Holes
Start by marking the spot on the wall. Use a pencil for accuracy. Choose a drill bit that matches the anchor size. Drill a hole straight and clean. Avoid making the hole too big or small. A good pilot hole helps the anchor fit tightly.
Inserting Different Anchor Types
Plastic anchors push into the hole gently. Tap them lightly with a hammer if needed. Metal anchors, like molly bolts, require squeezing. Use pliers to expand them behind the wall. Toggle bolts need the wings folded first. Push the wings through the hole, then let them open.
Securing The Anchor Firmly
Check the anchor is flush with the wall. Pull it slightly to test its grip. Tighten screws slowly into the anchor. Do not force screws too hard. A firm anchor holds weight without moving. This ensures your picture stays safe and level.
Hanging The Picture
Hanging a heavy picture on the wall needs careful steps. Secure attachment keeps the picture safe and level. This part focuses on attaching hardware and mounting the picture correctly.
Proper hanging avoids damage to walls and frames. It also ensures your picture stays in place for a long time.
Attaching Hardware To The Picture
Choose strong hardware that fits your picture’s weight. D-rings or heavy-duty hooks work well. Attach them to the back frame with screws.
Measure equal distances from the top edge on both sides. This keeps the picture balanced on the wall. Tighten screws firmly to avoid any movement.
Aligning And Mounting On The Wall
Mark the wall where you want the picture to hang. Use a level to ensure the marks are straight. Drill holes and insert wall anchors for support.
Hang the picture by hooking the hardware onto the anchors. Check the picture with a level again. Adjust slightly if it’s not perfectly straight.
Testing Stability
Testing stability is a key step after anchoring a heavy picture to the wall. This step ensures the picture stays safe and secure. It helps avoid accidents and damage to walls or frames.
Take time to check the strength of the attachment. This process gives confidence that the picture will not fall. It also helps spot any weak points early.
Checking For Secure Attachment
Gently pull the picture away from the wall. Use light pressure first to see if it moves. No movement means the anchor holds well. If it shifts, the attachment is not secure.
Look closely at the hooks or screws. Make sure they are tight and fully in the wall. Check the wall surface for cracks or loose spots. These signs mean the anchor might fail.
Adjusting If Necessary
If the picture feels loose, tighten the screws or hooks. Use a screwdriver or drill for better grip. Replace weak anchors with stronger ones fit for heavy weights.
Try different anchor types if needed. Toggle bolts or wall studs provide better support. Re-check the stability after each adjustment. Keep testing until the picture feels firm and safe.
Safety Tips And Precautions
Anchoring a heavy picture to the wall needs care and attention. Safety is key. Poor installation can cause damage or injury. Following safety tips helps keep your wall and picture secure. Here are important precautions to keep in mind.
Avoiding Common Mistakes
Choose the right anchor for your wall type. Drywall anchors differ from masonry anchors. Do not use small nails or weak hooks. Check the weight limit of the anchor. Use a level to keep the picture straight. Avoid drilling too deep or in the wrong spot. Always wear safety glasses when drilling.
Maintaining Wall And Picture Safety
Check the wall for studs before hanging. Use a stud finder for accuracy. Use anchors that fit the stud size. Tighten screws but do not over-tighten. Inspect the anchor and picture hangers regularly. Replace any worn or loose parts. Keep heavy pictures out of reach of children.
Credit: www.homedepot.com
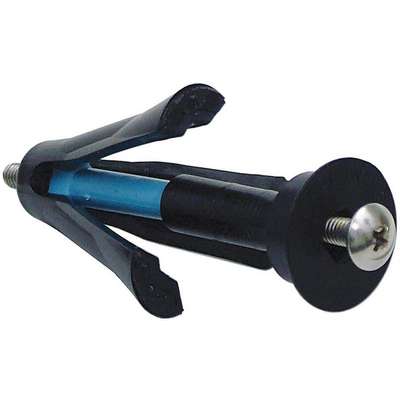
Credit: www.imperialsupplies.com
Frequently Asked Questions
What Tools Do I Need To Anchor A Heavy Picture?
You need a drill, wall anchors, screws, a level, measuring tape, and a pencil. These tools ensure secure and accurate installation for heavy pictures.
How Do I Choose The Right Wall Anchors?
Select anchors based on wall type and picture weight. Use toggle bolts for drywall and masonry anchors for brick or concrete walls.
Can I Hang Heavy Pictures On Drywall Alone?
Drywall alone is not strong enough. Use wall anchors or find studs to securely support heavy pictures and prevent damage.
How Do I Find Studs For Anchoring Heavy Pictures?
Use a stud finder to locate studs behind the wall. Mark the stud positions with a pencil before drilling for secure anchoring.
Conclusion
Anchoring a heavy picture to the wall is simple with the right tools. Choose strong anchors that match your wall type. Measure and mark carefully before drilling or hammering. Secure the anchors tightly to hold the weight safely. Check the picture’s balance once hung.
Taking these steps helps avoid damage or accidents. Enjoy your beautifully displayed artwork without worry. Safety and care make the difference every time.