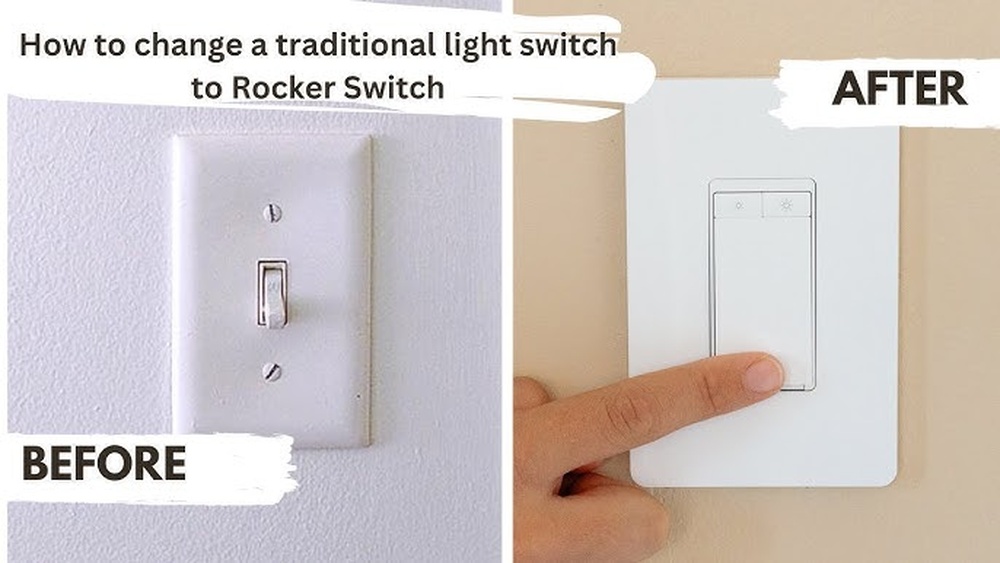
Are you looking to upgrade your light switch but unsure how to add a neutral wire? Adding a neutral to your light switch can unlock new smart switch options and improve your home’s lighting control.
It might sound tricky, but with the right steps, you can do it yourself safely and confidently. You’ll discover simple, clear instructions that will guide you through the process without any confusion. Keep reading to learn how to make this upgrade easily and take control of your lighting like a pro.
Credit: community.hubitat.com
Tools And Materials Needed
Adding a neutral wire to a light switch requires the right tools and materials. Having everything ready makes the job smoother and safer. This section lists all you need before starting.
Basic Tools Checklist
Gather these basic tools first. A flathead screwdriver and a Phillips screwdriver are essential. Wire strippers help remove insulation safely. Needle-nose pliers make bending wires easier. A voltage tester checks if wires carry current. A flashlight can brighten dark areas behind switches.
Safety Equipment
Safety is key when working with electricity. Use insulated gloves to protect your hands. Safety glasses shield your eyes from sparks or debris. Wear shoes with rubber soles to avoid shocks. Keep a fire extinguisher nearby for emergencies. Always turn off power at the breaker box before starting.
Electrical Components
You need specific electrical parts for this task. A new light switch designed for a neutral wire is required. Get a length of neutral wire, usually white, to connect. Wire nuts secure wire connections safely. Electrical tape adds extra insulation. A wall plate covers the switch for a clean finish.
Safety Precautions
Safety is the top priority when working on electrical projects. Adding a neutral wire to a light switch involves handling live wires and connections. Taking proper safety steps protects you from shocks and accidents. Follow these precautions carefully before starting your work.
Power Shutoff
Turn off the power at the circuit breaker. Never rely on just the switch to cut power. Double-check that the correct breaker controls the switch you will work on. Keep the breaker off until the job is finished.
Testing For Live Wires
Use a voltage tester or multimeter to check for live wires. Test all wires in the switch box. Confirm no electricity flows before touching wires. Repeat the test after turning off the breaker to be sure.
Proper Handling Techniques
Wear insulated gloves to protect your hands. Avoid touching metal parts with bare hands. Use tools with insulated handles for safety. Keep your work area dry and clear of clutter. Handle wires gently to avoid damaging insulation.
Identify Existing Wiring
Before adding a neutral wire to a light switch, identifying existing wiring is important. This step helps you understand the current setup. It also keeps the work safe and correct.
Knowing what wires are inside the switch box guides your next steps. It prevents mistakes and saves time. Let’s explore how to identify the wiring properly.
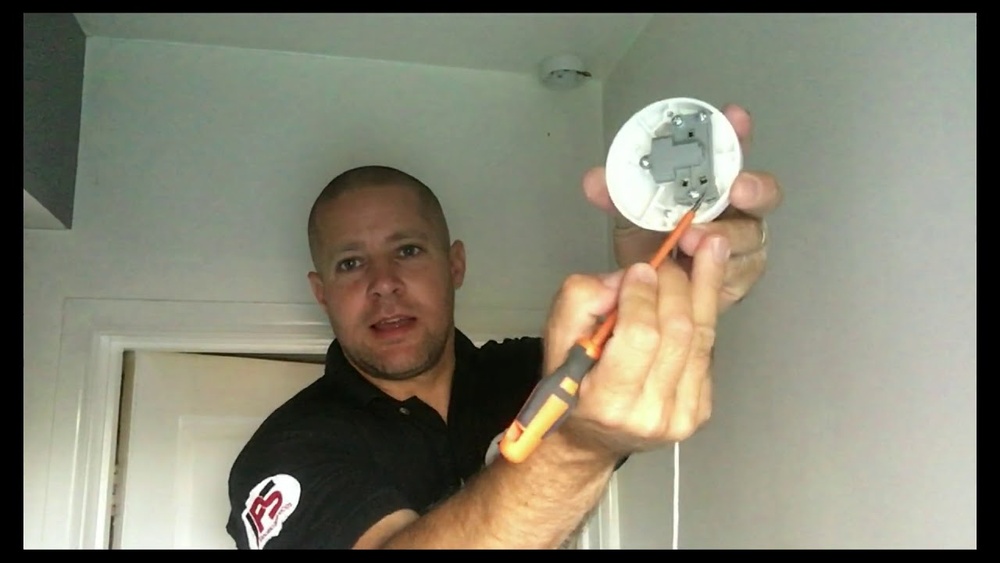
Locating The Switch Box
First, find the switch box where the light switch is installed. It is usually inside the wall near the light switch. Turn off the power at the breaker to stay safe. Remove the switch cover plate carefully using a screwdriver. Look inside to see the wires connected to the switch.
Recognizing Wire Types
Inside the box, you will see different wires. Common types are black, white, and bare copper or green wires. Black wires usually carry power. White wires are often neutral. Bare copper or green wires are ground wires. Knowing these colors helps you work correctly. Use a voltage tester to check if wires have power.
Checking For Neutral Wire
Not all switch boxes have a neutral wire. Look for white wires bundled together inside the box. If you see a white wire attached to the switch, it may not be neutral. Sometimes, neutral wires are pushed to the side and connected with wire nuts. Confirm by testing with a voltage tester. If no neutral is found, you might need to run a new wire.
Running A Neutral Wire
Running a neutral wire to a light switch is essential for many modern electrical setups. It provides a return path for electricity and helps devices work safely. This task needs careful planning and proper tools to ensure safety and code compliance. Follow each step to run a neutral wire correctly and efficiently.
Planning The Wire Route
Start by deciding the best path for the neutral wire. Look for the shortest route from the power source to the switch box. Avoid sharp bends or obstacles that could damage the wire. Measure the distance to buy the right wire length. Check for any walls or insulation that may need extra care.
Fishing The Wire Through Walls
Use a wire fish tape to pull the wire inside the wall. Make a small hole near the switch box and power source. Slowly push the tape through the wall cavity. Attach the neutral wire to the tape and pull it back carefully. Take your time to avoid damaging the wire or drywall.
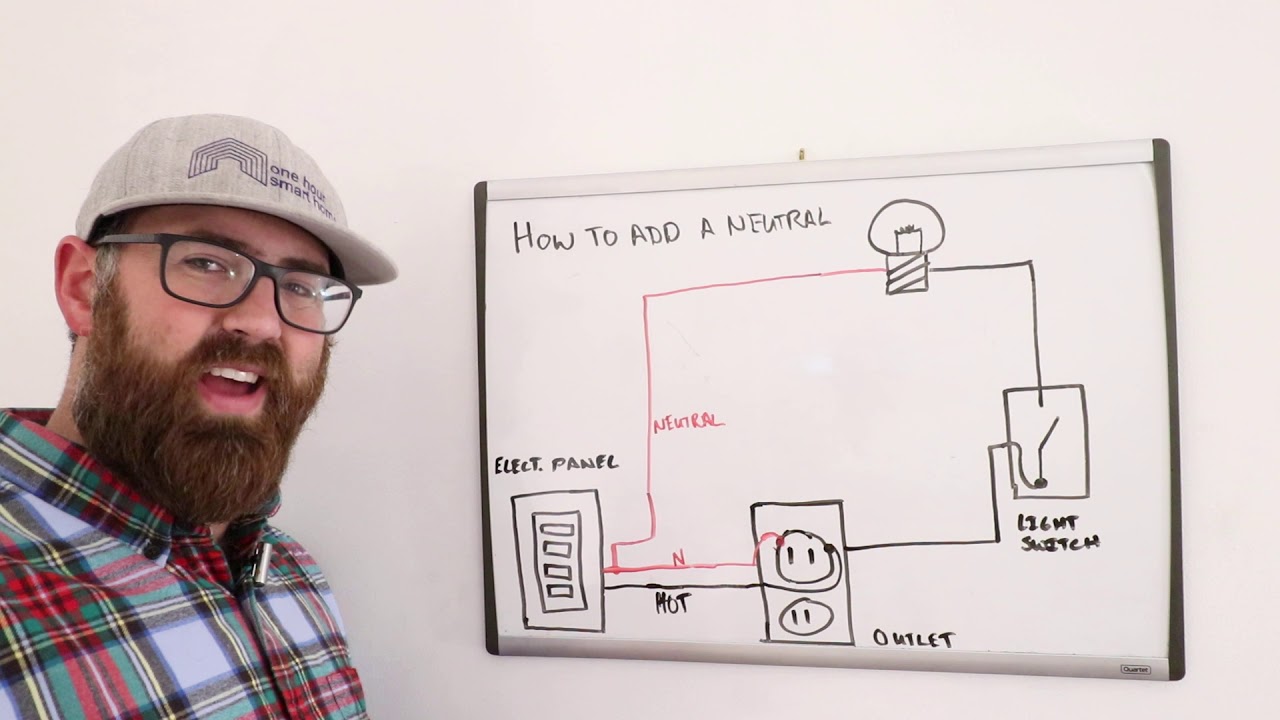
Connecting To The Neutral Bus
Turn off the main power before any connections. Find the neutral bus bar in the electrical panel. Strip the wire end and insert it under a free screw on the bus. Tighten the screw firmly to hold the wire in place. Double-check all connections for tightness and safety.
Connecting The Neutral To The Switch
Connecting the neutral wire to a light switch is an important step for safe and effective wiring. The neutral wire completes the electrical circuit and allows current to flow properly. This process requires careful handling to avoid loose connections or electrical hazards. Follow the steps below to ensure a secure and reliable connection.
Preparing The Wires
Start by turning off the power at the breaker box. Use a voltage tester to confirm no electricity flows through the wires. Strip about 3/4 inch of insulation from the neutral wire using wire strippers. Make sure the wire ends are clean and straight. This prepares the wires for a solid connection.
Making Secure Connections
Twist the exposed neutral wire ends together in a clockwise direction. Hold the wires tightly to prevent them from slipping apart. Ensure the wires are twisted evenly to create a strong bond. A loose connection can cause flickering lights or electrical shorts.
Using Wire Nuts And Connectors
Place a wire nut over the twisted neutral wires. Turn the wire nut clockwise until it feels tight and secure. Tug gently on the wires to check they do not slip out. If needed, use electrical tape around the wire nut for extra hold. This step protects the wires and prevents accidental contact.
Testing The Installation
Testing the installation is a crucial step after adding a neutral wire to a light switch. It ensures the wiring is correct and the switch works safely. This process helps avoid electrical problems and keeps your home safe.
Restoring Power Safely
Before restoring power, double-check all wire connections. Make sure wires are tight and properly secured. Turn the circuit breaker back on carefully. Stand clear of the switch while power is restored. This reduces the risk of electric shock or sparks.
Using A Voltage Tester
Use a voltage tester to confirm power is flowing correctly. Touch the tester to the switch terminals. A light or beep shows power is present. Test both the switch and the neutral wire. This step confirms the neutral wire is working as expected.
Verifying Switch Operation
Flip the switch on and off several times. Check if the light turns on and off smoothly. If the light flickers or does not work, turn off the power and recheck wiring. Proper switch operation means your neutral wire installation is successful.
Troubleshooting Common Issues
Adding a neutral wire to a light switch can sometimes cause small problems. These issues may stop the switch from working properly. Knowing how to fix these common problems can save time and effort.
Troubleshooting helps find the exact cause. It also guides the right steps to fix the issue safely.
Switch Not Working
The switch may not work if the wiring is wrong. Check if the neutral wire is connected correctly. Make sure the switch is the right type for the circuit. Test the switch by turning it on and off. Replace the switch if it feels loose or broken.
Tripped Breakers
A breaker can trip if there is a short circuit. Check the breaker panel to see if any switches are off. Reset the breaker by switching it off and on. If it trips again, there may be a wiring problem. Inspect the neutral and hot wires for damage or contact.
Loose Connections
Loose wires can cause flickering or no power. Turn off the power before checking connections. Tighten all wire nuts and screws. Ensure the neutral wire is firmly attached in the box. Loose connections can cause sparks and should be fixed quickly.

Credit: www.youtube.com
Tips For A Professional Finish
Achieving a professional finish when adding a neutral wire to a light switch is essential. It improves safety and makes future work easier. Paying attention to small details can make a big difference in the final look and function.
Organizing Wires Neatly
Keep wires straight and grouped by type. Avoid tangled or crossed wires inside the box. Use wire clips or ties to hold wires together. This prevents damage and makes the switch box look clean. Neat wiring also helps air flow and reduces fire risk.
Labeling Wires For Future
Label each wire with a clear tag or marker. Write simple names like “neutral,” “hot,” or “ground.” This helps anyone working on the switch later to understand the wiring quickly. Proper labels reduce mistakes and save time during repairs or upgrades.
Ensuring Code Compliance
Follow local electrical codes strictly. Use the right wire gauge and connectors. Check that the neutral wire meets all safety standards. Inspect work or hire a professional if unsure. Code compliance prevents hazards and ensures your installation passes inspections.

Credit: www.youtube.com
Frequently Asked Questions
What Is A Neutral Wire In A Light Switch?
A neutral wire completes the electrical circuit by returning current to the panel. It allows devices to work safely and efficiently.
Why Add A Neutral Wire To A Light Switch?
Adding a neutral wire enables smart switches and advanced lighting controls to function properly in your home.
How To Identify A Neutral Wire In The Switch Box?
Look for a white or gray wire bundled with other neutrals in the switch box. Use a voltage tester for safety.
Can I Add A Neutral Wire Without Rewiring?
In some cases, yes. You can fish a new neutral wire from the circuit or use wireless smart switches that don’t need one.
Conclusion
Adding a neutral wire to a light switch makes your wiring safer and more efficient. It helps smart switches work properly. Always turn off power before starting any work. Follow the steps carefully and use the right tools. If unsure, ask a licensed electrician for help.
Taking these steps keeps your home safe and your lights working well. Simple changes can improve your home’s electrical system. Keep learning and stay safe with every project you do.