Are you planning to add a wooden free standing wall inside your home but unsure how to secure it safely? Anchoring an interior wooden wall correctly is key to making sure it stays sturdy and reliable for years.
If you want your wall to stand strong without wobbling or causing damage, you need the right steps and tools. You’ll discover simple, clear instructions that anyone can follow to anchor your wooden wall properly. Keep reading to learn how you can turn your space into something both beautiful and built to last.
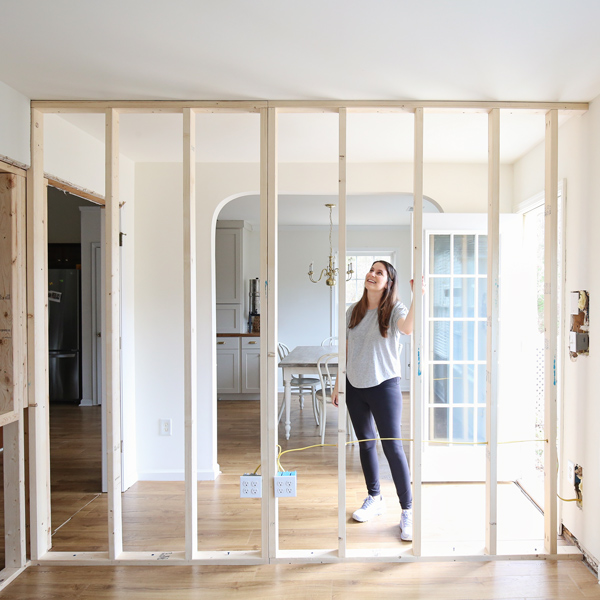
Credit: housing.berkeley.edu
Choosing The Right Wood
Choosing the right wood is key for anchoring interior wooden free standing house walls. The wood must be strong and last a long time. It should also resist moisture and damage. Selecting the proper type of wood ensures your wall stays safe and looks good.
Types Of Wood Suitable For Walls
Softwoods like pine and fir are common choices. They are easy to work with and affordable. Hardwoods like oak and maple offer extra strength. Cedar and redwood are popular for their natural resistance to decay. Choose wood that fits your budget and wall needs.
Wood Quality And Durability
Pick wood with few knots and cracks. Clear wood is stronger and lasts longer. Dry wood reduces the chance of warping or shrinking. Kiln-dried wood is often more stable than air-dried. Good quality wood supports the wall firmly and safely.
Moisture Resistance Considerations
Wood can absorb water and swell or rot. Choose wood with natural oils like cedar for better moisture resistance. Treat wood with sealants or stains to protect it. Proper ventilation also helps keep wood dry. Avoid wood types that easily absorb moisture indoors.
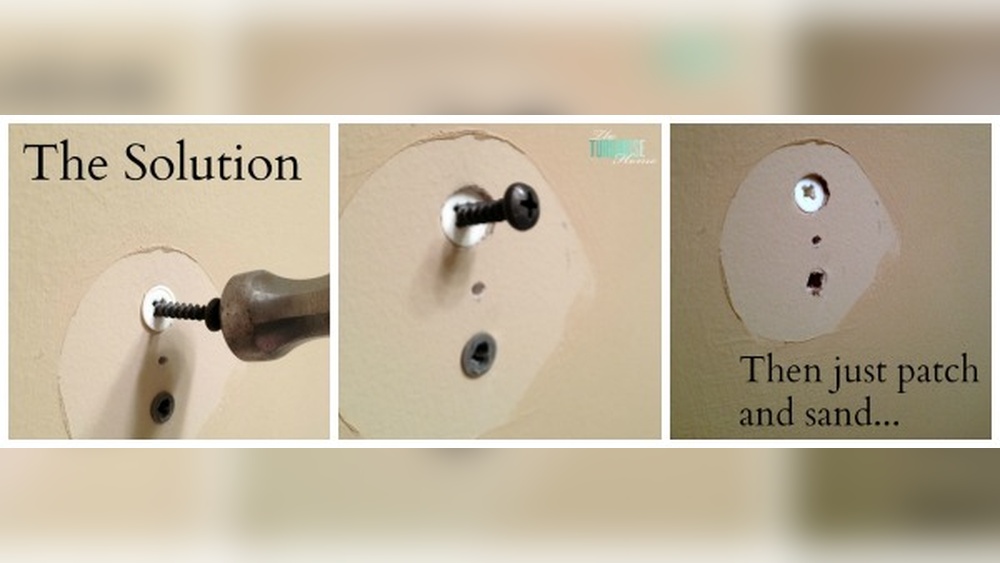
Credit: angelamariemade.com
Tools And Materials Needed
Anchoring an interior wooden free standing house wall requires the right tools and materials. Using proper equipment makes the job safer and easier. The correct fasteners and anchors hold the wall firmly in place. Safety gear protects you during the work.
This section covers all you need before starting. Prepare well for a smooth process.
Essential Tools For Anchoring
You need a drill with wood and masonry bits. A hammer helps with nails and fasteners. A tape measure ensures precise placement. A level keeps the wall straight and balanced. A screwdriver or impact driver tightens screws quickly. Clamps hold the wall steady during anchoring. A pencil marks drilling points clearly.
Fasteners And Anchors Selection
Choose screws designed for wood framing. Lag screws offer strong holding power. Use metal anchors for attaching to concrete or brick. Toggle bolts work well for hollow walls. Select anchors based on the wall material. Match the size of fasteners to wall thickness. Avoid weak or rust-prone fasteners for safety.
Safety Gear Requirements
Wear safety glasses to protect your eyes. Use ear protection to reduce loud noise. Gloves protect your hands from splinters and sharp tools. Wear a dust mask if drilling creates dust. Sturdy shoes prevent foot injuries on the worksite. Always check gear before starting work.
Preparing The Wall Frame
Preparing the wall frame is a key step before anchoring a wooden free-standing house wall. This process ensures the wall is strong and stable. Proper preparation helps avoid problems later. It saves time and effort during installation.
Start by making precise measurements and markings. Check the frame’s level and plumb. Clean and prepare the surface for the best results. Each step builds a solid foundation for your wall.
Measuring And Marking
Measure the wall frame carefully. Use a tape measure for accuracy. Mark the spots where you will place anchors. Marking helps guide you during installation. Double-check all measurements to avoid mistakes. Clear markings make the work faster and easier.
Checking For Level And Plumb
Use a spirit level to check horizontal lines. Make sure the frame is level from side to side. Use a plumb line to check vertical alignment. A wall that is not plumb can cause problems later. Fix any uneven areas before moving forward. This step ensures the wall stands straight and strong.
Surface Preparation Tips
Clean the wall frame surface thoroughly. Remove dust, dirt, and loose materials. A clean surface helps anchors hold better. Sand rough spots for a smooth finish. Check for any damage or weak spots. Repair these areas to increase strength. Proper surface preparation improves the overall stability of the wall.
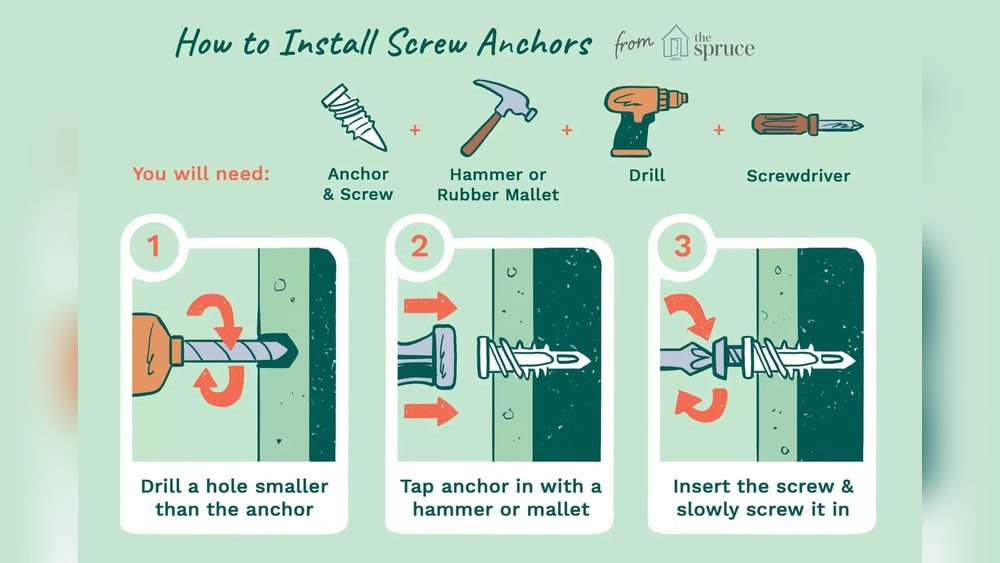
Anchor Installation Techniques
Anchor installation is a key step in securing wooden free-standing house walls. Proper techniques ensure strong, lasting support. Using the right anchors and placing them correctly prevents wall movement or damage.
This section explains the best anchor installation methods for wooden walls. Learn about anchor types, placement steps, and how to secure attachments well.
Types Of Anchors For Wooden Walls
Choose anchors that suit wood structures. Common types include lag screws, toggle bolts, and expansion anchors. Lag screws are strong and hold heavy loads well. Toggle bolts work best for hollow spaces. Expansion anchors fit tightly in drilled holes. Each type has unique features for different wall needs.
Step-by-step Anchor Placement
Start by marking the exact spots for anchors on the wall. Drill pilot holes to guide screws and prevent wood splitting. Insert anchors carefully into holes. Use a level to keep anchors straight. Tighten screws or bolts slowly to avoid damaging the wood. Check each anchor’s fit before moving on.
Ensuring Secure Attachments
Test each anchor by applying light pressure. Make sure it holds firmly without wobbling. Use washers with screws to spread pressure evenly. Avoid over-tightening to protect the wood. Regularly inspect anchors for looseness or wear. Secure attachments improve wall stability and safety.
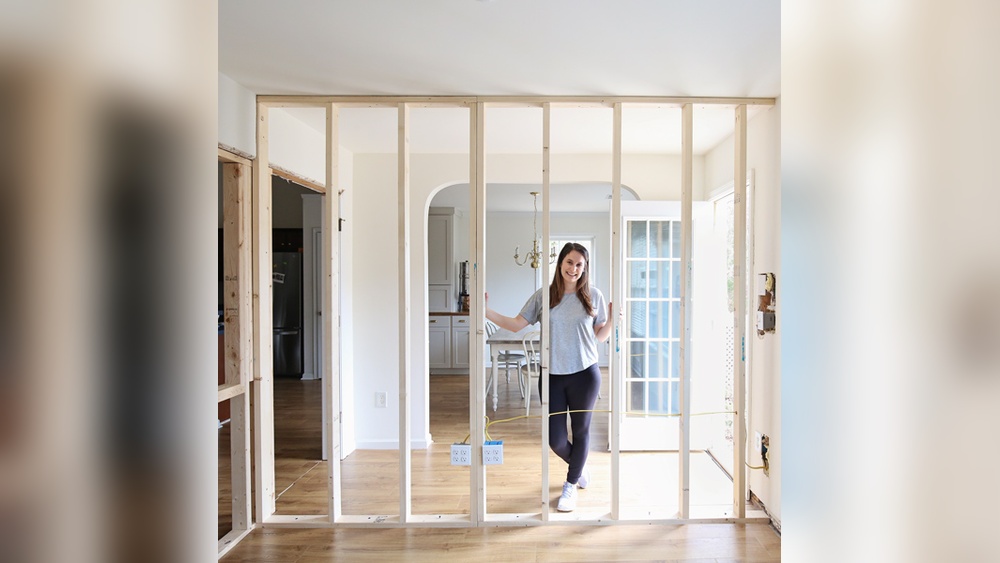
Installing The Free Standing Wall
Installing a free standing wooden wall inside a house needs care and precision. This step shapes the room and adds structure. Correct installation keeps the wall strong and safe. Follow clear steps to place and secure the wall properly.
Positioning The Wall Frame
Start by placing the wall frame in the desired spot. Check the space carefully for fit and balance. Use a level tool to ensure the frame stands straight. Mark the floor and ceiling to guide the next steps. Avoid moving the frame after marking.
Securing The Wall To Floor And Ceiling
Fix the wall frame firmly to the floor and ceiling. Use strong screws or bolts designed for wood. Drill pilot holes to prevent the wood from splitting. Tighten fasteners evenly to hold the frame steady. Double-check the frame does not wobble before moving on.
Adjustments And Alignment
After securing, check the wall’s alignment again. Adjust the frame if it tilts or leans. Use shims to fill small gaps and level the wall. Tighten all fasteners after adjustments. This step ensures the wall stays straight and stable over time.
Finishing Touches
Finishing touches make a wooden free standing house wall both strong and beautiful. They protect the wood from weather and wear. Good finishing helps keep your wall safe and looking good for years. Let’s explore important steps to complete your wall properly.
Sealing And Insulating
Sealing stops moisture from entering the wood. Use a high-quality wood sealant on all surfaces. Pay special attention to joints and edges. This prevents water damage and wood rot.
Insulating behind the wall keeps the inside warm and dry. Use foam board or fiberglass insulation. Make sure insulation fits tightly without gaps. This improves energy efficiency and comfort in your home.
Surface Treatments And Paint
Surface treatments add a layer of protection and style. Apply wood preservatives to avoid insects and fungi. Let the preservatives dry fully before painting.
Choose paint designed for exterior wood. It should resist fading, cracking, and peeling. Use a brush or roller for even coverage. Two coats of paint give the best results. Pick light colors to reflect sunlight and keep your home cooler.
Maintenance Tips For Longevity
Check your wall regularly for cracks or damage. Repair small issues quickly to prevent bigger problems. Clean the wall once a year to remove dirt and mold. Use mild soap and water with a soft brush.
Reapply sealant and paint every few years. This keeps the wood protected from weather and insects. Keep plants and soil away from the wall base. This reduces moisture and decay risks.
Common Mistakes To Avoid
Anchoring a wooden free standing interior wall needs care and attention. Small mistakes can cause big problems later. Knowing what to avoid helps keep the wall strong and safe. This section covers common errors people make during anchoring. Avoid these to ensure a solid installation.
Incorrect Anchor Types
Choosing the wrong anchor type weakens the wall’s hold. Use anchors made for wood and interior use. Metal anchors can rust inside walls. Plastic anchors may not support heavy loads. Match the anchor size to the wall thickness. Wrong anchors lead to loose or falling walls.
Poor Measurement Practices
Measuring wrong distances causes misaligned walls. Measure twice before drilling any holes. Use a level to keep the wall straight. Mark exact spots for anchors clearly. Skipping these steps leads to uneven walls. This makes the room look messy and can cause safety risks.
Ignoring Structural Support
Not anchoring to studs or beams weakens the wall. Drywall alone cannot hold the wall’s weight. Find and anchor into solid framing inside the wall. Use a stud finder to locate supports. Missing this step risks the wall falling over. Proper support keeps the wall steady and secure.

Credit: diy.stackexchange.com
Frequently Asked Questions
What Materials Are Needed To Anchor A Wooden Freestanding Wall?
You need wood studs, anchor brackets, screws, a drill, level, and measuring tape. These materials ensure a sturdy and secure freestanding wall anchor.
How Do You Secure A Freestanding Wall To The Floor?
Use metal anchor brackets fixed with heavy-duty screws into the floor. This prevents movement and provides strong support for the wall.
Can I Anchor A Wooden Wall Without Damaging The Floor?
Yes, use adjustable floor brackets or base plates designed for minimal floor impact. These options protect flooring while keeping the wall stable.
What Is The Best Method To Anchor Interior Wooden Walls?
Anchoring with metal brackets attached to both floor and ceiling offers maximum stability. Ensure brackets are properly aligned and securely fastened.
Conclusion
Anchoring a wooden free-standing wall is key for safety and strength. Use the right tools and follow steps carefully. Secure the base firmly to the floor or foundation. Check that all fasteners fit tightly and support the wall well. Regularly inspect the wall to keep it stable over time.
A well-anchored wall lasts longer and protects your home better. Take your time, work with care, and your wall will stand strong. Simple steps lead to solid results.