Have you ever wanted to control your lights without getting up or worrying about forgetting to turn them off? Changing your Leviton light switch timer can make your daily routine easier and save energy.
If you’re not sure how to do it, don’t worry—you’re in the right place. This simple guide will show you exactly how to adjust your Leviton timer step-by-step. By the end, you’ll have full control over your lighting schedule, making your home smarter and more convenient.
Let’s get started!

Credit: www.manualslib.com
Tools And Materials Needed
Before changing your Leviton light switch timer, gather all the necessary tools and materials. Having everything ready helps you work safely and quickly. It also avoids interruptions during the process.
Most tools are common and easy to find. The materials depend on the type of timer you want to install. Check the instructions of your new timer for any special parts.
Safety Gear
Use safety gloves to protect your hands from sharp edges. Wear safety glasses to guard your eyes from dust or sparks. These simple items keep you safe throughout the work.
Basic Tools
A flathead screwdriver and a Phillips screwdriver are key tools. They help remove and tighten screws on the switch plate and wiring. A voltage tester is also important to check if power is off.
Replacement Timer Switch
Choose a Leviton timer switch compatible with your wiring and light fixtures. The new timer must fit your wall box and meet your timing needs. Read product details carefully before buying.
Electrical Tape And Wire Connectors
Electrical tape insulates exposed wires to prevent short circuits. Wire connectors join wires securely and keep connections safe. Use these materials to ensure a neat and safe installation.

Credit: www.amazon.com
Safety First
Safety comes first when changing a Leviton light switch timer. Electricity can be dangerous. Taking the right steps protects you from harm. Always prepare well before starting the work.
Follow safety rules to avoid shocks or accidents. Turn off power and use the right tools. These simple steps keep you safe and make the job easier.
Turn Off The Power
Switch off the circuit breaker that controls the switch. Never rely on the wall switch alone. Use a voltage tester to confirm the power is off. This prevents electrical shocks while working.
Use Proper Tools
Use insulated screwdrivers and pliers. Regular tools may not protect you from electricity. Keep tools dry and in good condition. This helps avoid slips and shocks.
Wear Safety Gear
Wear rubber-soled shoes and safety glasses. Avoid loose clothing or jewelry. These can cause accidents or catch on wires. Safety gear protects your body and eyes.
Work In Good Light
Make sure the area is well-lit. Use a flashlight if needed. Clear surroundings to avoid tripping or knocking things over. Good lighting helps you see wires clearly.
Double-check Your Work
Before turning the power back on, check all connections. Make sure wires are tight and secure. Loose wires can cause sparks or fires. Test the switch carefully after installation.
Identify Your Leviton Timer Switch Model
Identifying your Leviton timer switch model is the first step to changing its settings. Each model has unique features and controls. Knowing the exact model helps you follow the correct instructions. It also ensures you use the right tools for adjustments.
Look at the front of the switch for any visible model numbers or names. Sometimes, the model number is on the switch faceplate or the control buttons. If you cannot find it there, turn off the power and remove the switch cover.
The model number often appears on the back or inside the switch. This information is essential for finding the user manual or online guide. It can save time and avoid mistakes during the timer change process.
Check The Front Panel For Model Information
Start by examining the switch’s front panel. Many Leviton timers display their model number clearly. It might be printed near the buttons or screen. Note down any numbers or letters you see.
Remove The Switch Plate Carefully
Turn off power to the switch from the circuit breaker. Use a screwdriver to remove the switch plate. Look inside the switch housing for labels. Be gentle to avoid damaging wires or components.
Locate The Model Number On The Switch
Look for a sticker or engraved code inside the switch. This usually includes the model number and electrical ratings. Write this information down for reference. It helps in finding guides or replacement parts.
Use The Model Number To Find Instructions
With the model number, search for the exact user manual online. Leviton’s official site often offers downloadable manuals. The correct manual provides step-by-step instructions. It makes changing the timer easier and safer.
Turn Off Power Supply
Turning off the power supply is the first step before changing your Leviton light switch timer. This step keeps you safe from electric shocks. Always take safety seriously when working with electrical devices.
Never skip this step. Even a small electrical current can cause harm. So, make sure the power is completely off before you start.
Locate Your Circuit Breaker
Find the main electrical panel in your home. It is often in the basement, garage, or utility room. Open the panel to see the circuit breakers inside.
Identify The Correct Breaker
Look for the breaker that controls the light switch you want to change. It may be labeled. If not, check the breakers one by one to find the right one.
Switch Off The Breaker
Flip the breaker switch to the OFF position. This stops electricity from flowing to the switch. You will know it is off when the switch is down or away from the ON mark.
Double Check The Power
Use a non-contact voltage tester to confirm no power is present. Hold the tester near the wires or switch. No light or sound means power is off.
Proceed Safely
With power off, you can now safely remove the switch cover. Begin changing your Leviton light switch timer with confidence and care.
Remove The Existing Timer Switch
Removing the existing Leviton light switch timer is the first step to replace or fix it. This process requires care and attention to avoid damage or injury. Follow these simple steps to safely remove the timer switch from your wall.
Make sure the power is off at the breaker box before starting. This keeps you safe from electric shock.
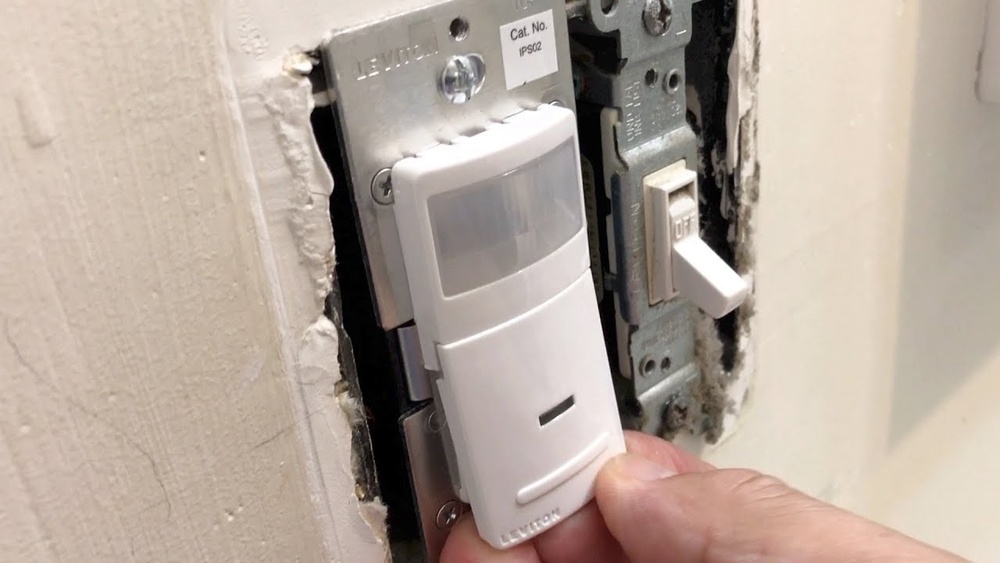
Unscrew The Wall Plate
Locate the screws holding the wall plate in place. Use a screwdriver to remove these screws carefully. Set the screws and wall plate aside where you won’t lose them. Gently pull the wall plate away from the wall. This exposes the timer switch and wiring behind it.
Disconnect Wiring
Notice how the wires connect to the timer switch. Take a picture or note the wire colors and positions. Use a screwdriver to loosen the terminal screws holding the wires. Carefully pull each wire free from the switch. Keep the wires separated to avoid contact. The timer switch is now free to be removed.
Wire The New Timer Switch
Wiring the new Leviton light switch timer is a key step in the installation process. This task involves connecting the wires correctly to ensure the timer works safely and properly. Follow each step carefully to avoid any electrical issues or damage to the switch.
Match Wire Colors
Start by identifying the wire colors on both the timer switch and in the wall box. Typically, black wires are for the load and line connections, white wires are neutral, and green or bare wires are ground. Match each wire on the timer switch to the same color wire in the wall box. This color coding helps keep the wiring organized and safe.
Connect Ground Wire
The ground wire is essential for safety. Locate the green or bare copper wire in the wall box. Connect it to the green screw or green wire on the timer switch. This connection helps protect against electric shock by grounding the switch. Make sure the ground wire is tightly secured for proper function.
Secure Wire Nuts
After matching and connecting all wires, use wire nuts to secure each connection. Twist the wires together firmly before placing the wire nut over them. Turn the wire nut clockwise until it feels tight. Give each wire a gentle tug to ensure it won’t come loose. Properly secured wire nuts prevent shorts and keep the switch working well.
Mount The New Switch
Mounting the new Leviton light switch timer is the next step after wiring. This step ensures the device stays secure and functions well. Follow each instruction carefully for safety and proper installation. A well-mounted switch looks neat and lasts longer.
Attach To Wall Box
Start by aligning the new switch with the wall box. Hold the switch in place and insert the mounting screws. Tighten the screws evenly to avoid tilting the switch. Do not over-tighten to prevent damage. The switch should feel firm and flush against the wall.
Replace Wall Plate
Once the switch is secure, place the wall plate over it. Line up the screw holes on the plate with the switch. Insert the screws and tighten them gently. The plate should sit flat without gaps. This step finishes the look and protects the wiring.
Restore Power And Test
After replacing or adjusting your Leviton light switch timer, restoring power is the next step. This process ensures your new settings work correctly. Testing the timer confirms the device operates as expected. Take a careful approach to avoid electrical hazards.
Turn On Circuit Breaker
Locate your home’s circuit breaker panel. Find the breaker linked to the light switch. Flip the breaker switch to the “on” position. This action restores electricity to the switch. You may hear a click or see the switch move up. Never force the breaker; it should move smoothly. If the breaker trips again, turn it off and check your wiring.
Check Timer Functions
Test the timer by setting the desired on and off times. Watch the light switch respond to your settings. Confirm the light turns on and off at correct times. Adjust the timer if the light does not follow the schedule. Some models have manual override buttons; use them for quick tests. Make sure the timer operates smoothly without delays. This step ensures your Leviton timer works perfectly.
Troubleshooting Tips
Troubleshooting your Leviton light switch timer can save time and effort. Simple fixes often solve common problems. This guide covers easy steps to check and fix issues quickly. Follow these tips to get your timer working smoothly again.
Switch Not Turning On
First, check the power source. Make sure the circuit breaker is on. Look for loose wires inside the switch box. Tighten any loose connections carefully. Confirm the switch is properly installed. Sometimes, a reset helps. Turn off the breaker, wait a few seconds, then turn it back on. Replace the switch if it still does not turn on.
Timer Not Keeping Time
Check the battery if your model uses one. Replace old batteries with fresh ones. Ensure the timer is set to the correct time zone. Double-check the AM and PM settings. Avoid setting the timer near devices that cause interference. Reset the timer to factory settings to clear errors. If problems continue, contact Leviton support for help.
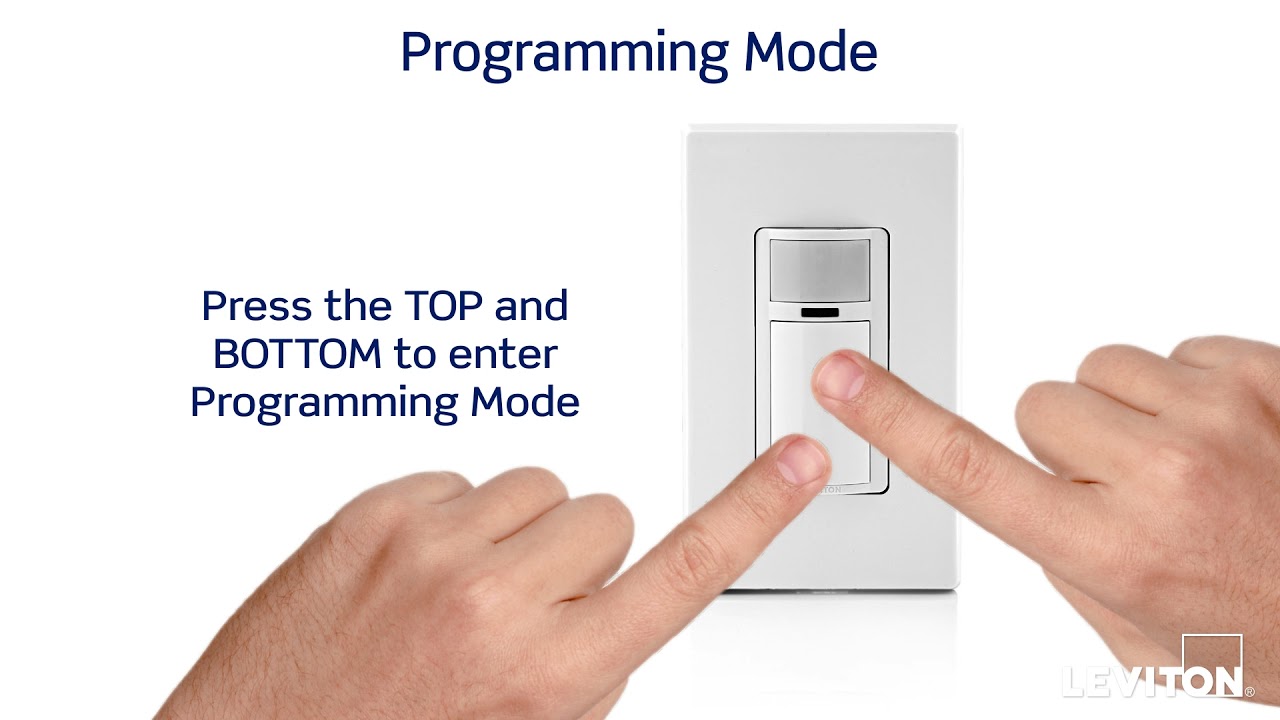
Credit: www.youtube.com
Frequently Asked Questions
How Do I Reset A Leviton Light Switch Timer?
To reset, press and hold the reset button for 10 seconds. This clears previous settings and restores factory defaults. After resetting, you can reprogram the timer for your desired schedule. Always refer to your model’s manual for specific reset steps.
Can I Change The Timer Duration On A Leviton Switch?
Yes, you can adjust the timer duration easily. Use the control buttons to set the ON/OFF time. Some models allow fine-tuning in minutes or hours. Check your switch’s instructions for exact programming steps and timer range.
What Tools Are Needed To Change A Leviton Timer Switch?
Typically, you only need a flathead or Phillips screwdriver. Turn off power at the breaker before removing the switch plate. No special tools are required for programming or timer adjustments. Always prioritize safety when handling electrical components.
How To Troubleshoot If Leviton Timer Switch Won’t Change?
First, ensure power is off before adjustments. Check wiring connections for any loose wires. Reset the timer to factory settings if unresponsive. Consult the manual or contact support if problems persist. Faulty switches may require replacement.
Conclusion
Changing a Leviton light switch timer is simple and quick. Follow each step with care and take your time. Always turn off the power before you start. This keeps you safe. Double-check your work before turning the power back on.
You can enjoy better control of your lights after the change. Small fixes like this make your home smarter and more convenient. Keep your tools ready for future projects. Practice helps build your confidence with home repairs.