Have you ever wished your lights could turn off automatically after you leave a room? Changing the timer on your light switch can make that happen—and it’s easier than you think.
Whether you want to save energy, add convenience, or boost your home’s security, adjusting your timer gives you control over when your lights turn on and off. In this guide, you’ll discover simple steps to change your light switch timer quickly and safely.
Keep reading, and you’ll have your lights working exactly how you want in no time.

Credit: www.wikihow.com
Types Of Timer Light Switches
Timer light switches come in different types. Each type offers unique features and benefits. Knowing these types helps you choose the right one for your needs. This section explains the main types of timer light switches.
Mechanical Timers
Mechanical timers use simple gears and dials. You set the time by turning a knob. They often have a rotating dial with small pins. These pins control when the light turns on or off. Mechanical timers do not need electricity to work. They are easy to use and affordable. Perfect for basic on/off scheduling.
Digital Timers
Digital timers have an LCD screen to show time. You program them using buttons. They offer precise control over on/off times. Many models let you set multiple schedules per day. Digital timers often include backup batteries. This keeps the settings during power cuts. They are good for more detailed timing needs.
Smart Timers
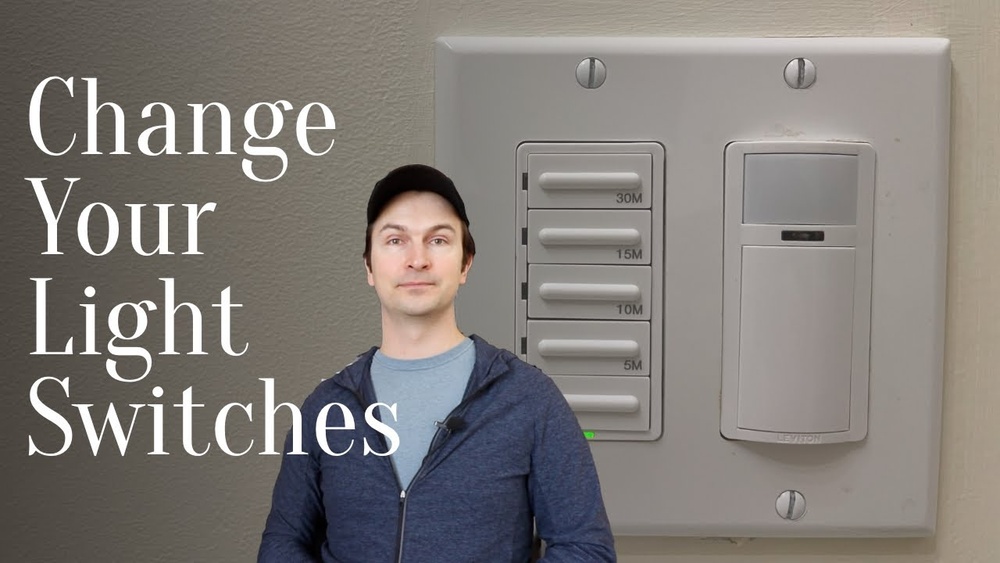
Smart timers connect to your Wi-Fi or smart home system. Use a phone app to control the timer remotely. You can set schedules from anywhere. Some smart timers also track energy use. They work with voice assistants like Alexa or Google. Smart timers add convenience and advanced features.

Credit: theladydiy.com
Tools Needed For Timer Replacement
Changing the timer on a light switch needs some basic tools. Having the right tools makes the job safe and easy. This guide covers the must-have tools for your timer replacement task.
Screwdrivers
Screwdrivers are essential for removing the switch cover and screws. Use a flathead or Phillips screwdriver depending on your switch type. A proper screwdriver fits the screw head well to avoid damage.
Voltage Tester
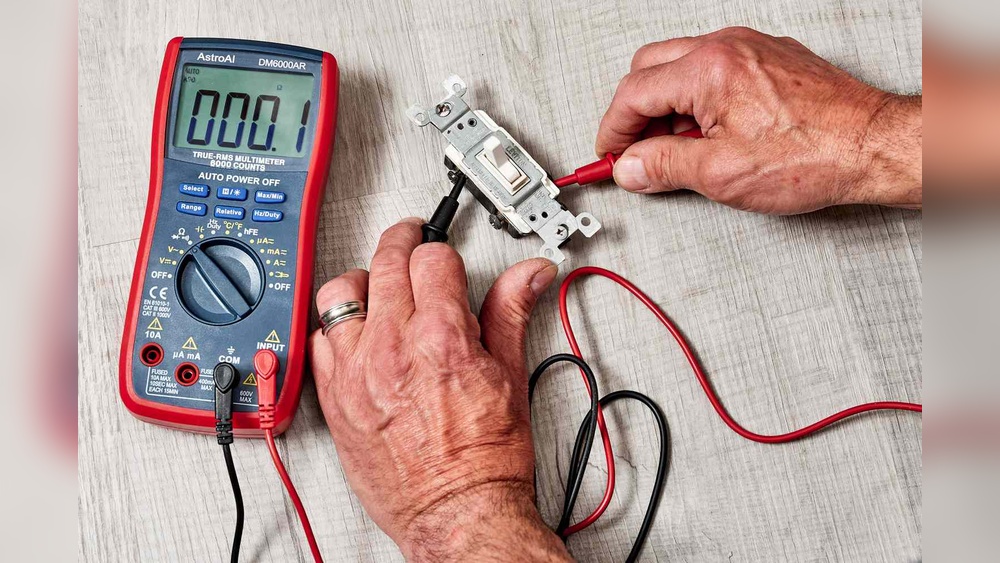
A voltage tester checks if the power is off before you start. It helps prevent electric shock by confirming no electricity flows to the switch. Always test the wires before touching them.
Wire Strippers
Wire strippers remove the insulation from electrical wires cleanly. They prepare the wires for connection to the new timer switch. Using wire strippers avoids cutting the wire strands inside.
Safety Precautions Before Starting
Before changing the timer on a light switch, safety is the top priority. Working with electrical parts can be risky without proper care. Taking the right safety steps helps avoid accidents and injuries.
Turning Off Power
Always switch off the power at the main circuit breaker. This stops electricity flow to the light switch. Never rely on just the switch to cut power. Confirm the breaker is off before touching wires.
Double-checking With Tester
Use a voltage tester on the switch wires. This tool shows if any electricity is still present. Test each wire carefully to ensure zero voltage. Do not skip this step, even if the breaker is off.
Wearing Safety Gear
Wear rubber gloves to protect your hands from shocks. Safety glasses shield your eyes from sparks or debris. Use insulated tools designed for electrical work. These small steps make a big difference in safety.

Credit: www.youtube.com
Removing The Existing Timer Switch
Removing the existing timer switch is the first step to installing a new one. It needs care and attention to avoid damage or injury. Turn off the power at the breaker box before starting. Safety first.
Next, follow these steps to remove the timer switch safely and correctly.
Unscrewing The Faceplate
Use a screwdriver to remove the screws holding the faceplate. Keep the screws safe; you will need them later. Gently pull the faceplate away from the wall. Do not force it. If it feels stuck, check for hidden screws or try wiggling it slightly.
Disconnecting Wires
Look at the wires connected to the timer switch. Use a voltage tester to confirm no power is present. Unscrew the wire nuts or terminal screws holding the wires. Carefully pull the wires free. Keep track of which wire connects where. Take a photo if needed for reference.
Handling Old Switch
Remove the old timer switch from the electrical box. Place it aside safely. Check the condition of the wires for any damage. Straighten bent wires gently. Your new timer switch will need clean, straight wires for a good connection.
Installing The New Timer Switch
Installing the new timer switch is a key step in updating your light control. This process involves handling electrical wires safely and fitting the switch properly. Follow simple steps to ensure a secure and functional installation.
Connecting Wires Correctly
Start by turning off the power at the circuit breaker. Use a voltage tester to confirm no power flows to the switch box. Match each wire from the wall to the timer switch wires by color. Typically, black wires connect to black, white to white, and green or bare wires to ground. Use wire nuts to twist wires together tightly. Ensure no bare wire is exposed outside the nut. Proper connections prevent shorts and ensure the switch works well.
Securing The Switch
Push the connected wires back gently into the wall box. Align the timer switch with the mounting holes. Use screws provided to fasten the switch firmly to the box. Avoid over-tightening screws to prevent damage. The switch should sit flush and not wiggle. A secure fit keeps the switch safe and stable during use.
Attaching The Faceplate
Place the faceplate over the switch carefully. Line up the screw holes with the switch plate. Insert screws and tighten them just enough to hold the plate in place. The faceplate should cover all wires and the switch edges. This step finishes the look and adds safety by covering electrical parts.
Setting The Timer For Quick Setup
Setting the timer on your light switch helps save energy and adds convenience. It controls when your lights turn on and off automatically. Quick setup means you start using the timer fast without confusion.
Choose the right timer type and follow simple steps for easy programming. Each timer type has a different way to set it. Let’s explore how to set mechanical, digital, and smart timers quickly.
Programming Mechanical Timers
Mechanical timers use dials and pins. Turn the dial to the current time. Push pins or tabs to set on and off times. Each pin represents a 15 or 30-minute block. The timer will switch lights on or off based on these pins. Make sure the timer is plugged in or connected to power before starting.
Configuring Digital Timers
Digital timers have buttons and screens. Press the clock button and set the current time. Use program buttons to choose on and off times. Some models let you set multiple on/off cycles per day. Confirm your settings by pressing the save or enter button. The digital timer will follow this schedule automatically.
Using Smart Timer Apps
Smart timers connect to your phone or tablet. Download the app from the store. Connect the timer to your Wi-Fi network. Open the app and select your timer device. Set the on and off times through the app interface. You can also control the lights manually from anywhere. Smart apps often offer extra features like voice control and schedules for different days.
Testing The New Timer Switch
After installing the new timer switch, testing it is important. Testing ensures the timer works correctly and safely. It helps avoid problems later. Follow simple steps to check the timer’s function.
Restoring Power
Turn the circuit breaker back on to restore power. Check if the lights respond to the timer switch. Use a flashlight if the area is dark. Be cautious and avoid touching wires during this step.
Verifying Timer Operation
Set the timer to the desired schedule. Observe if the light turns on and off at set times. Test different time settings for accuracy. Watch for any delays or failures in switching. Adjust the timer if needed to match your needs.
Troubleshooting Common Issues
If the timer does not work, check the wiring connections. Make sure wires are secure and in the right place. Reset the timer switch by turning it off and on. Replace batteries if your timer uses them. Consult the manual for specific error codes or signals.
Tips For Maintaining Timer Switches
Maintaining timer switches helps them work well for a long time. Simple care keeps the switches accurate and reliable. Follow these tips to keep your timer switches in good shape.
Regular Cleaning
Dust and dirt can build up on timer switches. Clean the switch surface with a soft, dry cloth. Avoid using water or harsh chemicals. This prevents damage and keeps the switch responsive.
Firmware Updates For Smart Switches
Smart timer switches may need software updates. Check the manufacturer’s app or website for updates. Installing updates fixes bugs and improves performance. It also adds new features to the switch.
When To Replace
Replace the timer switch if it stops working properly. Signs include flickering lights or failure to turn on/off. Old switches may wear out over time. Choose a new switch that fits your needs.
Frequently Asked Questions
How Do I Reset The Timer On My Light Switch?
To reset the timer, turn off the power first. Then, press and hold the timer button until the display resets. Finally, set the desired time according to the manufacturer’s instructions.
Can I Change The Timer Settings Without Tools?
Yes, many modern timer switches allow you to adjust settings using buttons or a touchscreen. Check your switch model’s manual for exact instructions.
What If My Timer Switch Doesn’t Respond?
Try turning off the power at the breaker for 30 seconds. If it still doesn’t respond, the timer or switch might be faulty and need replacement.
How Do I Set A New Timer Duration On The Switch?
Press the timer button repeatedly to cycle through preset durations. Stop when you reach your preferred time. Refer to your model’s guide for specific steps.
Conclusion
Changing the timer on your light switch is simple with the right steps. Always turn off the power before you start. Use the instructions to set the timer correctly. Double-check the settings to make sure everything works well. A properly set timer saves energy and adds convenience.
Take your time and stay safe during the process. Now, you can control your lights just the way you want. Small changes like this make your home smarter and easier to live in.