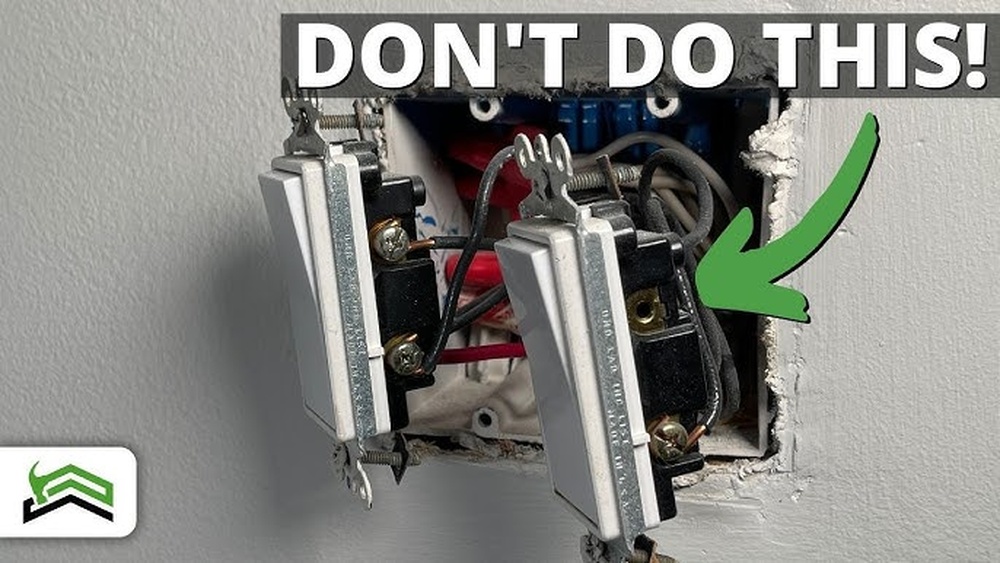
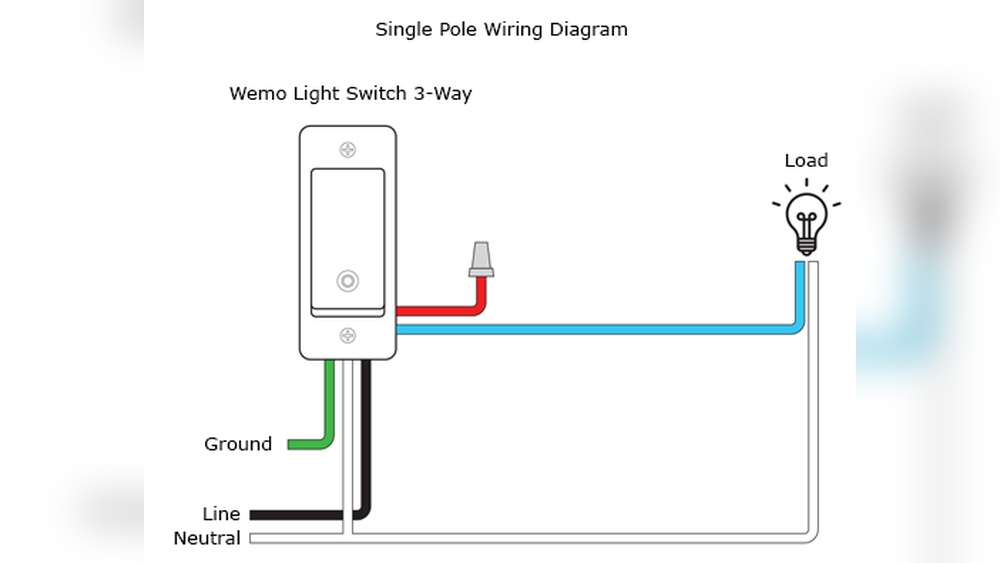
Have you ever wondered how to control one light from three different switches? Whether it’s for a long hallway, a large room, or a staircase, connecting three light switches together can make your life much easier.
Imagine turning the lights on or off from anywhere you stand—no more walking back and forth in the dark. You’ll discover simple, step-by-step instructions to help you safely and effectively link three switches to one light. Ready to take control of your lighting like a pro?
Let’s get started!

Credit: www.youtube.com
Tools And Materials Needed
Connecting three light switches together requires certain tools and materials. Having the right items makes the job easier and safer. Each tool serves a specific purpose in the wiring and installation process.
Gathering all materials before starting helps avoid delays. It also ensures the switches work correctly after installation. Use quality tools and parts to prevent future issues.
Electrical Tools
Basic electrical tools include a screwdriver, wire stripper, and voltage tester. A screwdriver helps remove and secure switch covers. Wire strippers cut and strip insulation from wires. A voltage tester confirms power is off before working.
Materials For Wiring
Use electrical wires rated for your home’s voltage. Copper wires with the correct gauge work best. Wire nuts or connectors join wires safely. Electrical tape secures connections and prevents shorts.
Light Switches
Choose three-way or four-way switches based on your setup. Three-way switches control lights from two locations. Four-way switches add control from three or more spots. Match switch type to your wiring plan.
Safety Gear
Wear insulated gloves to protect against electric shock. Safety goggles shield eyes from debris. Use a flashlight if working in low light areas. Safety gear reduces risk during electrical work.
Basic Wiring Concepts
Connecting three light switches together requires understanding some basic wiring concepts. These ideas help you control one light from different places safely and correctly. Knowing the types of switches and how they work is the first step.
Each switch type has a unique role in the wiring setup. Learning about them makes the process clearer and easier to follow.
Types Of Switches
There are several types of switches used in home lighting. The most common are single-pole, three-way, and four-way switches. Single-pole switches control a light from one spot only. Three-way switches allow control from two locations. Four-way switches add control points beyond two.
For three light switches working together, you usually use one or two three-way switches plus a four-way switch. Each switch connects differently in the wiring system.
Understanding Three-way And Four-way Switches
Three-way switches have three terminals for wires. Two terminals connect to traveler wires that carry current between switches. The third terminal connects to the power source or the light fixture.
Four-way switches have four terminals. They sit between two three-way switches. Their job is to change the path of electricity traveling through the travelers. This change lets you turn the light on or off from multiple places.
Wiring these switches correctly creates a loop. This loop controls the light from three or more switches easily. Knowing how these switches work helps avoid mistakes and keeps the wiring safe.
Safety Precautions
Working with light switches involves electricity. Safety is very important. Taking safety steps protects you and your home. A small mistake can cause shocks or fires. Follow safety rules before starting any wiring work.
Turn Off The Power
Always switch off power at the main circuit breaker. Do not rely on the wall switch alone. Use a tester to check if wires are live. Make sure no electricity flows before touching wires.
Use Proper Tools And Equipment
Use insulated tools made for electrical work. Avoid using damaged or worn-out tools. Wear rubber-soled shoes to reduce electric shock risk. Have a flashlight ready if light is off.
Understand The Wiring Diagram
Study the wiring diagram carefully before starting. Know which wire goes where. Wrong connections can cause short circuits or damage. Label wires if needed to avoid confusion.
Work In A Dry Environment
Keep your hands dry. Water conducts electricity and increases shock risk. Avoid working in damp or wet places. Use a dry cloth to clean the area if needed.
Do Not Rush The Job
Take your time to do the work carefully. Rushing causes mistakes and accidents. Double-check all connections before turning power back on. Better to be slow and safe than fast and sorry.

Credit: diy.stackexchange.com
Preparing The Wiring
Preparing the wiring is a crucial step before connecting three light switches together. This process ensures safety and proper function. Taking time to prepare wiring carefully will save trouble later. Start by understanding the wiring setup. This makes the installation smoother and safer.
Turning Off Power
Safety begins by turning off the power to the circuit. Locate the main electrical panel in your home. Switch off the breaker that controls the light switches. Use a voltage tester to check that no electricity flows to the wires. Never skip this step. Working on live wires can cause serious injury.
Identifying Wires
Next, identify the wires in the switch box. Look for the common wire, traveler wires, and ground wire. The common wire usually connects to the power source or light fixture. Traveler wires allow switches to communicate with each other. The ground wire provides safety by preventing electrical shock. Label each wire using tape or markers. Clear identification helps avoid mistakes during installation.
Wiring The First Switch
Start by turning off the power to ensure safety. Connect the live wire to the first switch’s input terminal carefully. Then, link the other switches using traveler wires to control the lights together.
Understanding The First Switch Setup
Wiring the first switch is the base for connecting three switches. This switch controls the power flow to the other two switches. Start by turning off the main power to stay safe. Use a voltage tester to double-check no electricity flows.
Identify the wires in the switch box. Usually, there are three types: the power source (live), the switch wire (traveler), and the ground wire. Knowing these is key to correct wiring.
Connecting The Power Source Wire
Attach the power source wire to the common terminal on the first switch. This terminal is often marked or a different color. Tighten the screw firmly to hold the wire in place. A loose connection can cause problems later.
Attaching The Traveler Wires
Connect the traveler wires to the remaining terminals on the first switch. These wires will carry current to the next switches. Make sure each wire is connected securely. Labeling them can help avoid confusion later.
Securing The Ground Wire
Fasten the ground wire to the green screw on the switch. This step is important for safety and code compliance. Check that the ground wire is wrapped tightly around the screw. Proper grounding prevents electrical shocks.
Wiring The Second Switch
Wiring the second switch is a key step to connect three light switches. This switch works with the first one to control the lights from different points. The wiring must be done carefully to ensure the system works safely and correctly.
Focus on the traveler wires that run between the switches. These wires carry the current to the switch and back. You will connect these traveler wires to the correct terminals on the second switch.
Identify The Traveler Wires
Look for the two traveler wires coming from the first switch. They usually have the same color or are marked with tape. These wires link the first and second switches.
Connect The Traveler Wires To The Second Switch
Attach the two traveler wires to the traveler terminals on the second switch. These terminals are often brass-colored screws. Tighten the screws firmly to hold the wires in place.
Attach The Common Wire
Find the common wire on the second switch. It is different from the traveler wires and usually marked. Connect this wire to the common terminal, often a black screw.
Secure The Ground Wire
Connect the ground wire to the green screw on the switch. This step is important for safety. The ground wire prevents electric shock in case of a fault.
Check Your Work Before Closing
Double-check all wire connections. Ensure no wires are loose or touching each other. A safe and secure connection avoids electrical problems later.
Wiring The Third Switch
Wiring the third switch is a key step to control one light from three different spots. This setup needs careful connection to work correctly. The third switch is usually another three-way or a four-way switch, depending on your circuit. Understanding the wiring process ensures safety and proper function.
Before starting, turn off the power at the breaker box. Use a voltage tester to confirm no electricity flows. Safety first.
Identify The Wires On The Third Switch
The third switch has four terminals: two travelers, one common, and one ground. Travelers carry current between switches. The common terminal connects to the load or power source. The ground wire is for safety, usually green or bare copper.
Connect The Traveler Wires
Attach the traveler wires from the second switch to the traveler terminals on the third switch. These wires carry the switch signal. Ensure tight and secure connections to prevent faults.
Attach The Common Wire
The common wire on the third switch links to the light fixture or power source. Use a screwdriver to fasten this wire to the common terminal. Double-check the connection for stability.
Connect The Ground Wire
Secure the ground wire to the green terminal on the third switch. Grounding protects against electrical shocks. Make sure the ground wire is properly attached to the switch and the electrical box.
Testing The Connection
Testing the connection after wiring three light switches is very important. It ensures everything works safely and correctly. This step confirms that the switches control the lights as planned. Follow these simple checks to verify the connection.
Turn Off Power Before Testing
Always switch off the main power at the breaker box. This prevents electric shocks during testing. Use a voltage tester to confirm no power is flowing to the switches.
Check Each Switch Function
Turn on the power again. Test each switch by flipping it on and off. The connected light should respond immediately. If one switch does not work, check its wiring.
Use A Continuity Tester
A continuity tester helps verify the electrical path. Turn off the power before using this tool. Connect the tester between the switch terminals to see if the circuit closes.
Look For Loose Wires
Loose wires cause poor connections or flickering lights. Inspect all wire nuts and terminals carefully. Tighten any loose connections to ensure good contact.
Test The Light Fixtures
Check the light bulbs for any damage. Replace bulbs if they do not light up. Confirm the fixtures themselves are working correctly.
Troubleshooting Common Issues
Troubleshooting common issues helps keep your three-switch setup working well. Problems may arise from wiring mistakes or faulty parts. Learning to spot and fix these issues saves time and effort.
Check For Loose Connections
Loose wires often cause switches to stop working. Turn off power before touching wires. Tighten any loose screws or wire nuts. Make sure all wires connect firmly to the switches.
Test The Switches Individually
One bad switch can affect the whole setup. Remove and test each switch with a voltage tester. Replace any switch that does not work properly. This keeps all switches running smoothly.
Inspect The Wiring Sequence
Wiring three switches can be tricky. Follow the wiring diagram step-by-step. Ensure the traveler wires connect to the correct terminals. Wrong wiring causes lights not to turn on or off.
Look For Damaged Wires
Old or damaged wires cause shorts or breaks. Check the wires for cracks or exposed copper. Replace any damaged wires before connecting switches. Safe wiring prevents electrical hazards.
Verify The Power Supply
No power means no light. Use a tester to check if power reaches the switches. Inspect the circuit breaker for trips or faults. Reset the breaker if needed to restore power.
Tips For A Neat Installation
Keeping your installation neat helps in safety and ease of use. A clean setup looks professional and lasts longer.
Organizing wires and placing switches correctly avoids confusion later. It also makes future repairs simple and fast.
Plan Your Wiring Layout
Draw a simple diagram before starting. Decide where each switch and wire will go.
Clear planning saves time and prevents mistakes during installation.
Use Color-coded Wires
Choose wires with different colors for live, neutral, and ground. This helps identify wires quickly.
Color coding reduces errors and makes troubleshooting easier later on.
Secure Wires With Cable Clips
Fasten wires neatly along walls or inside boxes with clips. Avoid loose or hanging wires.
Secure wires prevent damage and keep the installation tidy and safe.
Label Each Wire
Mark wires with tags or tape to show their purpose. This helps during future checks or fixes.
Labels make it easy to find the right wire fast and avoid confusion.
Keep Switches Aligned
Install switches at the same height and distance apart. Use a level tool for accuracy.
Aligned switches create a neat, uniform look that improves the room’s appearance.

Credit: www.youtube.com
Frequently Asked Questions
How Do You Wire Three Light Switches Together?
To wire three switches, use a four-way switch system. Connect two three-way switches at each end and one four-way switch in the middle. This setup controls one light from three locations effectively and safely.
Can I Connect Three Switches To One Light Fixture?
Yes, you can control one light with three switches using a three-way and four-way switch configuration. This allows you to turn the light on or off from multiple spots conveniently.
What Tools Are Needed To Connect Three Switches?
You will need wire strippers, a screwdriver, electrical tape, a voltage tester, and wire nuts. These tools ensure safe installation and proper wiring of the three switches.
Is It Safe To Connect Multiple Switches To One Light?
Yes, it is safe if wired correctly using approved switches and following electrical codes. Always turn off power before working and consider hiring a licensed electrician if unsure.
Conclusion
Connecting three light switches is easier than it seems. Follow the steps carefully for safe wiring. Double-check all connections before turning on the power. Use the right tools and materials for best results. Take your time and work patiently. This setup allows control of one light from three spots.
Enjoy the convenience and improved lighting control. Always prioritize safety during electrical work. Simple and clear instructions help avoid mistakes. You can now manage your lights with ease.