Looking for an easy way to organize your space and add a personal touch to your walls? Making your own wall hanging hooks is a simple and fun project that anyone can do.
You don’t need fancy tools or skills—just a few materials and a little creativity. You’ll discover step-by-step instructions that help you create sturdy, stylish hooks perfect for your keys, hats, or even decorative items. Ready to transform your walls and keep your things within reach?
Let’s get started!

Credit: www.amazon.com
Materials Needed
Gathering the right materials is the first step in making wall hanging hooks. Having all items ready saves time and avoids interruptions. Each material plays a specific role in the strength and look of the hooks.
Types Of Hooks
Different hooks serve different purposes. Some are simple metal hooks, good for lightweight items. Others come with adhesive backs for easy mounting. There are also wooden hooks that add a rustic touch. Pick a type that fits your wall and the items you want to hang.
Tools Required
Tools make the job easier and safer. A drill or screwdriver is essential for attaching hooks to walls. A measuring tape helps to place hooks evenly. Sandpaper smooths wooden hooks for a clean finish. Pliers can bend metal hooks if needed. Have these tools ready before starting.
Choosing The Right Materials
Material choice affects durability and style. Metal hooks hold heavy items well. Wooden hooks suit light to medium weight objects and look natural. Adhesive hooks are best for smooth surfaces and light items. Consider wall type and hook use to pick the best material.

Credit: www.shescraftycrafty.com
Preparing Your Workspace
Preparing your workspace is a key step before making wall hanging hooks. A clean and organized area helps you work faster and avoid mistakes. It also keeps you safe while handling tools and materials. Set up a place with enough light and space to move freely.
Clear away clutter and gather everything you need. This way, you stay focused and finish your project without interruptions.
Safety Measures
Wear safety glasses to protect your eyes from dust and debris. Use gloves to prevent cuts and splinters. Make sure your workspace has good ventilation, especially if you use glue or paint. Keep a first aid kit nearby. Check that all tools are in good condition before starting.
Organizing Tools And Materials
Arrange your tools in order of use. Place nails, screws, and hooks in small containers to avoid losing them. Keep your hammer, screwdriver, and drill within easy reach. Organize wood pieces and other materials neatly. A tidy workspace helps you stay efficient and reduces accidents.
Step-by-step Hook Making
Making wall hanging hooks is a simple and rewarding project. It lets you create custom hooks that fit your space and style. Follow these steps to make strong and attractive hooks for your walls.
Measuring And Marking
Start by choosing the material for your hooks. Wood, metal, or sturdy plastic works well. Use a ruler or measuring tape to mark the length and width of each hook. Mark clear lines where you will cut. Measure twice to avoid mistakes. Accurate marks make the cutting process easier and cleaner.
Cutting And Shaping
Use a saw or cutter suitable for your material. Cut along the marked lines carefully. Shape the ends if you want curved or angled hooks. A file or a grinder can help smooth sharp edges. Keep your hands steady and wear safety gear for protection. This step defines the hook’s final look and strength.
Sanding And Finishing
Sand each hook to remove rough spots and splinters. Use fine-grit sandpaper for a smooth finish. Wipe off dust with a clean cloth. Apply paint, stain, or sealant to protect the hooks from wear. Let them dry completely before using. This step improves durability and makes hooks look neat.
Installing Wall Hooks
Installing wall hooks is an important step to ensure they hold weight safely. Proper installation keeps your walls damage-free and your items secure. Follow simple steps to install hooks correctly and avoid common mistakes.
Finding The Right Spot
Choose a spot on the wall where the hook will be most useful. Check the height to make sure it suits what you want to hang. Avoid areas with electrical wires or plumbing behind the wall. Use a stud finder to locate solid support inside the wall.
Mounting Techniques
Select the right mounting method based on your wall type. For drywall, use anchors or screws that spread weight evenly. For wooden walls, screws alone usually work well. Make small pilot holes before inserting screws to prevent wall cracks.
Securing Hooks Properly
Insert screws or anchors tightly without over-tightening. Over-tightening can damage the wall and reduce hook strength. Test the hook by gently pulling on it to confirm stability. Adjust or reinforce if the hook feels loose or wobbly.
Creative Hook Designs
Creative hook designs bring personality and style to any wall hanging project. They turn simple hooks into eye-catching pieces. Custom hooks add charm and uniqueness to your space. Crafting hooks with creativity makes your decor stand out. Let’s explore some simple ways to design hooks that catch attention.
Using Recycled Materials
Recycled materials give hooks a rustic and eco-friendly look. Old keys, bottle caps, and wooden scraps work well. These items add texture and story to your hooks. Using recycled parts saves money and helps the environment. Glue or screws can attach these pieces firmly to the base. Each hook becomes a small art piece full of character.
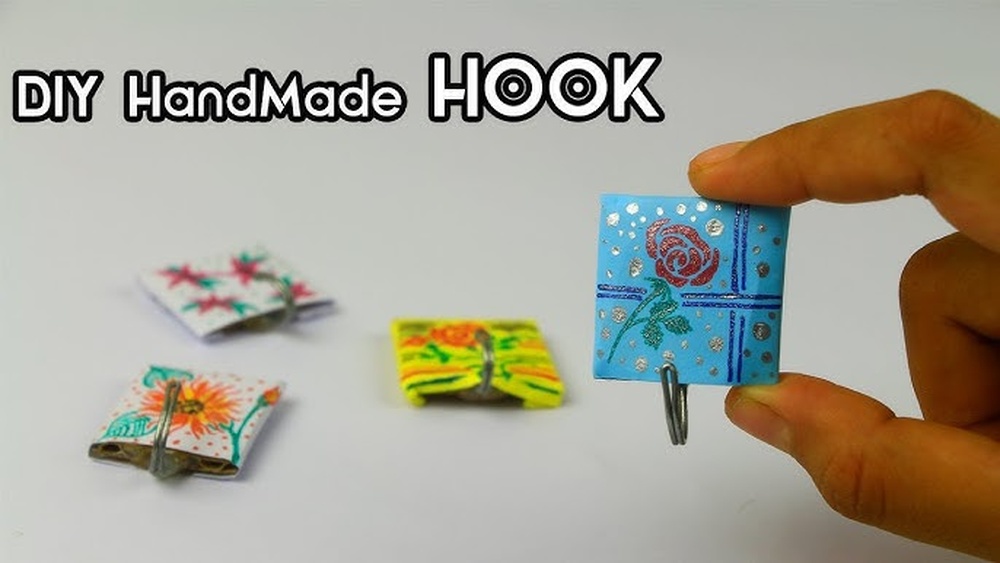
Personalizing Hooks
Personalized hooks feel special and unique. Add initials, names, or small symbols to your hooks. Use wood burning, stickers, or small metal tags. This customization makes hooks meaningful gifts or home accents. Choose fonts and styles that match your room’s vibe. Personal touches make hooks more than just functional.
Painting And Decorating Tips
Paint adds color and life to plain hooks. Use acrylic paint or spray paint for quick coverage. Try patterns like stripes, dots, or chevrons for interest. Seal with clear varnish to protect your design. Decorating hooks with beads, ribbons, or small charms works well too. These small details make hooks pop visually and feel crafted with care.
Troubleshooting Common Issues
Making wall hanging hooks is simple but issues can happen. These problems may stop your hooks from working well. Fixing them quickly keeps your walls and items safe. Understanding common troubles helps you keep hooks strong and steady.
Loose Hooks
Loose hooks cause items to fall and break. Check the screws or nails often. Tighten them with a screwdriver or hammer. Use wall anchors for better hold in drywall. Avoid hanging heavy things on weak hooks.
Damage Prevention
Prevent damage by choosing the right hook size. Match the hook strength with the item weight. Use soft pads behind hooks to stop wall marks. Do not force hooks into hard surfaces. Use proper tools to avoid wall cracks or holes.
Maintaining Hook Durability
Keep hooks strong by cleaning them regularly. Remove dust and dirt with a soft cloth. Avoid water exposure to prevent rusting on metal hooks. Replace worn or bent hooks quickly. Store extra hooks in a dry place for future use.
Tips For Perfect Results
Making wall hanging hooks is simple but needs care for the best outcome. Small details can change how strong and neat your hooks look. Follow these tips for perfect results and a clean finish.
Precision And Patience
Measure twice, cut once. Accurate measurements keep hooks balanced and steady. Take your time during each step. Rushing leads to mistakes and weak hooks. Use the right tools for smooth cuts and firm attachments. Patience improves the overall quality.
Regular Maintenance
Check hooks often to ensure they stay strong and safe. Tighten screws and nails if they loosen. Clean hooks to avoid dust and rust buildup. Proper care extends the life of your wall hangings. Simple upkeep prevents damage and accidents.
Enhancing Wall Aesthetics
Choose hook designs that match your room style. Paint or decorate hooks to blend with the wall or stand out. Arrange hooks evenly for a tidy look. Good placement and style make your walls more attractive. Small touches create a big visual impact.

Credit: www.picturehangsolutions.com
Frequently Asked Questions
What Materials Are Needed To Make Wall Hanging Hooks?
To make wall hanging hooks, you need wood or metal, screws, anchors, a drill, and hooks. Choose sturdy materials for durability. Sand and paint wood for a polished look. Use anchors for secure mounting on drywall or plaster walls.
How Do I Install Wall Hanging Hooks Safely?
First, locate wall studs using a stud finder. Mark the drill points and use appropriate anchors if no studs are found. Drill pilot holes, then screw the hooks securely. Ensure hooks are level to prevent items from slipping or falling.
Can I Customize Wall Hanging Hooks Design?
Yes, customize hooks using paint, stains, or decorative elements. Choose unique shapes and sizes to match your decor. Adding personal touches improves aesthetics and functionality. Custom hooks can fit specific items like hats, keys, or bags.
What Weight Can Wall Hanging Hooks Support?
Weight capacity depends on hook type, material, and mounting method. Basic hooks hold up to 10-20 pounds, while heavy-duty hooks support 50 pounds or more. Always check product specifications and use proper anchors for heavier items.
Conclusion
Making wall hanging hooks is simple and fun. You just need some basic tools and materials. Follow each step carefully to create strong hooks. These hooks help keep your space neat and organized. You can use them for keys, hats, or bags.
Personalize your hooks with paint or decorations. Try making different shapes to fit your style. Enjoy the satisfaction of using something you made yourself. Start your project today and see how easy it can be!