Are you ready to upgrade your home lighting but unsure how to connect your Eaton light switch? You’re not alone.
Many people find wiring switches confusing and worry about making mistakes. But connecting your Eaton light switch doesn’t have to be tricky. With clear steps and simple tips, you can do it yourself safely and quickly. Keep reading, and by the end of this guide, you’ll have the confidence to install your switch like a pro—no electrician needed.
Let’s get started!
Tools And Materials Needed
Before starting to connect an Eaton light switch, gather all necessary tools and materials. This step ensures a smooth and safe installation. Having everything ready saves time and avoids interruptions during the process.
Essential Tools
- Flathead screwdriver for opening switch covers
- Phillips screwdriver for securing screws
- Wire stripper to remove insulation from wires
- Voltage tester to check if wires are live
- Needle-nose pliers for bending and twisting wires
- Electrical tape to insulate wire connections
Required Materials
- Eaton light switch compatible with your wiring
- Electrical wire suitable for your home’s circuit
- Wire nuts to secure wire connections
- Wall plate to cover the switch
- Mounting screws, usually included with the switch

Credit: www.reddit.com
Safety Precautions
Safety is the top priority when connecting an Eaton light switch. Careless handling can cause electric shock or damage. Follow these safety steps carefully to protect yourself and your home.
Power Shutdown
Turn off the power at the main circuit breaker before starting. Confirm the power is off by testing the switch with a voltage tester. Never work on live wires. This step prevents electric shock and injury.
Using Protective Gear
Wear insulated gloves to protect your hands from electricity. Use safety glasses to shield your eyes from sparks or debris. Avoid wearing loose clothing or jewelry that could catch on wires. Proper gear lowers the risk of accidents.
Preparing For Installation
Preparing for the installation of an Eaton light switch is a crucial step. It ensures safety and smooth work. Taking time to prepare helps avoid mistakes and problems.
Before starting, understand the wiring and power status. These steps make the process easier and safer.
Identify Wiring Types
Check the wires inside the switch box carefully. Look for black, white, and green or copper wires. Black is usually the hot wire. White is the neutral wire. Green or copper is the ground wire. Knowing each wire’s role helps connect the switch correctly.
Use a voltage tester to confirm which wire is live. Mark the wires if needed. This step prevents confusion during installation.
Turn Off Circuit Breaker
Go to your home’s electrical panel. Find the breaker for the room where you work. Switch it off to cut power. This step is vital for your safety.
Double-check that the power is off by testing the switch or using a voltage tester. No power means safe work. Never skip turning off the breaker.
Removing The Old Switch
Removing the old switch is the first step in installing an Eaton light switch. This process helps you prepare the wall and wiring for the new switch. Safety is important. Always turn off the power at the breaker before you start.
Unscrew Switch Plate
Start by removing the switch plate cover. Use a screwdriver to take out the screws holding the plate. Keep the screws in a safe place. Gently pull the plate away from the wall. The switch and wires will now be visible.
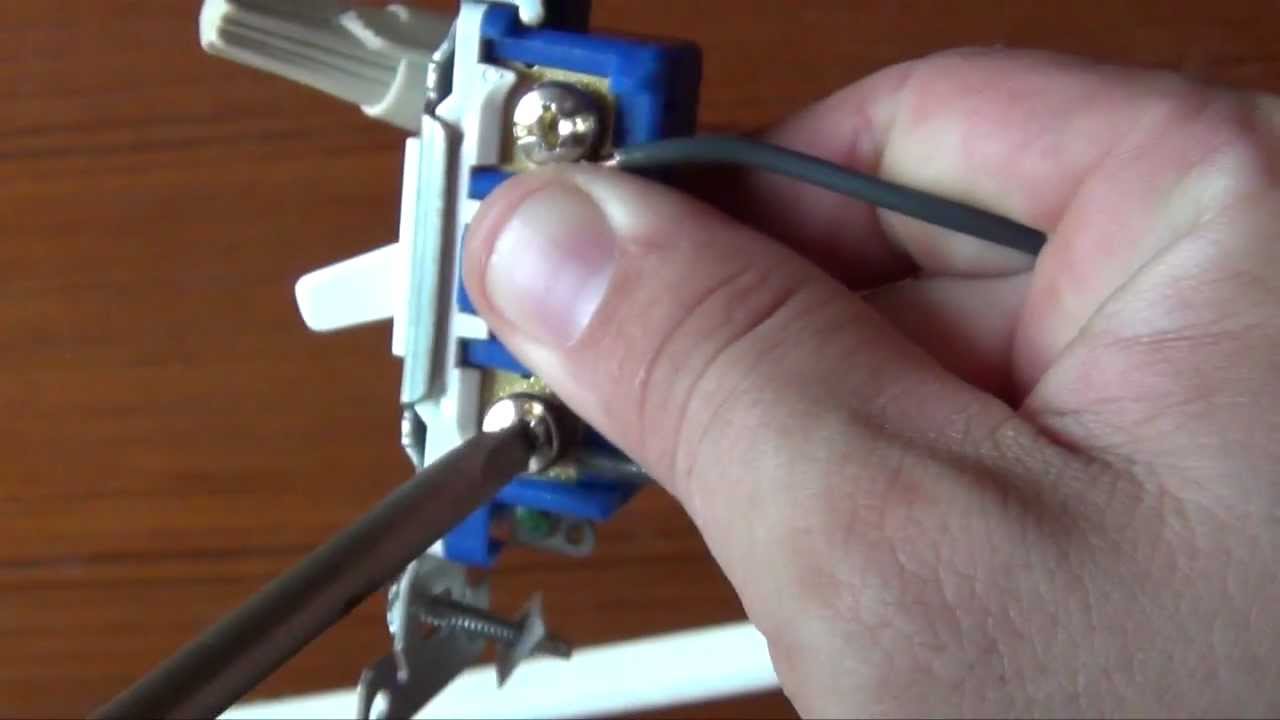
Disconnect Wires
Next, disconnect the wires from the old switch. Use a screwdriver to loosen the terminal screws. Carefully pull the wires free. Note how the wires are connected. This will help you connect the new Eaton switch correctly.
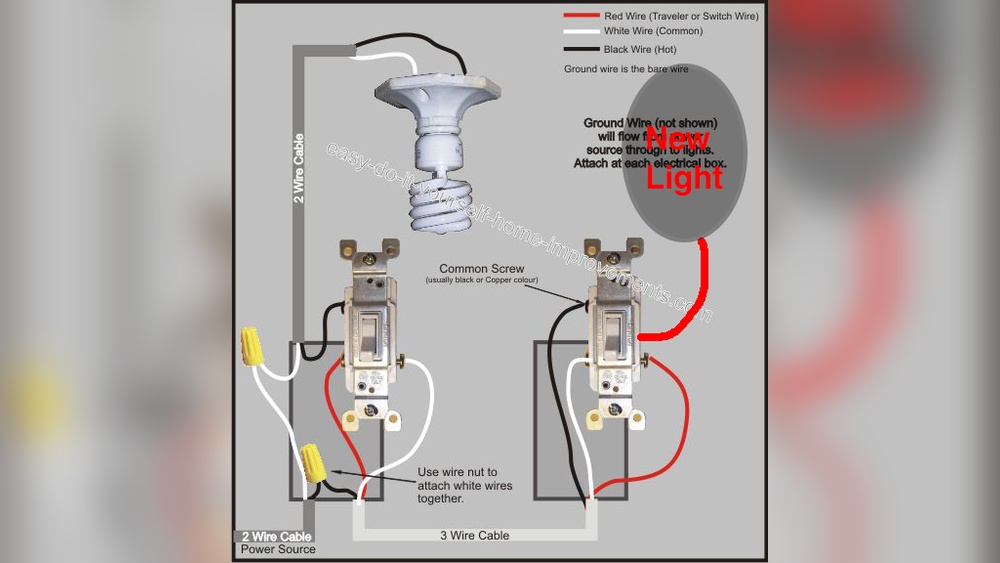
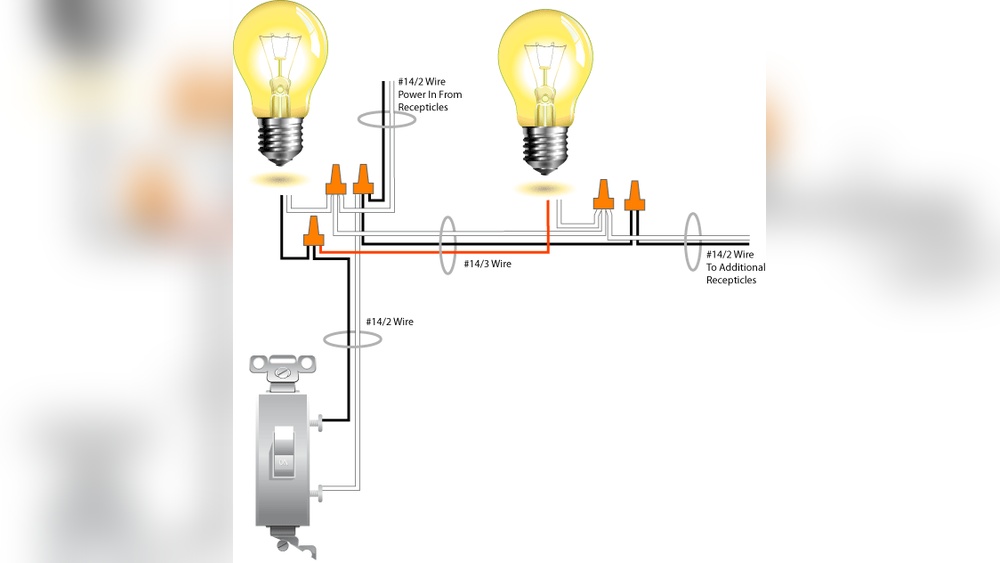
Wiring The Eaton Switch
Wiring the Eaton light switch is a simple task with clear steps. Proper wiring ensures the switch works safely and efficiently. Follow each step carefully for the best results.
Connect Ground Wire
Start by connecting the ground wire. This wire is usually green or bare copper. Attach it to the green screw on the Eaton switch. The ground wire helps protect against electrical shocks.
Attach Line And Load Wires
Next, identify the line and load wires. The line wire brings power from the panel. The load wire sends power to the light. Connect the line wire to the terminal marked “Line.” Connect the load wire to the terminal marked “Load.”
Handle Neutral Wire
Locate the neutral wire, usually white. Some Eaton switches need the neutral wire connected. Attach the neutral wire to the neutral terminal on the switch. If your switch does not have a neutral terminal, leave the neutral wires connected together in the box.
Credit: www.youtube.com
Mounting The Switch
Mounting the Eaton light switch is a key step to finish the installation. It holds the switch firmly in place. A properly mounted switch prevents loose connections and keeps the switch safe to use.
Follow these steps carefully to mount the switch correctly. It ensures the switch fits well and works smoothly for years.
Secure Switch In Box
First, push the wires gently back into the electrical box. Make sure no wire is pinched or twisted. Align the switch with the box holes. Use the screws provided to fasten the switch. Tighten the screws evenly. The switch should sit flat against the wall. Avoid over-tightening to prevent damage.
Replace Switch Plate
After securing the switch, place the switch plate over it. Align the screw holes of the plate with the switch. Insert the screws and tighten them carefully. The plate must fit snugly without gaps. This step protects the switch and gives a clean look. Check that the switch moves freely under the plate.
Testing The Connection
Testing the connection after wiring your Eaton light switch is vital. It ensures safety and confirms the switch works correctly. This step avoids any electrical hazards and lets you fix issues early.
Restore Power
Turn the circuit breaker back on slowly. This action restores power to the switch and the connected light. Make sure the area is dry and your hands are safe before doing this.
Verify Switch Operation
Flip the Eaton switch on and off several times. Check if the light responds immediately each time. If the light flickers or does not turn on, recheck your wiring connections. Proper function means the switch is correctly installed and ready to use.
Troubleshooting Tips
Troubleshooting Eaton light switches can save time and avoid damage. Small wiring mistakes often cause common problems. Knowing how to spot these issues helps fix the switch quickly. Use the tips below to check your work and ensure safety.
Common Wiring Issues
Loose wires cause the switch to fail. Check all connections for tightness and proper placement. Incorrect wire colors can confuse the setup. Black wires usually carry power, white wires are neutral. Ground wires should connect to the green screw. Mixing these wires may stop the switch from working.
Sometimes wires get damaged or frayed during installation. Inspect wires for any cuts or exposed parts. Damaged wires should be replaced before use. Avoid overloading the switch with too many devices. This can cause flickering or a burning smell.
When To Call A Professional
Electricity is dangerous. If you feel unsure or unsafe, stop and call an expert. Complex wiring setups need professional knowledge. Problems like frequent breaker trips or sparks require immediate help. A licensed electrician can handle these safely and correctly.
Do not try to fix issues beyond simple checks. Protect your home and family by choosing expert service. Professional help guarantees your Eaton switch works well and lasts long.

Credit: www.youtube.com
Frequently Asked Questions
How Do I Wire An Eaton Light Switch Safely?
Turn off power at the breaker before wiring. Connect the black (hot) wire to the switch’s brass terminal. Attach the white (neutral) wire to the silver terminal if required. Connect the ground wire to the green terminal. Use a voltage tester to confirm power is off.
Can I Replace An Old Switch With An Eaton Switch?
Yes, Eaton switches can replace most standard switches. Ensure the new switch matches the existing switch’s voltage and amperage ratings. Follow wiring instructions carefully. Turn off power before starting. Always verify connections before restoring power to avoid hazards.
What Tools Are Needed To Install An Eaton Light Switch?
You need a flathead and Phillips screwdriver, wire stripper, voltage tester, and electrical tape. A flashlight may help in dim spaces. These tools ensure a safe, accurate installation. Always use insulated tools to reduce shock risk.
How To Troubleshoot An Eaton Light Switch Not Working?
First, check if the circuit breaker is on. Test the switch with a voltage tester. Ensure all wire connections are tight. Replace the switch if faulty. Consult a professional electrician if problems persist to avoid risks.
Conclusion
Connecting your Eaton light switch is simple with clear steps. Always turn off power before starting work. Follow the wiring instructions carefully for safety. Double-check connections to avoid any problems later. Testing the switch ensures it works correctly. Taking time and care will give you great results.
Enjoy the convenience of your newly installed switch. Keep this guide handy for future reference. Safety and patience make the task easier and safer. You can now control your lights with confidence.