Looking to add extra storage or a stylish touch to your space? Installing a wall hook is one of the easiest and fastest ways to do just that.
But if you’re worried about making mistakes or damaging your walls, you’re not alone. What if you could hang your favorite items securely without any hassle? In this guide, you’ll discover simple, step-by-step instructions that anyone can follow. By the end, you’ll feel confident to install a wall hook perfectly—and enjoy the neat, organized space you’ve always wanted.
Keep reading, and let’s get started!

Credit: lelloliving.com
Choosing The Right Wall Hook
Choosing the right wall hook is important for a successful installation. The right hook holds your items securely. It also fits your wall type and style. Picking the wrong hook can cause damage or failure. Understanding key factors helps you make the best choice.
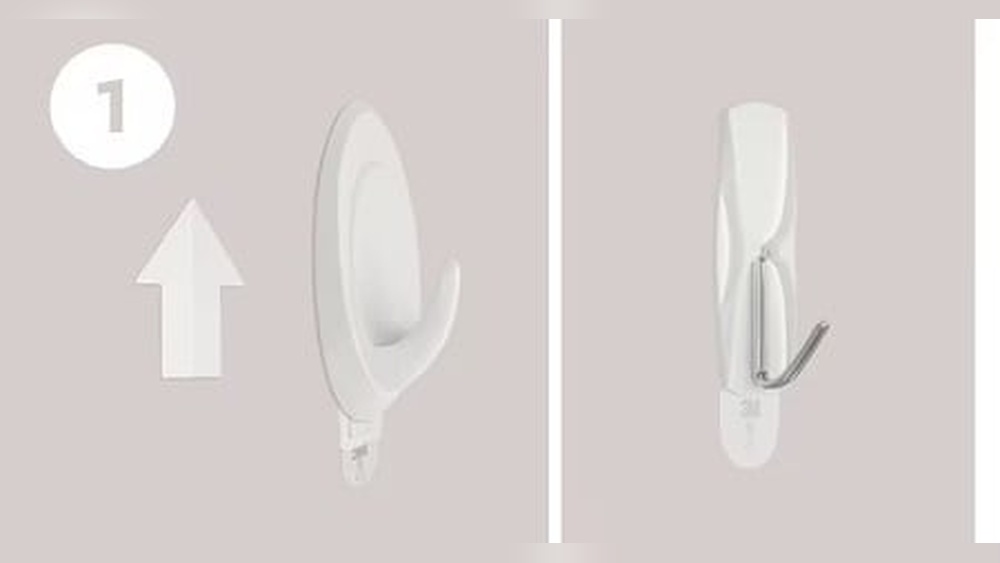
Types Of Wall Hooks
Wall hooks come in many shapes and styles. Some are simple nails, others are decorative hooks. There are adhesive hooks that stick to the wall without drilling. Heavy-duty hooks support large items like coats or bags. Small hooks suit keys or light decorations. Choose a type that fits your needs.
Selecting Based On Weight Capacity
Check the weight limit of each hook before buying. Light hooks hold under 5 pounds. Medium hooks support 10 to 20 pounds. Heavy-duty hooks can hold 50 pounds or more. Match the hook to the item’s weight. Overloading a hook may cause it to fall.
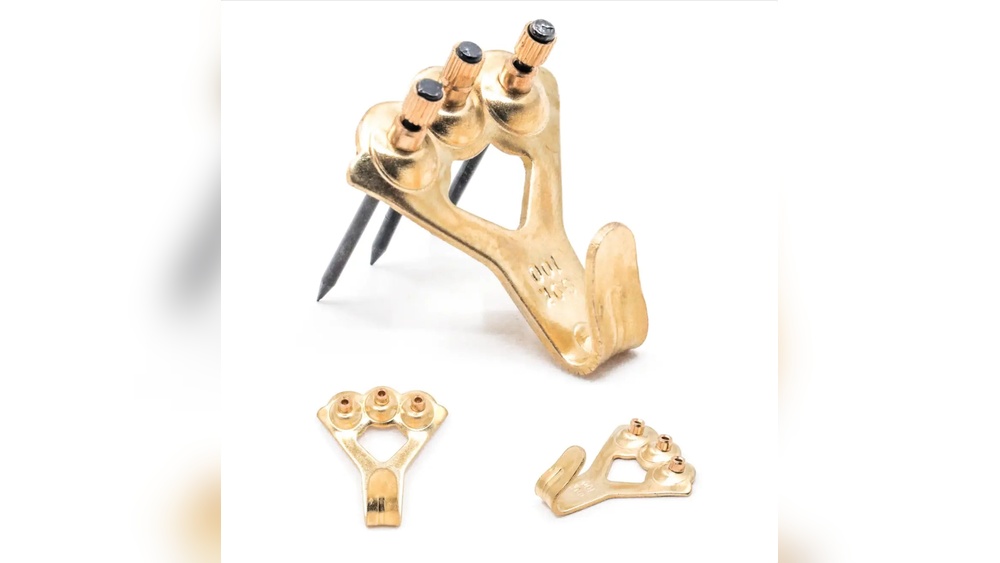
Material Considerations
Wall hooks come in metal, plastic, wood, and other materials. Metal hooks are strong and long-lasting. Plastic hooks suit lighter items and avoid wall damage. Wooden hooks add a natural look. Pick a material that matches your room and use.

Credit: www.youtube.com
Tools And Materials Needed
Installing a wall hook is simple with the right tools and materials. Having everything ready helps the process go fast and smooth. This section lists what you need to start your project.
Essential Tools
Start with a drill to make holes in the wall. Use a screwdriver to fix screws tightly. A tape measure helps place the hook correctly. A pencil marks the spot for drilling. A level ensures the hook stays straight. Anchors and screws match the wall type and hook size.
Optional Accessories
A stud finder helps find strong spots behind the wall. Safety goggles protect your eyes from dust. Gloves keep your hands safe. A hammer may be useful to tap anchors gently into place. Wall anchors for drywall provide extra support. A small vacuum or brush cleans dust from holes.
Preparing The Wall
Preparing the wall is a key step before installing a wall hook. It ensures the hook stays secure and safe. Proper preparation helps avoid damage to the wall or electrical wiring. Follow simple steps to get ready for installation.
Finding The Ideal Spot
Choose a spot that fits your needs. Think about what you want to hang. Pick a place that is easy to reach. Avoid areas with moisture or direct sunlight. Clear the wall of dust and dirt for better hold.
Checking For Studs And Wiring
Use a stud finder to locate wooden studs. Hooks hold better when attached to studs. Avoid drilling into wires or pipes behind the wall. A wire detector helps find hidden electrical lines. Safety comes first to prevent accidents.
Marking The Placement
Use a pencil to mark the exact spot. Measure twice for accuracy. Check the level to keep the hook straight. Mark all points needed for screws or anchors. Clear marks make installation easier and precise.
Installing The Hook
Installing the hook on your wall is a simple task with the right steps. This part of the process ensures your hook stays strong and holds weight safely. Follow these easy instructions to set up your wall hook correctly.
Drilling Pilot Holes
Start by marking the spot for the hook. Use a pencil to make a small dot. This mark guides the drill and keeps it steady. Choose a drill bit slightly smaller than the screw size. Drill a shallow hole on the mark. The pilot hole helps screws go in straight. It also prevents the wall from cracking.
Using Anchors For Support
Wall anchors add strength to your hook. They work best on drywall or hollow walls. Insert the anchor into the pilot hole. Tap gently with a hammer if needed. Make sure the anchor sits flush with the wall. Anchors stop the screw from pulling out easily. They provide extra grip for heavy items.
Securing The Hook
Place the hook over the drilled holes or anchors. Insert the screws through the hook’s holes. Use a screwdriver or drill to tighten the screws. Tighten until the hook feels firm and does not wobble. Avoid overtightening to protect the wall. Your hook is now ready to hold your items safely.
Testing And Adjustments
Testing and adjusting your wall hook is key to making it safe and useful. This step ensures the hook holds weight well and stays steady on the wall. Taking time to test and tweak prevents future damage or accidents.
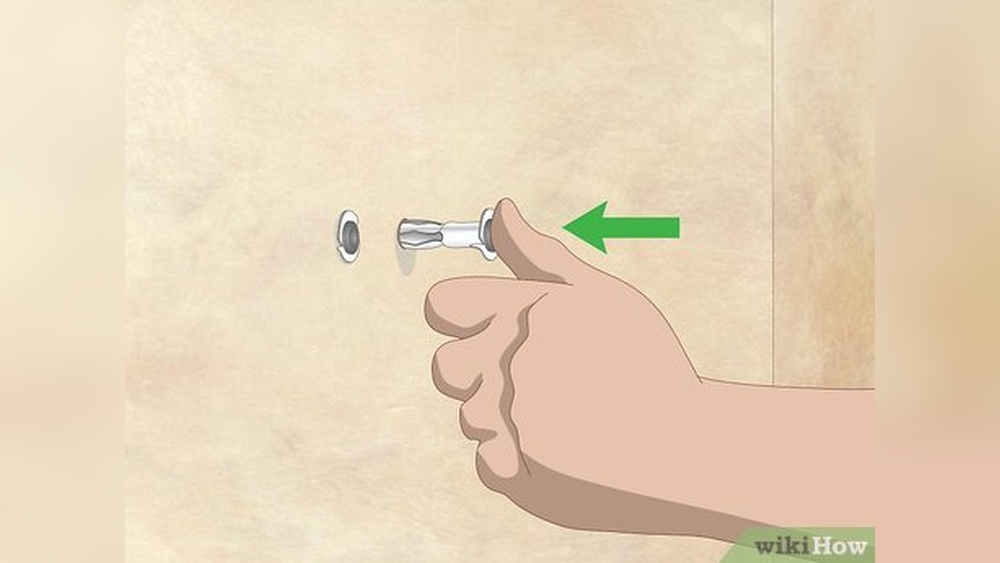
Ensuring Stability
Start by gently pulling on the hook. Check if it feels loose or wobbly. A stable hook should not move or shift under pressure. Use a level to verify the hook is straight. Straightness helps balance the weight evenly. If the hook feels weak, tighten screws carefully. Avoid overtightening to protect the wall and hardware.
Making Minor Adjustments
Small changes can improve the hook’s performance. Shift the hook slightly if it leans or tilts. Adjust screws one at a time for control. Replace wall anchors if they seem loose. Test the hook again after every adjustment. Repeat until the hook holds firmly and stays level. This fine-tuning ensures the hook lasts long and works well.
Tips For Maintenance
Maintaining your wall hook keeps it strong and looking good. Regular care helps it last longer and hold items safely. Simple steps prevent damage to both the hook and the wall. Follow these easy tips to keep your wall hook in top shape.
Cleaning The Hook
Dust and dirt can build up on the hook. Wipe it gently with a soft cloth often. Use mild soap and water for tougher dirt. Avoid harsh chemicals that can damage the hook’s finish. Dry the hook well to stop rust or water spots.
Preventing Damage To Walls
Check the hook’s screws regularly to keep it tight. Loose hooks can damage the wall or fall off. Use wall anchors for heavier items to protect the wall. Avoid hanging very heavy objects that exceed the hook’s limit. Keep the wall dry and clean to prevent paint peeling or cracks.

Credit: www.wikihow.com
Frequently Asked Questions
How Do I Choose The Right Wall Hook For My Wall?
Select a wall hook based on wall type, weight capacity, and hook design. Use anchors for drywall. Metal hooks suit heavy items, plastic for light objects.
What Tools Are Needed To Install A Wall Hook?
Basic tools include a drill, screwdriver, pencil, level, and wall anchors. Measuring tape helps position hooks accurately. These tools ensure secure and precise installation.
Can I Install A Wall Hook On Drywall Without Studs?
Yes, use drywall anchors or toggle bolts to support the hook. These provide strong grip and prevent damage. Avoid hanging heavy items without proper anchors.
How High Should I Install A Wall Hook?
Install wall hooks at a convenient height, typically 5 feet from the floor. Adjust height based on the item’s size and user reach. Consistency looks neat and functional.
Conclusion
Installing a wall hook is simple and quick with the right steps. Choose the right spot and tools before you start. Mark the place carefully to keep the hook steady. Drill or hammer gently to avoid wall damage. Tighten screws to hold the hook firmly in place.
Check that the hook feels strong and secure. Now, hang your items easily and keep your space neat. With these easy tips, anyone can add useful hooks at home. Give it a try and enjoy more organized walls today.