Looking to boost your home’s security without calling a locksmith? Installing a deadbolt from Lowe’s is one of the easiest and most effective ways to protect your space.
You don’t need to be a DIY expert to get it done right. In this guide, you’ll find simple, step-by-step instructions that save you time and money while giving you peace of mind. Keep reading, and you’ll have your new deadbolt installed quickly, making your home safer starting today.
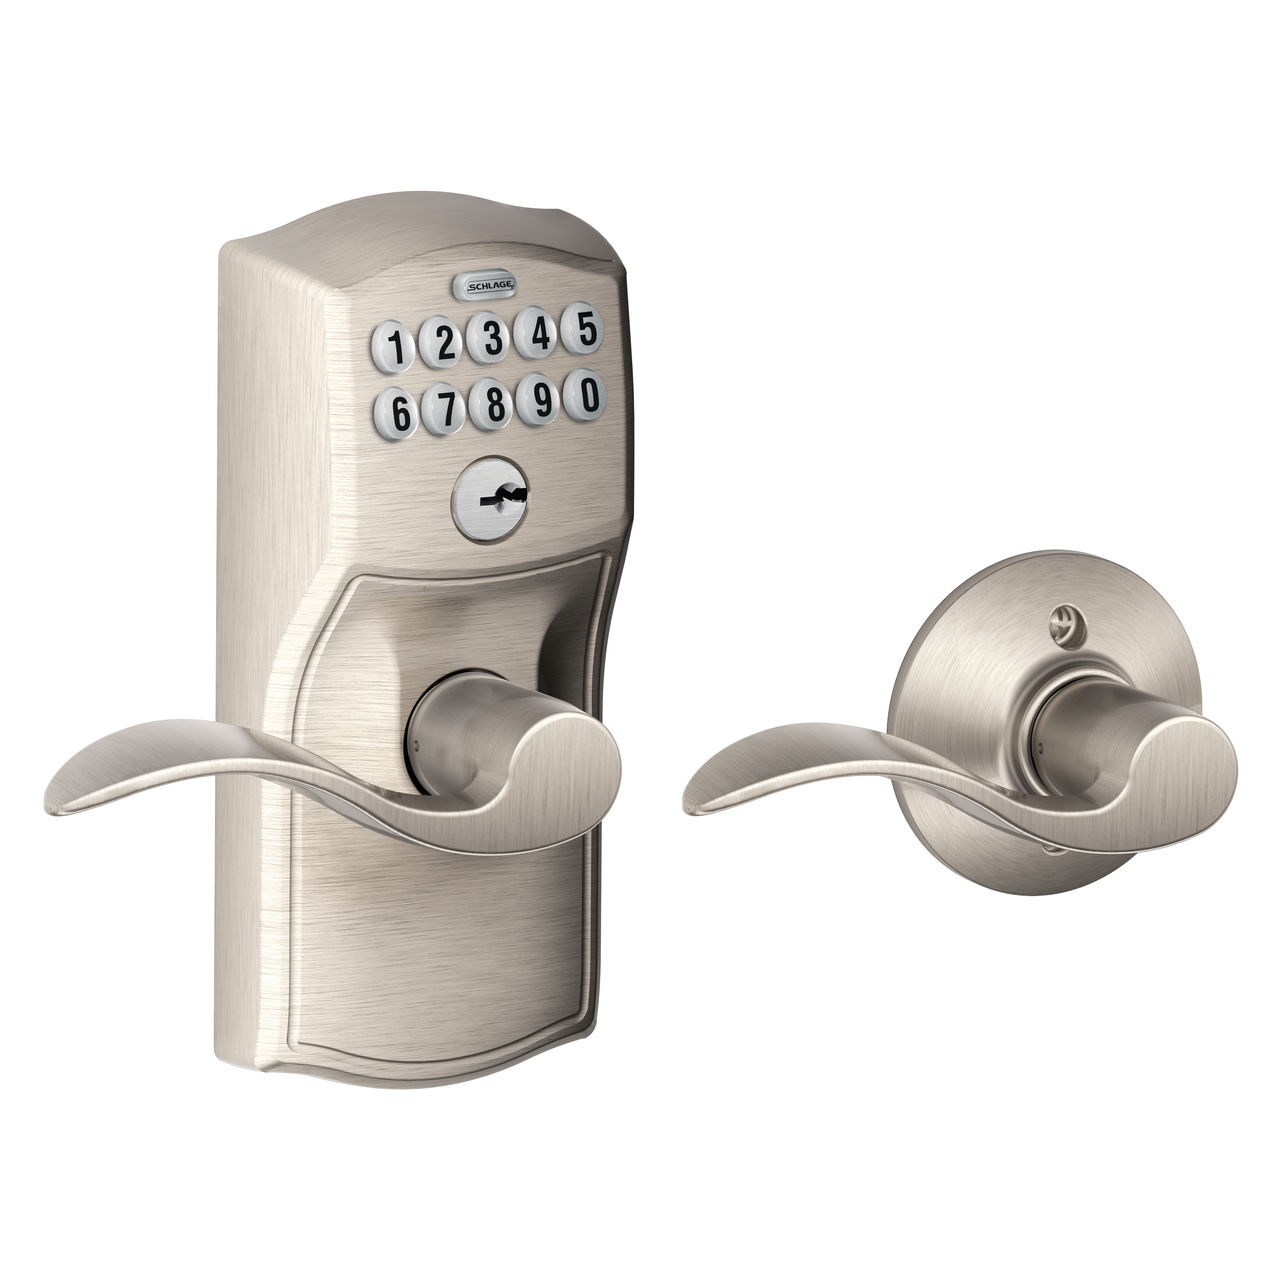
Credit: www.schlage.com
Choosing The Right Deadbolt
Choosing the right deadbolt is essential for home security. A good deadbolt protects your door and keeps your family safe. It also adds peace of mind. Not all deadbolts are the same. Picking one that fits your needs and door type is important.
Types Of Deadbolts
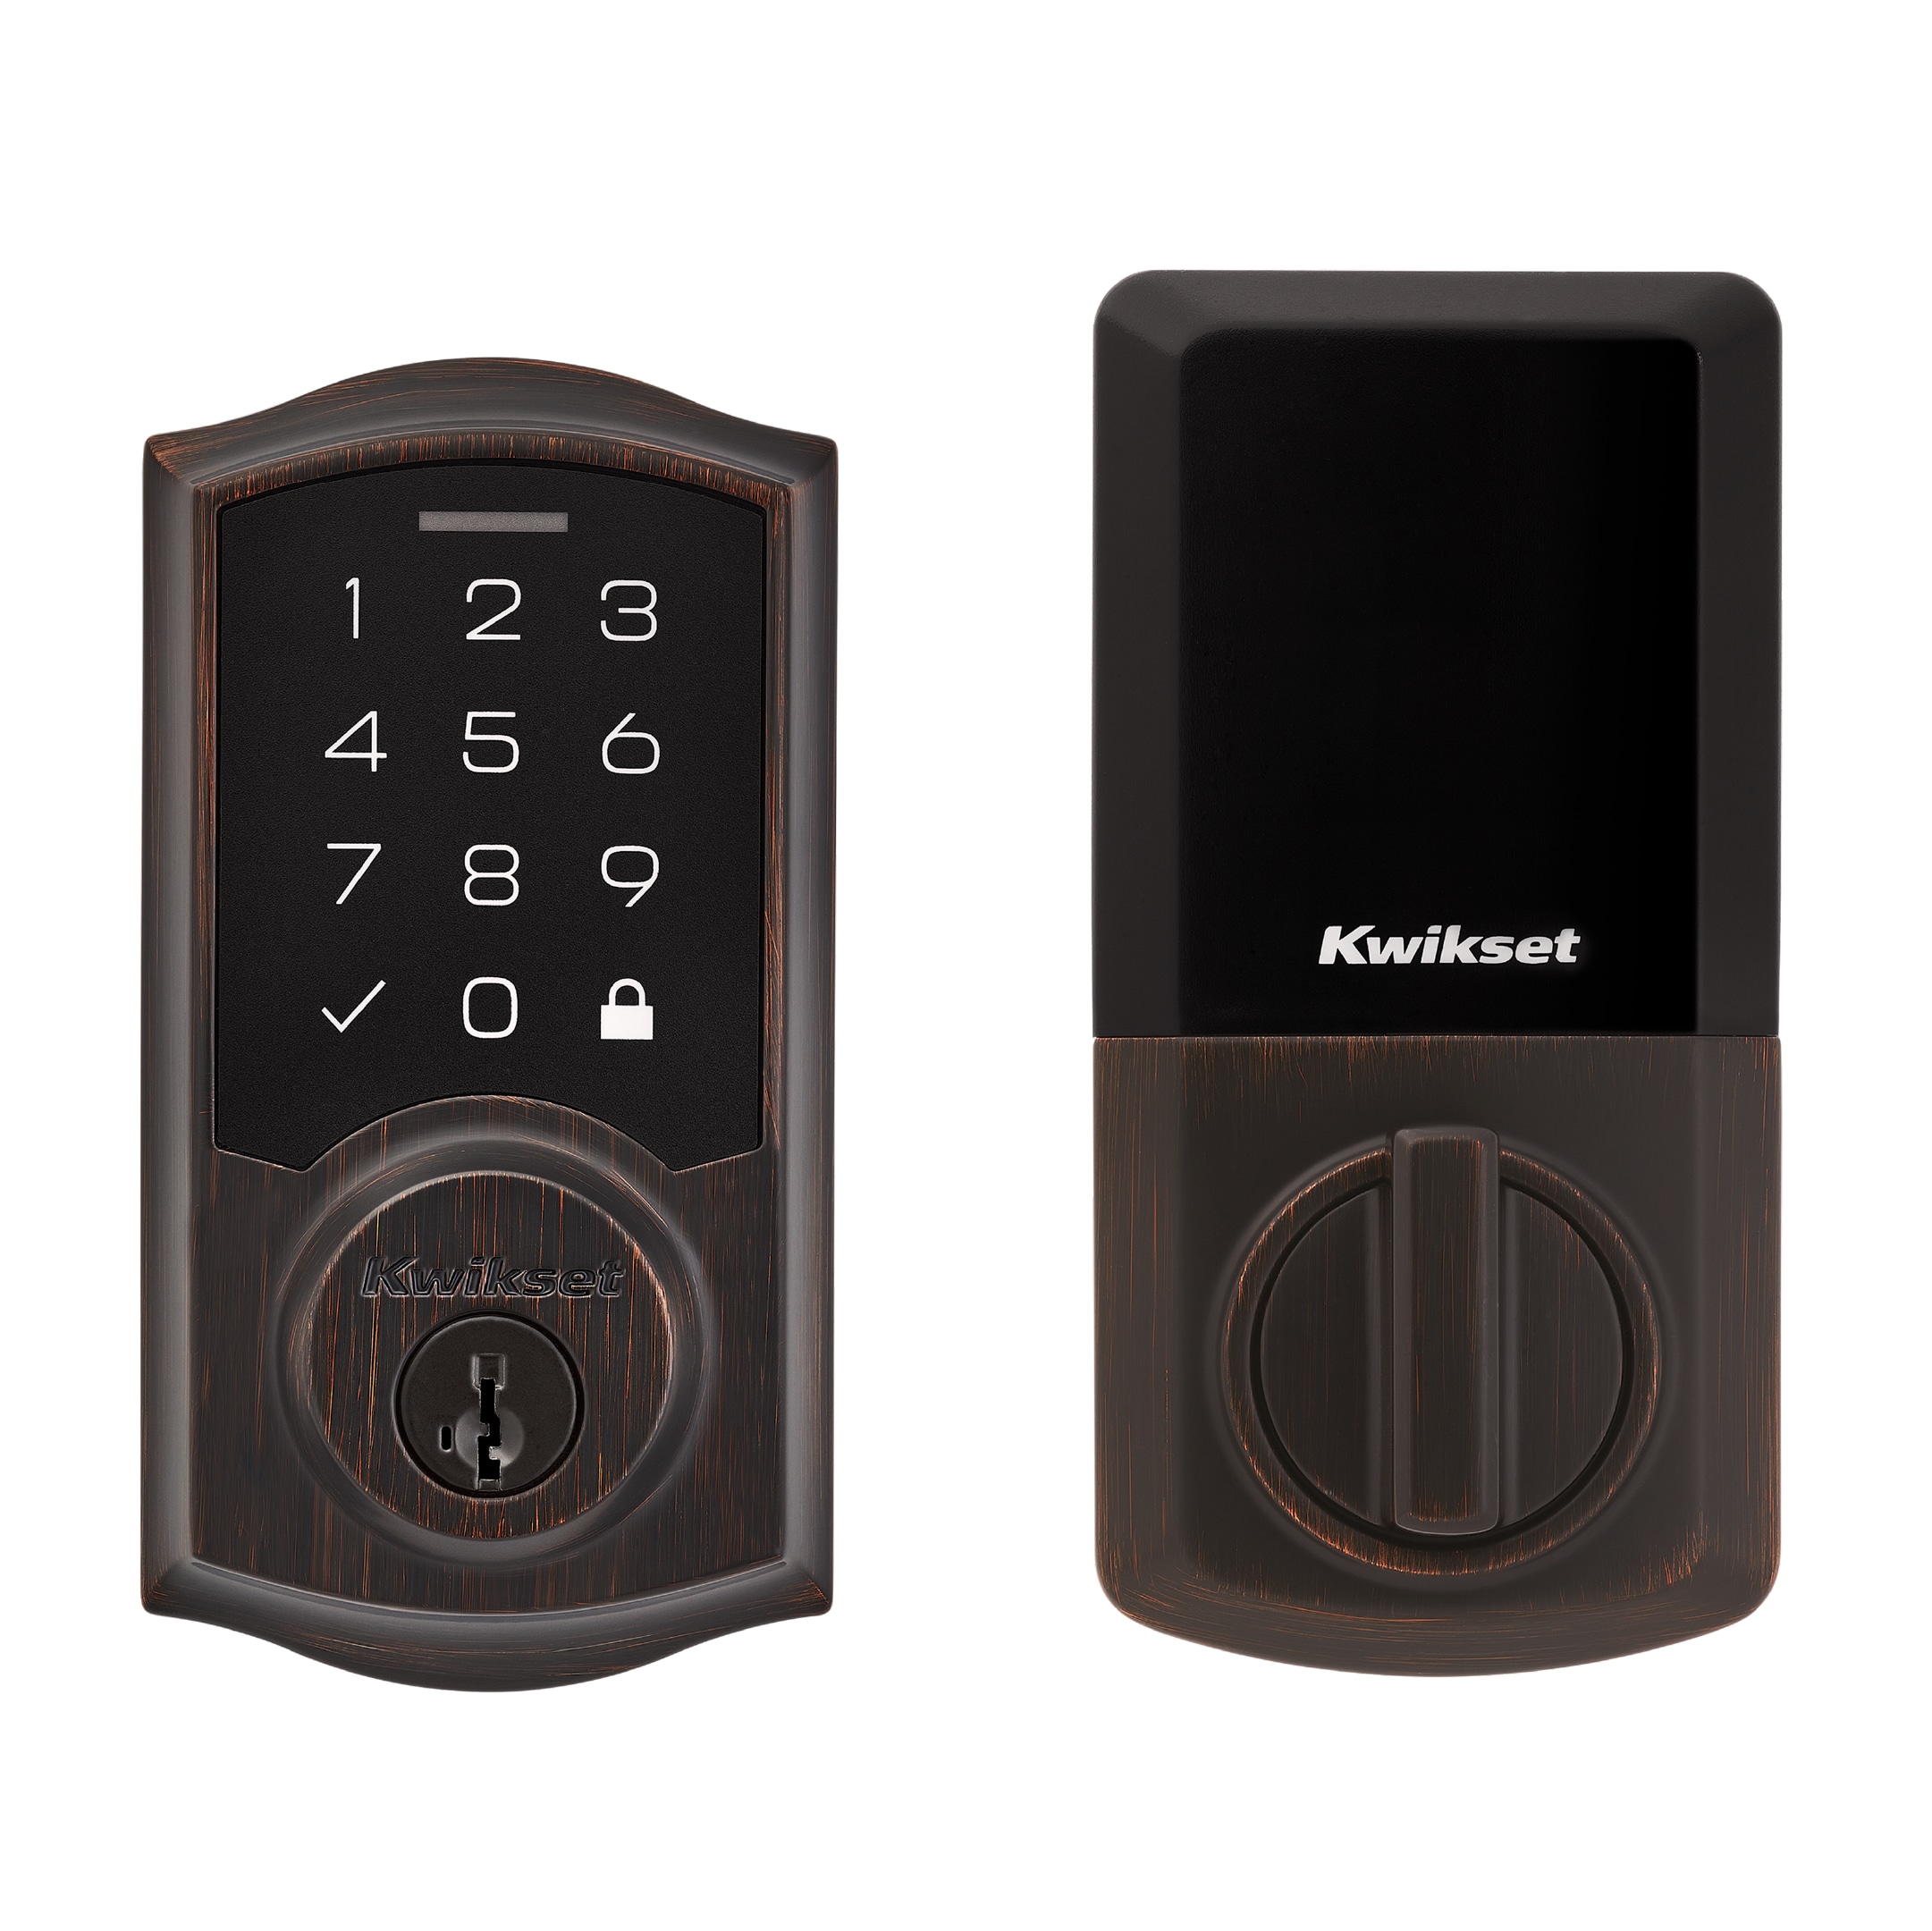
Single-cylinder deadbolts use a key outside and a thumb turn inside. They are common and easy to use. Double-cylinder deadbolts require a key on both sides. This type is good for doors with glass near the lock. There are also keypad deadbolts. These let you enter a code instead of using a key. Smart deadbolts connect to your phone for remote control.
Factors To Consider
Check the door material before buying a deadbolt. Solid wood or metal doors work best with strong deadbolts. Measure the door thickness to ensure a proper fit. Consider the security level needed. Higher security deadbolts resist picking and drilling. Ease of installation matters too. Choose a deadbolt that fits your skill level or hire a professional. Think about style and finish to match your door.
Deadbolt Options At Lowes
Lowes offers a wide range of deadbolts. You can find single and double-cylinder models. Keypad and smart deadbolts are also available. Brands like Schlage and Kwikset provide trusted quality. Lowes also sells deadbolt kits with all needed parts. Many options come with easy-to-follow instructions. Prices vary to fit different budgets. Lowes staff can help you pick the right deadbolt for your home.
Tools And Materials Needed
Installing a deadbolt from Lowes requires the right tools and materials. Having these ready makes the job easier and faster. Being prepared helps avoid interruptions during installation. Here is a list of everything you need to get started.
Essential Tools
- Power drill with drill bits
- Phillips and flathead screwdrivers
- Measuring tape
- Pencil for marking
- Chisel for wood adjustments
- Hammer for chiseling and tapping
- Level to ensure proper alignment
- Safety glasses to protect your eyes
Additional Supplies
- Deadbolt lock kit from Lowes
- Wood filler for fixing any mistakes
- Masking tape to mark drill points
- Rags to clean up dust and debris
- Lubricant for smooth lock operation
Preparing The Door
Preparing the door is the first step to install a deadbolt from Lowes. This step ensures the lock fits correctly. Proper preparation helps the deadbolt work smoothly and safely. Follow these simple tasks to get your door ready for installation.
Measuring And Marking
Start by measuring the door thickness and backset. The backset is the distance from the door edge to the center of the hole. Most doors use 2 3/8 inches or 2 3/4 inches backset. Use a tape measure for accuracy.
Mark the spots for the deadbolt hole and the latch hole. Use a pencil to make clear marks. Check the height on your door where you want the deadbolt. Usually, it is above the door handle, about 6 to 12 inches higher.
Drilling Holes
Use a drill with the right size hole saw bit. Drill the large hole for the deadbolt on the face of the door. Drill straight and steady to avoid splintering the wood.
Next, drill the smaller hole on the edge of the door for the latch. Make sure the holes line up perfectly. Clean any rough edges with sandpaper before installing the deadbolt parts.
Installing The Deadbolt
Installing a deadbolt improves your door’s security. This section guides you through the main steps. Follow each step carefully to ensure proper fitting and locking.
Fitting The Deadbolt Mechanism
Start by inserting the deadbolt mechanism into the door’s hole. Make sure the bolt slides smoothly. Align the mechanism so the bolt extends straight out. Tighten screws to hold it firmly in place.
Securing The Lock
Attach the exterior and interior lock parts on each side of the door. Match the spindle through the deadbolt mechanism. Press both sides together, ensuring they fit snugly. Secure with screws to keep the lock stable.
Installing The Strike Plate
Position the strike plate on the door frame. Align it with the bolt’s path when the door closes. Use screws to fasten the plate tightly. This step strengthens the door frame and stops the bolt from slipping.
Testing And Adjustments
Testing and adjustments are key steps after installing a deadbolt from Lowes. These steps ensure your lock works smoothly and keeps your home secure. Proper testing helps spot any problems early. Making adjustments improves the lock’s fit and function.
Checking Lock Functionality
Start by turning the key or thumb turn several times. The deadbolt should move easily without sticking or jamming. Check if the bolt fully extends into the door frame. Make sure the lock engages and disengages smoothly. Try locking and unlocking from both sides to confirm proper operation.
Fine-tuning Alignment
Check the alignment of the bolt with the strike plate on the door frame. The bolt must slide straight into the strike plate hole. If it doesn’t, loosen the screws on the strike plate slightly. Move the plate up, down, or sideways until the bolt fits perfectly. Tighten the screws back once aligned. Test the lock again to ensure smooth locking and unlocking.
Maintaining Your Deadbolt
Maintaining your deadbolt is key to keeping your home secure. A well-kept deadbolt works smoothly and lasts longer. Small care steps help avoid problems and costly repairs.
Regular attention makes sure your deadbolt stays strong. Clean parts and use the right lubrication. These simple tasks improve lock function and prevent wear.
Regular Cleaning
Dust and dirt can build up inside your deadbolt. This buildup makes it hard to turn the key or bolt. Use a soft cloth to wipe the outside. For inside parts, use compressed air to blow out debris. Clean at least twice a year to keep the lock clear. Avoid water or harsh chemicals that can damage metal parts.
Lubrication Tips
Lubricating your deadbolt keeps it moving smoothly. Use a graphite powder or silicone spray made for locks. Avoid oil-based lubricants that attract dirt and gum up the lock. Apply a small amount into the keyhole and bolt mechanism. Move the key or knob several times to spread lubricant evenly. Do this once a year or if the lock feels stiff.
Troubleshooting Common Issues
Installing a deadbolt from Lowes is usually straightforward. Sometimes, common issues can stop the lock from working right. Knowing how to fix these problems saves time and stress. This section covers typical troubles and simple fixes.
Misalignment Problems
Misalignment happens when the deadbolt and strike plate do not line up. This stops the bolt from sliding in smoothly. Check the door frame and the strike plate position. Adjust the strike plate by loosening screws and moving it slightly. Tighten screws once the bolt fits well. Make sure the door closes fully without force. Sand the door edge if it hits the frame.
Key Jamming
Key jamming can occur if the lock is dirty or the key is worn. Clean the key and the lock with a dry cloth. Use graphite powder inside the lock to lubricate it. Avoid oil-based lubricants as they attract dust. Try a different key if the problem stays. Replace the key if it is bent or damaged. Always insert the key gently to prevent jamming.
Lock Not Engaging
A lock that does not engage can mean the deadbolt mechanism is stuck. Turn the key slowly to see if the bolt moves. Check if the internal parts are loose or broken. Tighten any loose screws on the lock. Make sure the door is fully closed before locking. Replace the lock if internal parts are damaged. Regular maintenance helps prevent this issue.
Credit: www.lowes.com
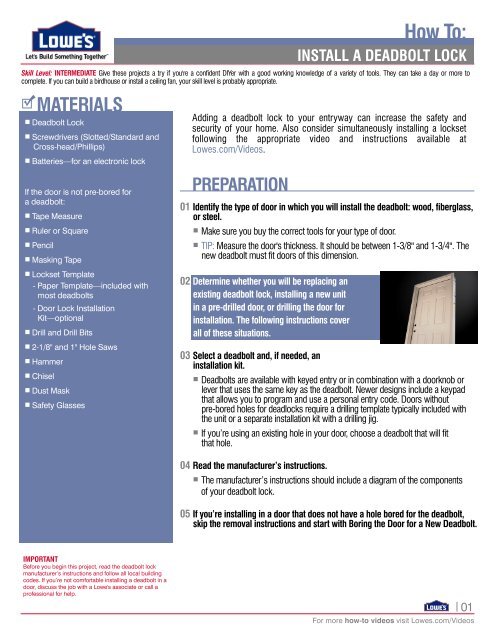
Credit: www.yumpu.com
Frequently Asked Questions
What Tools Do I Need To Install A Deadbolt From Lowes?
You need a drill, screwdriver, measuring tape, pencil, chisel, and the deadbolt kit from Lowes. These tools ensure proper installation and secure locking.
How Long Does It Take To Install A Deadbolt From Lowes?
Installing a deadbolt from Lowes typically takes 30 to 60 minutes. Time varies based on skill level and door type.
Can I Install A Deadbolt Without Professional Help?
Yes, Lowes deadbolts come with clear instructions. Basic DIY skills and tools are enough for a secure installation.
What Are Common Mistakes When Installing A Lowes Deadbolt?
Common errors include misaligning the strike plate, drilling incorrect hole sizes, and not securing screws tightly. Follow instructions carefully to avoid issues.
Conclusion
Installing a deadbolt from Lowe’s is simple and quick. Follow the steps carefully to keep your home safe. Use the right tools and measure twice before drilling. Take your time to align parts properly for smooth locking. A well-installed deadbolt adds strong security to your door.
Enjoy peace of mind knowing your entry is secure. Keep this guide handy for future installations or repairs. Safety is worth the effort.