Are you looking to add a beautiful trellis to your wall but unsure how to secure it safely? Anchoring a trellis properly is key to keeping your plants supported and your wall damage-free.
In this guide, you’ll discover simple, step-by-step instructions to anchor your trellis firmly, whether it’s made of wood, metal, or another material. By the end, you’ll feel confident tackling this project yourself and enjoy a stunning garden feature that lasts for years.
Keep reading to learn exactly what you need to know!

Credit: www.agriframes.us
Choosing The Right Trellis
Choosing the right trellis is key to a strong and beautiful garden wall. The trellis should fit the space and support the plants well. It must also match the style of your home and garden. Selecting the proper trellis makes anchoring easier and helps plants grow healthy.
Materials And Styles
Trellises come in many materials such as wood, metal, and plastic. Wood offers a natural look but needs regular care. Metal trellises are strong and last longer but can be heavy. Plastic trellises are light and low maintenance but may not be as sturdy.
Styles vary from simple grids to decorative patterns. Choose a style that suits your plants and wall design. A classic lattice fits most gardens. Fancy designs add charm but may cost more and weigh more.
Size And Weight Considerations
Measure the wall space before buying a trellis. The trellis should not be too big or too small for the area. Size affects how well it supports climbing plants.
Weight is important for safety. Heavy trellises need strong anchors and solid walls. Light trellises are easier to install but may not hold large plants well.
Think about the plant type too. Heavy vines need a sturdy, strong trellis. Small plants work well with lighter structures.
Selecting Wall Anchors
Selecting the right wall anchors is key to securing your trellis safely. The anchors must support the trellis weight and stay strong over time.
Choosing the wrong anchor can cause the trellis to fall or damage your wall. Understanding the types of anchors helps you pick the best one.
Types Of Anchors
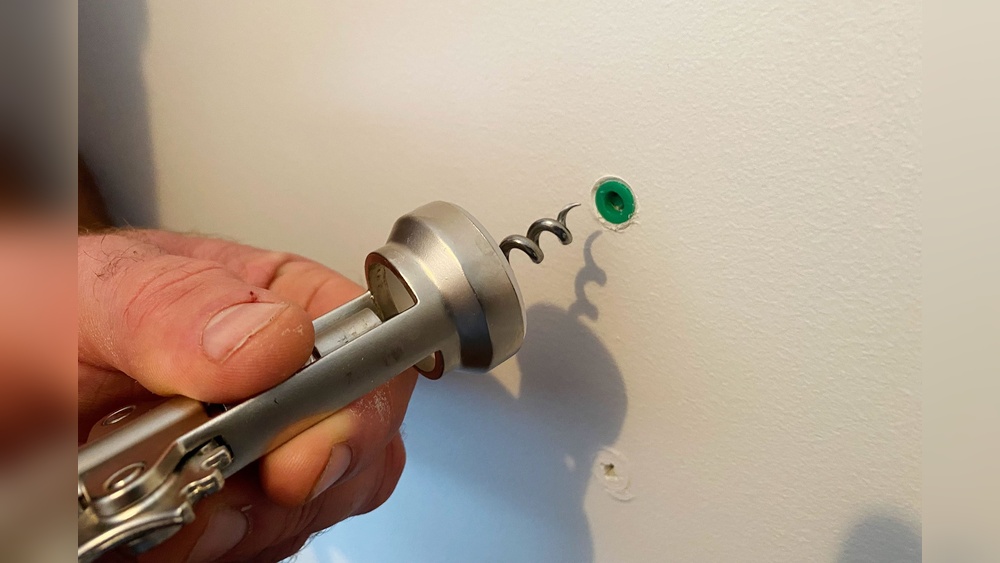
Plastic anchors are common and easy to use. They fit light to medium loads and work in drywall or plaster.
Metal anchors provide stronger support. They work well for medium to heavy trellises on brick or concrete walls.
Toggle bolts are great for hollow walls. They spread the load over a larger area to prevent pull-out.
Masonry anchors are designed for solid walls. Use them for brick, stone, or concrete to hold heavy trellises securely.
Matching Anchors To Wall Material
Drywall needs plastic or toggle anchors. These prevent the trellis from pulling out of soft walls.
Brick walls require masonry or metal anchors. They drill into mortar or brick to hold firmly.
Concrete walls work best with sleeve or wedge anchors. These expand inside the hole for a tight fit.
Wood walls usually need wood screws. Make sure to screw directly into studs for strong support.
Gathering Tools And Supplies
Gathering the right tools and supplies is the first step to anchor a trellis to a wall. Having everything ready makes the job easier and safer. It saves time and helps avoid mistakes during installation.
Basic Tools Needed
You will need a drill with masonry bits for drilling into the wall. A screwdriver or power driver helps to fix screws securely. Use a tape measure to mark where the trellis will go. A level ensures the trellis is straight. Anchors or wall plugs are essential for strong support. Screws must match the anchors and wall type. A pencil is handy for marking drill points.
Safety Equipment
Wear safety goggles to protect your eyes from dust and debris. Gloves protect your hands from sharp edges and rough surfaces. Use ear protection if the drill is loud or used for a long time. A dust mask prevents inhaling fine particles. Wear sturdy shoes to keep your feet safe. Always work in a well-lit area to avoid accidents.
Preparing The Wall
Preparing the wall is the first step to securely anchor a trellis. A strong attachment ensures the trellis stays stable. It also protects the wall from damage. Proper preparation saves time and effort later. Focus on finding the best spots to hold the trellis firmly.
Locating Studs Or Solid Areas
Start by finding studs or solid areas behind the wall. These spots can hold screws tightly without falling out. Use a stud finder tool to detect wood or metal studs. If no studs are available, look for thick bricks or concrete blocks. Avoid attaching the trellis to weak drywall alone. Solid backing gives better support and safety.
Marking Anchor Points
After locating solid spots, mark the exact anchor points. Use a pencil to make small marks where screws will go. Space the points evenly to spread the trellis weight. Check the trellis size and shape for proper placement. Marking helps guide drilling and keeps the trellis level. Careful marking reduces mistakes and wall damage.
Drilling And Installing Anchors
Drilling and installing anchors is a key step to secure your trellis to a wall. This process ensures the trellis stays strong and steady over time. Doing it right keeps your plants safe and your wall undamaged. Follow these simple steps to get a firm hold.
Drill Bit Selection
Choose the right drill bit for your wall type. For brick or concrete, use a masonry bit. For wood or drywall, a standard twist bit works well. Match the bit size to the anchor size. Too small or too large bits cause weak holds.
Proper Drilling Techniques
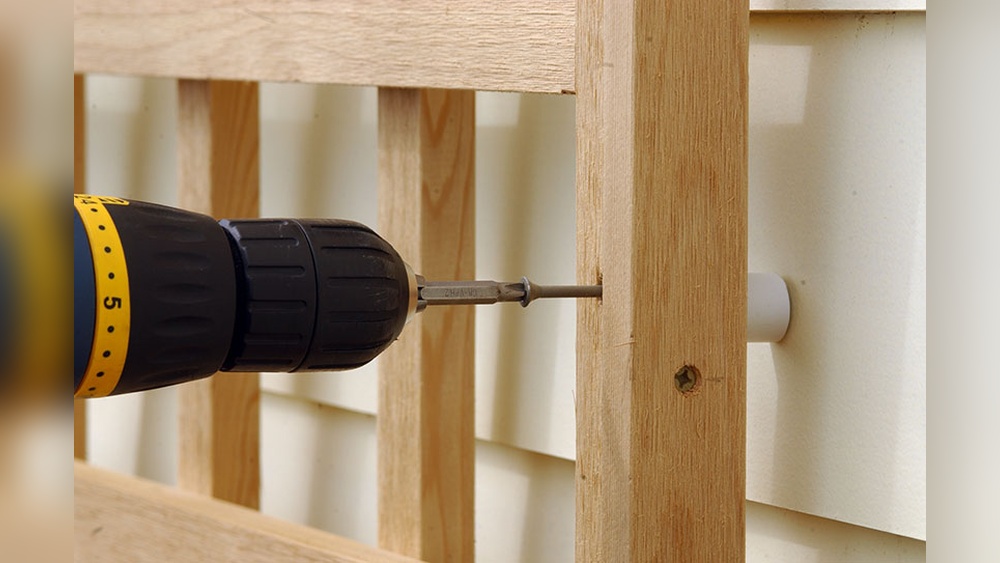
Mark the spots where anchors will go. Keep the drill steady and straight. Drill slowly and apply even pressure. Clear dust from holes with a brush or air blower. Avoid drilling too deep to protect the wall.
Securing Anchors
Insert anchors into the drilled holes. Tap gently with a hammer if needed. Make sure anchors fit snugly and do not move. Tighten screws carefully to hold the trellis firmly. Check for stability before finishing.
Attaching The Trellis
Attaching a trellis to a wall is a key step for a strong and lasting setup. It needs care and attention to keep the trellis secure and safe. Proper attachment helps plants grow well and keeps the structure stable through all seasons.
This section covers the main points to attach your trellis properly. Follow these steps for a neat and sturdy result.
Aligning The Trellis
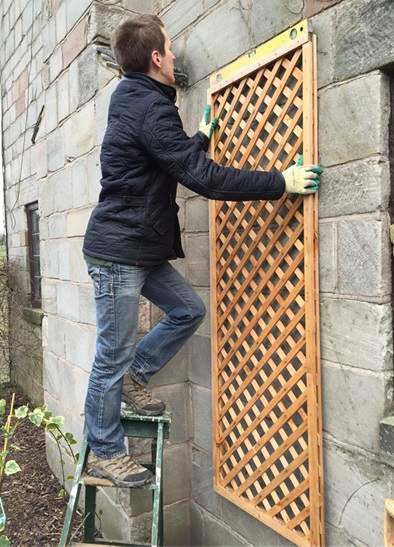
Place the trellis flat against the wall surface. Use a level tool to check it is straight. Mark the spots where you will fix the screws or hooks. Make sure the trellis does not tilt or lean to one side. Proper alignment avoids stress on the wood or metal.
Fastening Methods
Choose screws or wall anchors suitable for your wall type. For brick or concrete, use masonry anchors. For wood walls, wood screws work best. Drill pilot holes before inserting screws to avoid cracking. Use brackets or hooks for extra support if needed. Tighten all fasteners firmly but do not over-tighten.
Ensuring Stability
Test the trellis by gently pushing it. It should not move or wobble. Add more fasteners if you see any loose spots. Check the top, middle, and bottom for full support. Consider weather effects like wind and rain when placing fasteners. Stability keeps plants safe and helps the trellis last longer.
Maintaining Trellis Support
Maintaining trellis support is key to keeping your plants healthy and your wall safe. A well-secured trellis stands strong against wind, rain, and growing vines. Regular checks help avoid damage and keep the structure stable. Small problems can turn into big repairs if ignored.
Checking For Loose Fasteners
Inspect all screws and bolts often. Look for any that feel loose or rusty. Tighten loose fasteners with a screwdriver or wrench. Replace any that show signs of wear or corrosion. Loose fasteners can cause the trellis to detach from the wall. Make sure the trellis stays firmly anchored.
Seasonal Maintenance Tips
Clean the trellis surface to remove dirt and debris. Trim plant growth to reduce extra weight on the structure. In winter, check for any damage after storms or heavy snow. Apply a protective sealant to wooden trellises to prevent rot. Seasonal care keeps the trellis strong all year long.
Credit: www.jacksonsnurseries.co.uk

Credit: www.amazon.com
Frequently Asked Questions
How Do You Securely Anchor A Trellis To A Wall?
Use wall anchors and screws suited for your wall type. Drill pilot holes, insert anchors, and attach the trellis with screws. This ensures stability and prevents damage to the wall or trellis over time.
What Tools Are Needed To Anchor A Trellis?
You need a drill, wall anchors, screws, a screwdriver, a measuring tape, and a level. These tools help you measure accurately and securely fix the trellis to the wall.
Can I Anchor A Trellis On Brick Or Concrete Walls?
Yes, use masonry anchors or screws designed for brick or concrete. Drill into the mortar or brick carefully, insert anchors, then fix the trellis firmly for lasting support.
How High Should A Trellis Be Anchored On A Wall?
Anchor the trellis at multiple points along its height, ideally every 12-18 inches. This distributes weight evenly and prevents sagging or warping over time.
Conclusion
Anchoring a trellis to a wall can be simple and effective. Use the right tools and follow safety steps. Secure the trellis firmly to support climbing plants well. Check the wall type before choosing anchors and screws. Keep the trellis level for best results and appearance.
With care and patience, your garden will look great. Enjoy watching your plants grow beautifully on the trellis. Small efforts bring big changes in your outdoor space.