Have you ever lost your keys or moved into a new home and wondered if your locks are truly secure? Changing your locks can be expensive and time-consuming, but rekeying your Weiser deadbolt is a simple and cost-effective way to regain control over who can access your space.
In this guide, you’ll learn exactly how to rekey your Weiser deadbolt step-by-step, even if you have no prior experience. By the end, you’ll feel confident and empowered to handle your home security on your own. Keep reading to discover how easy it is to protect what matters most.
Tools Needed
Gathering the right tools makes rekeying a Weiser deadbolt easier. Having everything ready saves time and prevents frustration. Each tool plays a key role in the process.
Phillips Screwdriver
This tool helps remove the screws holding the deadbolt. A medium-sized Phillips screwdriver fits most screws on Weiser locks. Keep it handy for quick access.
Key Gauge Or Key Decoder
A key gauge measures the cuts on your new key. It helps set the pins inside the lock correctly. This tool ensures the lock works smoothly after rekeying.
Plug Follower
The plug follower pushes the cylinder plug out without losing the pins. It keeps the pins in place during the rekey process. Using this tool prevents damage to the lock.
Tweezers
Tweezers help handle tiny pins inside the lock cylinder. They offer precision for removing and placing pins. Using tweezers reduces the risk of dropping parts.
New Pin Kit
This kit contains pins of various sizes. Use the right pins to match your new key. A complete pin kit is essential for a successful rekey job.
Flathead Screwdriver
A small flathead screwdriver assists in prying open the lock parts gently. It helps with tasks that need more control. Keep one ready for detailed work.
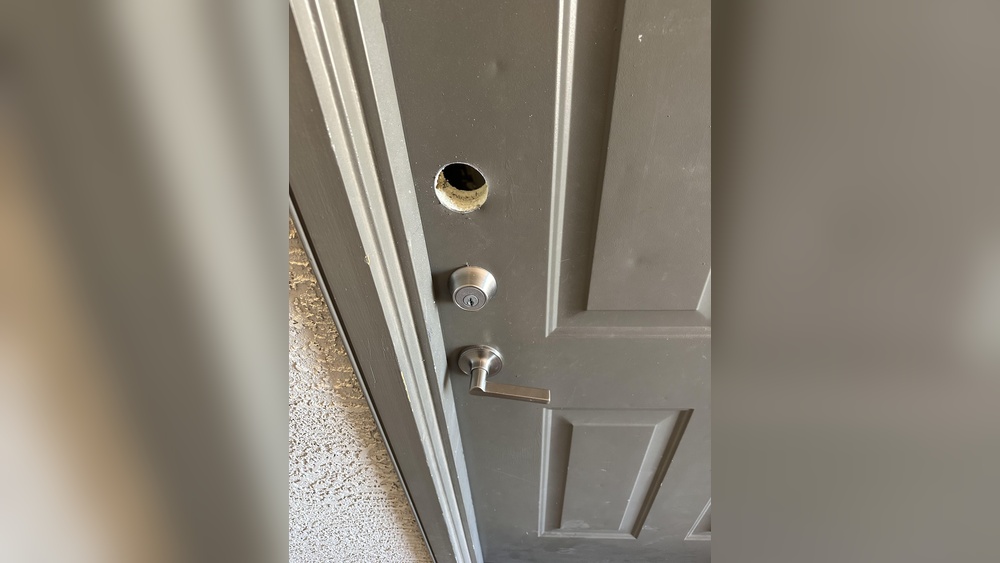
Removing The Deadbolt
Removing the deadbolt is the first step in rekeying your Weiser lock. This process lets you access the inner parts of the lock. It is simple and requires only basic tools. Follow each step carefully to avoid damage.
Start by preparing your workspace. Have a screwdriver ready and keep all parts in a safe place. This will make reassembly easier after rekeying.
Locate Screws
Look at the edge of the door where the deadbolt is installed. You will see screws holding the lock in place. These screws are usually on the interior side of the door. Use a flashlight if needed to spot them clearly. Identifying these screws is important before you begin unscrewing.
Detach Exterior And Interior Parts
Remove the screws slowly using a screwdriver. Keep the screws safe for later use. Gently pull off the interior part of the lock. Then, carefully remove the exterior part. Do not force the pieces. If stuck, check for hidden screws or clips. Once removed, you can access the cylinder inside. This allows you to proceed with rekeying the lock.
Extracting The Cylinder
Extracting the cylinder is an important step in rekeying a Weiser deadbolt. This part holds the pins and springs that control the lock. Removing it carefully helps you change the pins to fit a new key. Follow the steps below to remove the cylinder safely and easily.
Remove Cylinder Retaining Screw
First, find the retaining screw on the side of the deadbolt. Use a screwdriver to turn it counterclockwise. This screw holds the cylinder tightly in place. Take it out completely, but keep it safe for later. Without this screw, the cylinder can slide out freely.
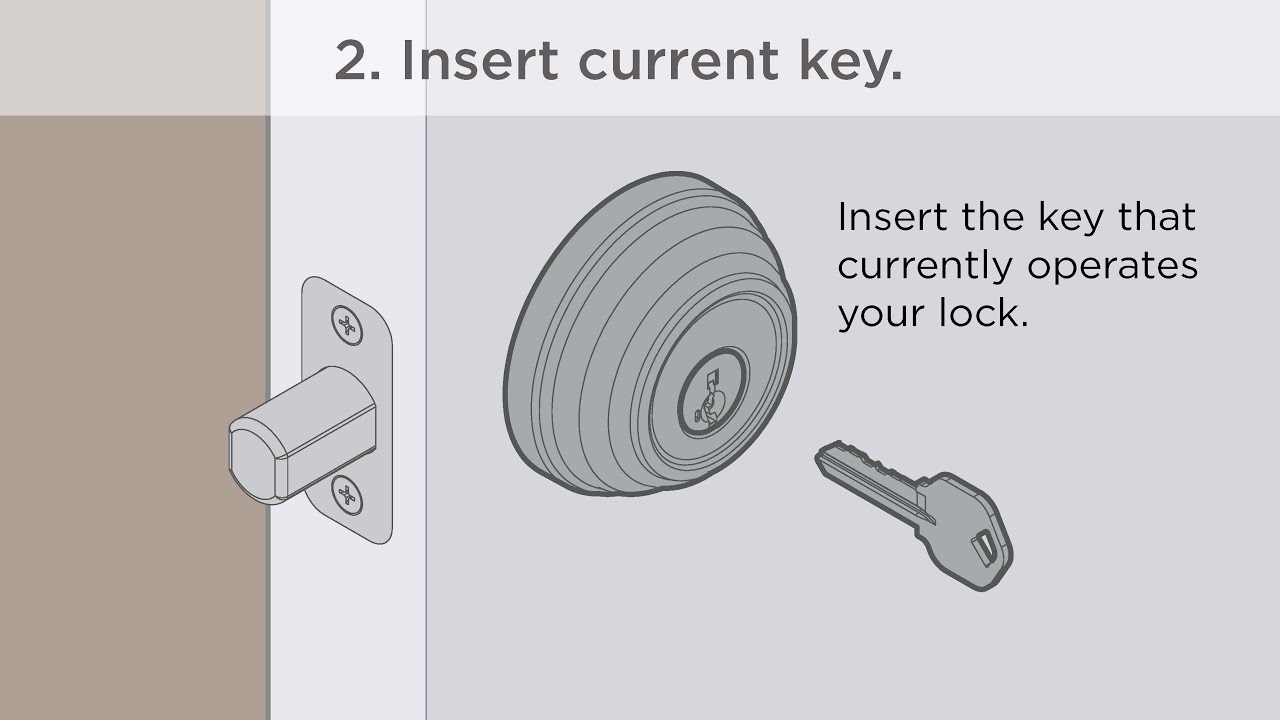
Slide Out Cylinder
Next, insert the key into the lock and turn it slightly. This aligns the pins inside the cylinder. Now gently pull the cylinder straight out of the lock housing. If it feels stuck, wiggle it a bit while pulling. The cylinder should come out smoothly without forcing it.

Credit: www.youtube.com
Disassembling The Cylinder
Disassembling the cylinder is the first step in rekeying your Weiser deadbolt. This process allows you to reach the inner parts of the lock where the pins sit. Careful handling is important to avoid losing any small pieces.
Take your time. This part sets the stage for a smooth rekeying process.
Access Pin Chambers
Start by removing the cylinder from the door. Use a screwdriver to take out the screws holding the lock. Slide the cylinder out gently to avoid damage.
Next, insert the key and turn it slightly. This action helps align the cylinder parts. Locate the pin chambers inside the cylinder. These small holes hold the pins that control the lock.
Remove Old Pins
Use a pinning tray or a flat surface to keep the pins organized. With the key still in place, use a follower tool or a small rod to push the plug out.
Be careful not to let the springs pop out. Once the plug is out, you can see the old pins inside. Remove each pin carefully. Keep them separate from the springs and other parts.
Inserting New Pins
Inserting new pins is a key step in rekeying your Weiser deadbolt. This process adjusts the lock to fit a new key. Each pin must match the cuts on the new key exactly. Precise pin placement ensures the lock turns smoothly and works properly. Take your time to avoid mistakes. A small error can cause the lock to jam or not open.
Match Pins To New Key
Start by examining your new key’s cut depths. Each cut corresponds to a specific pin size. Compare each cut with the pins you have. Select pins that match the height of each cut. Insert pins into the plug chamber carefully. Make sure each pin fits snugly without gaps. Proper matching makes your lock secure and easy to use.
Use Pinning Chart
A pinning chart helps you find the right pin sizes quickly. It shows which pin height matches each key cut number. Keep the chart close while working. Refer to it for every pin you insert. This reduces errors and speeds up the process. Using a chart guarantees that pins align correctly with the new key.
Credit: ca.weiserlock.com
Reassembling The Cylinder
Reassembling the cylinder is a crucial step in rekeying your Weiser deadbolt. This part holds the plug and pins inside the lock. You must put everything back carefully to ensure the lock works smoothly. Taking your time here prevents damage and keeps the lock secure.
Reinsert Plug
Start by placing the plug back into the cylinder housing. Align it so the keyway faces outward. Slowly push the plug in, making sure the pins stay inside. Do not force it; if it feels stuck, check the pin positions again. Use the plug follower tool to push the plug all the way through without letting the pins fall out.
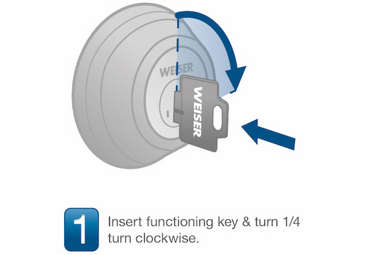
Test New Key Function
After reassembling, insert your new key into the plug. Turn the key gently to check if the cylinder rotates smoothly. The key should move without sticking or jamming. If it feels tight, remove the plug and inspect the pins. Testing now avoids problems after reinstalling the lock on your door.
Reinstalling The Deadbolt
Reinstalling the deadbolt is the final step in rekeying your Weiser lock. This process puts all parts back together and prepares the lock for use. Taking your time here ensures the deadbolt works smoothly and securely.
Attach Cylinder Back
Start by placing the cylinder back into the door. Align it carefully with the hole. Push it in until it sits flush with the door surface. Make sure the keyhole faces outside.
Secure Screws
Use the screws you removed earlier to fix the cylinder. Tighten them firmly with a screwdriver. The cylinder should feel stable and not move. Avoid over-tightening to prevent damage.
Check Lock Operation
Insert the key and turn it to test the lock. The deadbolt should slide smoothly in and out. Try locking and unlocking several times. Confirm the door locks securely without resistance.
Tips For Home Security
Securing your home means more than just installing a Weiser deadbolt. Small actions help keep your home safe and your family secure. Use simple tips to make your locks work better and last longer.
Choose Quality Keys
Good keys fit the lock perfectly. Low-quality keys can wear out your deadbolt quickly. Buy keys made from strong metal. Avoid cheap plastic or soft metal keys. They break or bend easily. Keep spare keys safe and limited. Only trusted people should have extra keys.
Regular Maintenance
Check your deadbolt often. Clean the lock to remove dust and dirt. Use a graphite lubricant, not oil, to keep it smooth. Oil can trap dust and cause problems. Test the lock regularly to catch issues early. Fix small problems before they grow. Well-maintained locks last longer and work better.
Credit: ca.weiserlock.com
Frequently Asked Questions
How Do I Start Rekeying A Weiser Deadbolt?
Begin by removing the deadbolt from the door. Use a screwdriver to take off the faceplate and cylinder. This exposes the pins and allows access to the lock core for rekeying.
What Tools Are Needed To Rekey A Weiser Deadbolt?
You need a screwdriver, a key gauge, a follower tool, and new pins. A rekeying kit specific to Weiser locks simplifies the process and ensures compatibility.
Can I Rekey A Weiser Deadbolt Without Removing It?
No, you must remove the lock cylinder to access the pins. Rekeying requires disassembling the lock to replace the internal pins with new ones.
How Long Does It Take To Rekey A Weiser Deadbolt?
Rekeying typically takes 15 to 30 minutes. Time varies based on your experience and whether you have the correct tools and pins ready.
Conclusion
Rekeying a Weiser deadbolt protects your home and saves money. The process is simple with the right tools and steps. Take your time and follow each step carefully. This skill helps you control who has access to your door. Practice makes perfect, so don’t worry if it takes a few tries.
Stay safe and confident by maintaining your own locks. You can do it!