Imagine controlling your lights with just your voice. No more getting up to flip a switch or searching for your phone.
If you want to make your home smarter and more convenient, connecting your light switch to Google Home is the perfect place to start. In this guide, you’ll learn simple steps to link your light switch to Google Home quickly and easily.
By the end, you’ll enjoy hands-free control that makes your daily life smoother and more comfortable. Ready to transform your lighting experience? Let’s dive in.
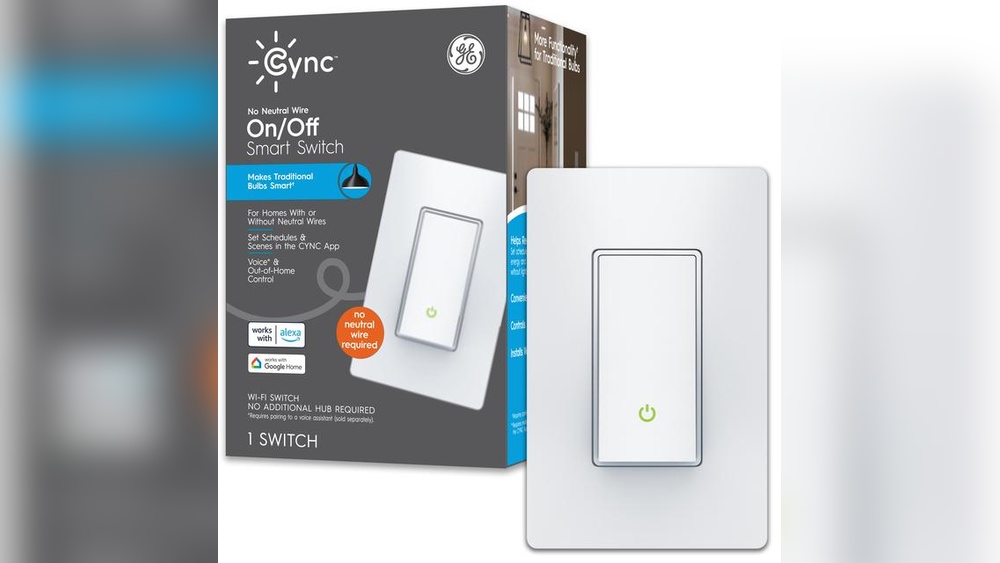
Credit: www.gelighting.com
Choosing The Right Smart Light Switch
Choosing the right smart light switch is the first step to control your lights with Google Home. A good switch makes your home smarter and your life easier. It fits your needs and works well with your existing setup.
Types Of Smart Switches
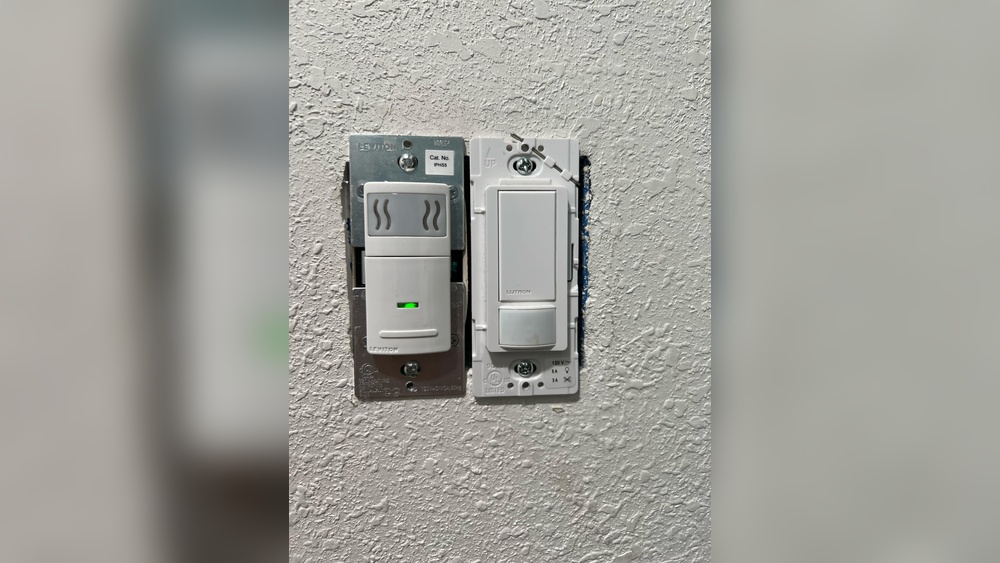
Smart switches come in different types. Some replace your old switches fully. Others work with your existing dimmers. You can find single-pole switches for one light or three-way switches for multiple controls. Choose the type that matches your current wiring and lighting setup.
Compatibility With Google Home
Not all smart switches work with Google Home. Check if the switch supports Google Assistant. Look for “Works with Google Home” on the packaging or website. This ensures you can control lights using voice commands or the Google Home app.
Power And Wiring Requirements
Smart switches need the right power to work. Many require a neutral wire in the switch box. Older homes might not have this wire. Check your home’s wiring before buying. Some switches work without a neutral wire, but options are limited. Knowing your wiring helps avoid installation problems.

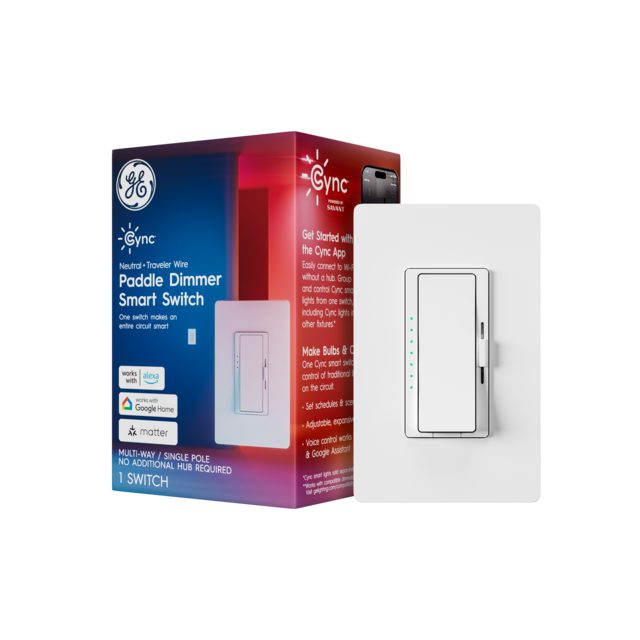
Credit: www.amazon.com
Gathering Tools And Materials
Before connecting your light switch to Google Home, gather all needed tools and materials. Having everything ready saves time and makes the process smooth. A few essential items are required to complete the setup safely and correctly.
Essential Tools
You need a screwdriver set to open the switch panel and tighten screws. A voltage tester helps check if wires are live. Wire strippers remove insulation from wires for proper connections. Needle-nose pliers assist in bending and holding wires. A drill might be needed for mounting the smart switch.
Safety Equipment
Wear insulated gloves to protect against electric shocks. Safety goggles shield your eyes from dust or sparks. Use a non-contact voltage tester to ensure power is off. Keep a first aid kit nearby for minor injuries. Working carefully reduces risks during installation.
Additional Components
Smart light switches compatible with Google Home are necessary. Prepare wire connectors or electrical tape for safe wire joining. A smartphone or tablet with Google Home app installed is needed. Ensure your Wi-Fi router is working and nearby. Extra screws or mounting brackets may be useful.
Preparing For Installation
Preparing for installation is the first step to connect your light switch to Google Home. This stage ensures safety and smooth setup. Taking time here prevents problems later.
Turning Off Power
Start by turning off power at the circuit breaker. This stops electricity flow to the switch. Use a tester to confirm no power is present. Safety is the top priority before handling wires.
Removing Existing Switch
Remove the switch cover plate with a screwdriver. Unscrew the switch from the wall box carefully. Pull the switch out gently to see the wires behind. Keep track of wire positions for later.
Checking Wiring Setup
Check the wires connected to the switch. Identify the live, neutral, and ground wires clearly. Note if your setup has a neutral wire, as many smart switches need it. Take pictures for reference during installation.
Installing The Smart Switch
Installing the smart switch is the next step after choosing the right device. This process involves careful handling of electrical wires and securing the switch properly. Following correct steps ensures safety and smooth operation with Google Home.
Connecting Wires Correctly
Start by turning off the power at the circuit breaker. Use a voltage tester to confirm no electricity flows. Identify the live, neutral, and ground wires in your wall box. Connect the switch wires to the matching house wires. Use wire nuts to secure each connection tightly. Double-check each connection to avoid loose wiring.
Securing The Switch
Push the connected wires gently back into the wall box. Align the smart switch with the screw holes. Use a screwdriver to fasten the switch firmly. Avoid over-tightening screws to prevent damage. Attach the switch plate cover to complete the look. Ensure the switch sits flush against the wall.
Restoring Power Safely
Switch the circuit breaker back on carefully. Check the smart switch for any signs of malfunction. Test the switch manually to confirm it works. Use the Google Home app to connect and control the switch. Monitor the device for a few minutes for safe operation.
Setting Up Google Home Integration
Setting up Google Home integration with your light switch is simple. This step connects your smart switch to your Google Home system. It allows you to control lights using voice commands or the app. Follow clear steps to make the process smooth and effective.
Adding Device In Google Home App
Open the Google Home app on your phone. Tap the ‘+’ icon to add a new device. Choose ‘Set up device’ then ‘Works with Google.’ Search for your smart switch brand. Select it to start linking your device. Follow the on-screen instructions to finish adding.
Linking Smart Switch Account
Enter the login details for your smart switch account. This connects your switch to Google Home securely. Allow the app to access your device information. Wait for the confirmation that the account is linked. This step enables voice control and automation.
Naming And Organizing Devices
Give each light switch a clear and simple name. Use names you will remember easily. Organize devices by rooms or zones in the app. This helps in managing devices quickly. It also improves the voice control experience with Google Home.
Configuring Voice Commands
Configuring voice commands is a key step to control your light switch using Google Home. It lets you operate your lights with simple phrases. This section explains how to set up and customize these commands for smooth interaction.
Basic Control Phrases
Start with basic voice commands to turn your lights on or off. Say “Hey Google, turn on the living room light” or “Hey Google, switch off the bedroom light.” Use short, clear phrases. Google Home understands these well. Practice these commands to get comfortable.
Customizing Commands
You can change the default commands to fit your style. Use the Google Home app to create routines. Routines let you say one phrase to control multiple devices. For example, “Good night” can turn off all lights. Keep commands simple for easy memory.
Troubleshooting Voice Issues
If Google Home does not respond, check your internet connection. Make sure the light switch is online and linked to your account. Speak clearly and stay close to the device. Restart Google Home if needed. These steps fix most voice command problems.
Enhancing Your Smart Lighting Experience
Connecting your light switch to Google Home opens many new ways to control your lights. It makes daily tasks easier and your home smarter. Simple voice commands can turn lights on or off. You can also adjust brightness without touching a switch. This creates comfort and saves energy.
Beyond voice control, you can set up schedules and groups. These tools help manage lights better. They also make your home feel more welcoming and safe.
Scheduling And Automation
Set specific times for your lights to turn on or off. This works well for waking up or going to bed. Automation lets your lights follow your daily routine. It also helps save electricity by turning lights off when not needed.
Automation can react to your location. Lights turn on as you arrive home. They switch off when you leave. This makes life easier and more convenient.
Grouping Multiple Switches
Group several light switches in one command. This is useful for rooms with many lights. Say “turn off living room lights” to control all switches together. Grouping saves time and adds ease to managing your space.
You can create groups for different rooms or floors. This helps organize your smart lighting system. Group control keeps everything simple and effective.
Using Routines And Scenes
Routines let you control lights with other smart devices. For example, a “Good Night” routine can turn off lights and lock doors. Scenes set a mood by adjusting multiple lights at once. Choose colors and brightness for relaxation or work.
Routines and scenes make your home feel just right. They add comfort and style with little effort.
Common Problems And Fixes
Connecting your light switch to Google Home can sometimes cause problems. These issues can stop your smart home from working smoothly. Knowing common problems helps you fix them fast. This saves time and keeps your devices running well.
Connection Issues
Sometimes, the light switch won’t connect to Google Home. Check your Wi-Fi. Make sure it is strong and stable. Restart your router and the switch. Confirm the switch supports Google Home. Use the right app for setup. Try reconnecting after a few minutes.
Switch Not Responding
The switch may not respond to voice commands. Check if the switch has power. Look for loose wiring or a tripped breaker. Restart the switch and Google Home device. Update the switch’s firmware using the app. Ensure the switch is added to the right room in Google Home.
App Sync Problems
App sync problems can cause delays or no control. Make sure your Google Home app is updated. Log out and log back in to refresh data. Clear the app cache on your phone. Check if the switch is listed in the app. Remove and re-add the switch if needed.

Credit: m.made-in-china.com
Frequently Asked Questions
How Do I Connect A Light Switch To Google Home?
To connect a light switch, first ensure it is a smart switch compatible with Google Home. Use the Google Home app to add the device, follow the setup prompts, and assign the switch to a room for easy voice control.
Can I Use Any Light Switch With Google Home?
No, only smart light switches with Wi-Fi or compatible protocols work with Google Home. Check product specifications for Google Assistant support before purchasing to ensure seamless integration and control.
What Are The Benefits Of Connecting Light Switches To Google Home?
Connecting light switches to Google Home enables voice control, scheduling, and remote access. It enhances convenience, energy efficiency, and home automation, making daily lighting management simpler and smarter.
Is It Safe To Install Smart Light Switches Myself?
If you have basic electrical knowledge, installing smart switches is generally safe. Always turn off power at the circuit breaker and follow manufacturer instructions carefully. Otherwise, consult a licensed electrician.
Conclusion
Connecting your light switch to Google Home makes life easier. You can control lights with simple voice commands. It saves time and adds convenience. Just follow the steps carefully for a smooth setup. Enjoy smart lighting without extra hassle. Try it today and see the difference.
Simple tech, smart living.