Are you worried that your freestanding sink might wobble or tip over? Anchoring it securely to the wall is the key to keeping it steady and safe.
But how exactly do you do that without damaging your walls or the sink itself? In this guide, you’ll discover simple, step-by-step tips that anyone can follow. By the end, you’ll have the confidence to fix your sink firmly in place, making your bathroom look neat and feel more secure.
Keep reading to find out how easy it can be to anchor your freestanding sink perfectly.
Tools And Materials Needed
Anchoring a freestanding sink to the wall needs the right tools and materials. Using the proper items ensures the sink stays secure and stable. Prepare everything before starting the installation process. This step saves time and avoids mistakes.
Essential Tools
- Drill with masonry bits for making holes in the wall
- Level to keep the sink straight
- Measuring tape for accurate placement
- Adjustable wrench to tighten bolts and nuts
- Screwdriver set for screws
- Pencil for marking spots on the wall
- Stud finder to locate wall studs
Required Materials
- Mounting brackets designed for freestanding sinks
- Anchor bolts or wall plugs for strong support
- Screws compatible with your wall type
- Silicone sealant to prevent water leaks
- Washers for even pressure distribution
- Pipe fittings to connect plumbing
- Protective gloves for safety during installation

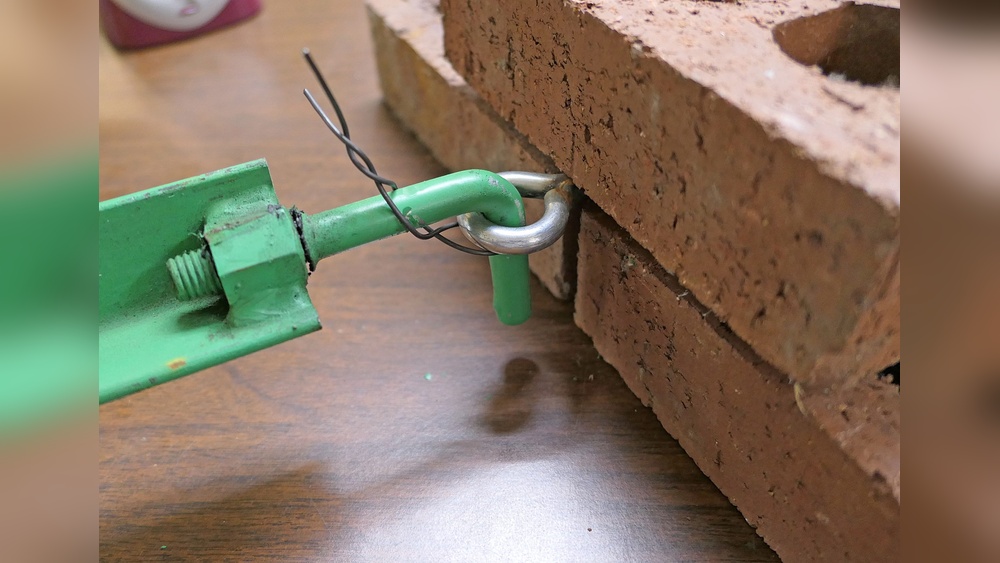
Credit: www.reddit.com
Preparing The Workspace
Preparing the workspace is the first step in anchoring a freestanding sink to the wall. A clean and organized area helps work flow smoothly. It also keeps tools and materials within reach. Proper preparation saves time and avoids mistakes during installation.
Clearing The Area
Remove all items near the sink location. Clear furniture, rugs, and decorations from the workspace. This prevents damage and creates room to move freely. Sweep or vacuum the floor to remove dust and dirt. A clean space helps the sink sit flat and stable against the wall.
Checking Wall Structure
Inspect the wall where you will anchor the sink. Look for studs or solid support behind drywall. Use a stud finder to locate wooden studs easily. Avoid anchoring to drywall alone, as it may not hold the sink’s weight. Mark stud positions clearly with a pencil. This ensures a secure and safe installation.
Locating Wall Studs
Locating wall studs is a key step when anchoring a freestanding sink. Studs provide the strong support needed to hold the sink safely. Without attaching to studs, the sink may become loose or fall. Finding the exact position of studs ensures a secure installation. It also helps avoid damage to the wall during drilling.
Using A Stud Finder
A stud finder is a simple tool to locate studs behind the wall. Turn it on and move it slowly across the surface. The tool signals when it passes over a stud. Choose a stud finder with clear indicators for best results. This method is quick and accurate. It works well on drywall and plaster walls.
Marking Stud Positions
After locating each stud, mark its position on the wall. Use a pencil to make small, visible marks. Mark at the height where the sink will be anchored. Double-check the marks to ensure they align with the sink brackets. Clear marks help guide drilling and mounting. This step reduces mistakes and saves time during installation.
Marking Sink Anchor Points
Marking sink anchor points is a key step before securing a freestanding sink to the wall. It ensures the sink stays stable and safe. Precise marking helps avoid mistakes and saves time during installation.
This process involves aligning the sink correctly and measuring where the anchors will go. Careful attention here makes the following steps easier and more accurate.
Aligning Sink With Wall
Place the sink close to the wall where it will be installed. Check that it stands straight and even. Use a level tool to confirm the sink is perfectly vertical. Adjust the position until the sink sits flush against the wall. This alignment sets the base for accurate anchor points. A crooked sink can cause leaks or damage later.
Measuring Anchor Locations
Look for the sink’s built-in mounting holes or brackets. Use a pencil to lightly mark these points on the wall. Measure the height from the floor to each anchor point to ensure symmetry. Double-check the marks before drilling. Accurate measurements prevent misalignment and keep the sink secure. Marking carefully helps avoid unnecessary holes and repairs.
Drilling Anchor Holes
Drilling anchor holes is a key step in securing a freestanding sink to the wall. This task needs care and precision to ensure the sink stays stable. Proper holes provide strong support for the sink’s weight. Take your time and prepare well before starting.
Choosing Drill Bits
Select drill bits that match the wall material. Use masonry bits for brick or concrete walls. Wood bits work best for wooden studs behind drywall. Pick the right size bit for your anchors. Too big or small can cause weak support.
Drilling Safely
Wear safety glasses to protect your eyes from dust and debris. Mark the exact spots for holes before drilling. Keep the drill steady and drill straight into the wall. Start slowly to avoid slipping or damaging the wall. Clear dust from holes to help anchors fit tightly.
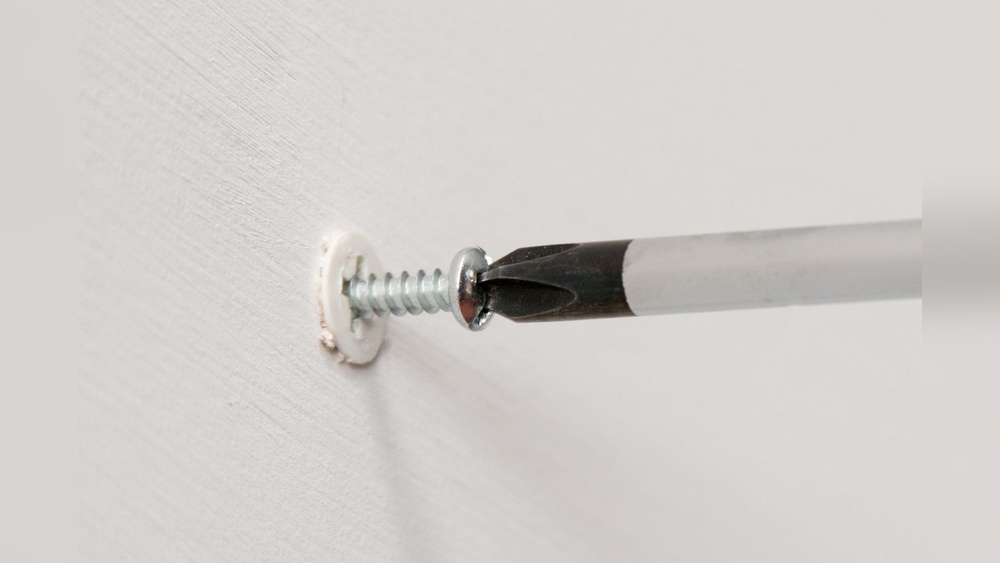
Credit: www.signaturehardware.com
Installing Anchors And Brackets
Installing anchors and brackets is crucial for securing a freestanding sink to the wall. This step ensures the sink stays stable and safe during use. Proper installation prevents wobbling and potential damage to the plumbing or wall.
This process involves placing wall anchors and attaching mounting brackets firmly. These components work together to hold the sink in place. Follow each step carefully to get a solid, lasting hold.
Inserting Wall Anchors
Start by marking the spots where the anchors will go. Use a pencil to mark holes on the wall behind the sink. Choose anchors that match your wall type, such as drywall or masonry anchors.
Drill holes at the marked points, using a drill bit sized for your anchors. Insert the anchors into the holes gently. Tap them in with a hammer until they sit flush with the wall surface.
Ensure anchors fit tightly. Loose anchors reduce support and can cause the sink to fall.
Securing Mounting Brackets
Attach the mounting brackets to the wall by lining them up with the installed anchors. Use screws that fit the anchors well. Tighten screws securely to fix the brackets firmly.
Check the brackets for stability. They must not move or wiggle. Brackets hold the sink’s weight, so strong fixing is necessary.
Finally, position the sink on the brackets. Confirm it sits level and stable before final tightening.
Attaching The Sink To The Wall
Attaching the freestanding sink to the wall is an important step. It ensures the sink stays stable and safe during use. This process requires careful handling to avoid damage. The sink must be positioned correctly before securing it. Tightening the fasteners firmly holds the sink in place. Follow these simple steps for a secure fit.
Positioning The Sink
Place the sink close to the wall where it will be installed. Check the height and alignment to match plumbing connections. Use a level to make sure the sink is straight. Mark the wall through the mounting holes on the sink. This helps guide where to drill for anchors or screws. Remove the sink after marking to prepare the wall.
Tightening Fasteners
Insert wall anchors or screws into the marked spots. Position the sink back against the wall carefully. Attach the fasteners through the sink’s mounting holes into the anchors. Tighten the screws evenly to avoid tilting the sink. Use a screwdriver or drill, but do not overtighten. Check stability by gently pushing the sink. Adjust fasteners if the sink moves.

Credit: www.amazon.com
Final Checks And Adjustments
After anchoring a freestanding sink, some final checks make a big difference. These ensure your sink stays strong and looks neat. Small adjustments now prevent problems later.
Ensuring Stability
Check the sink for any wobbling or movement. Press gently on different sides to test its firmness. Tighten the wall brackets if the sink shifts. Make sure all screws and bolts are secure. Stability keeps the sink safe and functional.
Sealing And Finishing Touches
Apply a thin bead of silicone around the sink base. This stops water from leaking behind the sink. Smooth the silicone with a wet finger for a clean look. Wipe away any excess immediately. Let the sealant dry fully before using the sink.
Frequently Asked Questions
How Do I Securely Anchor A Freestanding Sink To The Wall?
To anchor a freestanding sink securely, use wall brackets or mounting plates. Locate studs, mark holes, drill pilot holes, then fasten brackets tightly. This ensures stability and prevents movement, providing a safe and durable installation.
What Tools Are Needed To Anchor A Freestanding Sink?
You need a drill, screwdriver, level, measuring tape, wall anchors, and mounting brackets. These tools help measure, align, and securely fasten the sink to the wall for proper support.
Can I Anchor A Freestanding Sink To Drywall Only?
Anchoring to drywall alone is not recommended. Use wall studs for strong support or install heavy-duty wall anchors designed for drywall to prevent the sink from loosening or falling.
How Do I Find The Right Height For Anchoring A Sink?
Measure the sink height from the floor to the top edge. Mark the wall accordingly, ensuring comfortable use and proper alignment with plumbing fixtures before anchoring.
Conclusion
Anchoring a freestanding sink to the wall keeps it steady and safe. Follow the steps carefully to avoid damage or accidents. Use proper tools and anchors for a strong hold. Check your work to make sure the sink is secure.
A well-anchored sink lasts longer and looks better. Take your time and work with care. Now, your bathroom feels more stable and comfortable. Simple steps make a big difference.