Looking for a simple way to add style and organization to your space? Making your own wall hooks is easier than you think, and it gives you the power to customize exactly how they look and work.
Whether you want to keep your keys handy, hang your favorite bags, or create a decorative touch, this guide will show you step-by-step how to make wall hooks that fit your needs perfectly. Stick with me, and you’ll soon have a practical and stylish solution that’s uniquely yours.
Ready to transform your walls? Let’s get started!

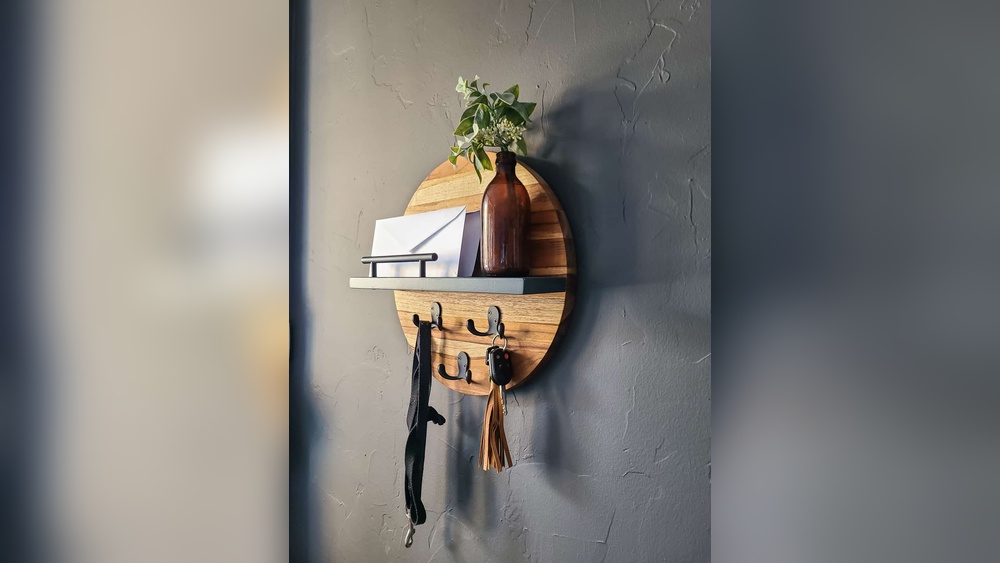
Credit: www.reddit.com
Materials Needed
Making wall hooks is a fun and useful project. Gathering the right materials helps everything go smoothly. Knowing what tools and parts you need saves time and effort. It also makes your hooks strong and pretty.
Basic Tools
Start with simple tools you may have at home. A drill or screwdriver is important for fixing hooks to walls. A hammer helps with nails or small pins. Measuring tape or ruler keeps your hooks even. Sandpaper smooths rough edges on wood or metal. Safety gloves protect your hands during work.
Types Of Hooks
Choose hooks based on what you want to hang. Metal hooks are strong and last long. Wooden hooks offer a natural, warm look. Plastic hooks are light and easy to paint. Hooks come in different shapes like J-hooks, knobs, or pegs. Pick hooks that fit your style and needs.
Decorative Elements
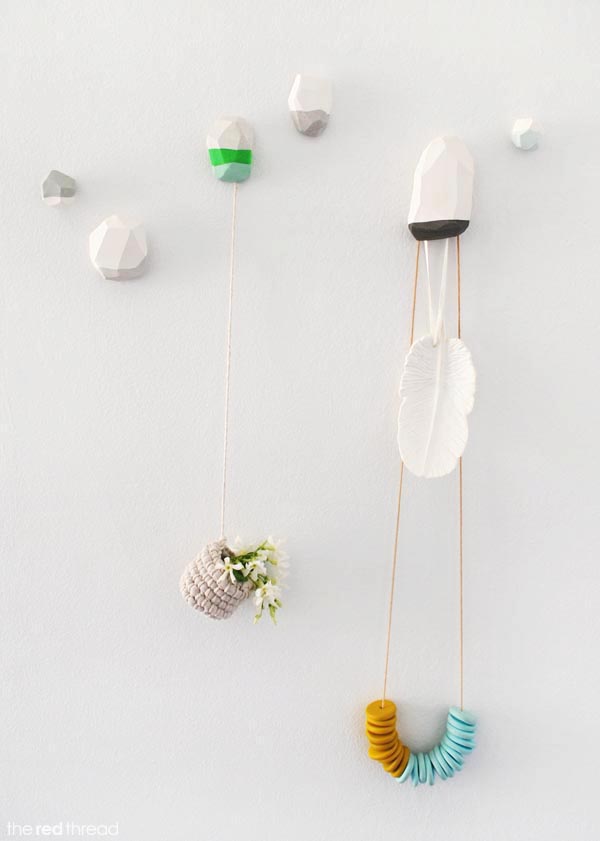
Decorate hooks to make them special and match your room. Paint adds color and personality. Stickers or stencils create fun patterns. Small beads or buttons give texture and detail. Twine or ribbon can wrap around the hook for a cozy feel. Simple decorations make your hooks unique and eye-catching.
Credit: www.we-are-scout.com
Choosing The Right Wall
Choosing the right wall is important for making strong and safe wall hooks. Not all walls hold hooks the same way. Some walls can hold heavy items, while others are better for light items. Picking the right wall makes your hooks last longer and keeps your items safe.
Wall Material Considerations
Different walls use different materials. Drywall is common but not very strong. Brick and concrete walls are strong but need special tools. Wood walls are easy to work with and hold weight well. Know your wall type before you start.
Weight Capacity
Think about how much weight your hook will hold. Heavy items need strong walls and anchors. Light items can use simple hooks on drywall. Always check the weight limit of your hook and the wall’s strength. This stops damage and keeps things safe.
Placement Tips
Pick a spot that fits your needs and wall strength. Avoid placing hooks on weak spots or near electrical wires. Find studs in drywall for better support. Place hooks at a good height for easy reach. Proper placement helps your hooks work well.
Simple Wooden Hooks
Simple wooden hooks offer a natural and stylish way to organize any space. They blend well with many home designs. Making these hooks yourself is fun and cost-effective. You can customize the size and shape to fit your needs. Follow easy steps to create strong and attractive wooden hooks.
Cutting And Shaping Wood
Start with a small piece of wood, such as pine or oak. Cut the wood into your desired hook size using a saw. Shape the wood by cutting one end to form a hook curve. Keep the edges smooth and rounded for safety. Use a pencil to mark where you want to cut. Take your time to get the shape right.
Sanding And Finishing
Sand the wood with fine-grit sandpaper until smooth. Sand all surfaces, including edges and curves. This step removes rough spots and splinters. Apply a finish like wood oil or clear varnish. The finish protects the wood and brings out its natural color. Let the finish dry completely before use.
Mounting Techniques
Choose a sturdy wall spot for your wooden hook. Use screws or nails to fix the hook securely. Drill pilot holes to avoid splitting the wood. For extra strength, add wall anchors. Test the hook by hanging a light item first. Adjust if needed to ensure the hook holds well.
Repurposed Item Hooks
Repurposed item hooks bring new life to old objects. They turn simple things into useful wall hooks. This method saves money and helps the environment. Plus, it adds charm to any room. You can use many household items that no longer serve their original purpose.
Using Old Keys
Old keys make unique wall hooks. Their small size fits perfectly on walls. Attach a key to a wooden board with glue or screws. Use the loop part to hang light items like jewelry or keys. The vintage look adds character to your space. Collect different shaped keys for variety.
Upcycling Utensils
Old forks and spoons become creative hooks. Bend the utensil handles to form hooks. Secure them to a wooden plank or directly on the wall. They hold coats, bags, or kitchen towels well. The shiny metal adds a rustic, stylish touch. This idea works great in kitchens and dining areas.
Decorative Knobs
Decorative knobs from old furniture make beautiful hooks. Choose knobs with interesting shapes or colors. Screw them into a wooden board or wall. They support heavier items like bags or coats. This option is easy to install and change. It also gives a polished, finished look to your walls.
Metal Hooks Diy
Making metal hooks at home is a simple and fun project. It lets you create strong, useful hooks for your walls. You can customize their shape and size to fit your needs. This section shows easy steps to make metal hooks yourself. No special tools are needed, just basic supplies.
Bending Wire Hooks
Start with a sturdy metal wire, about 12 gauge thick. Use pliers to bend the wire into a hook shape. Make a small loop at one end to hang items. Shape the other end straight to attach to the wall. Bend slowly to avoid breaking the wire. Check the hook size to fit your items.
Attaching Metal Pieces
To add strength, attach a metal plate to the hook’s back. Use small screws or strong glue to fix the plate. This plate will hold the hook firmly on the wall. Drill holes in the plate for screws if needed. Make sure the hook stays steady and does not wobble. Let glue dry fully before use.
Painting And Sealing
Paint your hooks to protect them from rust. Use spray paint or brush paint made for metal. Choose colors that match your room decor. Let the paint dry completely between coats. After painting, apply a clear sealant for extra protection. This keeps the hooks looking nice longer.

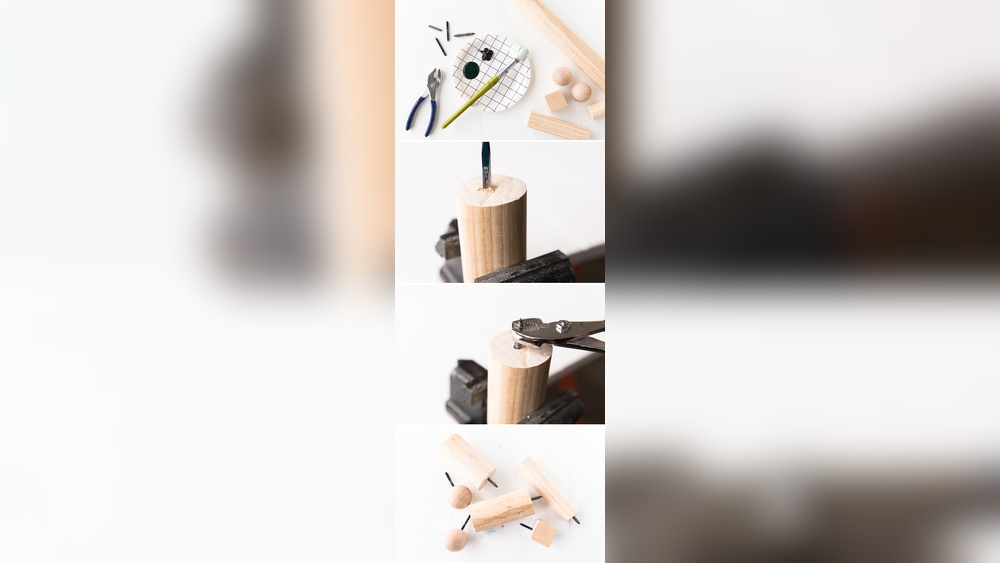
Credit: www.papernstitchblog.com
Creative Design Ideas
Creative design ideas can make your wall hooks stand out. These ideas help you match your hooks with your room style. They also make hooks more fun and useful.
Try different styles and materials. Add personal touches to create unique hooks. Here are some inspiring ideas for your next project.
Themed Hook Sets
Themed hook sets bring charm and unity to any room. Choose a theme that fits your space, like nature or vintage. For example, use small wooden animals for a kid’s room. Or metal anchors for a beach-themed space. Matching hooks create a neat and stylish look.
Mixed Materials
Mixing materials adds texture and interest to your hooks. Combine wood with metal or ceramic with rope. Wood gives warmth, while metal offers a modern feel. Ceramic hooks bring color and shine. Use different materials to fit your room’s mood and style.
Personalized Touches
Personalized hooks make your space truly yours. Paint your hooks in favorite colors. Add initials or small designs with paint or stickers. Attach small objects that show your hobbies or interests. Personalized hooks make everyday use special and fun.
Installation Tips
Installing wall hooks correctly makes them strong and safe. Proper installation stops hooks from falling or damaging walls. Follow these tips for a secure and neat setup.
Finding Studs
Studs are wooden beams behind walls. Hooks attached to studs hold more weight. Use a stud finder to locate them. Move the finder slowly across the wall. Mark the spots where it detects studs. Drill or nail hooks into these marks for best support.
Using Anchors
Anchors help hooks hold on drywall without studs. Choose the right anchor size for your hook. Drill a hole slightly smaller than the anchor. Push the anchor into the hole until flush with the wall. Screw the hook into the anchor tightly. Anchors prevent hooks from pulling out easily.
Spacing Hooks
Space hooks evenly to balance weight and look good. Measure the distance between each hook before drilling. Keep at least 6 to 8 inches apart for small items. For heavier items, increase spacing to avoid wall stress. Proper spacing helps hooks hold better and look tidy.
Maintenance And Safety
Proper maintenance and safety keep wall hooks strong and reliable. Regular checks stop accidents and extend hook life. Simple care routines protect both hooks and walls. Follow these easy steps to maintain your hooks safely.
Checking Stability
Test each hook by gently pulling it. Make sure it does not wobble or move. Tighten screws or nails if hooks feel loose. Replace hooks that show cracks or damage. Keep hooks strong to hold your items safely.
Cleaning Tips
Dust hooks often with a soft cloth. Use mild soap and water for tougher dirt. Avoid harsh cleaners that can damage the hook finish. Dry hooks well after cleaning to stop rust. Clean hooks look good and last longer.
Avoiding Damage
Do not hang items heavier than the hook’s limit. Avoid placing hooks in wet or damp areas. Use the right anchors for drywall or plaster walls. Prevent scratches by handling hooks carefully. Protect hooks and walls for safe, long use.
Frequently Asked Questions
What Materials Are Best For Making Wall Hooks?
Wood, metal, and plastic are popular materials for wall hooks. Wood offers a natural look, metal provides durability, and plastic is lightweight. Choose materials based on your desired style, strength, and installation surface for the best results.
How Do I Install Wall Hooks Securely?
Use wall anchors or screws suited for your wall type. Mark the spot, drill pilot holes, and attach hooks firmly. Proper installation ensures hooks hold weight safely and prevent damage to walls.
Can I Customize Wall Hooks At Home?
Yes, you can customize wall hooks using paint, stain, or decorative elements. Personalize hooks to match your decor and create unique designs. DIY customization adds a personal touch and enhances your space.
What Tools Are Needed To Make Wall Hooks?
Basic tools include a drill, screwdriver, measuring tape, and level. Additional tools like saws or sandpaper help shape and finish hooks. Having the right tools ensures a smooth and accurate building process.
Conclusion
Making wall hooks is simple and useful. You can create hooks with basic tools and materials. This project helps organize your space and adds a personal touch. Try different designs to fit your style and needs. Enjoy the satisfaction of using something you made yourself.
Start small, practice, and improve with each hook you make. Wall hooks save space and keep things tidy. Give it a try and see how easy and fun it can be.