Have you ever found yourself struggling with a pull chain light that just doesn’t feel convenient anymore? Maybe you want an easier way to turn your light on and off without having to reach up or fumble with the chain.
Converting your pull chain light to a regular wall switch can make your daily routine smoother and add a touch of modern comfort to your space. You’ll discover simple, step-by-step instructions to make this upgrade yourself—no need to call an electrician or spend a fortune.
Keep reading, and by the end, you’ll have the confidence to transform your lighting setup quickly and safely.
Tools And Materials Needed
Converting a pull chain light to a switch needs the right tools and materials. Having everything ready makes the process smooth and safe.
Gathering the necessary items saves time. It also helps avoid mistakes during installation.
Essential Tools
- Screwdriver set (flathead and Phillips)
- Wire stripper
- Voltage tester
- Needle-nose pliers
- Electrical tape
- Drill with bits (optional for wall mounting)
- Flashlight or portable light
Required Materials
- Single-pole light switch
- Switch box (if wall mounting)
- Electrical wire (usually 14/2 or 12/2 gauge)
- Wire nuts
- Wall plate cover
- Mounting screws
- Wire connectors (optional for extra safety)
Safety Precautions
Changing a pull chain light to a switch requires careful attention. Safety must be the top priority. Following the right precautions helps avoid accidents and injuries. Read these steps before starting your project.
Power Shutdown
Always turn off the power at the circuit breaker. Do not rely on the wall switch alone. Use a voltage tester to confirm no electricity flows to the light. This step stops electric shocks and short circuits. Safety starts here.
Protective Gear
Wear insulated gloves to protect your hands from electric shocks. Use safety glasses to guard your eyes from dust and debris. Avoid loose clothing that can catch on wires. These simple tools keep you safe during the work.
Removing The Pull Chain
Removing the pull chain is the first step in converting a pull chain light to a wall switch. It requires careful handling to avoid damage to the fixture. This part of the process allows you to prepare the fixture for the new switch installation. Follow each step closely for a smooth transition.
Accessing The Light Fixture
Turn off the power to the light at the circuit breaker. Wait a few minutes to ensure no electricity flows. Remove the light bulb to avoid breaking it during the process. Carefully take off the light cover or globe. Use a screwdriver if screws hold it in place. Set the cover aside safely.
Detaching The Chain
Locate the pull chain switch inside the fixture. It usually sits near the socket. Hold the switch body firmly. Find the small clip or nut that secures the chain. Use pliers to loosen and remove the clip or nut. Gently pull the chain out from the switch. Keep the chain and hardware in case you need them later.

Credit: www.youtube.com
Wiring The Switch
Wiring the switch is a key step in changing a pull chain light to a switch. This part involves working with electrical wires safely and correctly. Proper wiring ensures the new switch works well and avoids any electrical problems.
Identifying Wires
First, turn off the power at the breaker. Safety comes first. Next, remove the light fixture cover to see the wires. Usually, you will find three types of wires: live (hot), neutral, and ground.
The live wire is often black or red. It carries electricity to the light. The neutral wire is usually white. It completes the electrical circuit. The ground wire is green or bare copper. It protects against electric shocks.
Use a voltage tester to confirm which wire is live. Label the wires with tape if needed. Knowing each wire’s role makes connecting the switch easier and safer.
Connecting The Switch
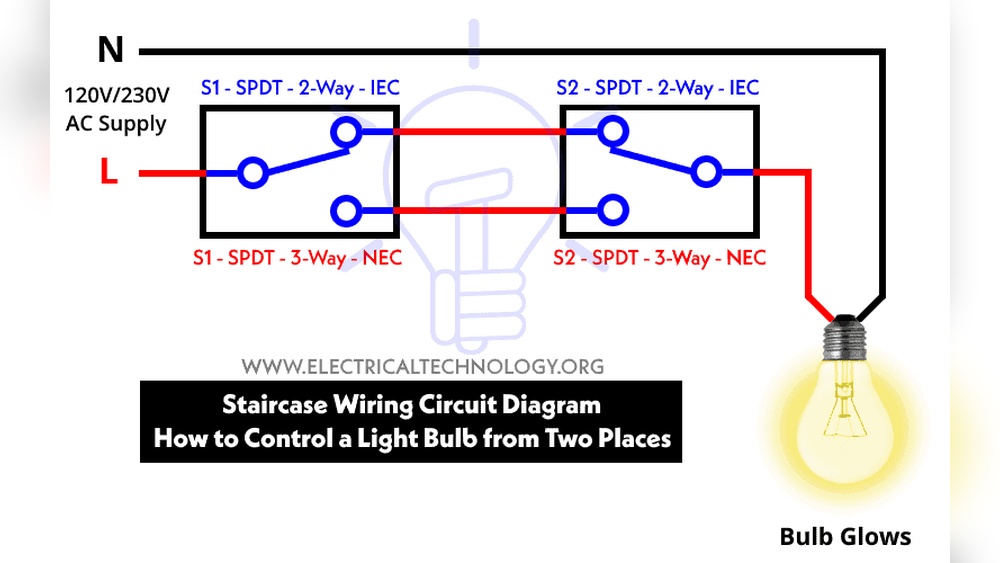
Start by connecting the live wire from the power source to one terminal of the switch. Then, connect the wire going to the light fixture to the other terminal.
Twist the wires tightly to the terminals for a solid connection. Use wire nuts to cover any exposed wire ends. Attach the ground wire to the green screw on the switch or to the metal box.
Double-check all connections. Loose wires can cause sparks or failure. After wiring, carefully place the switch into the electrical box and secure it with screws.
Installing The Wall Switch
Installing the wall switch is the key step in converting a pull chain light. It lets you control the light with a simple flick. This process involves preparing the wall, placing the switch box, and fixing the switch securely. Doing this right ensures safety and ease of use.
Mounting The Switch Box
First, choose the right place on the wall for the switch box. It should be easy to reach and near the old pull chain wiring. Use a pencil to mark the outline of the box on the wall. Cut the wall carefully using a drywall saw. Insert the switch box into the hole. Make sure it fits snugly. The box should sit flush with the wall surface.
Securing The Switch
Next, connect the wires from the ceiling to the switch terminals. Match the wire colors correctly to avoid mistakes. Push the wires inside the box gently. Screw the switch onto the box firmly. Check that the switch does not wobble. Finally, attach the switch cover plate. This gives a clean, finished look.

Credit: www.diychatroom.com
Testing The New Setup
Testing the new setup is a key step after converting your pull chain light to a switch. It confirms that everything works safely and properly. Take your time to check each part carefully. This ensures the switch will function as expected without issues.
Restoring Power
First, turn the power back on at the circuit breaker. Make sure the breaker is fully switched to the “on” position. This restores electricity to the light fixture and switch. Avoid touching any wires or the switch while the power is on. Safety first.
Checking Functionality
Next, test the new switch by flipping it on and off. The light should turn on smoothly without flickering. Flip the switch a few times to check consistent operation. If the light does not respond, turn off power and check wiring again. Proper function means your conversion is complete.
Troubleshooting Tips
Troubleshooting is important when converting a pull chain light to a switch. Small mistakes can stop the switch from working. Knowing common problems helps fix the issue fast. This saves time and effort. Below are tips to solve typical troubles during the conversion.
Common Issues
The switch does not turn the light on or off. The light flickers or stays dim. The switch feels loose or does not click properly. Wires may be connected to the wrong terminals. Sometimes, the power may be off at the circuit breaker. Check these problems first.
Fixing Wiring Problems
Turn off the power before working on wires. Use a voltage tester to confirm no electricity flows. Match wire colors to the switch terminals as per instructions. Tighten loose wire connections with a screwdriver. Replace damaged wires or switch parts. Make sure the switch is rated for your light fixture.
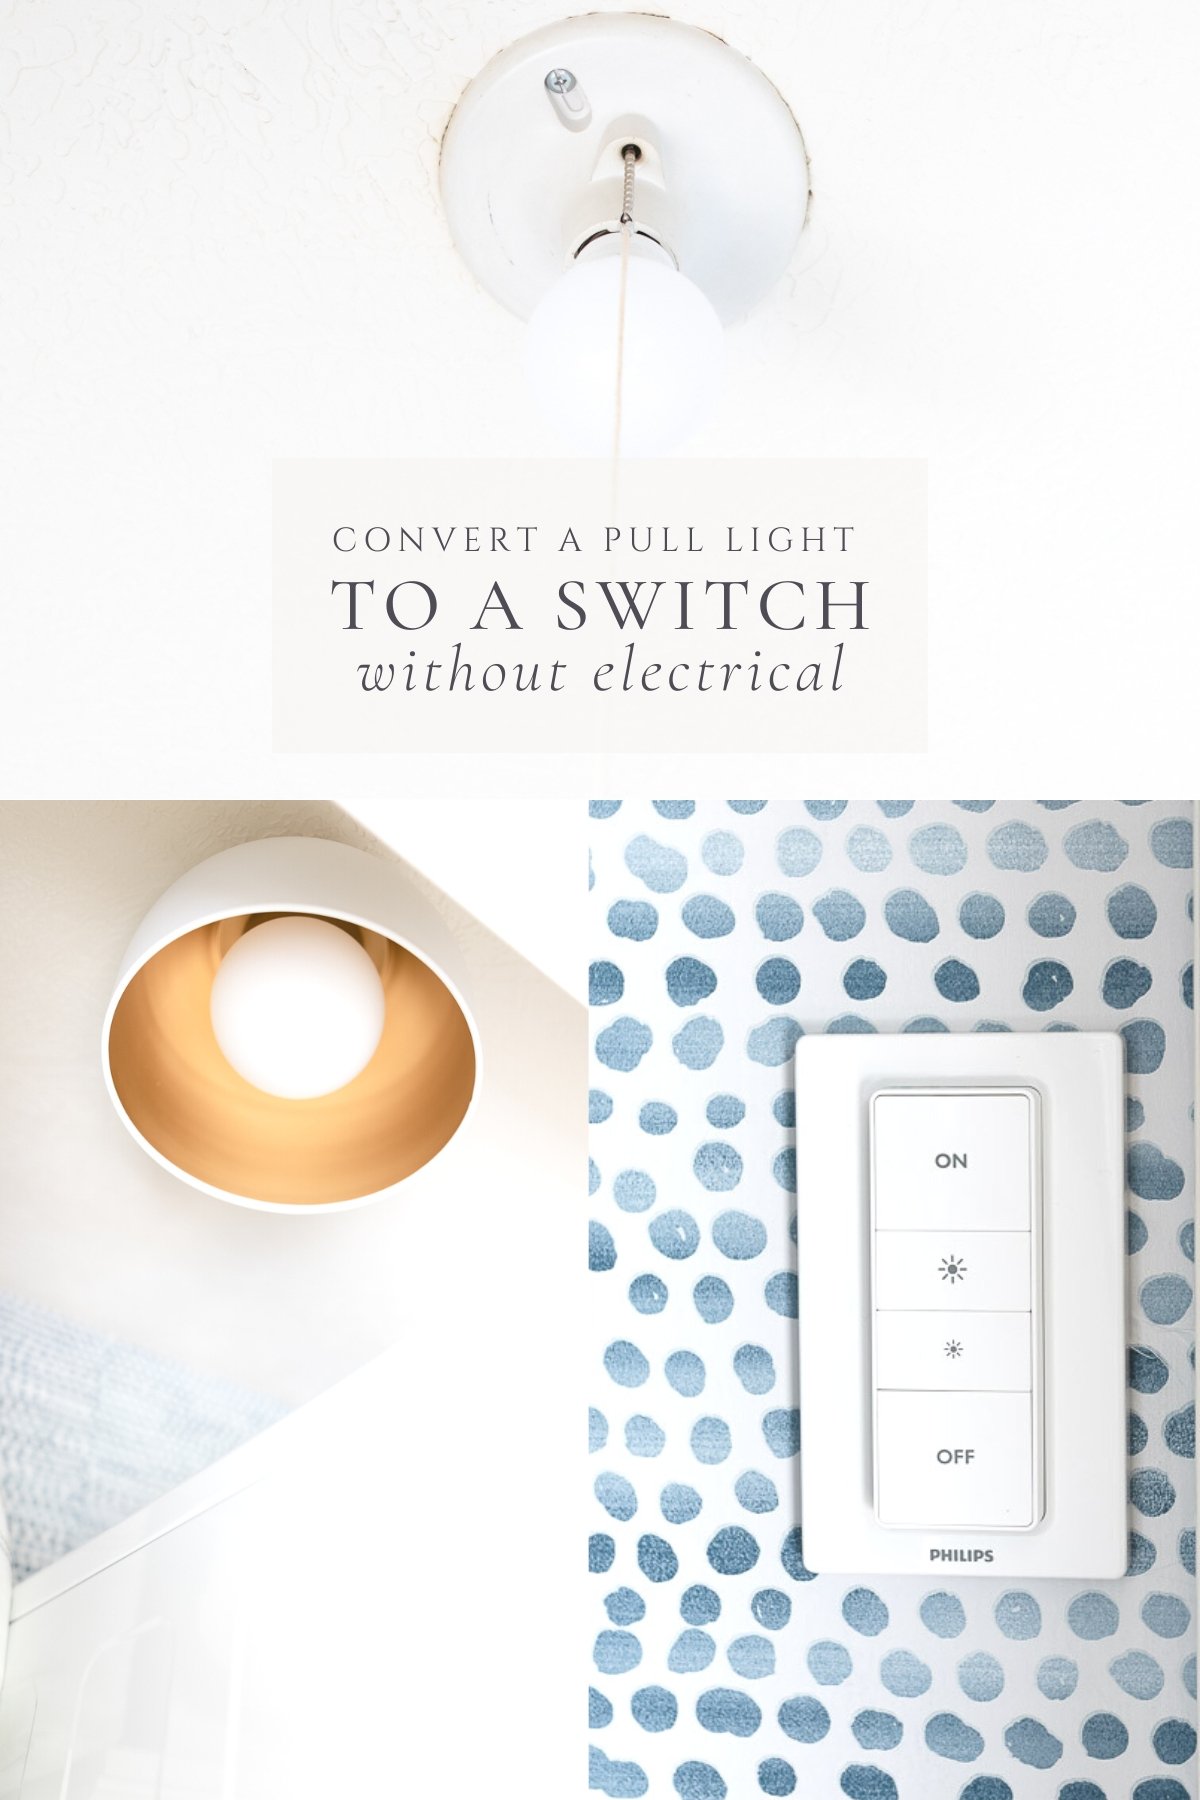
Credit: julieblanner.com
Frequently Asked Questions
How Do I Convert A Pull Chain Light To A Wall Switch?
To convert, first turn off power. Remove the pull chain socket. Replace it with a regular light socket. Then, wire the light to a wall switch following electrical codes. Finally, install the switch and restore power.
What Tools Are Needed For This Conversion?
You need a screwdriver, wire stripper, voltage tester, wire nuts, electrical tape, and a wall switch. Safety gear like gloves and goggles is recommended. These tools help ensure a safe and proper installation.
Is It Safe To Convert A Pull Chain Light To A Switch?
Yes, it is safe if you follow electrical safety rules. Always turn off the circuit breaker before working. Use proper wiring techniques and tools. If unsure, hire a licensed electrician for assistance.
Can I Keep The Pull Chain After Installing A Switch?
Generally, the pull chain is removed when installing a wall switch. The switch controls the light fully, making the pull chain redundant. However, some prefer to keep both for backup, but it requires extra wiring and safety checks.
Conclusion
Converting a pull chain light to a switch is a simple task. It saves time and adds convenience to your home. You only need a few tools and basic knowledge. Safety is important, so turn off the power first. Follow the steps carefully for best results.
This small change can make your room easier to use. Try it yourself and enjoy the difference today.