Are you ready to give your kitchen cabinets a fresh, polished look? Installing hardware like handles and knobs might seem tricky, but it doesn’t have to be.
With the right templates, you can make sure every piece lines up perfectly—no guesswork, no mistakes. Imagine saving time, avoiding frustration, and getting professional results all by yourself. In this guide, you’ll discover simple steps to install hardware on your kitchen cabinets quickly and confidently.
Keep reading, and you’ll see just how easy it can be to transform your kitchen space!
Choosing The Right Hardware
Choosing the right hardware for your kitchen cabinets is important. It affects both the look and function of your kitchen. Good hardware makes opening and closing cabinets easy. It also adds style to the room.
Take time to pick hardware that fits your kitchen’s design. Consider the size, shape, and material. The right choice creates a neat and polished look. It also helps you enjoy your kitchen more.
Types Of Cabinet Hardware
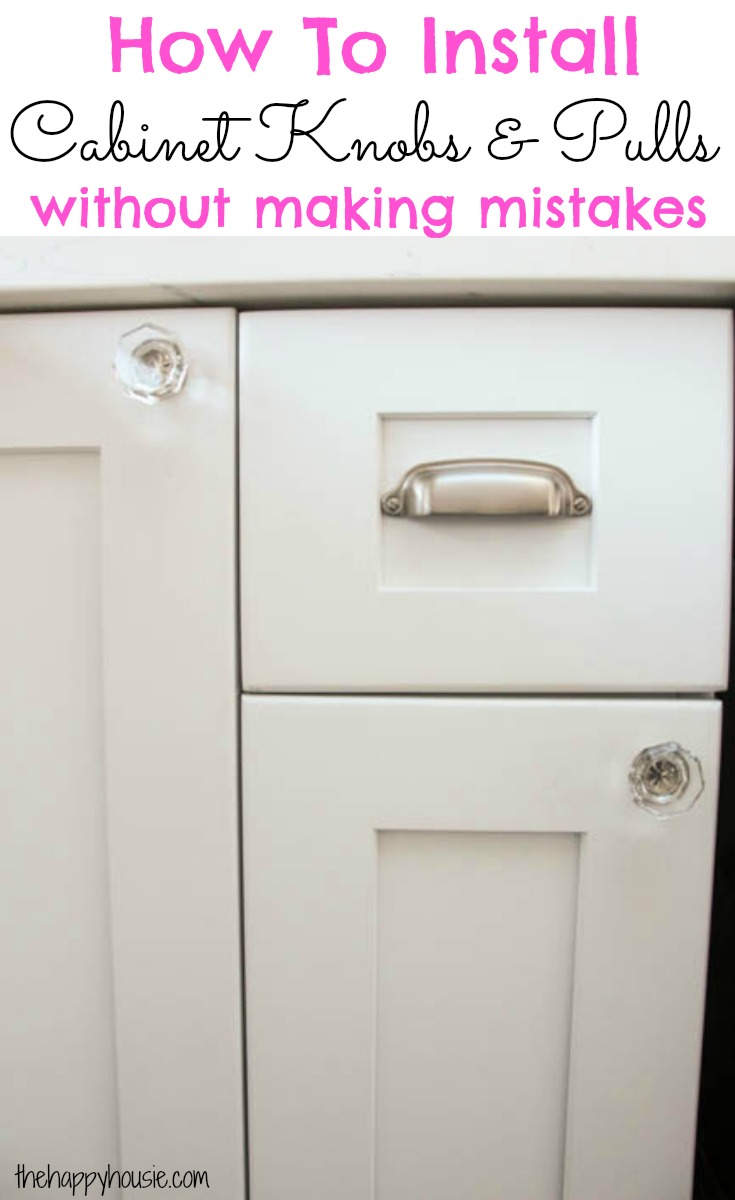
Cabinet hardware includes knobs, pulls, and handles. Knobs are small and round or square pieces. They are easy to install and use. Pulls are longer and allow a better grip. Handles are similar to pulls but may have a different shape.
Each type has its own benefits. Knobs suit small cabinets or drawers. Pulls work well on larger doors. Handles can add a modern or classic touch. Choose the type that fits your cabinets’ size and your needs.
Selecting Styles And Finishes
Styles range from traditional to modern and rustic. Traditional styles often have ornate details. Modern styles are simple and sleek. Rustic styles use natural or aged looks.
Finishes include chrome, brushed nickel, bronze, and black. Chrome is shiny and bright. Brushed nickel has a soft, matte look. Bronze offers a warm, classic feel. Black creates a strong, bold contrast. Pick a finish that matches your kitchen colors and style.
Gathering Tools And Materials
Before installing hardware on kitchen cabinets, gather all tools and materials. This step saves time and ensures a smooth process. Having everything ready helps avoid interruptions.
Essential Tools Needed
Start with a power drill or screwdriver for screws. A tape measure helps mark exact spots. Use a pencil to make light marks on the wood. A level ensures hardware is straight. Clamps can hold templates in place. Safety glasses protect your eyes. A hammer may be useful for small adjustments. Finally, keep extra screws handy.
Using Hardware Templates
Templates guide where to drill holes. They ensure consistent placement on each cabinet door. Choose the right template for your hardware size. Align the template carefully on the cabinet surface. Secure it with clamps or tape. Mark holes through the template with a pencil. Double-check measurements before drilling. This reduces mistakes and keeps hardware even.
Preparing Cabinets For Installation
Preparing kitchen cabinets for hardware installation is an essential first step. It ensures the hardware fits perfectly and stays secure. Taking the time to clean and measure accurately prevents mistakes. Proper preparation saves time and avoids damage to your cabinets.
Cleaning And Measuring
Start by cleaning the cabinet surface. Remove dust, grease, and dirt using a mild cleaner. A clean surface helps the hardware stick well and shows drill marks clearly.
Next, measure carefully. Use a tape measure or ruler to find the exact spot for the hardware. Measure twice to avoid errors. Accurate measuring ensures the handles or knobs line up evenly.
Marking Drill Points
Use a pencil to mark where you will drill holes. Place the hardware template on the cabinet door or drawer. Align it carefully for straight placement.
Mark the drill points through the template holes. Check each mark to confirm it is in the right place. Clear, precise marks guide your drilling and keep the hardware secure.
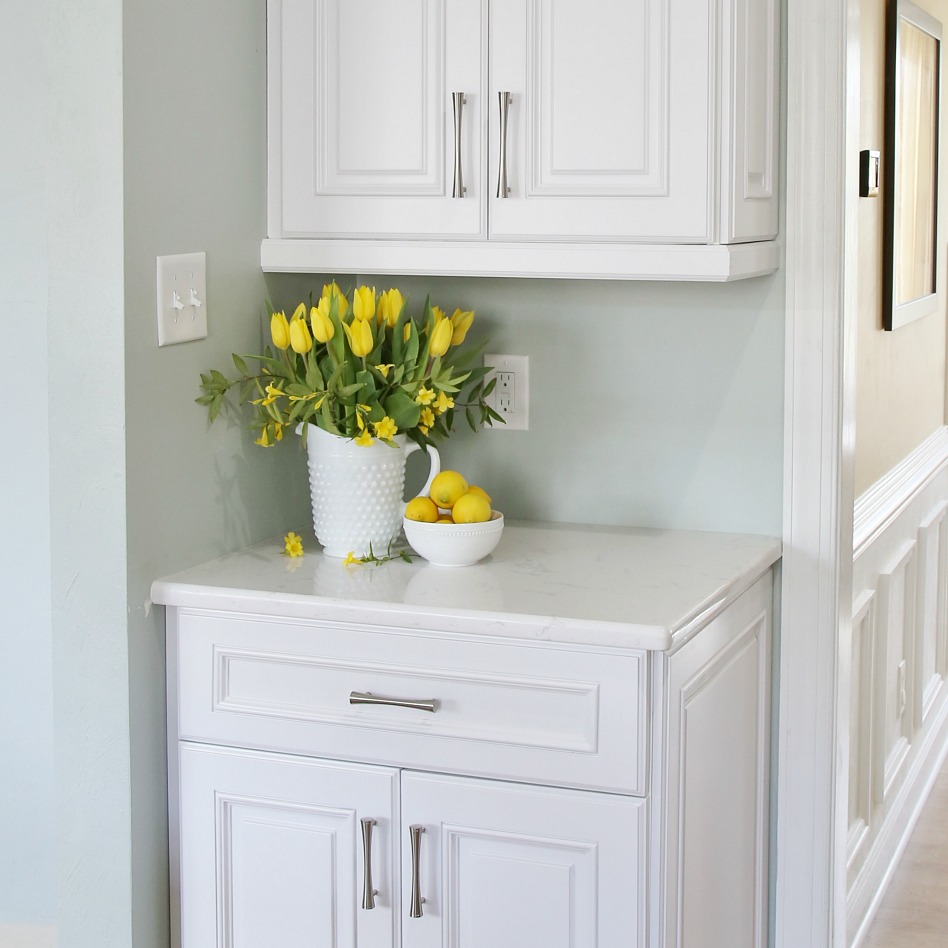
Credit: www.sandandsisal.com
Using Templates For Accurate Placement
Using templates for accurate placement makes hardware installation easier. Templates help you mark exact spots for knobs and handles. This reduces mistakes and saves time. It ensures your kitchen cabinets look professional and neat.
Aligning The Template
Place the template flat on the cabinet surface. Match the edges with the cabinet door or drawer. Check that the template lines are straight and even. Use a level tool to confirm alignment. Proper alignment avoids crooked hardware installation.
Securing The Template
Use tape or clamps to hold the template firmly. Avoid moving while marking drill holes. Secure templates prevent shifting and inaccurate holes. Double-check the template position before drilling. This keeps your hardware placement consistent and precise.
Drilling Holes Safely
Drilling holes safely in kitchen cabinets is important to avoid damage. Careful drilling ensures the hardware fits perfectly and the cabinet stays strong. Follow simple steps to protect your cabinets and yourself during this task.
Choosing Drill Bits
Select the right drill bit size for your cabinet hardware screws. Use bits made for wood to prevent splintering. Sharp bits cut clean holes, making installation easier. A smaller pilot hole helps guide the screw and stops wood from cracking.
Avoiding Common Mistakes
Mark holes clearly using the template before drilling. Start drilling slowly to keep control and prevent slipping. Keep the drill straight to avoid angled holes. Use a piece of scrap wood behind the cabinet to stop blowout. Wear safety glasses to protect your eyes from dust and wood chips.
Attaching Hardware To Cabinets
Attaching hardware to kitchen cabinets is a key step in finishing your project. It makes your cabinets look complete and helps them function well. Using templates ensures the hardware goes in the right spot every time. This saves time and avoids mistakes.
Focus on placing screws correctly and making sure the hardware is stable. Good installation keeps handles and knobs tight and easy to use.
Inserting Screws And Fasteners
Start by aligning the hardware with the marks on the cabinet. Use a drill or screwdriver to insert screws carefully. Avoid over-tightening to prevent damage to the cabinet or hardware. Tighten screws until they feel snug but not forced. Use the screws provided with the hardware for best results. Check that the screws go straight and do not tilt.
Checking For Stability
After attaching the hardware, gently pull and push to test stability. The hardware should not wiggle or feel loose. Tighten any screws if you notice movement. Make sure the hardware sits flush against the cabinet surface. Stability ensures your handles last longer and work well daily. Test all attached pieces before finishing the installation.
Final Adjustments And Tips
Final adjustments make your kitchen cabinet hardware look perfect and last longer. Small changes ensure everything fits well and works smoothly. Take a moment to check each piece carefully. These tips help keep your hardware neat and functional.
Ensuring Even Spacing
Measure the gaps between handles or knobs again. Use a ruler or tape to check spacing. Make sure all pieces line up straight. Uneven spacing can look messy and unprofessional. Adjust screws slightly to fix any misalignment. Step back and view your work from different angles. Perfect spacing improves the overall kitchen look.
Maintaining Hardware Longevity
Clean hardware gently with a soft cloth after installation. Avoid harsh chemicals that can damage finishes. Tighten screws carefully to prevent stripping or loosening. Check hardware regularly and fix loose parts early. Applying a small amount of lubricant helps hinges work smoothly. Taking care of your hardware keeps it looking good for years.

Credit: www.amazon.com
Credit: www.thehappyhousie.com
Frequently Asked Questions
What Tools Are Needed To Install Hardware On Kitchen Cabinets?
You need a drill, screwdriver, measuring tape, pencil, and hardware template. These tools ensure precise alignment and easy installation.
How Do Templates Help In Installing Cabinet Hardware?
Templates guide exact placement of screws and handles. They save time and prevent misalignment, ensuring professional results.
Can I Reuse Hardware Templates For Multiple Cabinets?
Yes, templates are reusable for consistent hardware placement on multiple cabinets. Clean and store them properly for future use.
What Is The Best Way To Mark Holes Using A Template?
Secure the template firmly on the cabinet surface. Use a sharp pencil to mark holes through the template’s guide points.
Conclusion
Using templates makes hardware installation quick and accurate. It helps you avoid mistakes and saves time. Measuring and drilling become easier with clear guides. You can achieve a neat and professional look on your cabinets. Taking your time and following steps ensures good results.
Enjoy your improved kitchen with new, well-fitted hardware. Simple tools and templates bring great changes to your space. Try this method for a smooth and stress-free project.