Are you ready to give your cabinets a fresh new look? Before you grab that paintbrush, there’s an important step you can’t skip: prepping your cabinet hardware.
Taking the time to properly prepare your knobs, handles, and hinges will make a huge difference in how smooth and long-lasting your paint job turns out. In this guide, you’ll discover simple, effective tips to get your hardware ready for painting — ensuring your cabinets look flawless and stay beautiful for years.
Keep reading, and you’ll be surprised at how easy it is to transform your space with just a little preparation.

Credit: porchdaydreamer.com
Choosing The Right Hardware
Choosing the right hardware is a key step before painting cabinets. It affects the final look and feel of your kitchen or bathroom. Hardware includes knobs, pulls, and handles. These pieces should complement the new cabinet color and style. Picking the right material and design makes your painted cabinets stand out.
Material Considerations
Hardware comes in many materials like metal, plastic, and wood. Metal options such as brass, stainless steel, and bronze are popular. They last long and resist wear. Plastic hardware is cheaper but less durable. Wood handles add a warm, natural touch but need more care. Consider the material’s strength and how it matches your cabinet paint. Matte finishes hide fingerprints better than shiny ones. Choose materials that fit your budget and lifestyle.
Styles That Suit Painted Cabinets
Hardware style changes the cabinet’s overall look. Classic styles with simple lines suit traditional painted cabinets. Modern cabinets pair well with sleek, minimal pulls. Rustic painted cabinets benefit from vintage or distressed hardware. Small knobs create a subtle effect. Large handles offer a bold statement. Match the hardware size to cabinet doors and drawers. Think about the room’s theme before selecting styles.
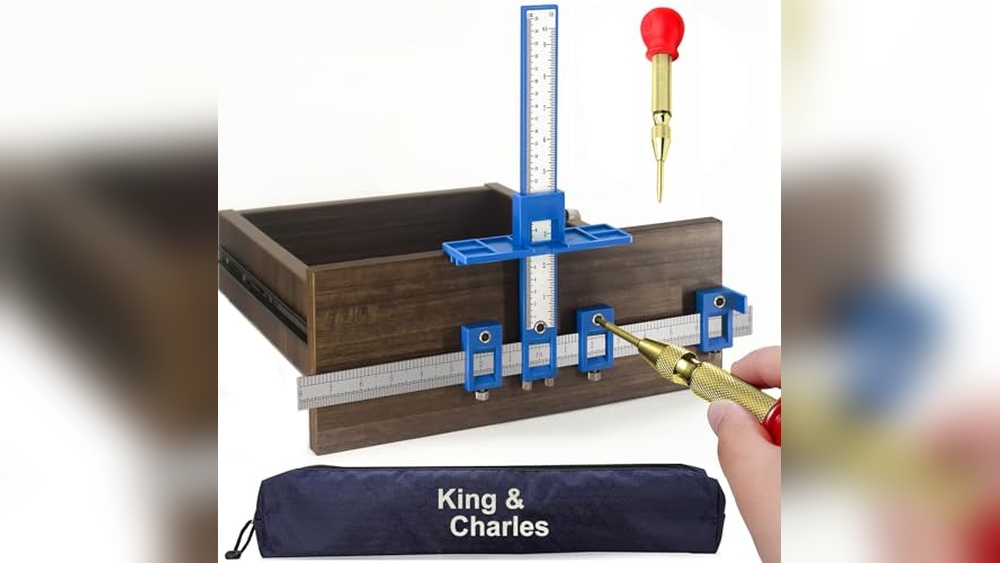
Removing Cabinet Hardware
Removing cabinet hardware is the first step in painting cabinets. Taking off knobs and handles helps the paint stick better. It also protects the hardware from paint stains. Careful removal prevents damage to the cabinets and hardware.
Tools You’ll Need
Gather a screwdriver that fits your hardware screws. A flathead or Phillips screwdriver is common. Keep a small container handy for screws and parts. Use a cloth to protect cabinet surfaces. Optional: a putty knife to gently pry stuck hardware.
Safe Removal Techniques
Start by unscrewing the hardware slowly. Hold the knob or handle while you turn the screw. Avoid forcing screws; they can strip or break. If stuck, use the putty knife to loosen the edges. Place screws in the container to avoid losing them. Remove all hardware before sanding or painting.
Cleaning And Degreasing
Cleaning and degreasing cabinet hardware is a key step before painting. Dirt, grease, and oils block paint from sticking well. Removing them helps the paint last longer and look smooth. This process makes sure the hardware is ready for a fresh coat.
Removing Dirt And Oils
Start by wiping the hardware with a dry cloth. This removes loose dust and dirt. Use a soft brush to clean small crevices. Next, apply a degreaser or a mild soap solution. Scrub gently to lift away oils and grime. Rinse with warm water and dry fully before painting.
Best Cleaning Solutions
Choose cleaning products that cut grease but are gentle on metal. Dish soap mixed with warm water works well for light dirt. For tougher grease, use a vinegar and water mix or a commercial degreaser. Avoid harsh chemicals that can damage the hardware’s finish. Always test a small area first.
Sanding And Surface Prep
Preparing cabinet hardware for painting starts with sanding and surface prep. This step helps paint stick better and last longer. Smooth surfaces prevent paint from chipping or peeling. Proper sanding also removes old finishes or dirt.
Careful surface prep creates a clean base. It ensures your hardware looks fresh and professional after painting.
Selecting The Right Grit
Choose sandpaper grit based on the hardware’s surface. Start with a coarser grit, like 120, for rough or old finishes. This removes paint or varnish quickly. Use finer grits, such as 220 or 320, for smoother finishes. Finer grit helps create an even surface for paint.
Too rough sandpaper can scratch the metal or wood. Too fine grit won’t remove old coatings well. Balance grit choice to save time and get best results.
Sanding Tips For Smooth Finish
Sand in gentle, circular motions. Avoid pressing too hard to prevent damage. Focus on all edges and corners where paint may peel. Wipe the hardware with a damp cloth after sanding. This removes dust and debris for a clean surface.
Repeat sanding with finer grit if needed. The goal is a smooth, even surface that feels slightly rough to touch. This texture helps paint stick better and last longer.
Priming Hardware
Priming cabinet hardware is a key step before painting. It helps paint stick well and last longer. Proper priming also stops rust and prevents paint from peeling. This step sets the base for a smooth, even finish.
Choosing The Best Primer
Select a primer made for metal surfaces. Look for rust-resistant options if the hardware is metal. Spray primers often give the best coverage. Pick a primer that dries fast to save time.
Applying Primer Evenly
Clean hardware well before priming. Use a soft cloth to remove dirt and grease. Apply primer in thin, light coats. Hold the spray can about 8 inches from the surface. Let each coat dry fully before adding the next. Avoid thick layers to prevent drips and bubbles.
Painting Techniques
Painting cabinet hardware needs the right technique for a smooth finish. The method you choose affects the look and durability. This section explains two common ways to paint hardware and how to apply coats correctly.
Brush Vs Spray Methods
Brushing is easy and needs little equipment. Use a small, soft brush for even strokes. It works well for detailed or small pieces. Brush painting can leave brush marks if not done carefully.
Spraying gives a smooth, even coat fast. Use spray paint or a spray gun in a well-ventilated area. Hold the spray can or gun about 6 to 8 inches away. Spraying avoids brush marks but needs more prep to cover nearby surfaces.
Choose brushing for control and detail. Choose spraying for speed and smoothness.
Applying Multiple Coats
Applying several thin coats is better than one thick coat. Thin coats dry faster and prevent drips or bubbles. Wait 15 to 30 minutes between coats for drying.
Lightly sand the hardware with fine sandpaper after each coat. This helps the next coat stick well. Clean dust off before painting again. Repeat this process two to three times for best results.
Drying And Curing
Drying and curing are key steps after painting your cabinet hardware. Proper drying makes sure the paint sticks well. Curing strengthens the paint for lasting use. Skipping these steps can cause paint to peel or chip fast.
Patience during this phase pays off with a smooth, durable finish. This section explains how to dry and cure hardware correctly.
Optimal Drying Conditions
Choose a clean, dust-free space with good airflow. Avoid direct sunlight or heat sources. These can dry paint unevenly and cause cracks. The ideal temperature is between 65°F and 75°F (18°C to 24°C). Keep humidity low to speed up drying. Let hardware sit undisturbed for at least 24 hours.
Avoiding Smudges And Runs
Handle painted pieces carefully to stop smudging. Use gloves or clean cloths to pick up parts. Place hardware on soft surfaces like a towel or foam. Avoid stacking or touching while paint is still wet. If paint runs appear, sand lightly after full drying. Then, apply a thin, even coat again.
Credit: www.kilz.com
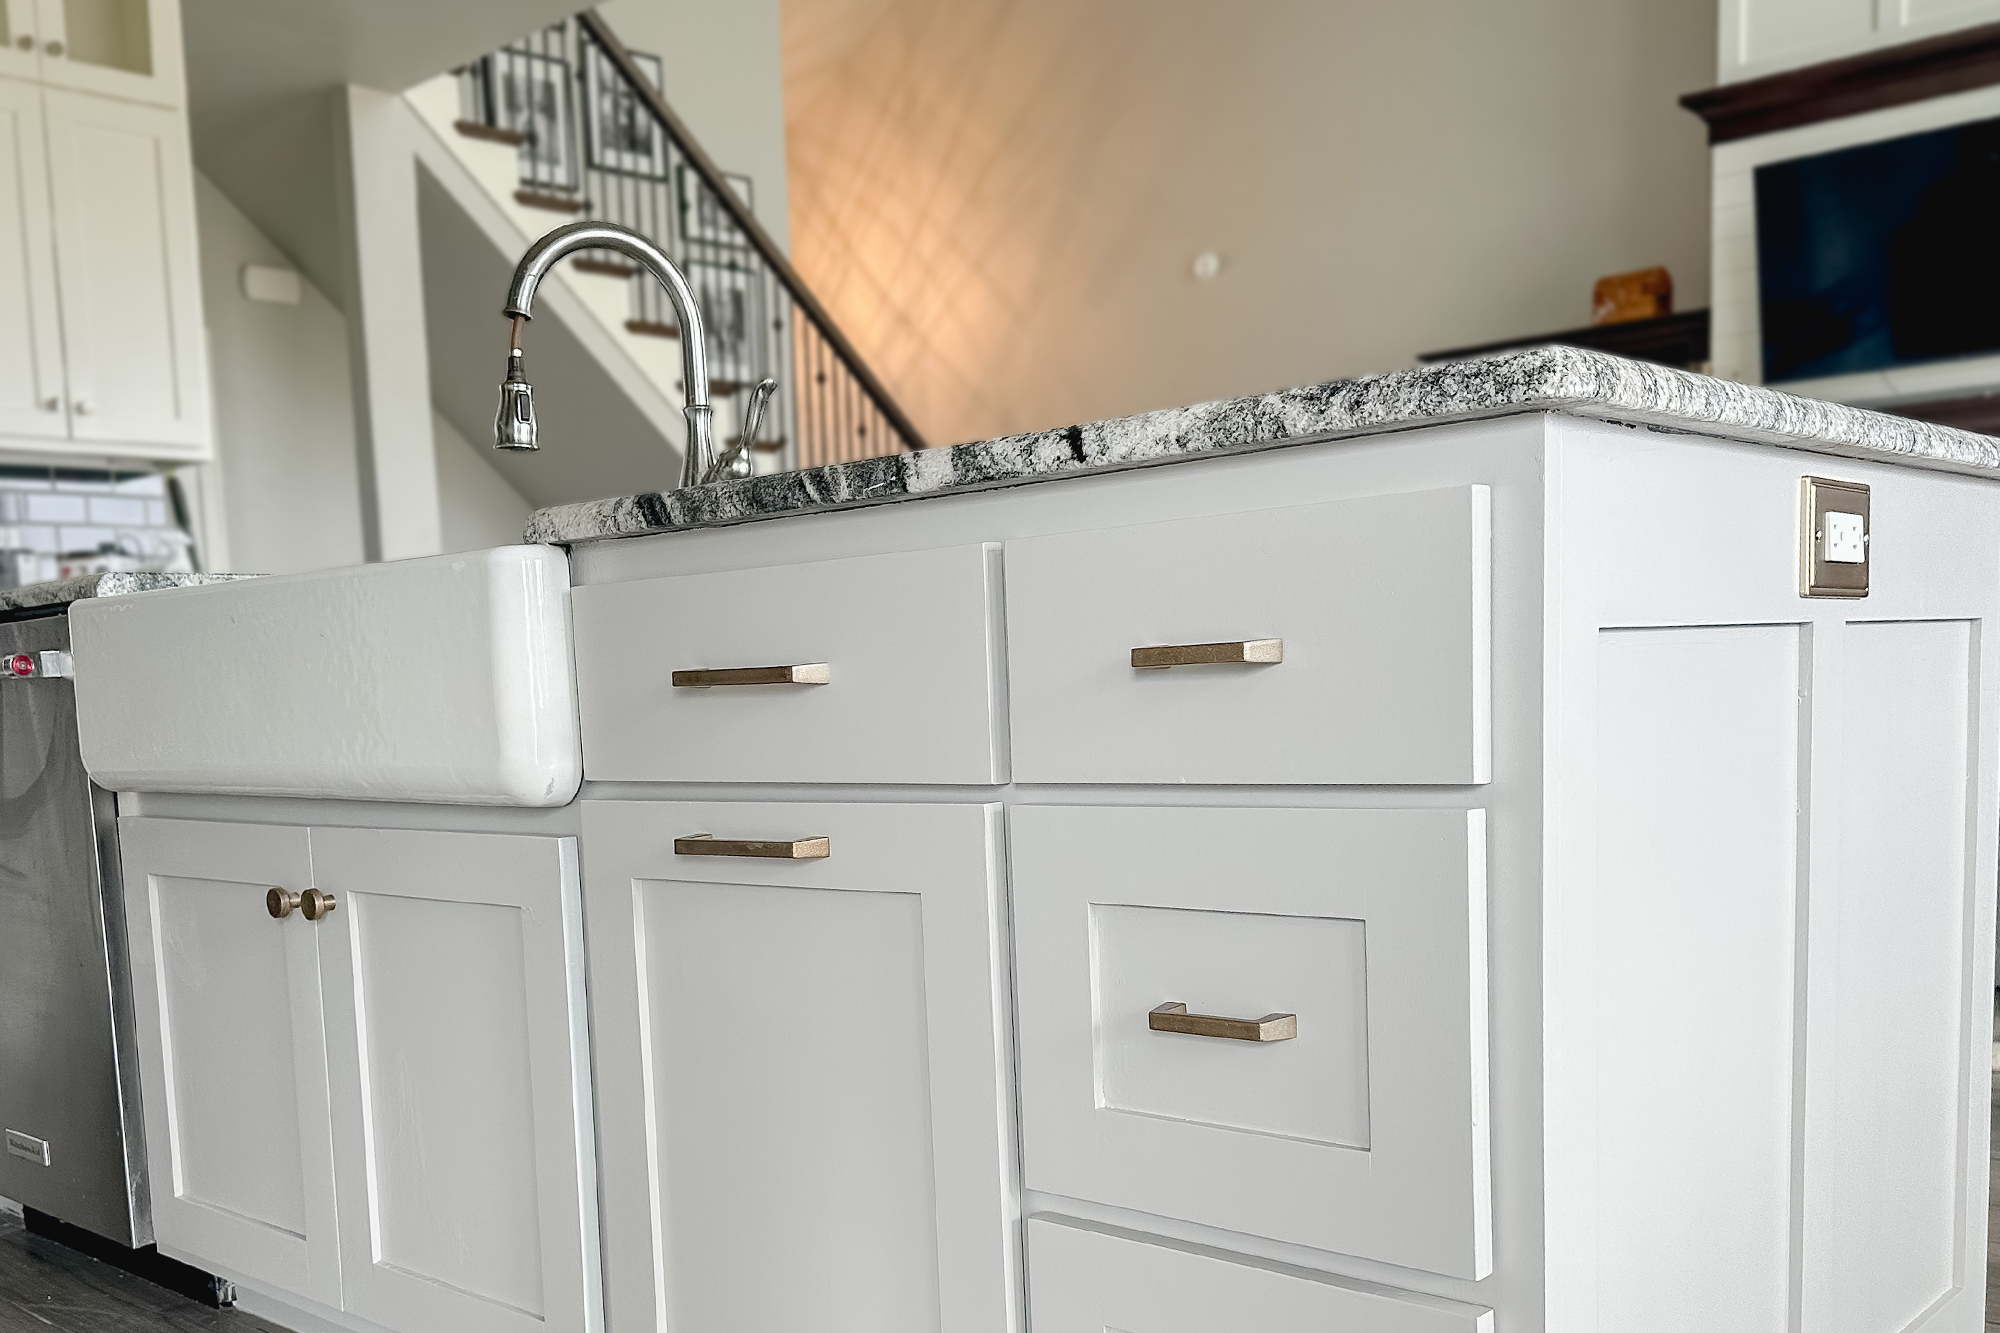
Reinstalling Hardware
Reinstalling cabinet hardware after painting is a key step. It brings your cabinets back to life and completes the makeover. Taking time to do this right ensures your hardware looks good and works well. Careful reinstallation keeps everything aligned and secure.
Checking For Fit And Alignment
Before screwing the hardware back, check the fit carefully. Make sure each piece fits its spot perfectly. Look for gaps or crooked parts. Tighten screws gently to avoid stripping them. Test the hardware by opening and closing drawers and doors. Smooth movement means good alignment. Fix any issues before moving on.
Final Touches And Maintenance
After reinstalling, wipe the hardware to remove fingerprints or dust. Use a soft cloth and mild cleaner. Regularly check screws to keep them tight. Clean hardware often to maintain shine and prevent rust. Small care steps help your cabinets look fresh longer. Enjoy your beautifully painted and finished cabinets every day.

Credit: paintsrq.com
Frequently Asked Questions
How Do I Remove Cabinet Hardware Safely?
Use a screwdriver to unscrew hardware carefully. Keep screws and pieces organized for reinstallation. Avoid damaging the cabinet surface.
Should I Clean Hardware Before Painting?
Yes, clean hardware thoroughly with soap and water. Remove grease and dirt to ensure paint adheres well.
What Type Of Primer Works Best For Hardware?
Use a metal primer for cabinet hardware. It prevents rust and creates a smooth base for paint.
How Long Should Hardware Dry After Priming?
Allow hardware to dry at least 24 hours. This ensures the primer fully cures before painting.
Conclusion
Properly prepping cabinet hardware makes painting easier and cleaner. Clean, sand, and remove old paint for best results. Use painter’s tape to protect areas you don’t want painted. Take your time and work carefully to avoid mistakes. Well-prepared hardware helps paint stick and last longer.
This simple process saves you time and effort later. Enjoy fresh, updated cabinets with just a little prep work. Your painting project will look smooth and professional. Small steps make a big difference in the final look.