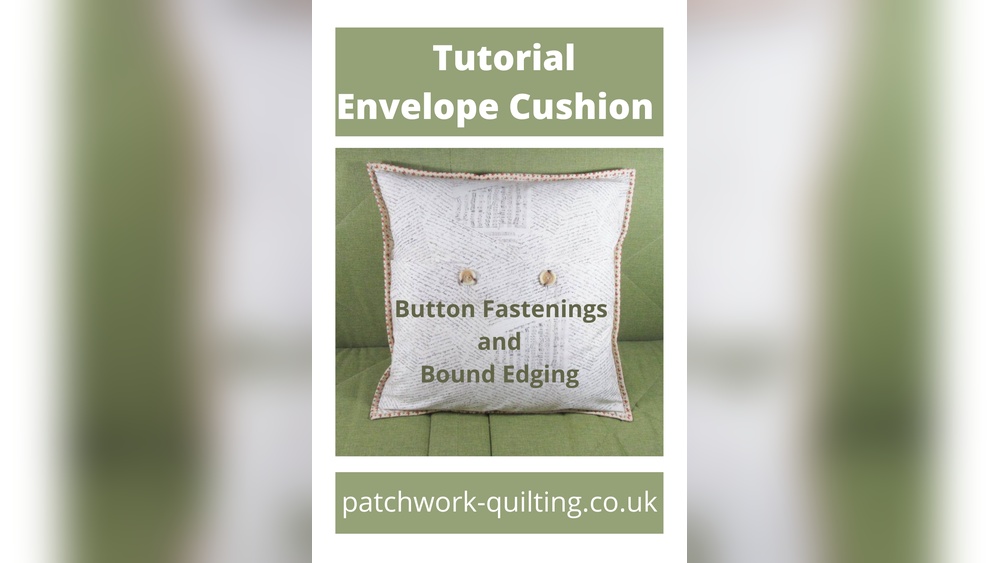
Are you tired of plain cushion covers that don’t quite match your style? What if you could create your own unique cushion cover with button fastenings that not only look great but are easy to remove and wash?
Making a cushion cover with buttons is simpler than you might think, and it gives you full control over the fabric, design, and fit. In this guide, you’ll discover step-by-step how to make a cushion cover that adds personality to your space and lasts for years.
Ready to transform your cushions and impress your guests? Let’s get started!
Materials Needed
Gathering the right materials makes sewing a button-fastening cushion cover easier. Each item plays a key role in the process. Simple tools and supplies help you create a neat and durable cover. Prepare everything before starting to avoid interruptions.
Fabric
Choose a fabric that suits your room’s style. Cotton, linen, or canvas works well. Pick a fabric that feels soft but holds its shape. The fabric should be easy to sew and wash.
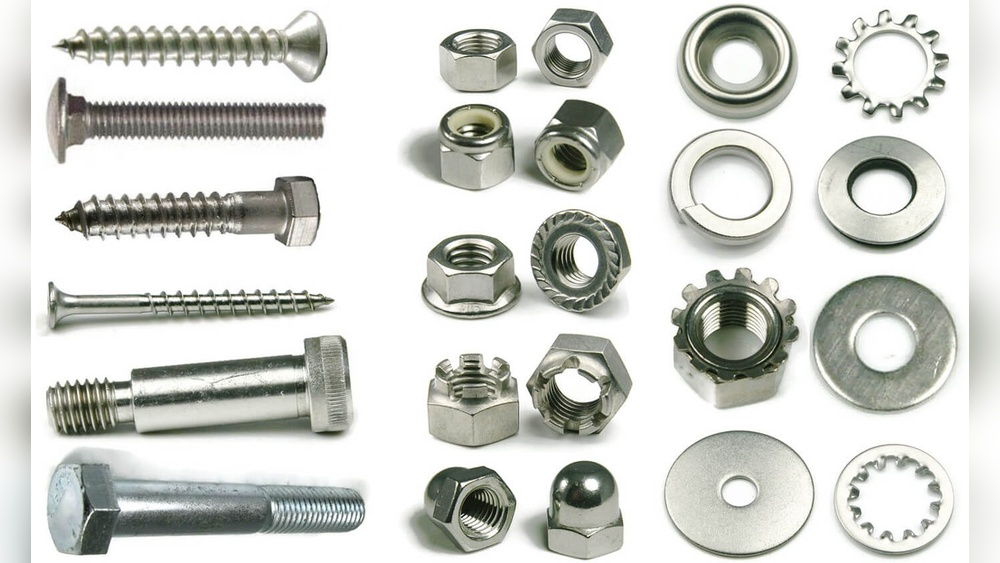
Buttons
Select buttons that match or contrast the fabric nicely. Medium to large buttons work best for cushion covers. Make sure buttons have holes for sewing. Four-hole buttons are easier to attach firmly.
Thread
Use thread that matches your fabric color. Polyester thread is strong and works on most fabrics. Avoid thin or weak thread that can break easily. Double the thread for extra strength if needed.
Sewing Needle
Pick a needle suitable for your fabric type. A sharp, medium-sized needle works for most materials. Hand sewing needles must be thin but strong. Using the right needle prevents fabric damage.
Measuring Tape And Scissors
Measure your cushion and fabric precisely. A soft measuring tape helps with curved edges. Use sharp scissors for clean fabric cuts. Avoid dull scissors that fray fabric edges.
Marking Tools
Mark fabric with tailor’s chalk or a fabric pencil. These tools leave clear but removable marks. Mark button placement and seam lines carefully. Proper marking ensures neat sewing and button alignment.
Sewing Pins
Use pins to hold fabric pieces together. Pins keep fabric stable while sewing buttons. Insert pins perpendicular to the sewing line. Remove pins before stitching over them.
Choosing Fabric And Buttons
Choosing the right fabric and buttons is key to a great cushion cover. These choices affect the look, feel, and durability of your cover. Picking fabric and buttons carefully makes your project easier and more enjoyable.
Choosing The Right Fabric For Your Cushion Cover
Pick fabric that suits your room style. Cotton and linen are soft and easy to sew. They also wash well. For a richer look, try velvet or denim. These fabrics add texture and durability. Avoid very thin fabric; it may tear easily. Choose a fabric that feels good to touch.
Selecting Buttons For Button Fastenings
Buttons must fit the holes and fabric style. Large buttons work well on thick fabric. Small buttons suit light fabrics. Choose buttons with smooth edges to avoid fabric damage. Wooden, plastic, or metal buttons all work. Pick colors that match or contrast nicely with your fabric.
Measuring And Cutting Fabric
Measuring and cutting fabric is the first step in making a cushion cover with button fastenings. Accurate measurements ensure the cover fits the cushion perfectly. Cutting the fabric correctly helps avoid mistakes and saves time.
Use a tape measure to get exact dimensions of your cushion. Add extra fabric for seam allowance and button placket. Mark these measurements clearly on your fabric with a fabric chalk or pencil.
Choose a flat, clean surface to lay your fabric. Smooth out any wrinkles before marking. This prevents uneven cuts and misshapen covers.
Measure Your Cushion Carefully
Measure the width, height, and depth of your cushion. Note these numbers down clearly. Add about 1 to 1.5 inches for seam allowance on all sides. This space is important for sewing the edges.
Mark The Fabric For Cutting
Place the fabric on a flat surface. Use a ruler and fabric chalk to draw the cutting lines. Double-check the measurements before cutting. Mark the button placket area separately.
Cut The Fabric Precisely
Use sharp fabric scissors to cut along the marked lines. Cut slowly and steadily for clean edges. Avoid jagged or uneven cuts. Keep the fabric flat while cutting to maintain accuracy.

Credit: www.harbourlane.com
Sewing The Cushion Cover
Sewing the cushion cover is the step where your project starts to take shape. This process involves joining fabric pieces and adding button fastenings for a neat finish. Follow each part carefully for a strong and attractive cover. Let’s begin with sewing the main seams.
Sewing The Main Seams
Place the fabric pieces with the right sides facing each other. Pin the edges to hold them in place. Use a straight stitch on your sewing machine to join the sides. Sew with a 1/2 inch seam allowance for durability. Backstitch at the start and end to secure the stitches. Press the seams open with an iron for a smooth look.
Creating Buttonholes
Mark the buttonhole positions on the fabric edge. Use a fabric marker or chalk that disappears easily. Set your sewing machine to the buttonhole stitch setting. Follow the machine’s guide to sew neat buttonholes. Cut open the buttonholes carefully with small scissors. Check if the buttons fit through smoothly without stretching the fabric.
Attaching Buttons
Attaching buttons to a cushion cover is a simple step that adds style and function. Buttons keep the cover secure and easy to open. This section explains how to sew buttons properly for a neat finish.
Choosing The Right Buttons
Select buttons that match the fabric and size of your cushion cover. Large buttons work well on thick fabrics. Small buttons suit lighter materials. Pick buttons with four holes for better strength.
Marking Button Placement
Lay the cushion cover flat. Use a fabric pencil to mark where each button will go. Space buttons evenly along the edge. Measure carefully to keep a balanced look.
Sewing Buttons Securely
Thread a needle with strong thread. Knot the end tightly. Push the needle from the back of the fabric to the front. Pass the needle through a button hole. Repeat for all holes. Make several stitches to hold the button firmly.
Finishing The Button Sewing
After stitching, push the needle to the back. Tie a small knot close to the fabric. Trim any extra thread. Check that the button feels tight and won’t come loose.
Credit: www.harbourlane.com
Finishing Touches
Finishing touches give your cushion cover a neat and polished look. They make the cover look well-made and last longer. Taking time on these steps improves the final result.
Pressing The Seams
Press the seams flat with an iron. Use a medium heat setting for most fabrics. Pressing helps the cover keep its shape. It also makes sewing easier and the edges cleaner. Always press on the wrong side of the fabric to avoid shine.
Inserting The Cushion
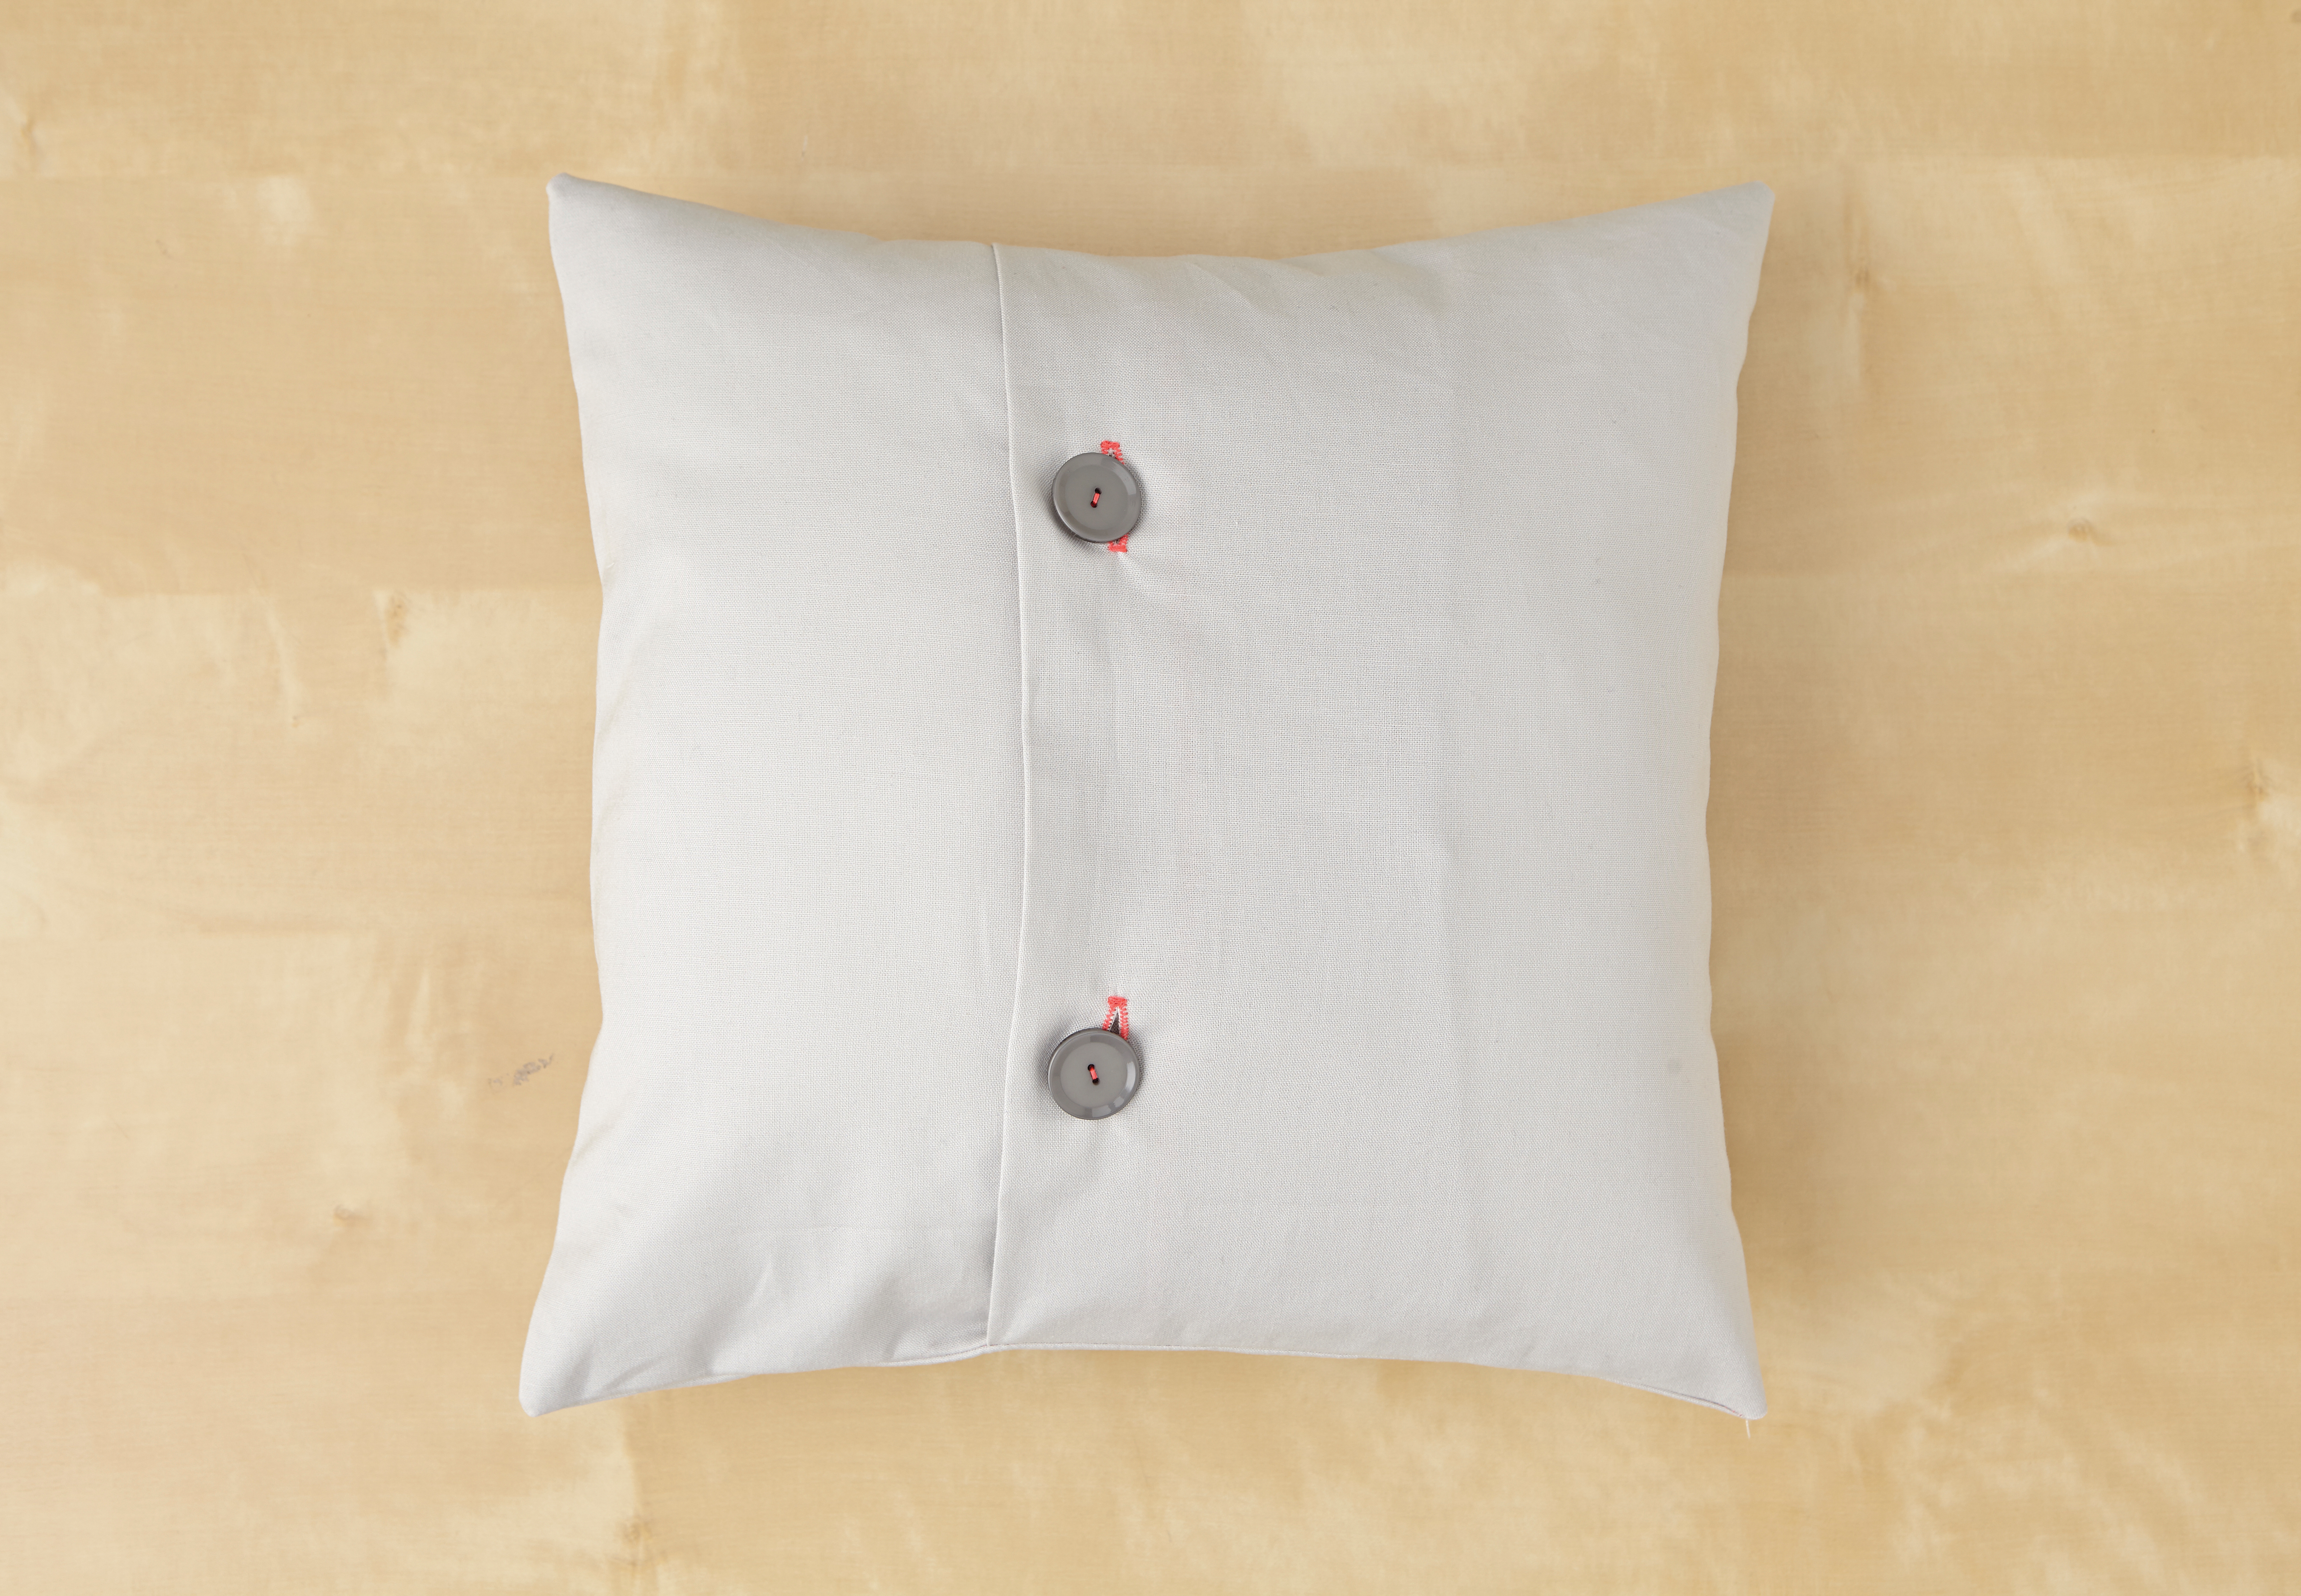
Place the cushion inside the cover carefully. Make sure the corners fit well into the cover’s corners. Smooth out any wrinkles or folds. Button up the cover securely. Check that all buttons fasten properly and hold the cushion firmly.
Tips For Customizing Your Cover
Customizing your cushion cover with button fastenings makes it unique. It lets you match your room’s style and your taste. Small changes can create big effects on the look and feel of your cover. Follow these simple tips to add personality and charm.
Choose The Right Fabric
Pick fabric that fits your room’s color and texture. Cotton and linen work well for comfort and durability. Bright colors or patterns add fun and style. Soft fabrics make the cushion cozy.
Select Button Styles Carefully
Buttons come in many shapes, sizes, and colors. Match buttons to your fabric for a balanced look. Wooden buttons add warmth. Metal buttons give a modern touch. Try mixing different buttons for a playful effect.
Play With Button Placement
Button placement changes the cover’s style. A row of buttons down the side looks neat. Scattered buttons create a casual feel. Test button spots before sewing to find the best look.
Add Decorative Stitches
Decorative stitches can enhance your cover’s design. Use contrasting thread to highlight edges. Simple patterns like zigzag or cross-stitch add charm. Stitch carefully for a clean finish.
Include Personal Embellishments
Add ribbons, lace, or patches for a unique touch. These details make your cover stand out. Keep decorations small to avoid bulk. Sew embellishments securely to last long.
Credit: www.finesseph.co.uk
Frequently Asked Questions
How Do I Choose Fabric For Buttoned Cushion Covers?
Choose durable, washable fabric like cotton or linen for cushion covers. Ensure the material complements your room decor and is comfortable to touch.
What Type Of Buttons Work Best For Cushion Covers?
Use sturdy buttons like wooden, plastic, or metal. Ensure they are large enough to fasten easily but fit the cushion size.
How Do I Sew Buttonholes For Cushion Covers?
Mark buttonhole positions evenly along the fabric edge. Use a sewing machine’s buttonhole setting or hand-stitch carefully for neatness.
Can I Use A Zipper Instead Of Buttons?
Yes, zippers offer a cleaner look and easier removal. However, button fastenings add a decorative, classic touch to cushion covers.
Conclusion
Making a cushion cover with button fastenings is simple and fun. You can choose any fabric you like. Sewing the buttons adds a neat, secure finish. This project helps improve your sewing skills step by step. You get a custom cushion cover that fits perfectly.
Try different colors and patterns for variety. Enjoy creating something useful and pretty for your home. Keep practicing, and your sewing will get better each time. Small projects like this build confidence and creativity. Ready to start your next sewing adventure?