Have you ever faced the frustration of trying to remove a stubborn fastener and felt stuck? Whether it’s a screw, bolt, or nail, knowing how to remove a fastener quickly and safely can save you time and prevent damage to your project.
In this guide, you’ll discover simple, effective techniques that anyone can use—no special tools or skills needed. Keep reading, and you’ll gain the confidence to handle any fastener removal with ease.
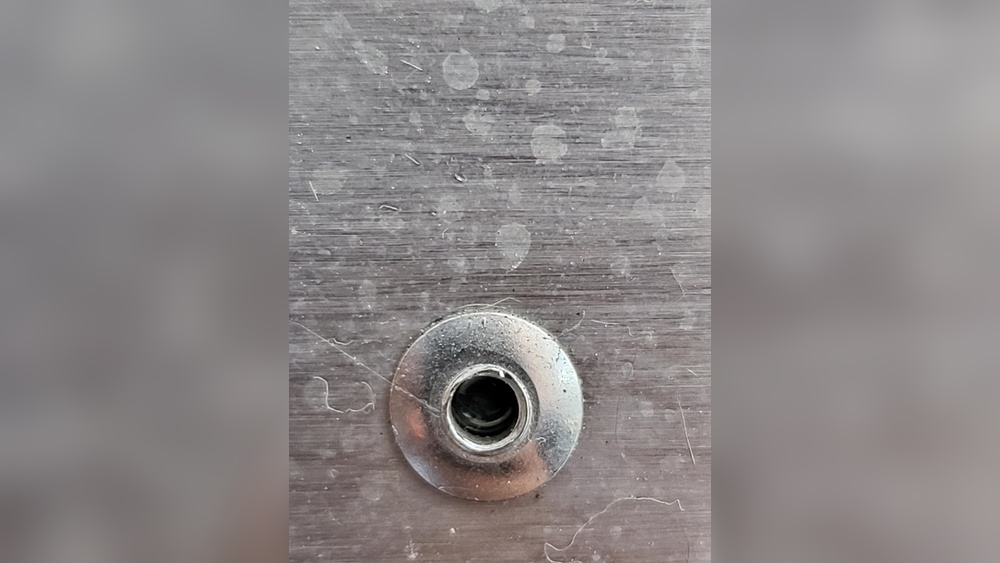
Types Of Fasteners
Fasteners hold things together in many projects. Knowing their types helps in removing them safely and effectively.
Fasteners come in many shapes and sizes. Each type has a unique way to take it out. Learning these types makes your work easier.
Common Fastener Varieties
Screws are the most common fasteners. They have threads that grip the material tightly. Nails are simpler and use friction to hold parts. Bolts work with nuts to secure heavy items. Rivets join metal parts permanently. Clips and clamps hold pieces without tools. Each fastener needs a different removal method.
Materials And Uses
Fasteners are made from steel, brass, aluminum, or plastic. Steel fasteners are strong and used in construction. Brass fasteners resist rust and suit decorative items. Aluminum fasteners are light and good for electronics. Plastic fasteners are common in furniture and toys. Choosing the right fastener depends on the job and material.

Credit: www.youtube.com
Tools Needed
Removing a fastener requires the right tools. Using proper tools makes the job easier and safer. This section explains the essential tools needed for fastener removal. Tools vary depending on the fastener type and condition. Keep these tools ready to work efficiently.
Basic Tools For Removal
Start with simple hand tools. Screwdrivers are essential for screws. Choose the correct type: flathead or Phillips. Wrenches help remove nuts and bolts. Adjustable wrenches fit various sizes. Pliers grip and twist stubborn fasteners. A hammer can tap loose stuck parts. These tools cover most common fasteners.
Specialized Equipment
Some fasteners need special tools. Impact drivers deliver extra torque for tight screws. A socket set provides many sizes of sockets for bolts. Extractor sets remove stripped or broken fasteners. Power drills speed up the process with proper bits. Heat guns soften adhesives or rusted fasteners. These tools handle difficult or damaged fasteners.
Preparation Tips
Preparation is key before removing any fastener. It helps avoid damage and keeps you safe. Proper planning saves time and effort during the process.
Safety Precautions
Wear safety glasses to protect your eyes from debris. Use gloves to prevent cuts and bruises. Keep loose clothing and hair away from tools. Check your tools for damage before use. Work slowly to avoid slips and accidents.
Workspace Setup
Clear your workspace to have room to move. Good lighting helps you see the fastener clearly. Organize tools nearby for easy access. Use a sturdy surface to work on. Keep a container to hold removed fasteners safely.
Removing Screws
Removing screws is a common task in many DIY projects and repairs. Screws hold parts together tightly, so taking them out needs care. Using the right tools and techniques makes the job easier and prevents damage. This section explains how to remove screws safely and effectively.
Using Screwdrivers
Choose a screwdriver that fits the screw head well. A correct fit prevents slipping and damage. Turn the screwdriver slowly and steadily. Apply firm pressure to keep the driver in the screw slot. For tight screws, use a screwdriver with a comfortable handle for better grip. Electric screwdrivers can save time but use them gently to avoid stripping the screw.
Dealing With Stripped Screws
Stripped screws have damaged heads, making removal hard. Use a rubber band between the screwdriver and screw head. This adds grip and helps turn the screw. If this fails, try a screw extractor tool. It grips the inside of the screw and pulls it out. Another option is to use pliers to twist the screw if its head sticks out. Always work slowly to avoid worsening the damage.
Removing Nails
Removing nails is a common task in many projects. Doing it right saves wood and keeps surfaces clean. Nails can be tricky to pull out. Using the right tools helps avoid damage. Two popular tools are the claw hammer and pry bars.
Using Claw Hammer
The claw hammer is a simple tool for nail removal. Place the claw under the nail head carefully. Pull the handle back slowly to lift the nail. Use steady force to avoid breaking the wood. For stubborn nails, rock the hammer slightly side to side. This loosens the nail before full removal. Keep the wood surface protected with a piece of scrap wood under the hammer.
Leveraging Pry Bars
Pry bars work well for larger or deeply set nails. Slide the flat end under the nail head gently. Use the bar as a lever to lift the nail out. Apply slow, steady pressure to avoid bending the nail. If the nail resists, try moving the bar a little higher. Pry bars give more force and control than a hammer. They are perfect for tough jobs or old wood.
Handling Bolts And Nuts
Bolt and nut removal is a common task in many projects. Handling them carefully helps avoid damage and saves time. Knowing the right tools and techniques makes the job easier and safer.
Wrenches And Sockets
Wrenches and sockets are essential for turning bolts and nuts. Choose the right size to fit snugly. This prevents slipping and rounding of the fastener edges. Use adjustable wrenches for different sizes, but fixed-size tools offer better grip. Sockets attach to ratchets, giving more turning power in tight spaces. Clean tools and fasteners to ensure a solid fit.
Loosening Stuck Fasteners
Stuck bolts and nuts need extra care. Spray penetrating oil on the fastener and wait a few minutes. Tap the fastener lightly with a hammer to break rust or dirt bonds. Use a breaker bar or longer wrench for more leverage. Heat also helps expand metal, making removal easier. Turn slowly and steadily to avoid snapping the bolt.
Fixing Common Issues
Removing fasteners can be tricky. Some common problems make the job hard. Rust and broken parts are the main issues. Fixing these can save time and effort. Simple tools and methods work well. Here are easy ways to solve these problems.
Rust Removal Techniques
Rust makes fasteners stick tight. Use a rust remover spray to loosen it. Let the spray sit for a few minutes. Then, try turning the fastener again. If rust is strong, use a wire brush. Scrub the fastener to clear off rust. Applying heat with a small torch helps too. Heat expands metal, breaking the rust bond. Always wear safety gear when using heat. Repeat these steps until the fastener moves freely.
Dealing With Broken Fasteners
Broken fasteners are tough to remove. First, try gripping with pliers or locking pliers. Use steady pressure to avoid slipping. If the fastener is inside a hole, use an extractor tool. Drill a small hole in the broken part. Insert the extractor and turn it slowly. The extractor bites into the metal and pulls it out. For stubborn fasteners, tapping gently with a hammer helps. Keep the work area clean and clear. Patience is key to avoid damaging the material around fasteners.
Preventing Damage
Removing a fastener can cause damage if not done carefully. Preventing damage protects your tools, materials, and the work area. Small mistakes can lead to scratches, dents, or broken parts. Taking simple steps helps keep everything safe and intact during removal.
Protecting Surrounding Materials
Use tape or cloth to cover areas near the fastener. This prevents scratches or marks from slipping tools. Work slowly to avoid putting pressure on nearby surfaces. Clear the area of loose items that might get in the way. Keep the workspace clean to spot any damage quickly.
Avoiding Tool Slips
Choose the right tool size for the fastener. A loose fit increases the risk of slipping. Hold the tool firmly with steady hands. Apply pressure straight along the fastener’s axis. Avoid sudden or jerky movements that cause loss of grip. Use tools with good grips for better control.
Final Checks
Final checks are important after removing a fastener. They help you avoid problems later. Taking a few moments now saves time and effort in the future.
Ensuring Fastener Removal
Check the fastener area carefully. Make sure no parts remain stuck or damaged. Clean the surface to remove dirt or rust. This helps the new fastener fit well. Inspect the hole or thread for any wear or tear. Use a flashlight if needed. Confirm that the fastener is fully out and nothing blocks the hole.
Preparing For Replacement
Gather the right replacement fastener before starting. Match size, type, and material with the original. Prepare tools and materials needed for installation. Clean the area thoroughly to ensure a good fit. Use thread lubricant if required to avoid seizing. Double-check the new fastener for defects. Ready your workspace to avoid interruptions.

Credit: www.novafabrication.com

Credit: diy.stackexchange.com
Frequently Asked Questions
What Tools Are Best For Removing Fasteners?
The best tools include screwdrivers, pliers, wrenches, and socket sets. Choose based on fastener type and size. Using the right tool prevents damage and ensures easy removal.
How Do I Remove A Stuck Fastener Safely?
Apply penetrating oil and let it soak for 10-15 minutes. Use proper tools with steady pressure. Avoid excessive force to prevent stripping or breaking the fastener.
Can I Remove Fasteners Without Damaging The Material?
Yes, use the correct tool and technique. Protect surrounding areas with tape or a cloth. Work slowly to avoid scratches or dents on the material.
What Should I Do If A Fastener Is Stripped?
Try using a rubber band for extra grip or a specialized extractor tool. Applying heat can also loosen the fastener. Replace damaged fasteners after removal for safety.
Conclusion
Removing a fastener is easier with the right tools and steps. Start by choosing the correct tool for your fastener type. Apply steady pressure and turn carefully to avoid damage. Take your time and work patiently. Practice helps you improve with each attempt.
Now, you can confidently remove fasteners from many projects. Keep safety in mind and wear protective gear when needed. With these tips, fastener removal becomes a simple task anyone can do.


