Are you ready to give your cabinets a fresh, polished look but feel unsure about how to get those handles and knobs perfectly aligned? Installing cabinet hardware can be tricky if you don’t have the right tools or technique.
That’s where a cabinet hardware template comes in—it’s a simple, foolproof way to ensure every handle and knob is placed exactly where it should be. In this guide, you’ll learn how to use a cabinet hardware template step-by-step, saving you time, frustration, and costly mistakes.
By the end, you’ll have the confidence to transform your cabinets with precision and ease. Let’s dive in and make your hardware installation a breeze!
Choosing The Right Template
Choosing the right cabinet hardware template is essential for a smooth installation. The template guides you in marking drill points accurately. Selecting a poor template can lead to misaligned hardware and extra work. Understanding the types, materials, and sources of templates helps you pick the best one.
A good template saves time and ensures your cabinet handles and knobs look professional. It matches your cabinet size and hardware style. Keep these points in mind before buying.
Types Of Hardware Templates
Hardware templates come in various styles to fit different needs. Some templates are adjustable and fit many cabinet sizes. Others are fixed for specific hardware hole patterns. Some templates include multiple hole sizes for knobs and handles. Choose a template that matches your hardware’s hole spacing and shape. This prevents mistakes and wasted materials.
Materials And Quality
Templates are made from plastic, metal, or wood. Plastic templates are lightweight and affordable. Metal templates are durable and provide precise markings. Wooden templates are sturdy but less common today. High-quality templates hold their shape and help you mark holes clearly. Avoid flimsy templates that bend easily or wear out quickly.
Where To Buy Templates
Templates are available at hardware stores, home improvement centers, and online shops. Many brands offer kits that include multiple templates and measuring tools. Buying from a reputable store ensures you get accurate and durable templates. Check reviews and product details before purchasing to confirm the template suits your project.
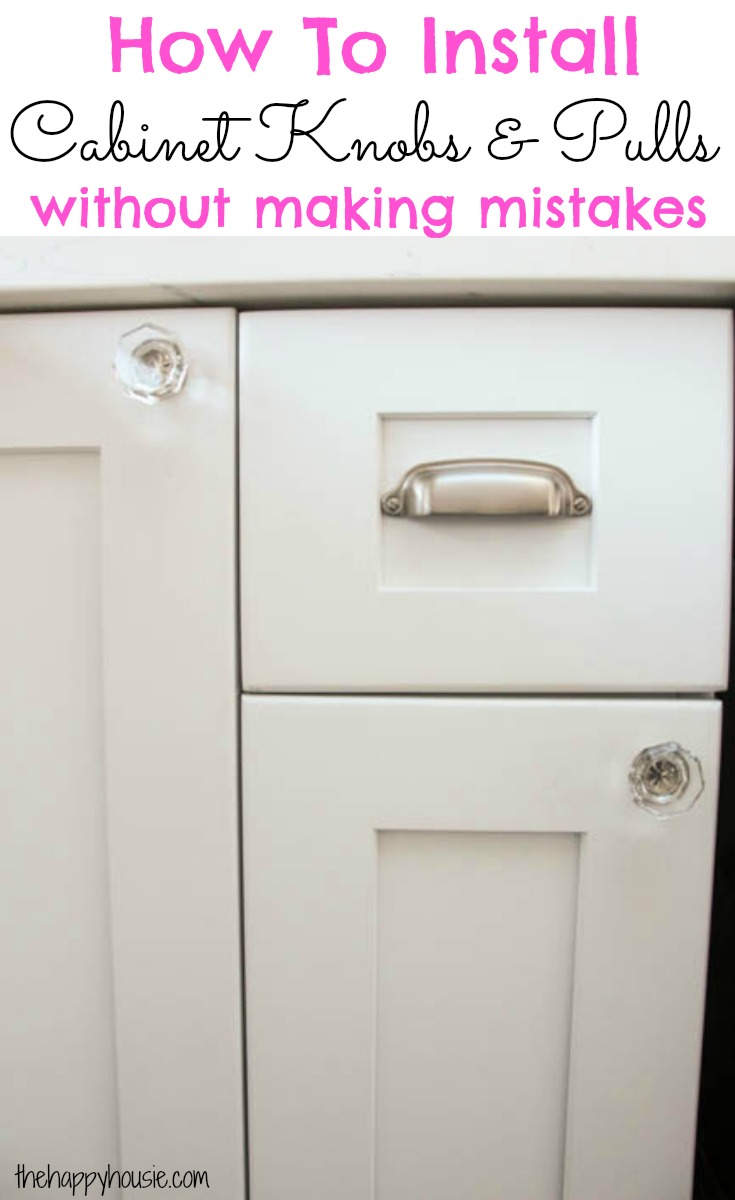
Credit: www.thehappyhousie.com
Preparing Your Workspace
Preparing your workspace is the first key step to a smooth cabinet hardware installation. A clean, organized area helps you work faster and avoid mistakes. It also keeps your tools ready and your cabinets safe from damage.
Taking time to set up properly makes the whole process easier and more enjoyable. You get better results and less frustration. Below are some simple steps to prepare your workspace effectively.
Gathering Tools And Materials
Collect all the tools before starting. You will need a cabinet hardware template, a pencil, a drill, drill bits, screws, and a screwdriver. Have a tape measure and level handy for accuracy. Keep everything within reach to avoid interruptions.
Clearing The Cabinet Surface
Remove any items on or inside the cabinet doors and drawers. Clean the surfaces to remove dust and grease. A clean surface helps the template stick better and gives clear marking spots. Make sure the cabinet doors and drawers are fully closed and stable.
Safety Precautions
Wear safety glasses to protect your eyes from drill dust or wood chips. Use gloves if you have sensitive skin or want extra grip. Work in a well-lit area to see markings clearly. Keep children and pets away during drilling to prevent accidents.
Measuring And Marking
Measuring and marking are key steps in installing cabinet hardware templates. Accurate measurements ensure the hardware fits perfectly and looks balanced. Marking the drill holes precisely avoids mistakes and saves time. This process helps you place knobs or handles exactly where you want them.
Aligning The Template
Place the template flat on the cabinet door or drawer front. Make sure it sits firmly without gaps. Match the template edges with the cabinet edges for proper placement. Hold it steady to avoid shifting during marking. Align the template according to your chosen height or distance from edges.
Marking Hole Positions
Use a sharp pencil to mark holes through the template’s guide holes. Press gently but firmly to make clear marks. Mark all hole positions before moving the template. Double-check the marks to confirm they match the hardware’s mounting holes. This step prevents drilling errors and hardware misalignment.
Ensuring Level And Centered Placement
Use a level tool to check if the template is perfectly horizontal. Adjust the template until it is level to avoid crooked hardware. Measure the distance from the cabinet edges to center the template. Consistent spacing creates a professional and balanced look. Mark the final position clearly before drilling holes.
Drilling Holes Accurately
Drilling holes accurately is key to a professional cabinet hardware installation. Correctly placed holes ensure the hardware fits well and looks balanced. Careful drilling prevents damage and saves time. Follow these tips for precise and clean holes every time.
Selecting The Right Drill Bit
Choose a drill bit that matches the screw size of your hardware. A bit that is too large makes the hole loose. A bit that is too small can split the wood. Use a brad point bit for clean, precise holes on wood surfaces.
Making Pilot Holes
Start by drilling small pilot holes before the final holes. Pilot holes guide the screw and reduce wood splitting. They make screwing easier and improve grip. Drill gently and straight to keep holes aligned and neat.
Avoiding Damage To Cabinets
Protect cabinet surfaces by using painter’s tape over drilling spots. Tape prevents chipping around the hole edges. Hold the drill steady and avoid pushing too hard. Stop drilling as soon as you break through the wood to avoid splintering.
Installing Cabinet Hardware
Installing cabinet hardware is a key step in updating your cabinets. It gives them a fresh, polished look and improves usability. Accurate installation ensures handles and knobs sit correctly and function well. Follow simple steps to attach hardware securely and check stability for lasting results.
Attaching Handles And Knobs
Start by aligning the hardware with the drilled holes. Place the handle or knob on the front of the cabinet door or drawer. Insert the screws from the inside through the holes. Hold the hardware steady to avoid shifting during attachment. This keeps it straight and centered for a professional look.
Tightening Screws Correctly
Use a screwdriver to tighten screws firmly but gently. Avoid overtightening as it can damage the cabinet or strip the screw hole. Tighten screws evenly by switching between them step-by-step. This prevents hardware from becoming crooked or loose over time.
Checking For Stability
After tightening, wiggle the handle or knob slightly. It should feel solid and not move. Loose hardware needs further tightening or screw adjustment. Check every handle and knob to ensure all are stable and secure. Properly installed hardware lasts longer and performs better.
Tips For Perfect Results
Installing cabinet hardware with a template can save time and improve accuracy. Small mistakes can cause misaligned handles or knobs that look unprofessional. Following some simple tips helps ensure clean, precise results. Pay attention to details and take your time during each step. This approach guarantees a smooth installation and a polished finish.
Double-checking Measurements
Always measure twice before drilling any holes. Check the distance from edges and between holes carefully. Use a ruler or tape measure for accuracy. Mark your spots lightly with a pencil. After marking, hold the template on the cabinet again to confirm placement. This step avoids costly mistakes and misaligned hardware.
Using Templates For Different Hardware
Not all hardware fits the same template. Knobs need one set of holes, while handles require two or more. Use the right template for your specific hardware type. Some templates have adjustable settings for different sizes and styles. Follow the instructions for your template to ensure perfect hole spacing and alignment.
Common Mistakes To Avoid
Drilling without checking for levelness can cause crooked hardware. Always use a level to keep the template straight. Avoid rushing through the marking or drilling steps. Do not drill holes too large or too deep. Use the correct drill bit size for your screws. Finally, avoid forcing hardware onto misaligned holes. Fix measurement errors before installation.
Maintaining Your Cabinet Hardware
Maintaining your cabinet hardware keeps your kitchen or bathroom looking fresh and functional. Proper care prevents damage and extends the life of knobs, handles, and pulls. Regular attention saves time and money on repairs or replacements.
Cleaning And Polishing
Clean hardware regularly to remove dirt and grease. Use a soft cloth with mild soap and warm water. Avoid harsh chemicals that can damage the finish. Dry hardware thoroughly to prevent water spots and rust. Polish metal hardware with a suitable polish to keep it shiny and new.
Tightening Loose Screws
Loose screws cause hardware to wobble or fall off. Check screws every few months. Use a screwdriver to tighten any loose ones. Be careful not to overtighten, which can strip the screw or damage the wood. Tight hardware ensures handles and knobs stay secure and easy to use.
When To Replace Hardware
Replace hardware if it is broken, rusty, or no longer matches your decor. Old hardware can affect the cabinet’s appearance and function. Choose new hardware that fits your style and cabinet design. Replacing hardware is a simple way to refresh your space without major renovations.

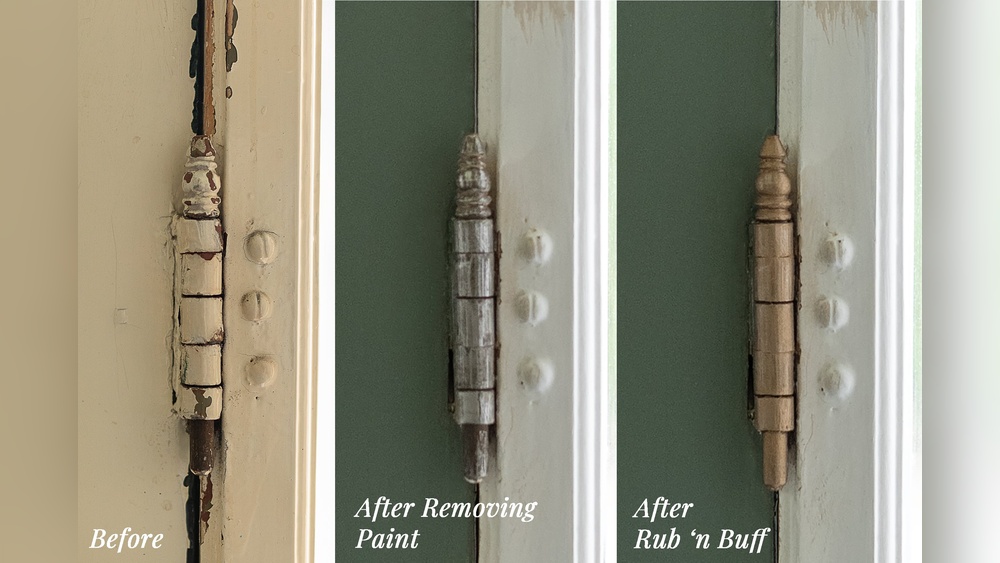
Credit: www.apinchofjoy.com

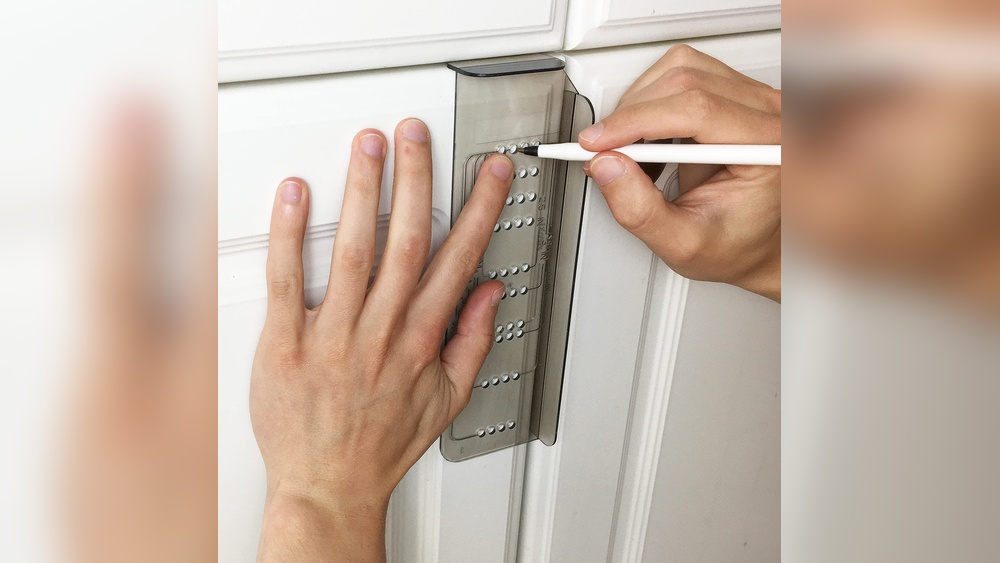
Credit: www.amazon.com
Frequently Asked Questions
How To Use A Cabinet Hardware Template?
Place the template on the cabinet or drawer, align it level, mark hole positions with a pencil, double-check alignment, then drill holes and install hardware.
What Is The 1 3 Rule For Cabinet Hardware?
The 1-3 rule for cabinet hardware means placing knobs 1 inch from the edge and 3 inches apart for balanced spacing.
Are There Templates For Handle Placement?
Yes, templates for handle placement are available. They help mark drill holes accurately on cabinets and drawers, ensuring proper alignment.
How To Use Ikea Handle Template?
Place the IKEA handle template on the drawer or door. Align it properly and mark drill holes through the template. Double-check marks, then drill and install handles.
Conclusion
Using a cabinet hardware template makes installation simple and precise. Align the template carefully before marking holes. Double-check your measurements to avoid mistakes. Drill holes only after confirming the marks. This method saves time and reduces errors. Enjoy a neat, professional look on your cabinets.
With practice, installing hardware becomes quick and easy. Trust the template to guide your work well.