Are you ready to give your kitchen or bathroom a fresh, stylish look without spending a fortune? Replacing your cabinet hardware is one of the easiest and most effective ways to upgrade your space.
Whether you want sleek modern pulls or classic knobs, swapping out old hardware can instantly transform the feel of your cabinets. You don’t need to be a DIY expert or own fancy tools to get the job done right. In this guide, you’ll discover simple, step-by-step instructions to remove your old knobs and handles and install new ones perfectly—even if the screw holes don’t match.
Keep reading, and you’ll learn how to tackle this quick upgrade that will make your cabinets—and your entire room—look brand new.
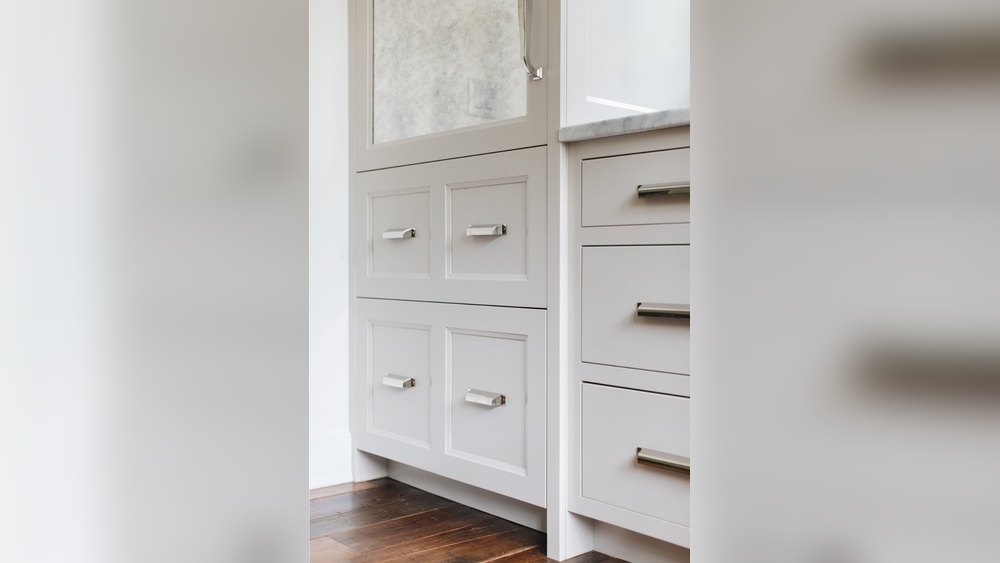
Credit: www.homedepot.com
Gather Tools And Materials
Gathering the right tools and materials is the first step in replacing cabinet hardware. Having everything ready makes the process smooth and fast. It also helps avoid interruptions and frustration. This section covers how to choose new hardware and prepare the tools you need.
Select New Hardware
Choose hardware that fits your cabinet style and size. Measure your cabinet doors and drawers carefully. Pick knobs or pulls that match your kitchen or bathroom design. Consider the finish, such as brushed nickel, bronze, or chrome. Make sure the hardware comes with screws that fit your cabinet thickness. Buying hardware in sets ensures a consistent look.
Prepare Necessary Tools
Gather basic tools for the job. A screwdriver or drill is essential for removing and installing screws. Have a tape measure and pencil to mark hole placements. Keep a level handy to align hardware evenly. A small wrench or pliers may help with tight screws. Collect a cloth to clean surfaces before installation. Organizing your tools before starting saves time.
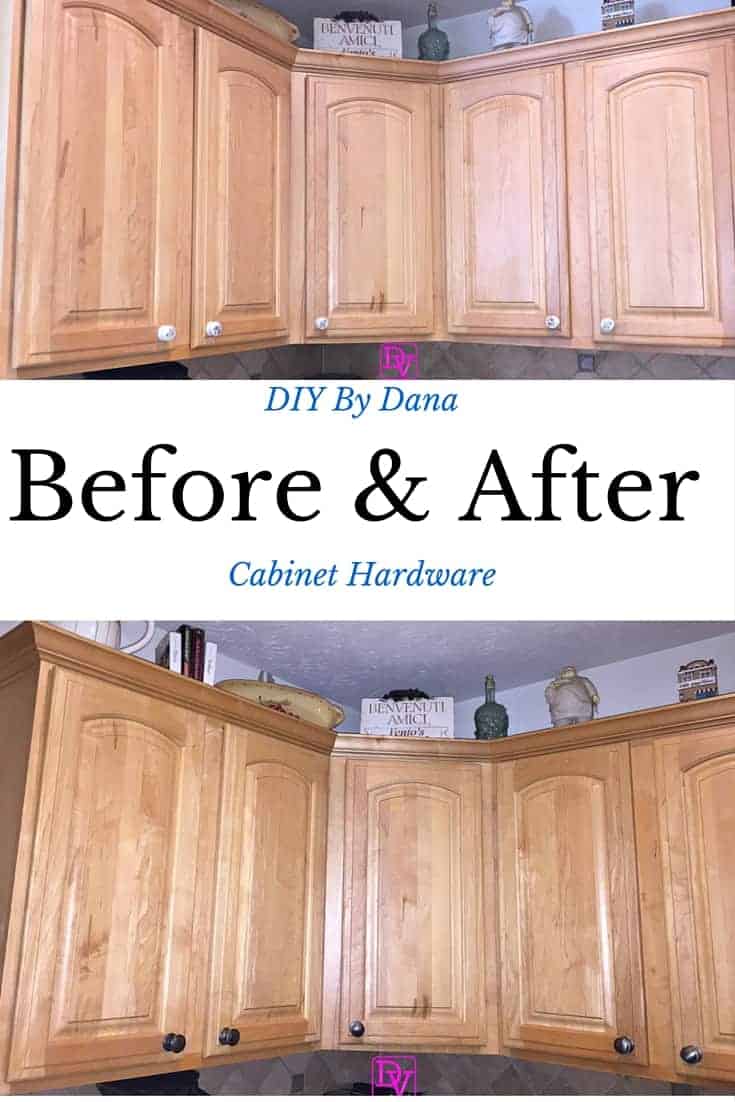
Credit: danavento.com
Remove Old Hardware
Start by removing the old cabinet hardware carefully. This step clears the way for new handles or knobs. It helps to prevent damage to your cabinets. Take your time to avoid scratches or dents. Proper removal also makes installation of new hardware easier.
Gather a screwdriver that fits your screws well. Check if you need a flathead or Phillips head. Keep a small container nearby to hold the screws safely. This way, you won’t lose any parts during the process.
Open Doors And Drawers
Open all cabinet doors and drawers fully. This provides easy access to the hardware screws. It also gives you space to work without straining. If the hardware is stuck, gently wiggle the door or drawer to loosen it. Clear the area around to avoid bumping into anything.
Unscrew Existing Handles
Locate the screws holding each handle or knob. Use your screwdriver to turn them counterclockwise. Keep steady pressure to avoid stripping the screw heads. Remove the screws completely and set them aside. Pull the handle or knob off the door or drawer front. If the hardware sticks, try twisting it gently while pulling.
Check for any leftover glue or residue. Clean the surface with a soft cloth to prepare for new hardware. This ensures a smooth and clean finish after installation.
Assess Hole Alignment
Before installing new cabinet hardware, assess the hole alignment carefully. Proper alignment ensures your new knobs or pulls fit perfectly. Misaligned holes can cause installation problems and damage your cabinet doors. Take time to check and prepare the holes for a smooth hardware update.
Check For Matching Screw Holes
Start by comparing the old hardware holes with the new pieces. Measure the distance between screw holes on the new knobs or pulls. Check if these measurements match the existing holes on your cabinet doors or drawers. Matching holes save time and keep your cabinets looking neat. If the holes do not align, plan how to fill or adjust them before proceeding.
Fill And Repair Old Holes
Fill old or unused holes with wood filler or putty. Choose a filler that matches your cabinet material and color. Apply the filler with a putty knife and smooth it out. Allow it to dry completely before sanding the surface flat. This step prevents gaps and provides a solid base for the new hardware. Repairing holes keeps your cabinets strong and maintains a clean appearance.
Mark And Drill New Holes
Marking and drilling new holes is a key step when replacing cabinet hardware. This step ensures the new handles or knobs fit perfectly. Accurate marks prevent mistakes that can damage your cabinets.
Take your time to measure and mark carefully. Use the right tools to get clean, straight holes. Proper preparation makes installation smoother and gives a professional look.
Use Hardware Template
A hardware template helps place holes in the exact spots. Most hardware sets include a template or you can buy one separately. It aligns with existing holes or guides new placements.
Place the template on the cabinet door or drawer front. Hold it firmly and mark the hole positions with a pencil. This tool saves time and avoids uneven hardware placement.
Prevent Wood Splintering
Drilling without protection can cause wood splintering around holes. To stop this, place masking tape over the drilling spot. The tape holds wood fibers in place while drilling.
Use a drill bit smaller than the screw diameter first. Drill slowly and steadily to keep the wood intact. This method produces clean holes and protects your cabinet’s finish.
Install New Hardware
After installing new cabinet hardware, small final steps make a big difference. These finishing touches help your cabinets look polished and brand new. Take your time to check details carefully. This ensures a professional and clean appearance.
Touch Up Paint Or Stain
Replacing hardware can cause small scratches or marks on cabinet surfaces. Use matching paint or stain to cover these spots. Apply gently with a small brush for precise coverage. Let it dry fully before moving on. This step restores the cabinet’s original look and hides any damage.
Test Hardware Functionality
Try opening and closing each cabinet door and drawer. Make sure the new knobs or pulls are secure and comfortable to use. Check for smooth movement and no wobbling parts. Tighten screws if needed to prevent loosening over time. This simple test guarantees your hardware works well every day.
Finishing Touches
Replacing cabinet hardware can instantly improve your kitchen’s look. Achieving a professional finish requires attention to detail. Small choices make a big difference. Follow these tips to get a clean, polished style.
Consistent Placement
Keep hardware placement uniform on all cabinets. Measure carefully before drilling new holes. Use a template or ruler for exact spacing. Consistency makes your cabinets look neat and well-planned. Avoid uneven handles or knobs that spoil the visual flow.
Choosing Complementary Styles
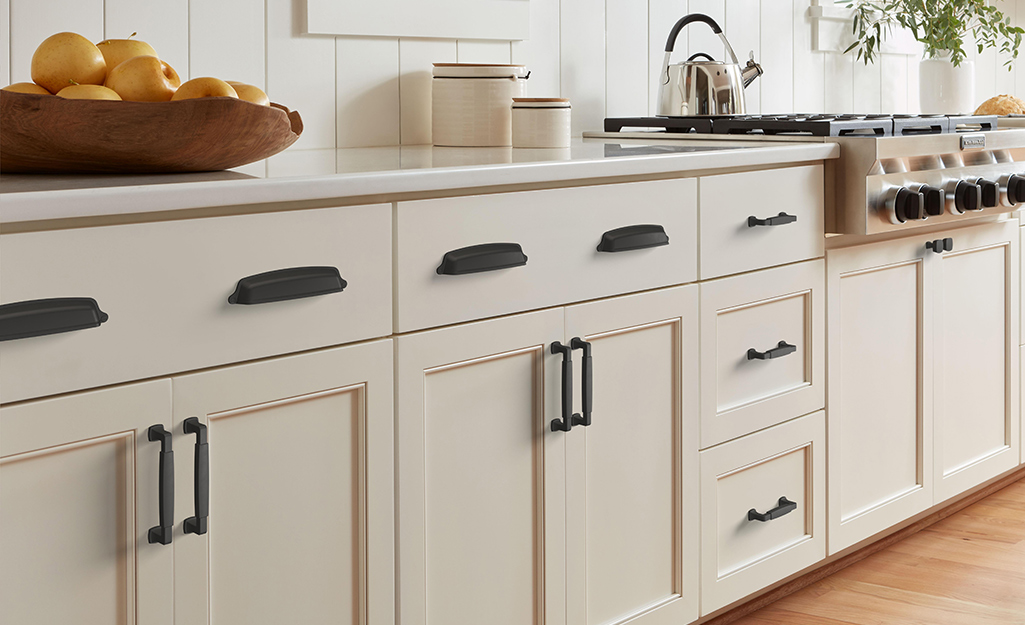
Pick hardware that matches your kitchen’s overall design. Match finishes with other metal elements, like faucets or appliances. Choose styles that blend well with your cabinet color and material. Avoid mixing too many different designs, which can look messy. Simple, matching hardware creates a harmonious feel.

Credit: www.homedepot.com
Frequently Asked Questions
Is It Hard To Replace Cabinet Hardware?
Replacing cabinet hardware is easy and quick. Unscrew old knobs or pulls, align new hardware, and screw it in. Fill old holes if needed. No special skills required.
What Is The 1 3 Rule For Cabinet Hardware?
The 1-3 rule for cabinet hardware means placing knobs 1 inch from the edge and pulls 3 inches from the edge for balanced looks and easy use.
How Do I Update Old Cabinet Hardware?
Remove old knobs or handles by unscrewing them from inside the cabinet. Align new hardware with existing holes. If holes differ, fill old holes, mark, drill new ones, and install new hardware securely.
How To Remove Old Cabinet Hardware?
Open the cabinet door or drawer. Use a screwdriver to unscrew the hardware from inside. Remove the old knobs or pulls carefully. Fill old holes if needed before installing new hardware.
Conclusion
Replacing cabinet hardware can refresh your space quickly and affordably. Start by removing old knobs or pulls carefully. Align new hardware properly for a clean look. Use wood filler to fix old holes if needed. Drill new holes only when necessary to avoid damage.
Take your time to ensure all pieces fit well. A simple update can boost your kitchen or bathroom style. Enjoy your improved cabinets without hiring a professional. This small project offers great satisfaction and visible change. Try it today and see the difference yourself.