Are you looking for a simple way to make your bathroom safer and more secure? Installing a Wingits Grab Bar Fastener can be the perfect solution.
But you might wonder, how exactly do you install it quickly and correctly? This guide will walk you through each step, making sure you feel confident and ready to get the job done right. Keep reading, and you’ll discover easy tips that save you time and give you peace of mind knowing your grab bar is firmly in place.

Credit: www.youtube.com
Tools And Materials Needed
Installing the Wingits grab bar fastener requires the right tools and materials. Having everything prepared makes the process smooth and safe. This section lists all essentials you need before starting.
Essential Tools
Gather a drill with a 1/4 inch bit for pilot holes. A screwdriver or a power driver will help fasten screws securely. Use a tape measure to mark exact positions. A pencil or marker is useful for marking spots on the wall. A level ensures the grab bar stays straight. Safety glasses protect your eyes from dust and debris. Lastly, a stud finder locates studs behind drywall for strong mounting.
Wingits Grab Bar Components
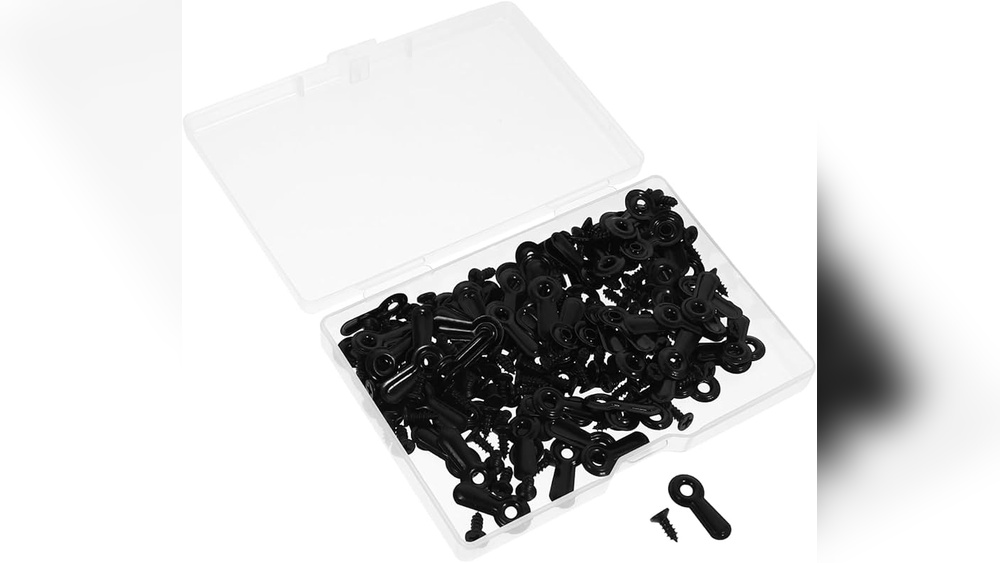
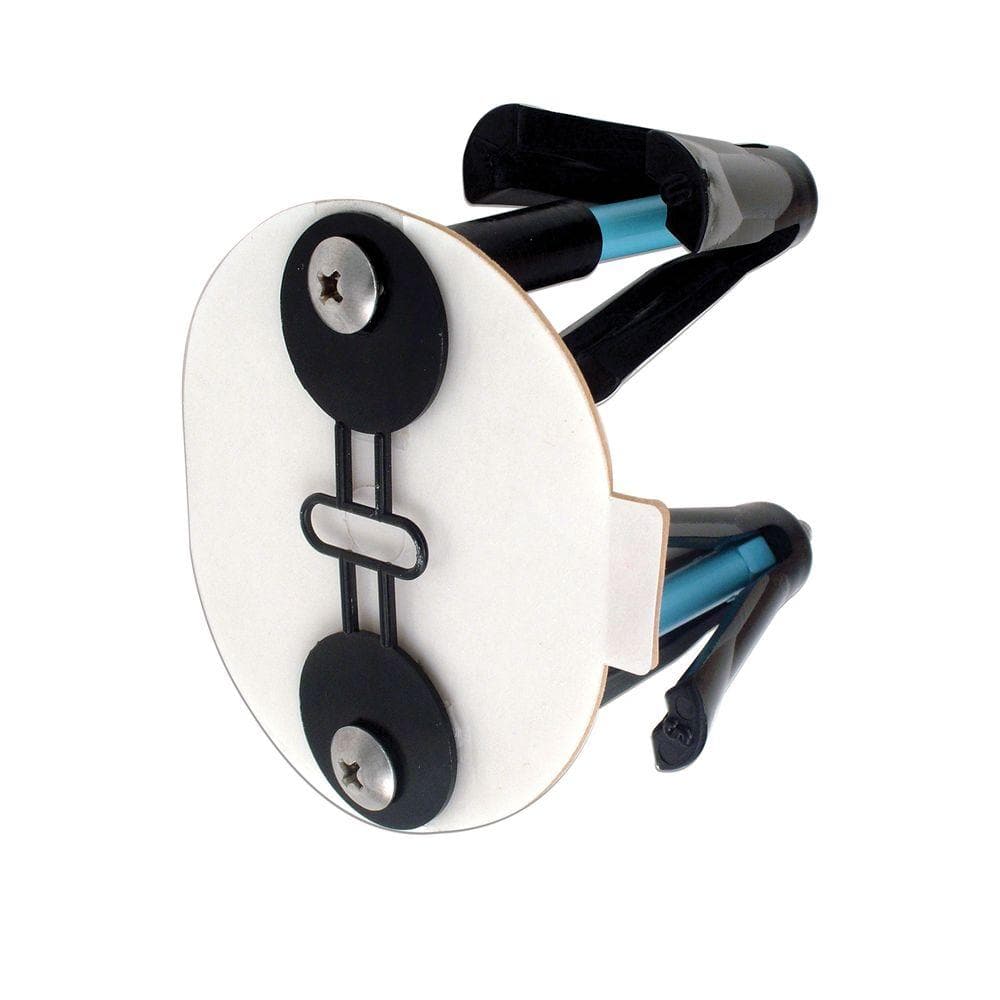
The Wingits kit includes two fasteners designed to fit most grab bars. Each fastener has a sturdy metal base and a special locking mechanism. Screws come with the kit, matched to the fasteners for perfect fit. The components are made from rust-resistant materials for durability. All parts work together to secure the grab bar firmly to the wall. Check the package to confirm all pieces are present before starting.
Preparing The Installation Area
Preparing the installation area is a key step before attaching the Wingits Grab Bar Fastener. A clean and well-chosen spot ensures the fastener holds firmly and lasts long. Spend time on this step to avoid problems later. Follow these tips to get ready.
Selecting The Right Location
Pick a spot that supports weight well. Choose a solid wall or sturdy surface. Avoid drywall or hollow areas without backing. The grab bar needs strong support for safety. Measure the height so it is easy to reach. Check for any pipes or wires behind the wall before drilling.
Surface Cleaning And Inspection
Clear the area of dust, grease, or dirt. Use a clean cloth with mild soap and water. Let the surface dry completely before installation. Inspect for cracks, holes, or loose paint. Fix any damage to ensure a smooth surface. This helps the fastener stick tightly and hold weight safely.
Marking And Measuring
Marking and measuring are key steps for installing the Wingits Grab Bar Fastener. This process ensures the grab bar fits securely and safely. Accurate measurements prevent mistakes and save time. Follow simple steps to mark points clearly before drilling.
Aligning The Grab Bar
Place the grab bar against the wall where you want it. Make sure it is straight and level. Use a spirit level to check alignment. Hold the bar firmly to avoid shifting. Proper alignment helps the bar support weight correctly.
Marking Drill Points
Look at the holes on the grab bar fastener. Use a pencil to mark these points on the wall. Double-check the marks to be sure they are correct. Marking accurately ensures the screws fit perfectly. This step stops the fastener from loosening later.
Drilling And Anchoring
Drilling and anchoring are key steps to install Wingits grab bar fasteners securely. Proper drilling creates strong holes for the anchors. Anchors hold the fasteners firmly in place. Both steps ensure safety and stability for the grab bar.
Choosing Drill Bits
Select drill bits that match the anchor size. Use a bit designed for the wall material. For drywall, a standard bit works well. For concrete or tile, use a masonry bit. Check the drill bit diameter carefully. Too large or small will affect anchor grip.
Use sharp bits to make clean holes. Dull bits can cause damage or uneven holes. Always wear safety glasses while drilling. Drill slowly to avoid cracking the wall. Stop at the correct depth for the anchor length.
Installing Anchors
Insert anchors carefully into drilled holes. Tap lightly with a hammer if needed. The anchor should fit flush with the wall surface. Do not force anchors into too small holes. Anchors expand inside the wall for a tight hold.
Test anchor strength before attaching the grab bar. Pull gently to ensure it stays secure. Replace any loose anchors with larger sizes. Proper anchoring prevents the grab bar from coming loose. This step improves overall safety and durability.
Attaching The Wingits Fastener
Attaching the Wingits fastener is a key step in installing a grab bar safely and securely. This process ensures the grab bar stays firmly in place, offering reliable support. Careful positioning and securing of the fastener make the installation strong and long-lasting.
Positioning The Fastener
Start by placing the fastener on the wall where the grab bar will go. Align it with the grab bar’s mounting holes. Use a level to make sure it is perfectly straight. Mark the spots for drilling holes through the fastener. Proper positioning prevents the grab bar from being loose or crooked.
Securing The Grab Bar
Next, drill holes at the marked points. Insert wall anchors if needed for extra strength. Attach the fastener using screws and tighten them firmly. Check that the fastener does not move. Finally, mount the grab bar onto the fastener and tighten all screws securely. This step locks the grab bar in place and ensures safety.

Credit: www.amazon.com
Final Checks And Testing
After installing the Wingits grab bar fastener, final checks and testing are important. These steps confirm the grab bar is secure and safe to use. Taking time for this prevents accidents and ensures confidence in the installation.
Ensuring Stability
Check the grab bar for any movement. Hold it firmly and try to wiggle it. The bar should not shift or feel loose. Tighten any screws or fasteners if needed. Use a level to confirm the bar is straight. A stable grab bar supports weight safely.
Safety Tips
Test the grab bar by applying gentle pressure. Do not use excessive force during testing. Make sure the wall and fastener show no damage. Keep the area around the grab bar clean and dry. Regularly inspect the fastener for wear or looseness. These steps help maintain safety for daily use.
Credit: www.homedepot.com
Frequently Asked Questions
What Tools Are Needed For Wingits Grab Bar Installation?
You need a drill, screwdriver, measuring tape, level, and Wingits fasteners. These tools ensure a secure and precise installation of the grab bar.
How Do I Prepare The Wall For Wingits Fasteners?
Locate wall studs and mark drill points. Ensure the surface is clean and dry before installation. Proper preparation guarantees strong mounting.
Can Wingits Fasteners Support Heavy Weight Safely?
Yes, Wingits fasteners are designed to support heavy grab bars. They provide sturdy, reliable mounting for safety and durability in bathrooms.
How Long Does It Take To Install A Wingits Grab Bar?
Installation typically takes 20 to 30 minutes. This includes measuring, drilling, and securing the grab bar firmly with Wingits fasteners.
Conclusion
Installing the Wingits grab bar fastener is simple and quick. Follow each step carefully for a strong hold. Use the right tools and check the fit as you go. This fastener helps keep your grab bar safe and steady. With a little effort, you can improve bathroom safety easily.
Take your time, and you will have a secure grab bar in no time. Safety matters, and this fastener makes it easier to achieve.