Are you ready to give your cabinets a sleek, modern look without spending a fortune? Installing flush mount cabinet hardware is a simple way to transform your space quickly and easily.
You might think it’s tricky, but with the right steps, you’ll have professional-looking results in no time. Keep reading, and you’ll discover how to do it yourself—even if you’ve never handled tools before. Your cabinets will thank you!
Tools And Materials Needed
Installing flush mount cabinet hardware requires a few simple tools and the right materials. Having these ready makes the job easier and faster. Proper tools help you avoid mistakes and ensure a neat finish.
Choosing the right hardware and tools also saves you time and effort. This section lists everything you need to start your project confidently.
Essential Tools
A drill is a must for making holes in the cabinet doors. Use drill bits that match the size of your hardware screws. A screwdriver will help you tighten screws securely without damaging the surface.
A tape measure helps you mark exact positions for the hardware. Use a pencil to make light marks that you can erase later. A level ensures the hardware sits straight on the cabinet doors.
Clamps can hold parts steady while you work. Safety glasses protect your eyes from dust or debris. Having these tools ready makes the installation smooth and safe.
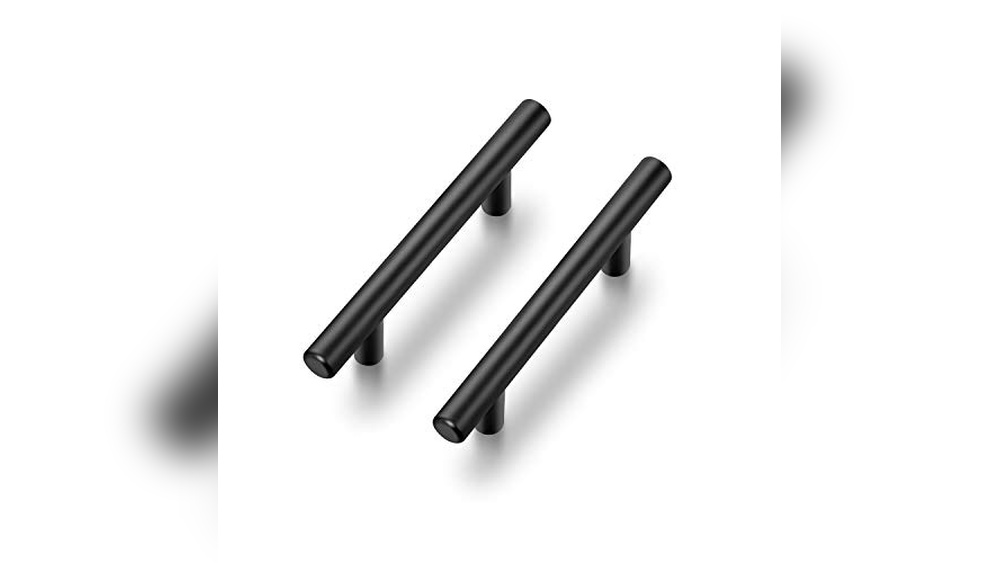
Choosing The Right Hardware
Flush mount hardware comes in various styles and finishes. Select handles or knobs that match your cabinet style and room decor. Measure the thickness of your cabinet doors to pick hardware that fits well.
Check the screw length and type included with the hardware. Some screws may be too long or short for your cabinets. Choose materials like metal or plastic based on durability and look.
Choosing the right hardware ensures the handles work well and look good. It makes your cabinets easier to use every day.

Credit: www.amazon.com
Preparing Your Cabinets
Preparing your cabinets is the first step in installing flush mount hardware. Proper preparation helps the hardware fit perfectly and last longer. It also makes the installation process smoother and faster.
Cleaning The Surface
Start by cleaning the cabinet surface. Remove dust, dirt, and grease with a mild cleaner. Use a soft cloth to avoid scratches. A clean surface ensures the hardware sticks well and looks neat.
Measuring And Marking
Measure carefully before marking the spots for hardware. Use a ruler or tape measure for accuracy. Mark the exact points with a pencil. Correct marks prevent mistakes and save time during installation.
Installing Flush Mount Hardware
Installing flush mount cabinet hardware requires careful steps. This ensures the hardware fits well and looks clean. Follow the right process for a neat, secure fit.
Drilling Pilot Holes
Mark the spots for screws with a pencil. Use a drill bit smaller than the screw size. Drill pilot holes carefully to avoid splitting the wood. Keep the drill steady and straight. Pilot holes help screws go in smoothly.
Attaching The Hardware
Align the flush mount hardware with the pilot holes. Hold the hardware firmly in place. Use a screwdriver to insert screws into the holes. Tighten screws evenly but do not over-tighten. Check that the hardware sits flush and secure.
Adjusting And Testing
After installing flush mount cabinet hardware, adjusting and testing are key steps. These ensure the hardware fits well and works smoothly. Small tweaks can make a big difference in the final look and function.
Ensuring Proper Alignment
Check if the hardware sits evenly on the cabinet surface. Misalignment can cause doors to not close properly. Use a level or ruler to verify straight placement. Tighten screws gradually, adjusting as needed. Make sure edges line up cleanly for a neat finish.
Checking Functionality
Open and close the cabinet doors several times. The hardware should move smoothly without sticking. Listen for any unusual noises like squeaks or clicks. Adjust screws or reposition hardware if movement feels tight or loose. Proper function means the hardware is installed correctly and ready for use.
Tips For Maintenance
Maintaining flush mount cabinet hardware keeps it looking fresh and working well for years. Simple care steps prevent damage and avoid costly repairs. Clean surfaces regularly and protect hardware from harsh conditions. Small efforts make a big difference in durability and style.
Cleaning Flush Mount Hardware
Use a soft cloth to wipe dirt and dust. Mild soap with warm water works well. Avoid abrasive cleaners that scratch the finish. Dry hardware fully to stop water spots. Clean often to maintain shine and smooth operation.
Preventing Wear And Tear
Handle hardware gently to avoid scratches and dents. Tighten screws regularly to keep parts secure. Avoid slamming doors or drawers hard. Use protective pads inside cabinet doors if needed. Check hardware for damage and fix issues quickly.

Credit: www.youtube.com

Credit: schoolhouse.com
Frequently Asked Questions
What Tools Are Needed For Flush Mount Cabinet Hardware Installation?
You need a drill, screws, a screwdriver, measuring tape, and a pencil. These tools help ensure precise and secure hardware installation on cabinets.
How Do I Measure For Flush Mount Hardware Placement?
Measure the cabinet door’s center or desired location. Mark the spot with a pencil before drilling to ensure accurate hardware alignment.
Can I Install Flush Mount Hardware Myself?
Yes, installing flush mount hardware is a straightforward DIY task. Just follow instructions carefully and use proper tools for best results.
What Type Of Screws Are Best For Flush Mount Hardware?
Use screws that fit the hardware holes properly and are the correct length. This ensures a firm hold without damaging the cabinet surface.
Conclusion
Installing flush mount cabinet hardware can be simple and quick. Follow the steps carefully and take your time. Use the right tools to avoid mistakes. Measure twice to ensure perfect placement. Tighten screws firmly for a secure fit. Your cabinets will look neat and stylish.
Enjoy the improved feel when opening and closing doors. Small changes can make a big difference in your space. Keep practicing, and you will get better each time. Now, your cabinets are ready to impress!