Have you ever struggled with those tiny plastic snap fasteners on your clothes or accessories? Removing them can feel tricky, and using the wrong method might damage your fabric or leave ugly holes.
But don’t worry—this guide will show you simple, safe ways to remove plastic snap fasteners without stress. By the end, you’ll know exactly how to handle them like a pro, saving your favorite items and avoiding costly mistakes. Ready to learn the easy steps?
Let’s dive in!
Tools Needed
Removing plastic snap fasteners requires the right tools. Using proper tools makes the job easier and prevents damage. Some tools are found in most homes. Others are designed specifically for snap fasteners. Choose tools based on what you have and the fastener type.
Common Household Items
You can use simple household items to remove snap fasteners. A flathead screwdriver helps to pry open the snap gently. Tweezers work well to pull out small parts carefully. A pair of needle-nose pliers can grip and twist the snap pieces. A small, sharp knife can cut through fabric if needed. These items are easy to find and work well for light tasks.
Specialized Removal Tools
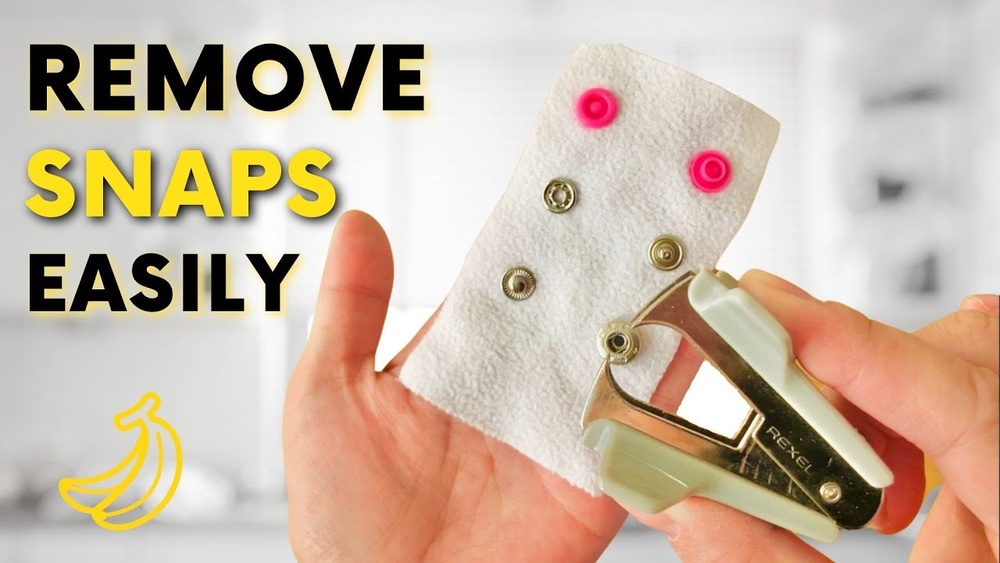
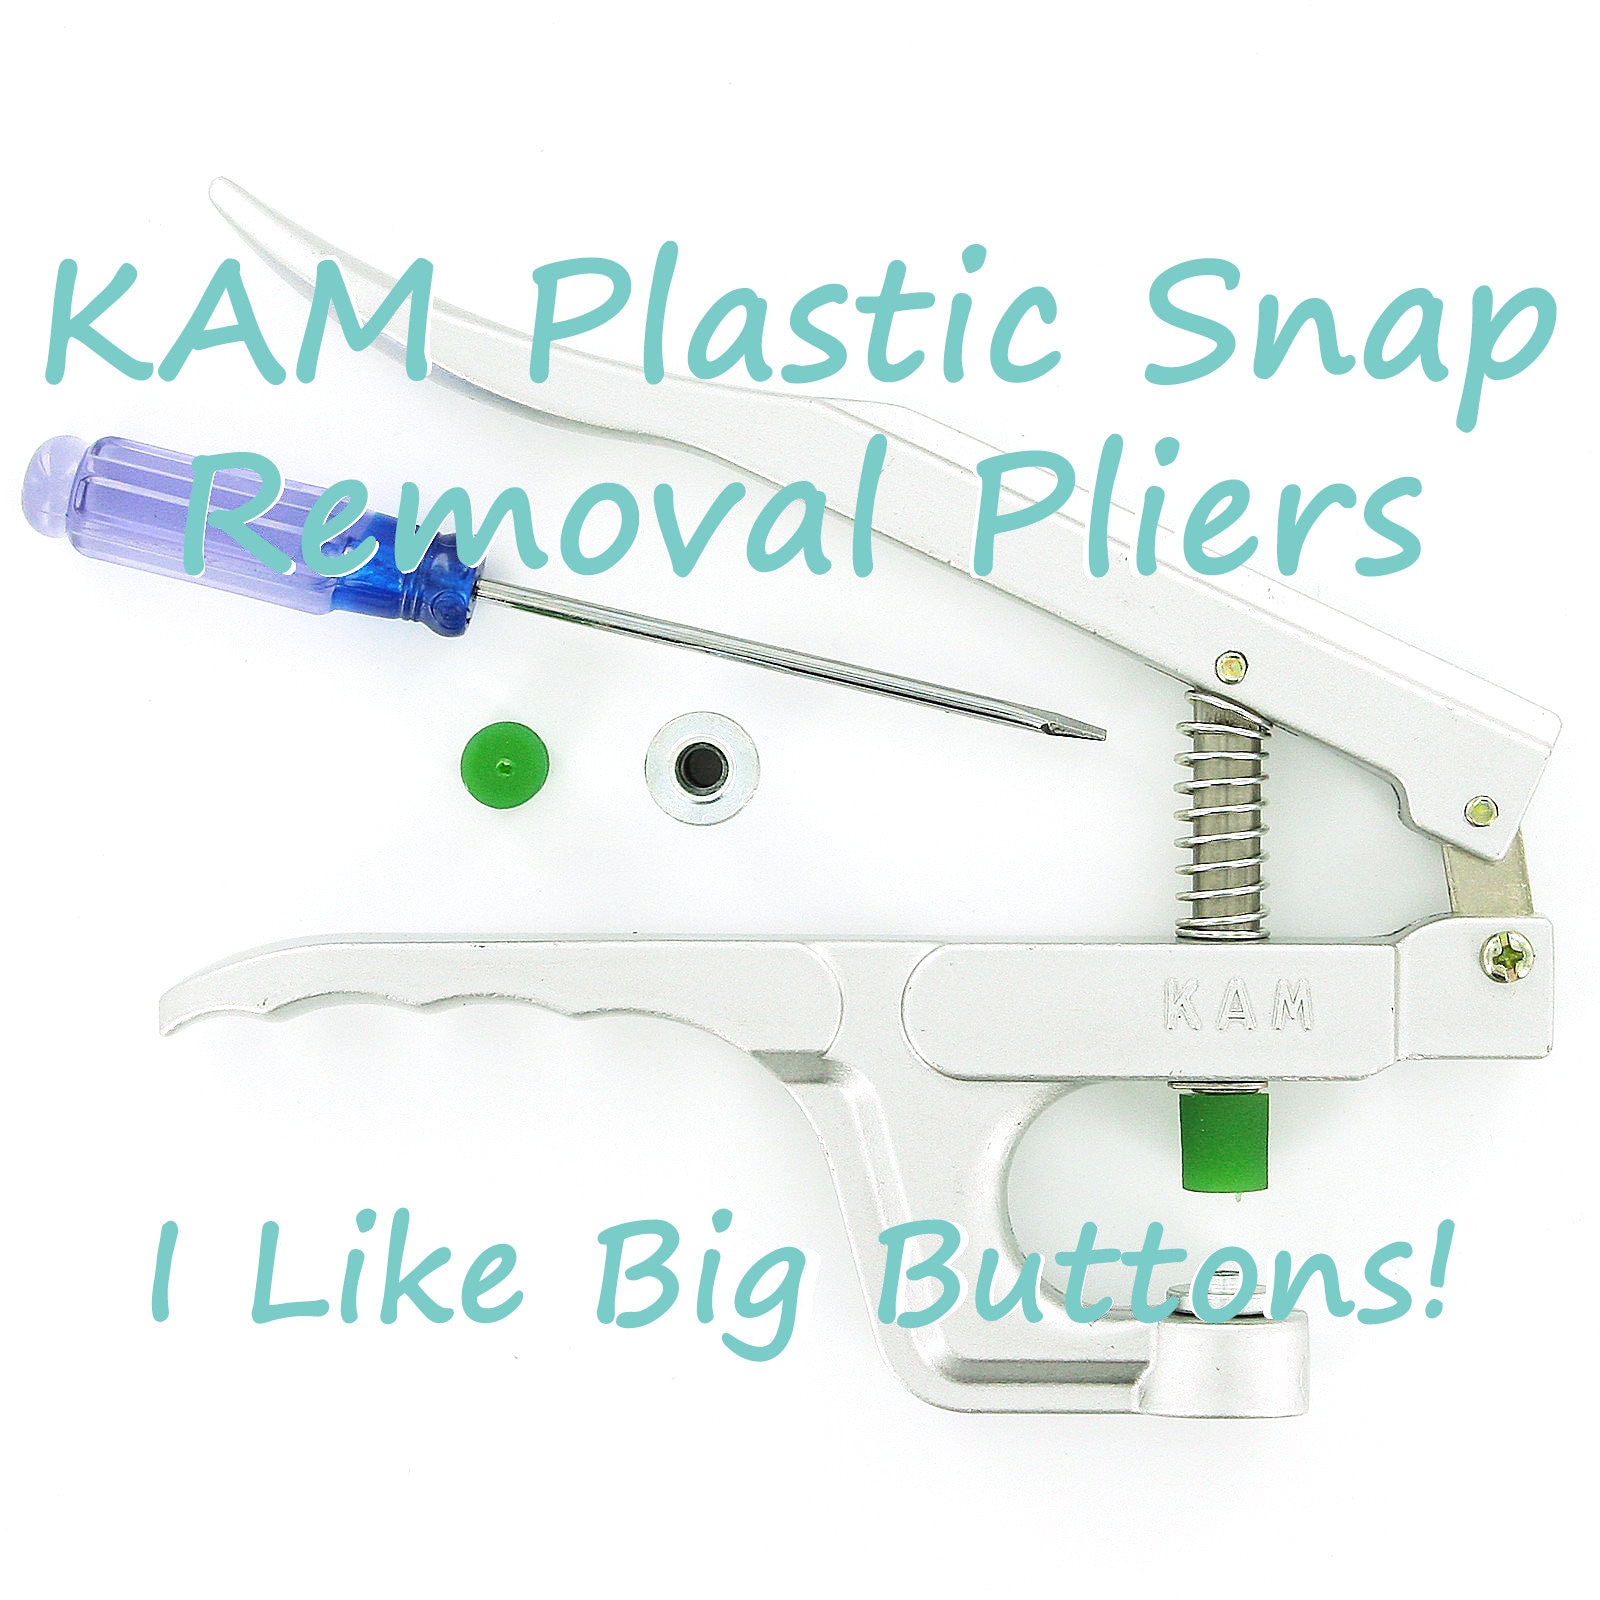
Specialized tools are made to remove snap fasteners cleanly. A snap fastener removal tool has a thin, pointed tip to pry snaps. It minimizes fabric damage. A seam ripper can cut threads around the snap. Some kits include pliers designed to open snaps safely. These tools speed up the process and protect your clothes. They are best for frequent or careful removal.
Safety Tips
Removing plastic snap fasteners requires care to avoid injuries. Follow safety tips to protect yourself and work efficiently. These tips help prevent cuts and accidents during the process.
Protecting Your Hands
Wear gloves to shield your hands from sharp edges. Use gloves made for crafting or light work. Avoid loose gloves that can get caught in tools. Keep your fingers clear of the snap fastener while removing it. This reduces the risk of pinching or cuts.
Working In A Safe Space
Choose a clean, well-lit area for the task. A tidy workspace helps you focus and prevents accidents. Use a flat, stable surface to keep tools steady. Keep children and pets away to avoid distractions. Proper lighting improves visibility and precision.
Identifying Snap Types
Identifying the type of plastic snap fastener is the first step to removing it properly. Different snaps have different shapes and attachments. Knowing these details helps prevent damage to your fabric or item. This section explains common snap types and how they are fixed in place.
Plastic Snap Variations
Plastic snaps come in several designs. Some have smooth, rounded tops. Others feature ridges or patterns for better grip. The size also varies, from tiny snaps for baby clothes to larger ones for bags.
Some snaps are made of hard plastic. Others use softer, flexible plastic. The material affects how easy they are to remove. Watch the color too. Some snaps match the fabric, while others contrast sharply.
How Snaps Are Attached
Plastic snaps attach to fabric in two main ways. One method pushes snap parts through the fabric layers. Then the parts lock together by pressure. This method uses no glue or stitching.
Another way uses a small ring or stud to hold the snap. This ring squeezes the snap parts tightly. Sometimes, snaps have tiny prongs that pierce the fabric. These prongs bend back inside the fabric to hold the snap firmly.

Credit: kamsnaps.com
Step-by-step Removal
Removing plastic snap fasteners can be simple with the right steps. Taking your time prevents damage to fabric or other materials. This guide breaks down each step clearly and carefully.
Loosening The Snap
Begin by finding the edge of the snap fastener. Use a small flat tool like a flathead screwdriver. Gently wiggle the tool under the snap’s edge. Work slowly to loosen the grip without tearing fabric. Repeat this process around the snap if needed.
Prying The Snap Open
Once loose, carefully pry the snap apart. Use steady, gentle pressure to avoid breaking the snap. Move the tool around the snap to open it evenly. Avoid forcing the snap open quickly. This keeps the fabric and snap in good condition.
Removing The Snap Cleanly
After opening, pull the snap away from the fabric gently. Check for any threads or glue holding it in place. Cut or separate these carefully with scissors or tweezers. Clean the area to remove any leftover adhesive or debris. This ensures a smooth surface for reattachment or repair.
Handling Stubborn Snaps
Stubborn plastic snap fasteners can be tough to remove. They resist simple pulling or prying. Patience and the right methods help ease the process. Using heat or lubricants can soften or loosen the snap. These techniques reduce damage risk to fabric or plastic parts. Here are two effective ways to handle stubborn snaps.
Using Heat For Softening
Heat helps make plastic snaps more flexible. A hairdryer is a safe tool for this. Warm the snap for about 30 seconds. Avoid overheating to protect the fabric or plastic. Gently try to pull the snap apart after warming. The softened plastic moves more easily. Repeat warming if the snap stays tight. Heat works best on cold, stiff snaps.
Applying Lubricants
Lubricants reduce friction between snap parts. A small amount of oil or soap works well. Use a cotton swab to apply lubricant carefully. Focus on the edges and crevices of the snap. Wait a few minutes to let it seep in. Try to open the snap gently with pliers or fingers. Clean the snap area after removal to avoid stains. Lubricants help free stuck snaps without breaking them.
Credit: www.etsy.com
Repairing Fabric After Removal
Removing plastic snap fasteners can leave marks or small holes in fabric. Repairing these areas helps keep your clothes or items looking neat. Fixing the fabric also makes it stronger and ready for new fasteners or other uses.
Fixing Small Holes
Small holes appear after removing snap fasteners. Use a needle and matching thread for sewing. Stitch around the hole gently to close it. Avoid pulling the thread too tight. This keeps the fabric smooth and prevents puckering.
For very tiny holes, fabric glue works well. Apply a small drop under the hole. Press the fabric together and let it dry. This method works fast and keeps the fabric intact.
Reinforcing Weak Areas
Some fabric parts become thin or weak after fastener removal. Add a small patch on the inside of the fabric. Use a similar material and sew it in place. This strengthens the area and prevents new holes.
Iron-on patches also help reinforce weak spots. Place the patch inside and follow the instructions. This method is easy and saves time. Strong fabric lasts longer and holds new fasteners better.
Replacing Snap Fasteners
Replacing snap fasteners is an important step after removing old or broken snaps. It keeps clothes and accessories functional and neat. Choosing the right new snaps and installing them correctly ensures they last long and work well. Follow simple steps to replace snaps easily.
Choosing New Snaps
Select snaps that fit the fabric type and thickness. Plastic snaps come in different sizes and colors. Pick snaps that match or blend with the item’s style. Consider durability; some snaps hold better on thick or heavy materials. Avoid snaps that are too small or large for your project.
Installing New Fasteners
Mark the spot where the snap will go. Use a snap tool or pliers for installation. Place the snap parts on each side of the fabric carefully. Press firmly to secure the snap without damaging the material. Test the snap by opening and closing it a few times. Adjust if needed to make sure it fits snugly and works smoothly.
Preventing Future Damage
Preventing future damage to plastic snap fasteners helps keep clothes and accessories in good shape. Small care steps extend the life of these fasteners. Avoiding rough use and regular checks saves time and money.
Proper Use And Care
Always snap fasteners gently. Avoid pulling or forcing them open. Use both hands to open snaps smoothly. Keep fasteners dry to stop rust or corrosion. Store items with snaps in a flat position. Avoid heavy pressure on the snaps during storage.
Regular Maintenance Tips
Check snap fasteners often for loose parts. Tighten or replace fasteners showing signs of wear. Clean snaps with a soft cloth to remove dirt. Use mild soap and water for stubborn grime. Dry snaps completely after cleaning to prevent damage. Regular care keeps snaps working well longer.

Credit: www.youtube.com
Frequently Asked Questions
How Do You Safely Remove Plastic Snap Fasteners?
Use a small flathead screwdriver or seam ripper to gently pry open the snap. Work slowly to avoid fabric damage. Heat the area slightly with a hairdryer for easier removal if needed.
What Tools Are Best For Removing Snap Fasteners?
A flathead screwdriver, seam ripper, or small pliers work best. These tools allow precise control to avoid tearing fabric or breaking snaps.
Can Heat Help In Removing Plastic Snap Fasteners?
Yes, warming the snap with a hairdryer softens plastic and adhesives. This makes prying the fastener off easier without damaging the material.
Will Removing Snap Fasteners Damage My Fabric?
If done carefully, no. Always work slowly and use proper tools. Applying heat can also reduce fabric stress during removal.
Conclusion
Removing plastic snap fasteners can be quick and simple. Use the right tools to avoid damage. Take your time and work carefully. Small steps help keep your fabric safe. Practice on old clothes if you want. Soon, you will feel more confident.
This skill saves money and frustration. Try these tips next time you sew. Snap fasteners won’t be a problem anymore. Easy and neat removal is possible for everyone.


