Are you struggling to remove a stubborn drive fastener? You’re not alone.
These small but tricky parts can hold you back from completing your project quickly and easily. But don’t worry—this guide will show you simple, effective steps to get that fastener out without damaging your equipment or wasting time. Keep reading, and you’ll gain the confidence to handle drive fasteners like a pro, saving you frustration and effort on every job.

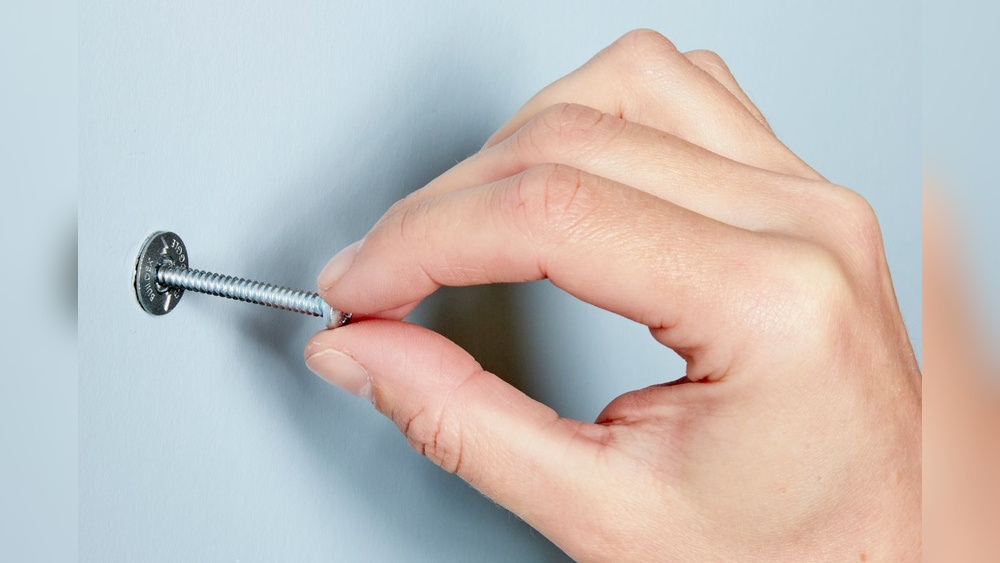
Credit: helpcenter.ameriwoodhome.com
Types Of Drive Fasteners
Drive fasteners hold parts tightly together. They come in many types. Each type has unique features for different uses. Knowing these types helps remove them safely and easily.
Fasteners vary by material and design. These two factors affect how you remove and replace them. Understanding these details makes your work faster and better.
Common Fastener Materials
Most drive fasteners are made from metal. Steel is the most common material. It is strong and resists wear. Stainless steel fasteners resist rust and corrosion. Brass fasteners offer good electrical conductivity. Aluminum fasteners are light but less strong. Plastic fasteners are used for light loads and easy removal. The material affects the tool you choose and removal method.
Popular Fastener Designs
Fasteners come in many head shapes. The flat head has a simple straight slot. Phillips heads have a cross shape for better grip. Torx fasteners feature a star pattern for higher torque. Hex heads require wrenches or sockets. Some fasteners have security designs to prevent tampering. Each design needs specific tools for removal. Knowing the design helps avoid damage to fasteners and tools.
Tools Needed For Removal
Removing a drive fastener requires the right tools. Using proper tools makes the process safer and faster. Some tools are common in every toolbox. Others are designed for specific fasteners and jobs. Knowing what tools to have helps avoid damage and saves time.
Basic Hand Tools
Start with simple hand tools. A flathead screwdriver helps pry open clips and covers. A Phillips screwdriver fits most screws on fasteners. Needle-nose pliers grip small parts tightly. A wrench or socket set loosens nuts and bolts. These tools cover many fastener types.
Specialized Equipment
Some fasteners need special tools. A trim removal tool removes plastic clips without damage. A fastener extractor pulls out stubborn or broken fasteners. A torque wrench tightens fasteners to the right pressure. These tools protect parts and ensure proper removal.
Preparing For Removal
Preparing to remove a drive fastener is an important first step. It helps avoid mistakes and keeps you safe. Taking time to prepare makes the process smoother. Careful setup prevents damage to parts and tools. Follow clear steps to get ready for removal.
Safety Precautions
Wear safety glasses to protect your eyes from debris. Use gloves to keep your hands safe from sharp edges. Make sure tools are in good condition before use. Avoid loose clothing or jewelry that can get caught. Work in a well-lit area to see clearly. Keep a first aid kit nearby just in case.
Workspace Setup
Clear the area of unnecessary items to avoid clutter. Use a sturdy table or workbench for stability. Organize your tools within easy reach. Lay out a cloth or mat to catch small parts. Ensure good lighting to prevent mistakes. Keep a container ready to hold removed fasteners safely.
Step-by-step Removal Process
Removing a drive fastener is a simple task when you follow clear steps. The process helps you avoid damage and saves time. This guide breaks down each part into easy actions. Just follow along carefully.
Locating The Fastener
First, find the exact spot of the drive fastener. It may be hidden under covers or panels. Use a flashlight to see better. Check all edges and corners. Knowing the location helps plan your next move.
Choosing The Right Tool
Select the tool that fits the fastener type. Common tools include screwdrivers, pliers, or socket wrenches. Pick one that matches the size and shape. Using the wrong tool can cause damage. A proper fit makes removal easier and safer.
Loosening The Fastener
Turn the fastener slowly in the correct direction. Usually, this means turning counterclockwise. Apply steady pressure without forcing it. If it moves, continue until it loosens completely. Stop if you feel resistance to avoid stripping.
Removing Stubborn Fasteners
Stuck fasteners need extra care. Spray some lubricant on the fastener. Let it sit for a few minutes. Tap gently around the fastener to break rust or dirt. Use a tool with good grip to try loosening again. Patience is key to avoid damage.
Tips For Speedy Removal
Removing a drive fastener quickly saves time and effort. Small tricks help the process run smoothly. Using the right tools and techniques is key. Here are some tips for speedy removal.
Using Lubricants
Apply lubricant to loosen stuck fasteners. Spray a small amount and wait a few minutes. The lubricant reduces friction and makes turning easier. Avoid using too much to prevent mess. WD-40 or penetrating oil works well in most cases.
Applying Correct Pressure
Press firmly but gently while turning the fastener. Too little pressure causes slipping. Too much can strip or break it. Use steady, even force for best results. Use tools that fit the fastener snugly to improve grip.
Avoiding Common Mistakes
Do not rush and force the fastener too hard. Avoid using the wrong size tool. Do not twist fasteners in the wrong direction. Keep the work area clean to see clearly. These small errors can cause delays and damage.
Handling Damaged Fasteners
Handling damaged fasteners requires care and the right approach. Damaged fasteners can be tough to remove. They may strip, rust, or break, making the job tricky. Taking time to assess the damage helps in choosing the best removal method.
Assessing Damage
Start by checking how badly the fastener is damaged. Look for stripped heads, rust, or cracks. Use a flashlight to see clearly. Test if the fastener still turns with a screwdriver or wrench. Note if it moves at all or is stuck tight. This step guides which tools and methods to try next.
Alternative Removal Methods
When standard tools fail, try other ways to remove the fastener. Use pliers to grip and twist if the head is stripped. A rubber band can help add grip between the tool and fastener. Heat the fastener slightly to loosen rust bonds. Try tapping it gently with a hammer to break rust. As a last resort, drill out the fastener carefully. Always work slowly to avoid further damage.
Post-removal Care
After removing a drive fastener, taking care of the area is very important. This step helps keep the parts safe and ready for the next use. Proper post-removal care also prevents damage and makes sure everything fits well later.
Inspecting The Area
Check the spot where the fastener was removed. Look for any cracks, dirt, or damage. Clean the area gently using a soft cloth or brush. Make sure no pieces of the old fastener remain. This keeps the area safe and ready for the new fastener.
Preparing For Replacement
Choose a new fastener that matches the old one. Check the size and type carefully. Clean the new fastener before use to remove dust or grease. Align it properly with the hole or slot. This helps the fastener fit securely and work well.

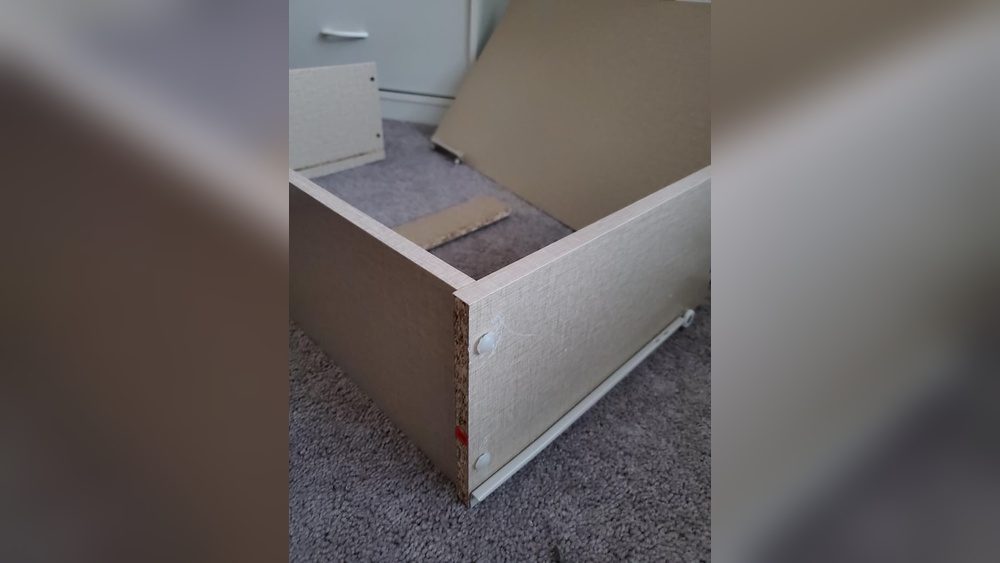
Credit: www.reddit.com

Credit: www.reddit.com
Frequently Asked Questions
What Tools Do I Need To Remove A Drive Fastener?
You need a flathead screwdriver, pliers, and a trim removal tool. These tools help loosen and safely pry out the fastener without damage. Using the right tools ensures a smooth removal process and protects surrounding parts from scratches or breaks.
How Can I Safely Remove A Plastic Drive Fastener?
Use a trim removal tool or flathead screwdriver to gently pry under the fastener’s head. Apply steady pressure and avoid forcing it. This method prevents the fastener from breaking and protects your vehicle’s surface from damage during removal.
Can I Reuse Drive Fasteners After Removal?
Most drive fasteners can be reused if undamaged. Inspect for cracks or breaks before reuse. If the fastener is brittle or deformed, replace it to ensure secure fastening and prevent future issues with loose parts or rattling.
What Common Mistakes Should I Avoid When Removing Fasteners?
Avoid using excessive force or improper tools, which can break or damage fasteners. Don’t pry at the wrong angle to prevent scratching surfaces. Taking your time and using the correct tools ensures safe, effective removal without damaging parts.
Conclusion
Removing a drive fastener is simple with the right steps. Use the proper tools to avoid damage. Work carefully and take your time. Check the fastener type before starting. Small efforts lead to smooth removal. Practice improves your skill and speed.
Keep safety in mind during the process. Now, you can handle drive fasteners with confidence.