Are you ready to upgrade your cabinets with new hardware but unsure which drill bit size to use? Choosing the right drill bit is key to a smooth, professional-looking installation that won’t damage your cabinets.
If you pick a bit that’s too big, your hardware will be loose; too small, and you risk splitting the wood or struggling to fit the screws. In this guide, you’ll discover exactly what size drill bit you need for installing cabinet knobs and pulls.
Plus, you’ll learn easy tips to drill perfect holes every time, even if this is your first DIY project. Keep reading to make your cabinet hardware installation fast, precise, and frustration-free!
Credit: prettyhandygirl.com
Choosing Drill Bit Size
Choosing the right drill bit size is key to installing cabinet hardware smoothly. The drill bit must fit the screw perfectly. Too large, and the hardware won’t hold tight. Too small, and the wood may split. This section explains how to pick the best drill bit size for your cabinet knobs and pulls.
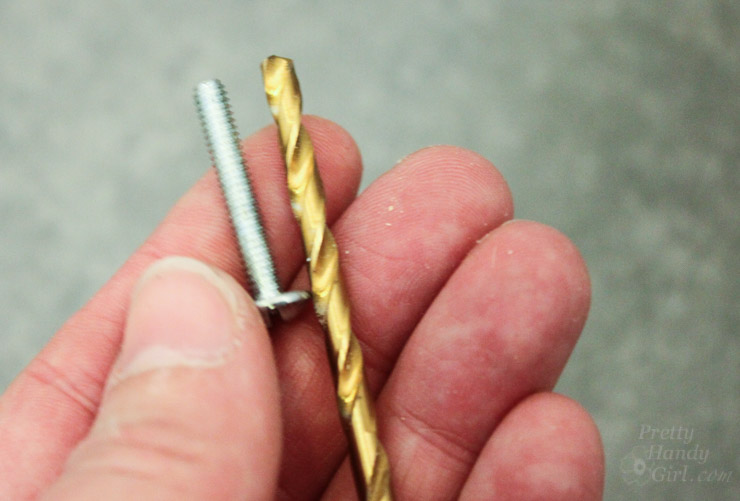
Match Bit To Screw Diameter
Start by checking the screw diameter. Use a drill bit that matches this size. Measure the screw’s thickest part with a ruler or caliper. The drill bit should be slightly smaller than the screw’s diameter. This helps the screw grip the wood firmly without cracking it.
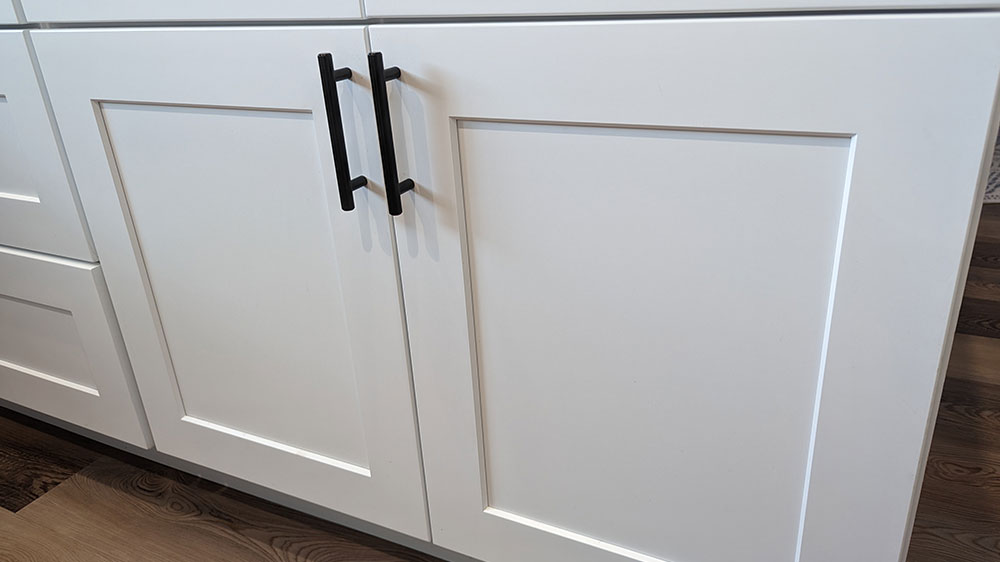
Common Sizes For Knobs And Pulls
Most cabinet knobs use screws around 8-32 size, needing a 3/16 inch drill bit. Pull handles often use longer screws but still fit a 3/16 inch bit. Some specialty hardware may require 1/8 inch or 1/4 inch bits. Check the hardware package for exact screw size before drilling.
Using The One Third Rule
The one third rule helps pick the right pull length for drawers and cabinets. The screw should go into the wood about one third of the drawer or door’s thickness. This means the drill hole depth must match the screw length. Measure carefully to avoid drilling too deep or too shallow.
Credit: www.superiorstoneandcabinet.com
Measuring And Marking
Measuring and marking are crucial steps before drilling holes for cabinet hardware. Accurate measurements ensure the hardware fits perfectly and looks balanced. Taking your time to mark spots clearly prevents mistakes and saves effort later. Use the right tools and methods for best results.
Finding The Center For Drawers
Start by measuring the width of the drawer front. Divide this number by two to find the center point. Next, measure the height and divide by two as well. Mark the center with a pencil for a clear spot. This ensures the handle or knob sits evenly on the drawer.
Measuring Doors From Hinges
Measure the distance from the edge of the door to the center of the hinge. Use this measurement to decide where the hardware should go. Mark the spot along the door edge opposite the hinge side. This placement helps the hardware look balanced and easy to use.
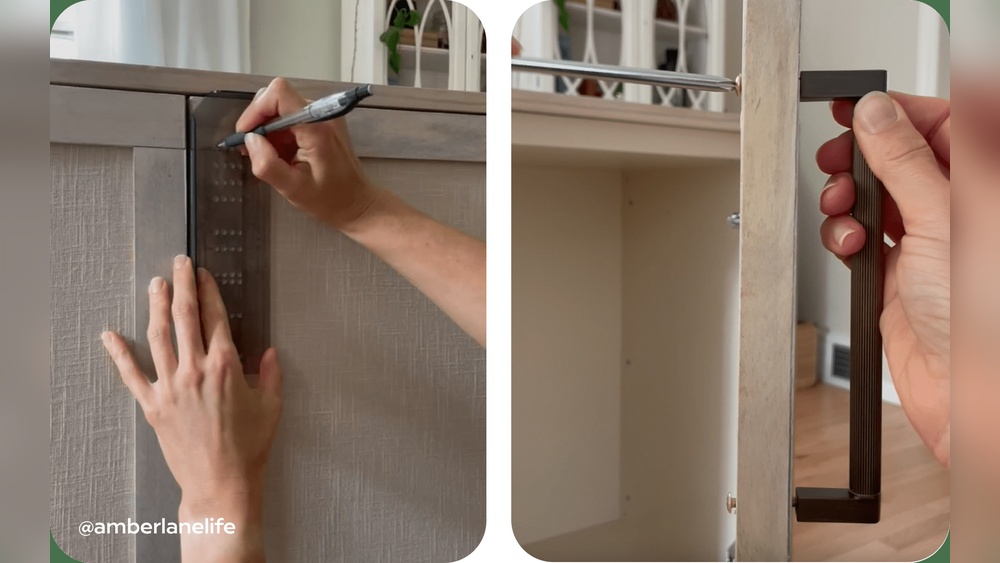
Using Templates And Jigs
Templates and jigs simplify marking multiple cabinets. They provide consistent hole placement across doors and drawers. Place the jig on the cabinet surface and mark through the guide holes. This method reduces errors and speeds up installation. Templates are handy for matching hardware positions perfectly.
Preparing To Drill
Preparing to drill is a key step before installing cabinet hardware. It sets the stage for accurate and clean holes. Proper preparation reduces mistakes and damage. Follow simple steps to get ready and make the job easier.
Applying Painter’s Tape
Start by placing painter’s tape over the drilling spot. It helps prevent the wood from splintering. The tape also keeps the drill bit from slipping. Mark the hole position on the tape with a pencil. This simple trick ensures a neat and precise hole.
Checking For Obstacles
Look inside the cabinet to find any obstacles behind the drilling spot. Watch out for screws, nails, or electrical wires. Use a stud finder or flashlight to inspect the area. Clearing obstacles prevents drill bit damage and cabinet harm. Safety first, always.
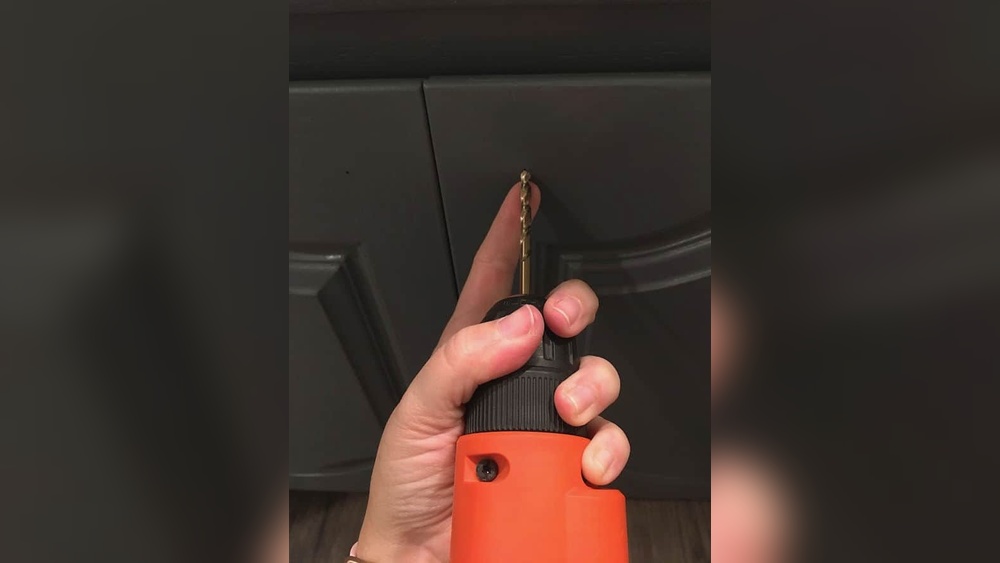
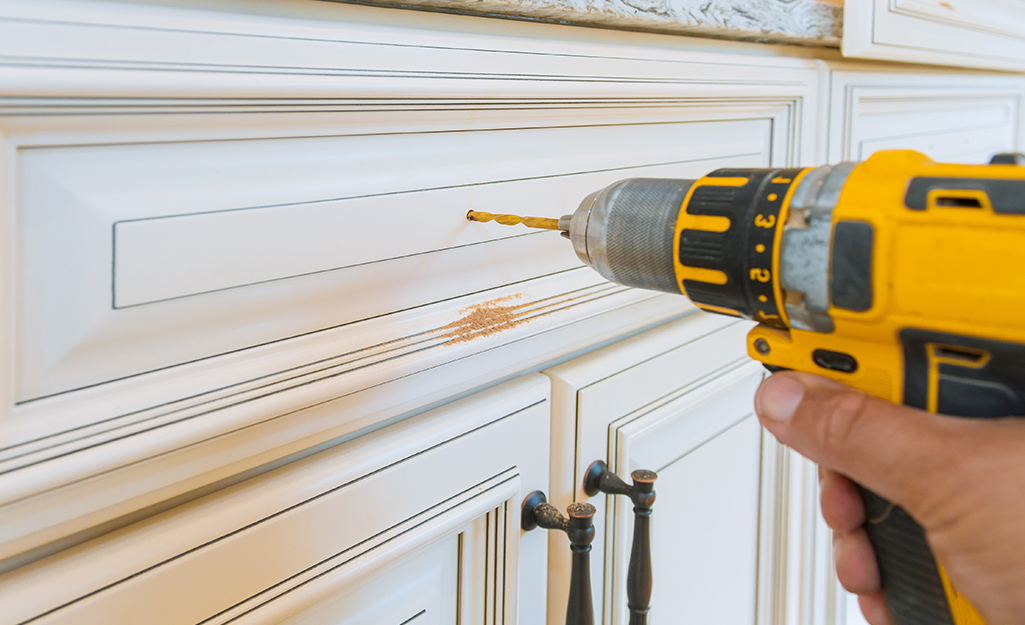
Selecting Sharp Drill Bits
Choose a sharp drill bit that matches the hardware screw size. Dull bits cause rough holes and can split the wood. Use high-quality bits made for wood drilling. Sharp bits make clean holes faster and with less effort. Check the bit before you start drilling.
Credit: www.homedepot.com
Drilling Techniques
Drilling holes for cabinet hardware requires care to avoid damage. Using the right drill bit size helps, but technique matters too. Damage like splintering, blowout, or scratches can ruin your cabinet’s look. Follow simple steps to protect your work and get clean holes every time.
Preventing Splintering And Blowout
Splintering happens when wood fibers tear around the hole. Blowout occurs when the drill breaks through the back surface roughly. To prevent these, use a piece of scrap wood behind the cabinet surface. Drill slowly and steadily to control the bit. A sharp drill bit reduces force and keeps the edges clean.
Protecting Cabinet Surfaces
Cabinet surfaces can scratch or chip during drilling. Place painter’s tape over the spot before drilling. The tape holds wood fibers and stops scratches. Use a soft cloth to wipe off dust after drilling. Clean surfaces keep your hardware installation looking neat and professional.
Choosing The Right Drill Speed
Drill speed affects hole quality and damage risk. Slow speeds work best for hardwood and delicate finishes. Fast speeds can cause heat and burn marks. Match your drill speed to the material and bit size. Steady pressure and moderate speed make clean holes without damage.
Frequently Asked Questions
What Size Drill Bit Do I Use For Cabinet Hardware?
Use a 3/16-inch drill bit for most cabinet hardware installations. Always drill a smaller pilot hole first to prevent wood splintering.
What Is The 1/3 Rule For Cabinet Hardware?
The 1/3 rule for cabinet hardware means placing pulls one-third the distance from the drawer or door edge. This ensures balanced, ergonomic placement and a visually pleasing look.
How To Drill A Hole For Cabinet Hardware?
Measure and mark the hole location accurately. Use painter’s tape to protect the surface. Drill a small pilot hole first. Drill slowly with a sharp bit from front to back. Use a backer block to prevent splintering. Use a cabinet hardware jig for consistent placement.
What Drill Bit For Cabinet Screws?
Use a drill bit matching the cabinet screw diameter, typically 3/16-inch for standard screws. Drill a pilot hole first to prevent wood splitting and ensure precise screw placement.
Conclusion
Choosing the right drill bit size makes cabinet hardware installation easier. Use a drill bit that matches the screw size. A 3/16-inch bit works well for most handles and knobs. Always measure and mark carefully before drilling. Protect your cabinet surface with painter’s tape to avoid damage.
Start with a smaller pilot hole to keep the wood from splitting. Using a hardware jig or template helps keep holes straight and even. With these simple steps, your cabinet hardware will fit perfectly every time. Take your time, and your project will look great.