If you’re planning to upgrade your outdoor space with Trex decking, you want it to look flawless and last for years. Installing Trex decking with hidden fasteners is the best way to achieve a clean, professional finish without visible screws or nails.
But how exactly do you do it right? In this guide, you’ll discover step-by-step instructions on how to install Trex decking using hidden fasteners, just like the pros do—plus, you’ll find helpful YouTube videos that make the process easy to follow.
Whether you’re a DIY enthusiast or tackling your first deck project, this article will give you the confidence and know-how to create a stunning deck you’ll love. Keep reading to learn the secrets to a smooth, hidden fastener installation that will transform your deck from ordinary to extraordinary.
Credit: blog.advantagelumber.com
Trex Decking Basics
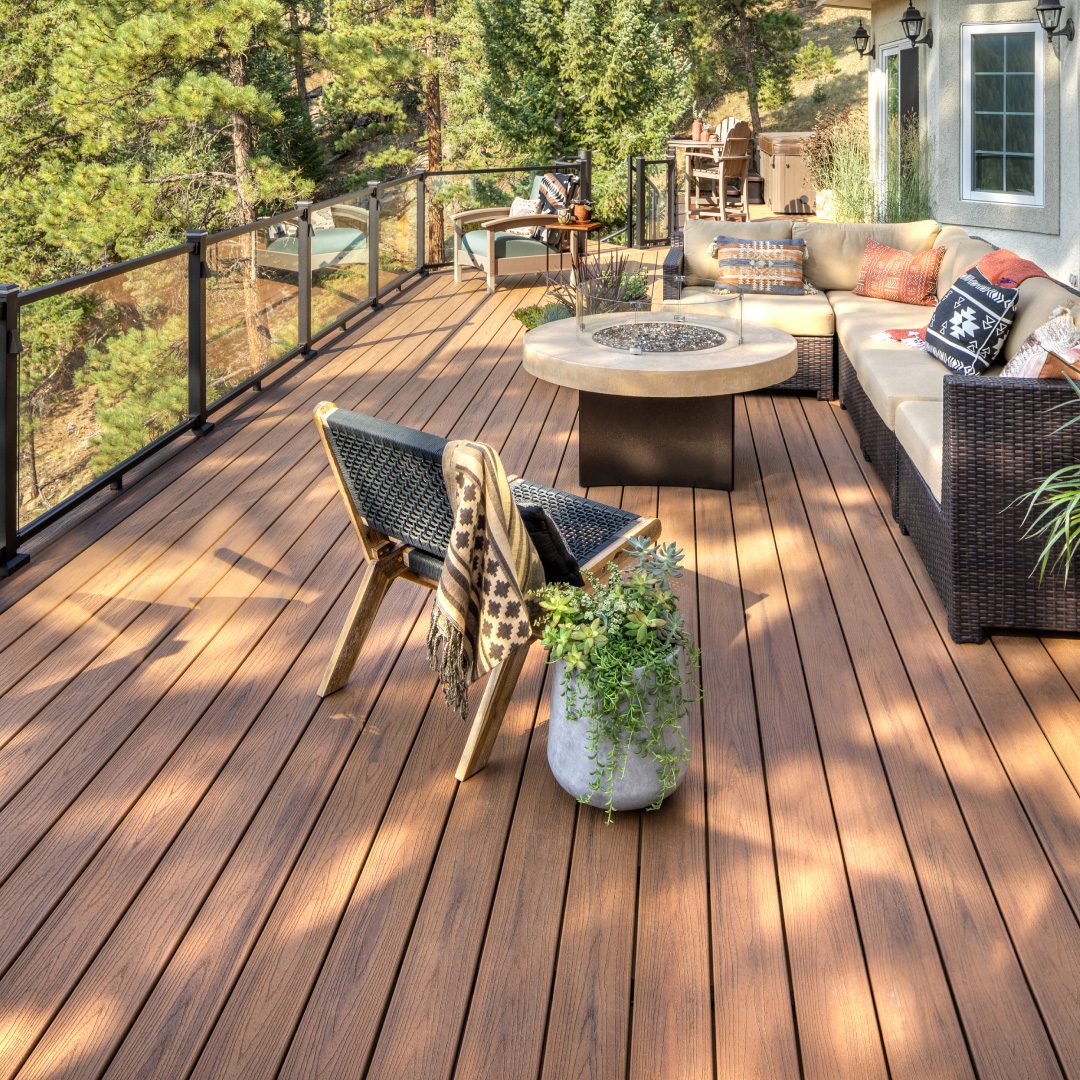
Trex decking offers a strong, low-maintenance option for outdoor spaces. It mimics the look of natural wood but lasts longer. Installing Trex decking with hidden fasteners creates a smooth, clean surface without visible screws.
Understanding the material and fastener benefits helps you achieve a professional finish. The right approach ensures durability and an attractive deck appearance. Let’s explore the key features of Trex decking material and hidden fasteners.
Material Features
Trex decking is made from a mix of wood fibers and plastic. This combination resists rot, mold, and insect damage. The boards have a textured surface that feels like real wood. Trex comes in various colors and styles to match any design.
The decking resists fading and staining, keeping its look for years. It requires no painting or sealing, saving time and money. Trex boards also expand and contract with temperature changes, so proper spacing is important during installation.
Benefits Of Hidden Fasteners
Hidden fasteners attach the decking boards from the sides, leaving no screws on top. This method creates a sleek, clean deck surface that is easy to walk on. It also prevents screw heads from loosening or corroding over time.
The fasteners allow for natural board movement and proper spacing. This reduces the risk of warping and buckling. Hidden fasteners improve the deck’s overall appearance and make maintenance simpler.
Using hidden fasteners can speed up installation. They fit snugly and securely into the board grooves. This system works best with grooved Trex boards designed for hidden fastening.
Choosing Hidden Fasteners
Choosing the right hidden fasteners is key to a smooth Trex decking installation. These fasteners keep the deck boards securely in place without visible screws or nails. This results in a clean, modern look that many homeowners prefer. Selecting the correct fastener depends on the type of Trex boards and the design of the deck.
Hidden fasteners also allow for natural expansion and contraction of the composite boards. Proper spacing and fastening help avoid warping or buckling over time. Let’s explore the types of hidden fasteners and their compatibility with Trex decking.
Types Of Fastener Systems
Several hidden fastener systems work well with Trex decking. One popular option is the Trex Hideaway® clip system. This clip fits into the grooves on the sides of Trex boards. It locks the boards to the joists without any screws on the surface.
Another choice is the CAMO® Hidden Fasteners. These use a wedge design that secures the boards tightly. The system is easy to install and creates consistent gaps between boards.
Some fasteners require pre-drilling or special tools, while others snap into place. Choose a system that matches your skill level and project size. Also, consider fasteners made from corrosion-resistant materials for durability.
Compatibility With Trex Boards
Not all hidden fasteners fit every Trex board type. Trex grooved boards are designed to work with clip systems that fit into the grooves. These fasteners create a seamless look and allow the boards to expand naturally.
For solid-edge boards without grooves, hidden fasteners may be limited or need special adapters. Some fasteners only work with grooved boards, so check your board type before buying.
Always follow Trex’s installation guidelines. Using compatible fasteners ensures the deck’s strength and appearance last for years. Incorrect fasteners can cause damage or void warranties.
Required Tools And Materials
Installing Trex decking with hidden fasteners requires specific tools and materials. Having the right items ensures a smooth, secure, and clean installation. This section covers the essential fasteners, clips, and tools needed for the project.
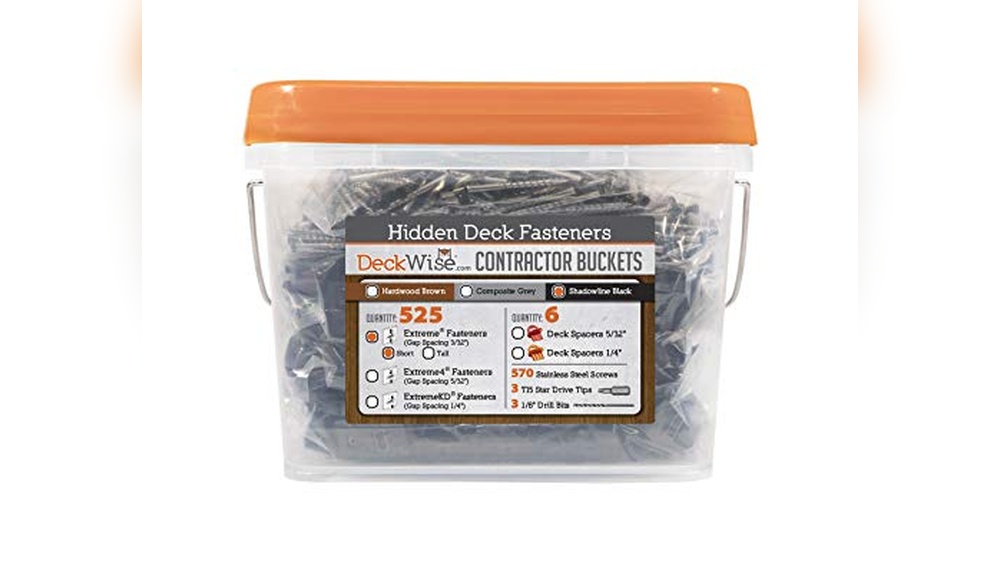
Fasteners And Clips
Hidden fasteners keep the deck surface smooth and free of visible screws. Trex Hideaway clips are the common choice for grooved boards. They lock the boards firmly while allowing for natural expansion and contraction.
Use stainless steel or coated screws designed for composite decking. These resist rust and corrosion, extending your deck’s life. Choose the right clip size and type based on your Trex board model and thickness.
Installation Tools
Prepare a power drill with a clutch setting to avoid overdriving screws. A square or chalk line helps keep boards straight and aligned. Use a tape measure for accurate spacing and cuts.
A saw with fine teeth, like a miter or circular saw, cuts the boards cleanly. A rubber mallet assists in positioning clips without damage. Safety gear such as gloves and eye protection is essential.
Credit: www.moistureshield.com
Preparing The Deck Frame
Preparing the deck frame is the first step to a strong, long-lasting Trex deck. The frame must be solid and even to support the decking boards. This step helps avoid future problems like warping or uneven boards. Proper preparation makes the hidden fastener installation easier and ensures a clean look. Take time to check every part of the frame before starting.
Checking Frame Alignment
Check that all joists are straight and level. Use a carpenter’s level to find any dips or bumps. Adjust the joists so they line up perfectly. Misaligned joists cause decking boards to sit unevenly. Also, inspect for any loose or damaged wood. Replace or tighten these parts before moving on. A well-aligned frame supports the decking evenly.
Spacing Guidelines
Correct spacing between joists is critical for Trex decking. The usual distance is 16 inches on center. This spacing supports the boards and hidden fasteners properly. Follow Trex’s specific guidelines for your product type. Leave space for expansion and contraction of the boards. Too little space causes buckling; too much leads to weak support. Always measure carefully and maintain consistent spacing throughout the frame.
Installing Trex Boards
Installing Trex decking boards requires attention to detail and the right tools. Using hidden fasteners gives your deck a clean, smooth look without visible screws. Follow each step carefully to ensure a strong, long-lasting deck surface.
Proper installation helps prevent damage and keeps the boards secure through weather changes. Learn how to set the first board, use hidden fasteners correctly, and maintain proper gaps for best results.
Setting The First Board
Start by placing the first Trex board along the edge of your deck frame. Align it straight and leave a small gap between the board and any wall or solid surface. This gap allows the board to expand in heat. Secure the board with screws at the ends and every 16 inches along the joist.
Make sure the board is level and tight against the frame. This first board sets the foundation for all others, so take time to position it correctly. Double-check measurements before moving on.
Using Hidden Fasteners Correctly
Hidden fasteners clip into the grooves on the side of each Trex board. Place the fastener on the joist and slide the next board into the clip. Secure the fastener with screws through the joist. This holds the boards tightly without visible screws on top.
Use the right fasteners designed for your Trex board style. Avoid forcing the boards, which can cause damage. Install fasteners every 12 to 16 inches for strong support. Hidden fasteners create a smooth, clean deck surface.
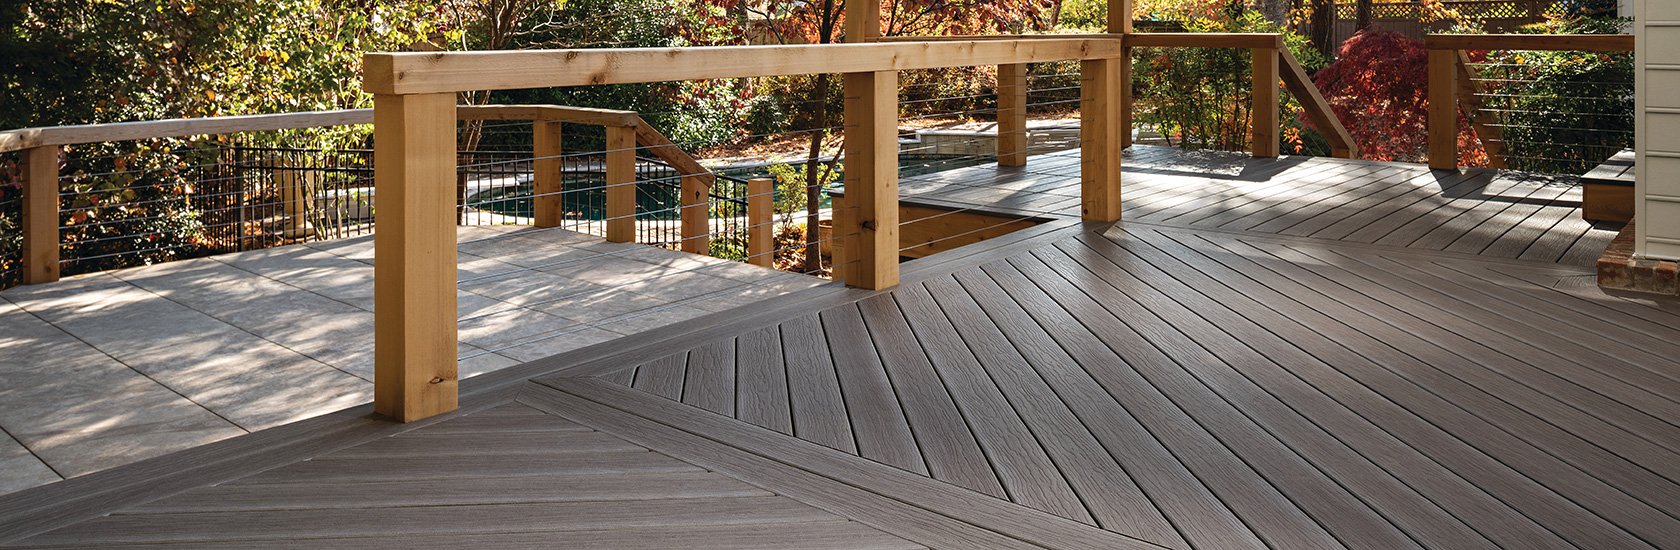
Maintaining Proper Gaps
Gaps between Trex boards are essential for water drainage and expansion. Leave a 1/4 inch gap width-wise between boards. Keep end-to-end gaps at about 1/8 inch. At solid objects like walls, leave a 1/4 inch gap to avoid buckling.
Check gaps regularly during installation to keep them consistent. Uneven gaps cause problems with deck stability and appearance. Follow manufacturer guidelines for gap sizes specific to your product and climate.
Edge And Trim Installation
Edge and trim installation is a key step in completing a Trex decking project. It gives the deck a polished, finished look. This step also protects the deck edges from damage and moisture. Proper installation ensures durability and a neat appearance. Pay close attention to how edges and trims are handled. Follow the right fastening methods for a secure fit.
Handling Deck Edges
Start by measuring the deck edges carefully. Cut the Trex boards to fit the exact size. Use a fine-toothed blade to avoid splintering. Smooth the edges with sandpaper for a clean finish. Leave a small gap of about 1/4 inch between the edge and any solid object. This gap allows the boards to expand and contract with temperature changes. Check the manufacturer’s guidelines for spacing details. Proper edge handling prevents warping and extends deck life.
Fastening Trim Pieces
Choose the correct hidden fasteners designed for Trex trim. Position the trim pieces flush with the deck surface. Use a drill to pre-drill holes for screws to avoid splitting the trim. Secure the trim with screws and hidden clips for a clean look. Ensure fasteners are tight but not over-tightened to allow slight movement. Maintain consistent spacing along the trim for a uniform appearance. Proper fastening keeps the trim stable and protects deck edges from wear.
Common Installation Challenges
Installing Trex decking with hidden fasteners offers a clean, modern look. Yet, the process presents challenges that can affect the deck’s durability and appearance. Understanding these common issues helps in achieving a smooth installation and a long-lasting deck.
Dealing With Board Expansion
Trex decking expands and contracts with temperature changes. Leaving proper gaps between boards is essential. Without enough space, boards can press against each other. This causes buckling or uneven surfaces. Use a spacer or follow manufacturer gap guidelines closely. Check spacing often during installation to keep it consistent. Remember, different climates may require different gap sizes.
Avoiding Warping And Buckling
Warping happens when boards twist or bend out of shape. Buckling occurs when boards push up due to pressure. Both problems reduce deck lifespan and safety. Secure boards firmly with hidden fasteners to limit movement. Avoid placing heavy objects on the deck before the boards settle. Also, ensure joists are straight and spaced correctly for strong support. Proper airflow under the deck helps prevent moisture buildup, reducing warping risks.
Maintenance Tips For Longevity
Maintaining your Trex decking properly extends its beauty and lifespan. Regular care keeps the boards looking fresh and prevents damage. Small efforts now save costly repairs later. Focus on cleaning and fastener checks to preserve your deck’s strength and appearance.
Cleaning And Care
Clean your Trex deck at least twice a year. Use a soft broom or blower to remove leaves and dirt. Wash the surface with mild soap and water. Avoid harsh chemicals that can damage the boards.
Scrub gently with a soft brush to remove stains or mildew. Rinse thoroughly with a garden hose. Let the deck dry completely before placing furniture back. This routine prevents mold and maintains the deck’s original color.
Inspecting Fasteners Over Time
Hidden fasteners keep your deck secure but need occasional checks. Look for any loose or damaged clips every six months. Tighten or replace fasteners showing signs of wear or corrosion.
Check the spacing between boards to avoid warping. Proper gaps allow for expansion and contraction with temperature changes. Keeping fasteners in good condition ensures your deck stays stable and safe for years.
Additional Resources
Accessing the right resources helps ensure a smooth Trex decking installation. These extra materials clarify each step and show useful techniques. Visual aids combined with official instructions make the process easier to follow. Below are some valuable resources to guide your hidden fastener installation.
Recommended Youtube Tutorials
YouTube hosts many clear and practical videos on Trex decking installation. These tutorials demonstrate the hidden fastener method step-by-step. Watch experts show how to align boards, secure clips, and maintain spacing. Videos like those from Phoenix Contracting LLC and The DIY Remodel Show offer concise tips. Visual learning helps grasp tricky parts better than text alone. Choose tutorials that match your deck type and toolset.
Official Trex Installation Guides
Trex provides detailed installation guides for every product. These documents explain approved tools, fasteners, and spacing requirements. Following manufacturer instructions avoids warranty issues and improves deck longevity. The guides include diagrams and safety advice for hidden fastener systems. Download the latest version from Trex’s website before starting your project. Keep the guide handy to double-check steps as you work.

Credit: www.youtube.com
Frequently Asked Questions
What Is The Gap Between Trex Boards With Hidden Fasteners?
Maintain a 1/4-inch gap between Trex boards when using hidden fasteners like the Trex Hideaway system. This spacing allows for expansion and prevents buckling. Always follow the manufacturer’s specific guidelines for your product and climate to ensure proper installation and durability.
What Is The Class Action Lawsuit Against Trex Decking?
The class action lawsuit against Trex decking alleges defects like surface flaking, mold, and color fading. It mainly affects western U. S. customers. The settlement offers replacement boards and partial labor cost reimbursement based on deck size.
How Do You Finish The Edges Of Trex Decking?
Finish Trex decking edges by installing matching fascia boards or using Trex edge trim for a clean look. Ensure proper spacing and secure fasteners.
Do Trex Hidden Fasteners Go On Every Joist?
Trex hidden fasteners attach to every joist along grooved deck boards. This ensures secure, even spacing and a clean deck surface.
Conclusion
Installing Trex decking with hidden fasteners creates a sleek, clean look. Follow spacing rules carefully to avoid board warping. Use the right fastener system for your deck type. Watch tutorial videos for step-by-step visual guidance. This method hides screws for a smooth surface.
Regular checks during installation help maintain even gaps. Proper installation ensures your deck lasts longer and looks great. Enjoy your new deck with confidence and pride.