Are you ready to transform your kitchen without a full remodel? Installing kitchen cabinet hardware is one of the easiest and most cost-effective ways to give your space a fresh, stylish look.
Whether you want to upgrade your knobs, handles, or pulls, this simple project can make a big impact. In this guide, you’ll discover clear, step-by-step instructions that anyone can follow—even if you’ve never done it before. Keep reading, and by the end, you’ll have the confidence to tackle this upgrade yourself and enjoy a kitchen that feels brand new.

Credit: www.youtube.com
Tools And Materials Needed
Installing kitchen cabinet hardware needs the right tools and materials. Having everything ready makes the job easier and faster. It also helps avoid mistakes that can damage cabinets or hardware.
This section covers the essential tools and how to pick the right hardware. Follow these tips for a smooth installation process.
Essential Tools
Start with a drill and drill bits for making holes. A screwdriver fits screws perfectly and helps tighten them well. A tape measure ensures accurate placement of handles and knobs. Marking tools like a pencil or awl help mark drilling spots.
A level keeps hardware straight and aligned. Clamps hold cabinet doors steady during work. Safety glasses protect your eyes from dust and small debris. A ruler or straight edge helps measure even distances.
Choosing The Right Hardware
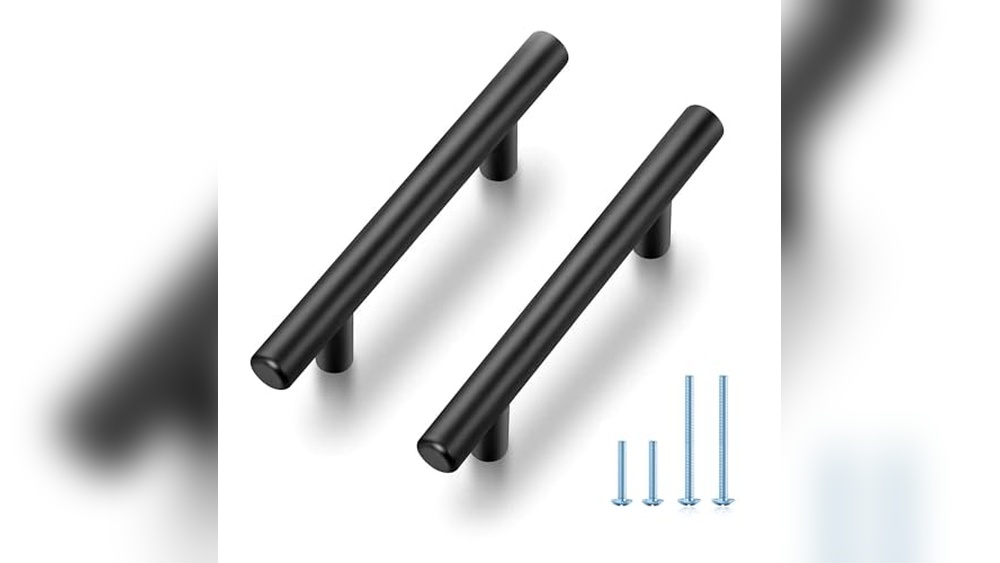
Select hardware that fits your cabinet style and size. Knobs are simple and small, good for drawers and small doors. Pulls offer a better grip for larger cabinet doors.
Check the screw length to match cabinet thickness. Pick finishes that match or complement your kitchen decor. Matte, shiny, or brushed finishes all create different looks.
Consider the hardware shape for comfort and ease of use. Test how each handle feels in your hand before buying. Proper hardware improves both function and kitchen appearance.
Preparing The Cabinets
Preparing the cabinets is a crucial step before installing hardware. It helps ensure a smooth and precise fit. Taking time to clean and check the cabinets makes the installation easier. Proper marking of hardware placement prevents mistakes and saves time later.
Cleaning And Inspection
Start by wiping down all cabinet surfaces. Use a damp cloth to remove dust and dirt. Clean areas where hardware will attach. Check for any damage or loose parts. Tighten screws or fix cracks before moving on. Clean cabinets help hardware stick better and look good.
Marking Hardware Placement
Measure carefully to mark where hardware will go. Use a pencil to make light marks. Check the height and distance for handles or knobs. Use a template if you have one for even spacing. Double-check marks before drilling holes. Proper marking ensures hardware fits straight and works well.
Installing Handles And Pulls
Installing handles and pulls on kitchen cabinets improves both style and function. These small details make cabinets easier to open and give your kitchen a fresh look. The process is simple but requires care to ensure handles are straight and secure. Follow the steps below to install your hardware with precision and ease.
Measuring And Drilling Holes
First, measure the placement for each handle or pull. Use a tape measure or ruler to find the center or desired spot. Mark the holes lightly with a pencil. Double-check your marks to keep handles level across all cabinets.
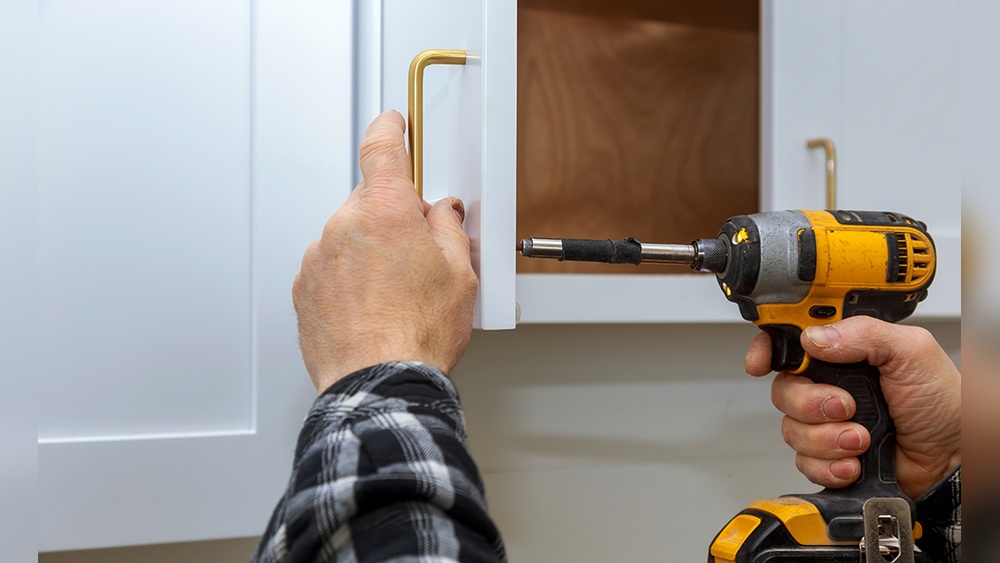
Next, choose a drill bit that matches the screw size. Drill holes carefully on the pencil marks. Drill straight and steady to avoid damaging the cabinet doors. Clean any dust or wood shavings before moving on.
Securing Handles Firmly
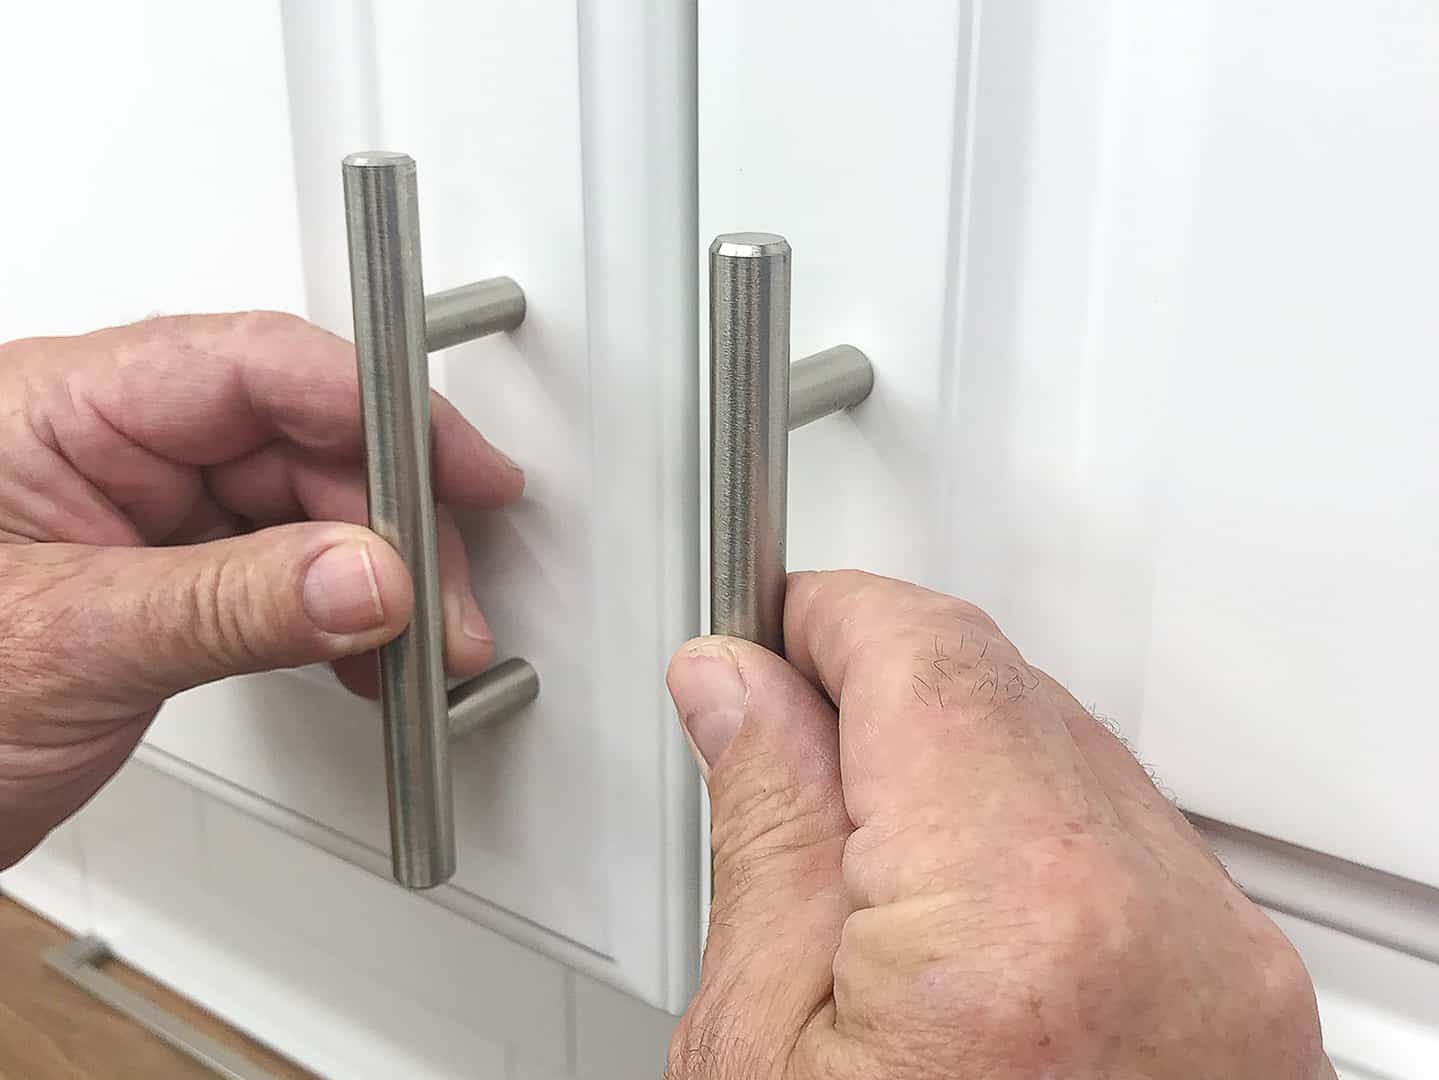
Align the handle or pull with the drilled holes. Insert screws from inside the cabinet door. Tighten screws with a screwdriver until the handle feels snug. Avoid over-tightening to prevent damage to the hardware or door.
Check all handles for firmness. Give them a gentle pull to ensure they hold well. Adjust screws if any handle feels loose. Properly secured handles last longer and improve your kitchen use.
Credit: truepositiontools.com
Attaching Knobs
Attaching knobs to kitchen cabinets is a simple way to upgrade your space. It gives your kitchen a fresh look. The process is quick and does not need special tools. Follow these steps to attach knobs perfectly and make your cabinets easy to use.
Finding The Perfect Spot
Start by choosing where to place the knobs. Usually, knobs go near the cabinet door edge. Measure about two to three inches from the top corner for upper cabinets. For drawers, center the knob horizontally and vertically. Mark the spot with a pencil. This helps keep all knobs even and neat.
Fastening Knobs Correctly
Drill a small hole where you marked. Use a drill bit that fits the screw size. Insert the screw from inside the cabinet door or drawer. Hold the knob on the front side. Tighten the screw with a screwdriver until the knob is firm. Avoid overtightening to protect the cabinet surface.
Adjusting And Aligning Hardware
Adjusting and aligning kitchen cabinet hardware is a key step for a neat look. Proper alignment makes your cabinets look professional and helps the hardware work smoothly. Pay close attention to spacing and level during this process. Small mistakes can affect the whole appearance.
Ensuring Even Spacing
Start by measuring the distance between each handle or knob. Use a ruler or tape measure for accuracy. Mark spots lightly with a pencil before drilling. Keep the spacing consistent across all cabinets. Even spacing creates balance and a clean design.
Check the height of each handle or knob from the cabinet edge. Use a level to make sure all pieces sit straight. Adjust marks as needed before securing the hardware. This step prevents crooked handles and improves function.
Fixing Misalignment Issues
Misaligned hardware looks sloppy and may not work well. Loosen screws slightly to adjust the position. Gently shift the handle or knob until it lines up with others. Tighten screws once aligned correctly.
If holes do not match, fill them with wood filler. Let it dry, then drill new holes in the correct spot. Avoid forcing hardware into wrong positions. This keeps cabinets undamaged and hardware secure.

Credit: smart.dhgate.com
Tips For Different Cabinet Styles
Installing cabinet hardware varies by cabinet style. Each style needs a different approach for the best fit and look. Understanding these differences helps you place handles and knobs correctly. It improves the cabinet’s function and appearance.
Here are tips for three common cabinet styles to guide your installation.
Flat-panel Cabinets
Flat-panel cabinets have smooth, simple doors. These doors often look modern and clean. Use longer screws because the door surface is thin. Place hardware near the edge for easy grip. Avoid drilling too close to the edge to prevent splitting. Measure twice to keep handles level and even.
Inset Cabinets
Inset cabinets have doors set inside the frame. This style needs precise hardware placement. Choose smaller knobs or pulls to fit inside the frame gap. Install hardware on the center of the door edge. Check that the handle does not block the door’s close. Use a template to keep hardware placement consistent.
Framed Cabinets
Framed cabinets have a face frame around the door. Drill hardware holes on the frame, not the door itself. Ensure screws are long enough to go through the frame. Position hardware for comfort and style, usually near the door’s edge. Use a level to keep handles straight. Double-check spacing on all doors to match.
Maintaining Your Hardware
Maintaining your kitchen cabinet hardware keeps it looking fresh and working well. Regular care stops damage and extends the life of handles and knobs. Simple steps help you avoid costly repairs or replacements. Clean and well-kept hardware adds charm to your kitchen space.
Cleaning Techniques
Use a soft cloth to wipe dirt and dust from hardware. Avoid abrasive cleaners that may scratch the surface. Mild soap mixed with warm water works well for most finishes. Dry hardware completely after cleaning to prevent rust or water spots. Clean regularly to keep shine and avoid buildup.
Preventing Wear And Tear
Avoid pulling handles too hard or using hardware as hooks. Tighten loose screws to keep parts secure and prevent wobbling. Apply a small amount of lubricant on moving parts if needed. Protect hardware from harsh chemicals or direct sunlight. Careful use reduces wear and keeps hardware strong longer.
Frequently Asked Questions
What Tools Do I Need To Install Kitchen Cabinet Hardware?
You need a drill, screwdriver, measuring tape, pencil, and level. These tools ensure precise and secure hardware installation.
How Do I Measure For Cabinet Hardware Placement?
Measure the cabinet door’s width and height. Mark the hardware position with a pencil for accuracy before drilling holes.
Can I Install Cabinet Hardware Without Drilling?
Yes, adhesive hooks or magnetic hardware offer drill-free options. However, drilled installations are more secure and durable.
What Is The Best Height For Cabinet Hardware?
Place hardware 2 to 3 inches from the bottom or top edge of the door for ergonomic access.
Conclusion
Installing kitchen cabinet hardware is easier than it seems. Take your time and follow each step carefully. Measure twice to avoid mistakes. Use the right tools for a smooth job. Clean the surfaces before attaching handles or knobs. Check that everything fits and works well.
Small changes can refresh your kitchen’s look. Enjoy your updated cabinets and the new style they bring. Keep practicing to improve your skills. Simple upgrades make a big difference in your home.