Are you tired of struggling to install cabinet hardware perfectly every time? Imagine having a simple tool that helps you place handles and knobs with exact precision, saving you time and frustration.
Making your own cabinet hardware template is easier than you think, and it puts you in full control of your DIY projects. In this guide, you’ll discover step-by-step how to create a custom template that fits your cabinets perfectly. Get ready to work smarter, avoid costly mistakes, and achieve flawless results every time.
Keep reading to learn how you can master this essential skill today.
Materials Needed
Creating your own cabinet hardware template starts with gathering the right materials. Having the proper tools and supplies makes the process smooth and accurate. You will save time and avoid mistakes by being well-prepared.
Essential Tools
Start with basic tools that help measure and cut precisely. A tape measure is key for accurate dimensions. Use a pencil to mark your points clearly. A ruler or straight edge helps draw straight lines. Scissors or a craft knife will cut the template material. A drill with a small bit is useful for making guide holes.
Recommended Materials
Choose sturdy but easy-to-cut materials for your template. Cardboard or thin plastic sheets work well. They are firm enough to keep shape but simple to handle. You may also use thick paper or poster board. Clear plastic sheets allow you to see the cabinet surface below. Masking tape helps hold the template in place during use.
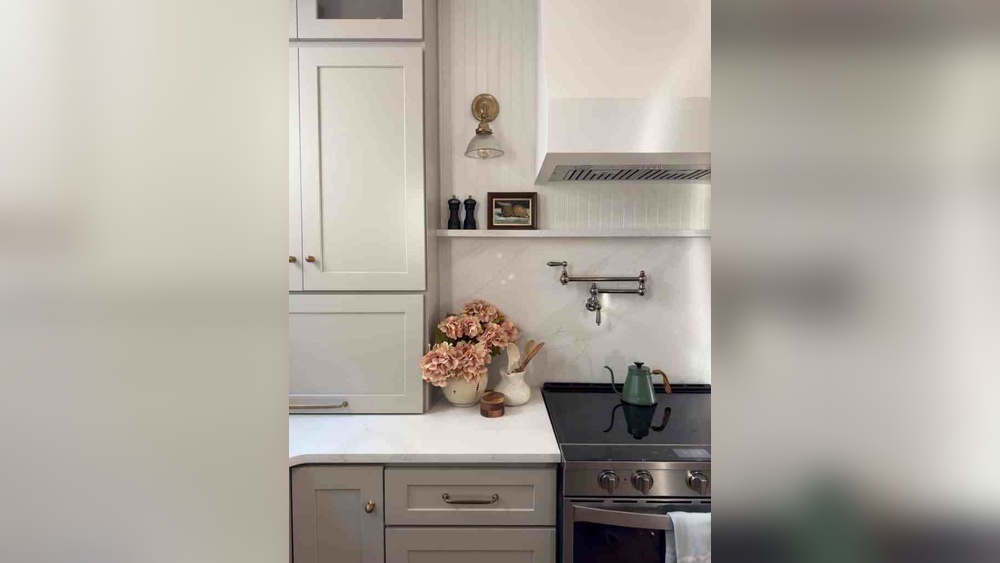
Credit: www.sandandsisal.com
Choosing The Right Template Design
Choosing the right template design is key for making cabinet hardware. The template helps you place knobs or handles evenly. It saves time and avoids mistakes. Picking a design that fits your style and needs makes the project easier and the result better.
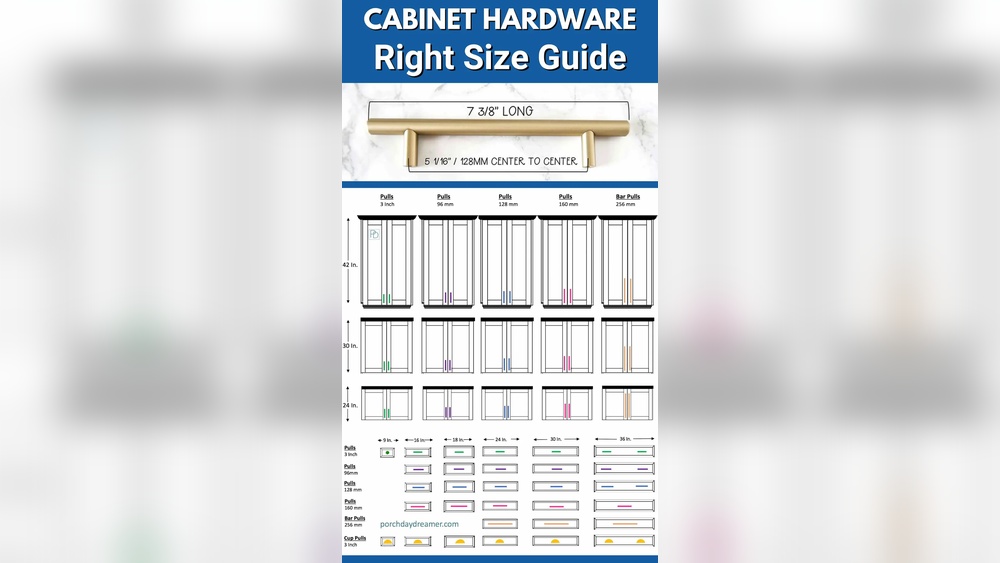
Popular Cabinet Hardware Styles
Many cabinet hardware styles exist. Round knobs are classic and easy to use. Bar pulls give a modern look and are simple to grip. Cup pulls add a vintage feel to cabinets. Choose a style that matches your room’s theme. This choice guides your template design.
Customizing For Your Needs
Templates should fit your cabinet doors and drawers. Measure the space carefully before making your template. Adjust hole spacing to fit your hardware size. Mark the template clearly to avoid errors. Custom templates help you place hardware perfectly every time.
Measuring And Marking
Measuring and marking are important steps in making your own cabinet hardware template. Getting these right helps your hardware fit perfectly. Careful work here saves time and avoids mistakes later.
Precision makes drilling easier and ensures a clean look. Use the right tools and take your time. Follow simple methods to get accurate results.
Accurate Measurement Techniques
Start by using a good ruler or tape measure. Measure twice to avoid errors. Use a pencil with a fine tip for clear marks. Keep the tape straight and tight for exact numbers. Note the measurements on paper to stay organized. Check the hardware size before measuring your cabinet. Measure from the edges where the hardware will go. Use a square tool to keep lines straight and corners right. Accuracy here means your hardware will line up well.
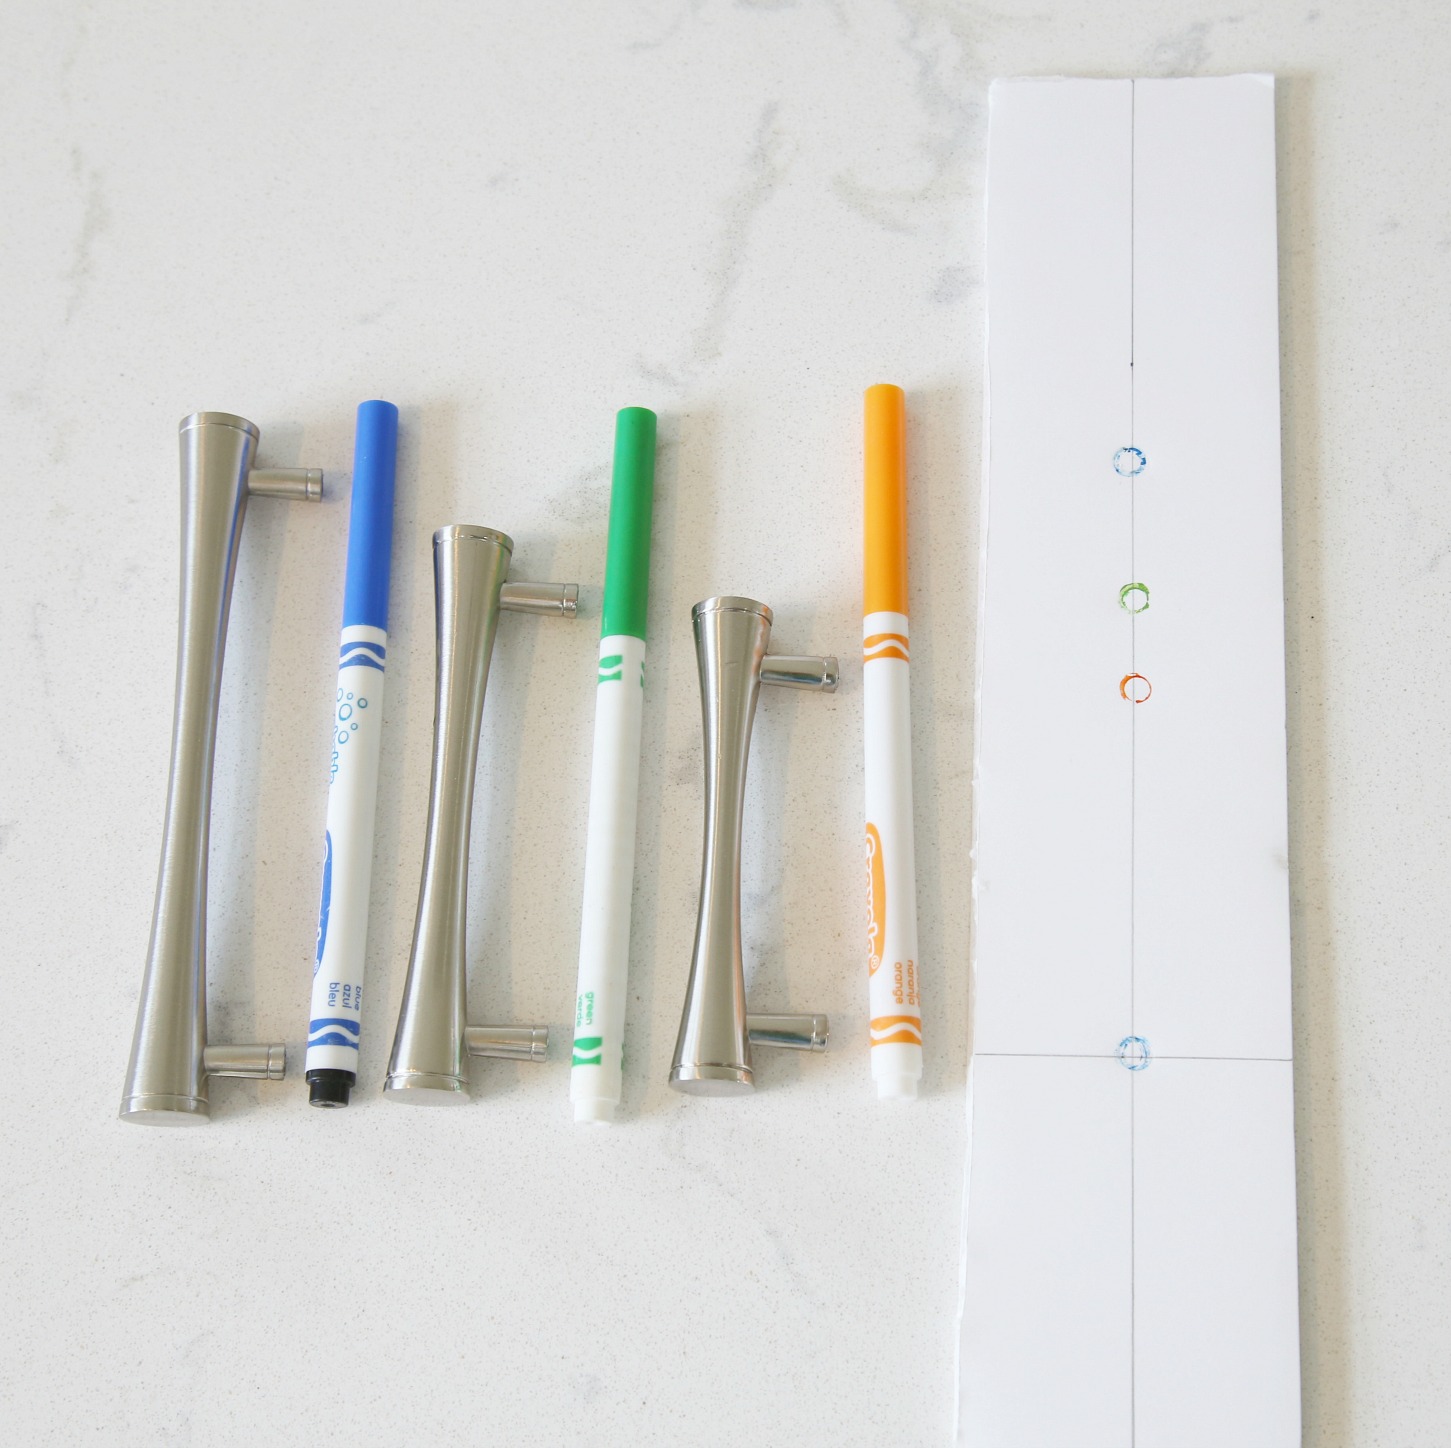
Marking Drill Points
Mark the drill points clearly with a pencil or marker. Make small dots where the screws will go. Use a punch tool to make shallow dents on the marks. Dents prevent the drill from slipping off. Double-check the spacing between marks to match the hardware. Hold the hardware in place to confirm the points. Mark all holes before starting to drill. Clear and correct marks help you drill fast and clean.
Credit: ourhomefromscratch.com
Creating The Template
Making your own cabinet hardware template saves time and ensures accuracy. The template guides your drill, so holes align perfectly every time. It also helps avoid mistakes that ruin your cabinet doors. Follow these steps carefully to create a reliable template.
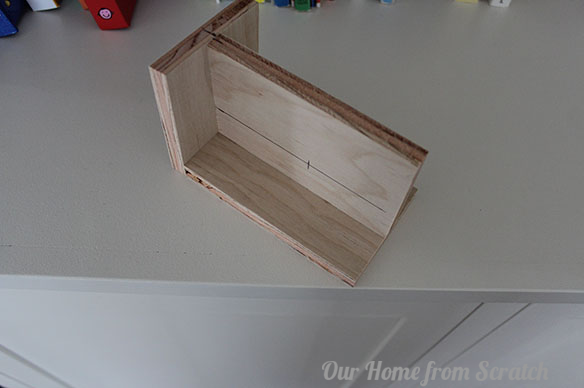
Cutting The Template Material
Start with a thin piece of plywood or hardboard. Measure the size of your cabinet door or drawer front. Mark this size on the board using a pencil and ruler. Cut the board with a saw, keeping edges straight and clean. Sand the edges lightly to remove splinters. Your template must be smooth for precise drilling.
Drilling Guide Holes
Place the hardware on the template material exactly where it will go on the cabinet. Mark the hole positions using a pencil. Use a drill bit that matches the screw size. Drill holes through the template carefully. Check the holes for smooth edges and correct size. This step ensures your hardware fits perfectly every time.
Testing The Template
Testing the cabinet hardware template is a key step. It ensures the holes align perfectly. This saves time and avoids mistakes on your real cabinet doors. Testing helps spot any errors early. This way, you can fix them before drilling into expensive wood.
Trial On Scrap Wood
Use a piece of scrap wood for the first test. Place the template on the scrap as you plan to on the cabinet. Mark the hole positions with a pencil. Drill the holes carefully through the template. Check if the holes line up with the hardware. This trial run shows if the template works well.
Adjusting For Precision
Look closely at the drilled holes on the scrap wood. Are they too far apart or too close? Adjust the template by moving the guide holes slightly. Mark new positions and test again on scrap wood. Repeat this until the holes match your hardware perfectly. This step ensures accuracy and saves damage to your cabinets.
Using The Template On Cabinets
Using your cabinet hardware template makes installing handles and knobs easier. It helps keep holes in the same spot on every cabinet door or drawer. This saves time and stops mistakes.
Place the template carefully on the cabinet surface. Make sure it fits the size and shape of your cabinet parts. Check twice before drilling to avoid wrong holes.
Positioning The Template
Align the template with the cabinet edge or center. Use a ruler or tape measure for exact placement. Hold the template steady with one hand or tape it down.
Mark the drill points through the template holes with a pencil. Double-check marks to confirm they match your hardware size. Good positioning prevents uneven or crooked handles.
Drilling With Confidence
Use a drill bit that fits your screw size. Start drilling slowly at the marked points. Keep the drill straight to avoid angled holes.
Drill halfway through the door or drawer front at first. Stop and check the hole before going all the way. This method reduces mistakes and damage.
Finish drilling carefully to avoid splintering the wood. Clean any dust or debris from the holes before installing hardware. Clean holes help screws fit tightly.
Maintenance And Storage
Maintaining and storing your cabinet hardware template correctly helps it last longer. Care and proper storage keep the template accurate and ready for use. This section explains easy ways to clean and store your template safely.
Cleaning Tips
Wipe the template with a soft cloth after each use. Remove dust and dirt gently to avoid scratches. Use mild soap and water for tough stains. Avoid harsh chemicals that can damage the material. Dry the template completely before storing it.
Proper Storage Methods
Store the template flat to keep its shape intact. Place it in a dry area to prevent warping. Use a protective cover or folder to avoid dust buildup. Keep it away from heavy objects that may bend it. Label the storage spot for easy finding later.

Credit: ourhomefromscratch.com
Frequently Asked Questions
What Materials Do I Need For A Cabinet Hardware Template?
You need cardstock or thin plywood, a ruler, pencil, drill, and screws. These materials ensure accurate and durable templates for precise hardware placement.
How Do I Measure For Cabinet Hardware Placement?
Measure the center of the cabinet door or drawer. Mark the desired hole positions using a ruler and pencil for consistent hardware alignment.
Can I Reuse A Cabinet Hardware Template?
Yes, you can reuse it multiple times. Durable materials like thin plywood make the template last for future cabinet projects, saving time and effort.
How Do I Align Holes Accurately With A Hardware Template?
Align the template edges with the cabinet surface edges. Use clamps or tape to hold it steady before drilling holes for precise hardware installation.
Conclusion
Making your own cabinet hardware template saves time and money. It helps you place handles and knobs correctly. You can avoid mistakes and get better results. The process is simple and anyone can do it. Just follow the steps carefully and measure twice.
This small effort makes your cabinet look neat and professional. Try making a template for your next project. You will see the difference it brings to your work. Enjoy the satisfaction of a well-done job.