Have you ever struggled with a stubborn snap fastener that just won’t come off? Whether it’s on your favorite jacket, a bag, or a piece of upholstery, knowing how to remove a snap fastener quickly and safely can save you time and frustration.
In this guide, you’ll discover simple, step-by-step methods to get that snap off without damaging your fabric or item. Keep reading, and you’ll have the confidence to tackle this task like a pro.
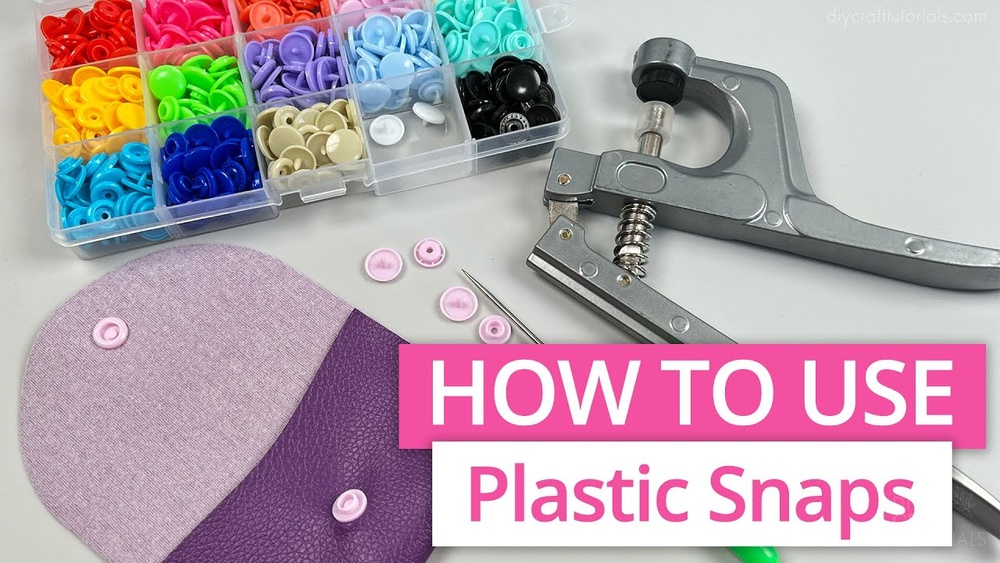
Tools You’ll Need
Removing a snap fastener requires the right tools. Having the proper items makes the process easier and safer. You can use tools found at home or special tools made for snap removal. Both types work well depending on the situation. Below are the main tools you will need to remove a snap fastener effectively.
Basic Household Items
Many snap fasteners can be removed using simple household tools. A small flathead screwdriver is very useful. It helps to pry open the snap without damaging the fabric. A pair of tweezers allows you to grip small parts firmly. You might also need a pair of pliers to pull out stubborn snaps. A thin butter knife can work as a substitute for a screwdriver. These items are easy to find and cost nothing extra.
Specialized Snap Removal Tools
Some snaps require special tools designed for their removal. Snap fastener pliers have a unique shape to open snaps gently. A snap removal tool looks like a small fork with prongs. It slides under the snap and lifts it off cleanly. Using these tools reduces the risk of fabric damage. They are affordable and available online or in craft stores. These tools make snap removal fast and neat.
Preparing The Area
Preparing the area is the first step to removing a snap fastener safely. A good setup helps you avoid damage and makes the task easier. Taking time to prepare ensures better results and less frustration.
Choosing A Well-lit Workspace
Pick a place with bright, natural light if possible. Good lighting helps you see the snap fastener clearly. It reduces eye strain and mistakes. A desk near a window or a room with strong lamps works well. Avoid dark or cluttered spaces that hide details.
Protecting Your Fabric Or Material
Place a soft cloth or towel under the fabric. This cushion prevents scratches and tears. It also keeps the fabric steady while you work. Avoid hard surfaces that can damage delicate materials. Keep your tools clean and sharp for smooth removal.
Step-by-step Removal Process
Removing a snap fastener is simple when you follow clear steps. This guide breaks down the removal process. It helps you take off snap fasteners without damaging fabric or materials.
Locating The Snap Components
Find both parts of the snap fastener. One side is the socket. The other is the stud. Check the fabric carefully to see where each part sits. Knowing their position helps in removing them properly.
Loosening The Snap
Start by gently pulling the fabric near the snap. Hold the fabric tight but do not stretch it. Use your fingers to wiggle the snap slightly. This movement helps to loosen the snap without tearing the cloth.
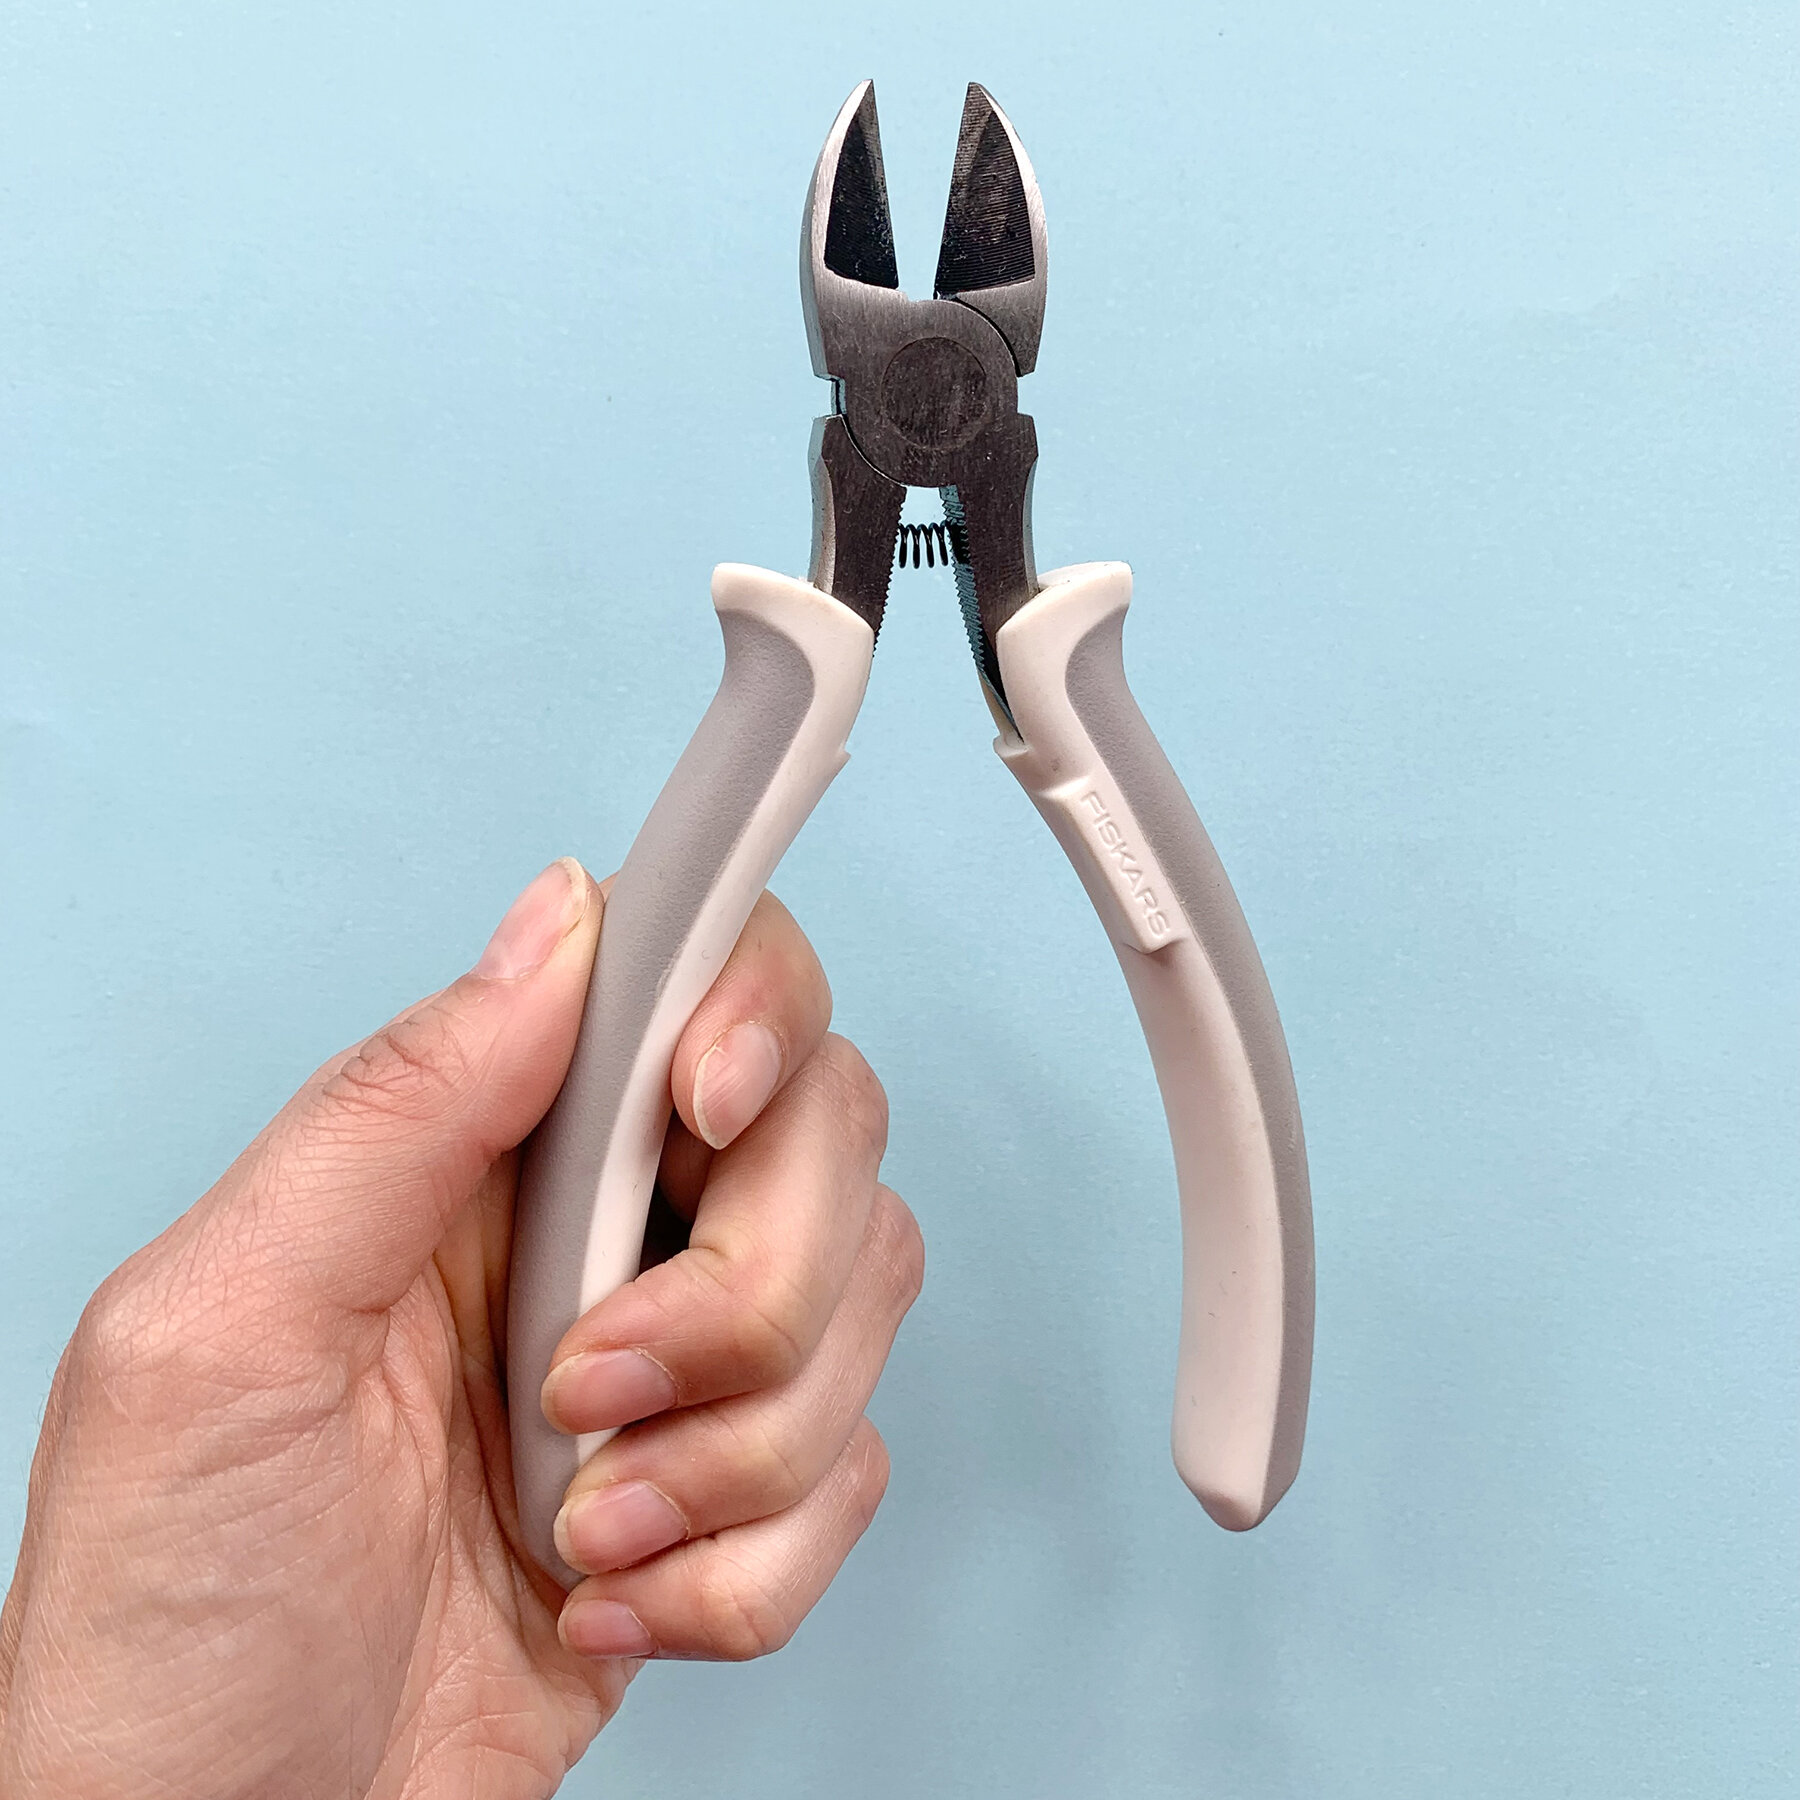
Prying The Snap Apart Safely
Use a small flat tool like a flathead screwdriver. Slide it gently under the edge of the snap. Lift slowly to separate the two parts. Work evenly around the snap until it comes apart. Avoid force to keep fabric intact.

Credit: www.youtube.com
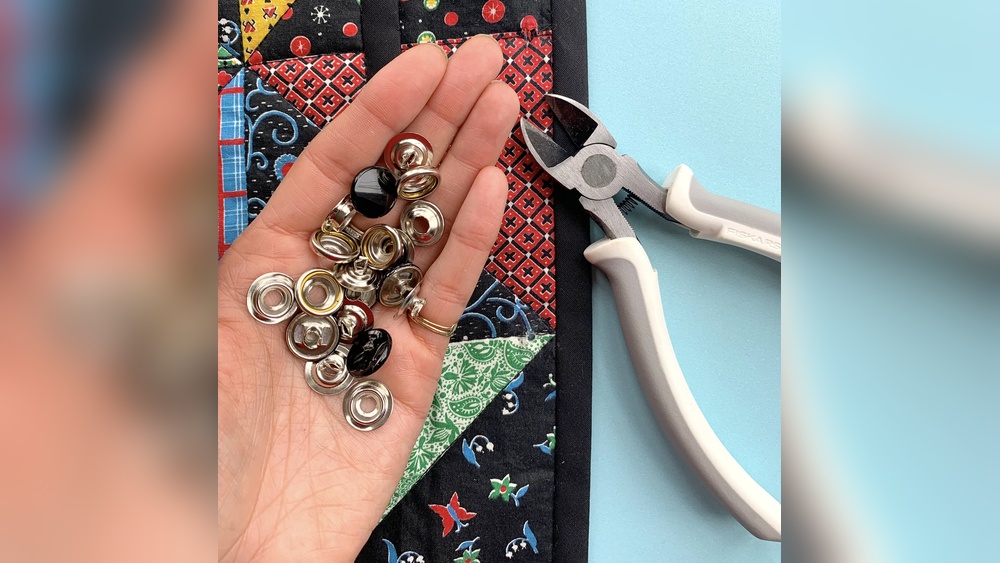
Tips For Stubborn Snaps
Sometimes, snap fasteners get stuck and do not come off easily. Stubborn snaps need gentle care and smart tricks to remove without damage. These tips help loosen tight snaps safely and quickly.
Using Lubricants
Apply a small amount of lubricant like oil or soap to the snap. Lubricants reduce friction and make the snap easier to open. Rub gently around the edges and wait a few minutes. Then try to open the snap carefully. Avoid using too much lubricant to prevent stains.
Applying Gentle Heat
Heat softens the metal or plastic parts of the snap. Use a hairdryer on low heat and warm the snap for 20 to 30 seconds. Keep the dryer moving to avoid overheating one spot. After warming, try to pull the snap apart slowly. This method helps loosen tight snaps without breaking them.
Repairing The Fabric Post-removal
Removing a snap fastener can leave small holes or weak spots in the fabric. Repairing the fabric post-removal helps keep your garment strong and ready for new snaps. This process also makes the area look neat and clean. Proper repair prevents further damage and extends the life of your clothing.
Fixing Small Holes
Start by trimming loose threads around the hole. Use a needle and thread to sew the hole closed. Stitch carefully to avoid making the hole bigger. Small patches of fabric can cover bigger holes. Iron-on patches work well for a quick fix.
Reinforcing The Area For New Snaps
Choose fabric patches that match your garment. Sew the patch firmly over the repaired area. Double stitching adds extra strength. Use interfacing on the backside for added support. This helps the new snap hold tightly without pulling the fabric.
Credit: www.burieddiamond.com
Preventing Future Snap Damage
Snap fasteners can wear out or break over time. Preventing future damage saves money and effort. Good care and smart choices extend their life. This section covers how to avoid snap damage.
Choosing Durable Snaps
Select snaps made from strong materials like stainless steel or brass. These resist rust and bending better than cheap metals. Look for snaps with a solid grip to avoid loosening. High-quality snaps fit tightly and last longer. Avoid plastic snaps for heavy-use items; they break easily.
Proper Snap Usage And Care
Always snap and unsnap gently to avoid stress. Pull fabric, not the snap, when opening closures. Keep snaps clean by wiping with a soft cloth. Avoid exposing snaps to water or harsh chemicals. Repair loose snaps quickly before they cause damage. Store clothes with snaps flat to prevent bending.

Credit: www.youtube.com
Frequently Asked Questions
How Do I Safely Remove A Snap Fastener?
Use a small flathead screwdriver or seam ripper. Gently pry up the snap edges without damaging fabric. Work slowly to avoid tearing material. Applying slight pressure helps loosen the fastener for easy removal.
What Tools Are Needed To Remove Snap Fasteners?
A flathead screwdriver, seam ripper, or small pliers work best. These tools help pry or cut around the snap safely. Choose a tool based on your fabric type to avoid damage during removal.
Can I Reuse A Snap Fastener After Removal?
Reusing snaps is possible if they remain intact. Check for any bending or damage before reuse. If damaged, it’s best to replace with a new snap for secure fastening.
Will Removing Snaps Damage The Fabric?
If done carefully, fabric damage is minimal or none. Use proper tools and gentle pressure to prevent holes or tears. Always test on a small area if unsure about fabric strength.
Conclusion
Removing a snap fastener can be simple with the right steps. Take your time and work carefully. Use the right tools to avoid damage. Small efforts help keep your fabric safe. Practice makes the process easier and faster. Now, you can fix clothes or crafts without trouble.
Try these tips next time you need to remove a snap fastener. It saves money and helps extend the life of your items. Keep this guide handy for quick reference.